Hello friends. I’m back with another card for the Tim Holtz holiday inspiration series. Throughout November and December Tim will be sharing projects by a group of talented crafters to provide some inspiration to get you creative during the holiday season. Follow Tim on facebook and instagram and his blog for the recap each Saturday.
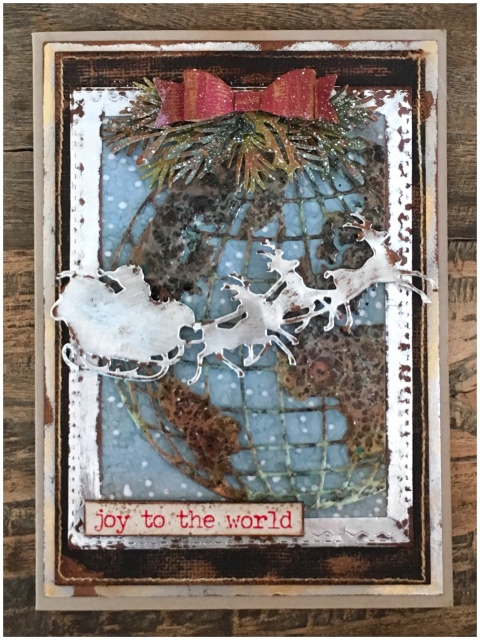 I created this holiday card by mixing the old with the new Sizzix dies by Tim Holtz. I wanted to create a card to send to family overseas this year and the globe die was a perfect match to santa and his sleigh die.
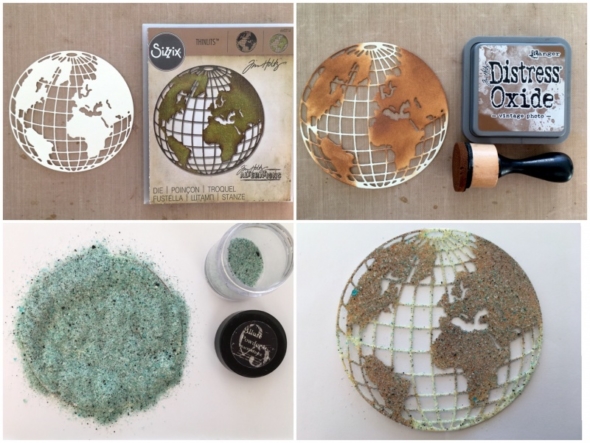
Step 1: Die cut a globe from distress mixed media heavystock with the Sizzix globe thinlits die.
Step 2: Blend in vintage photo distress oxide over the land portions of the die cut.
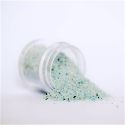
Step 3: Cover with distress embossing ink and pour over fractured iced embossing powder.
Step 4: Gently tap off excess.
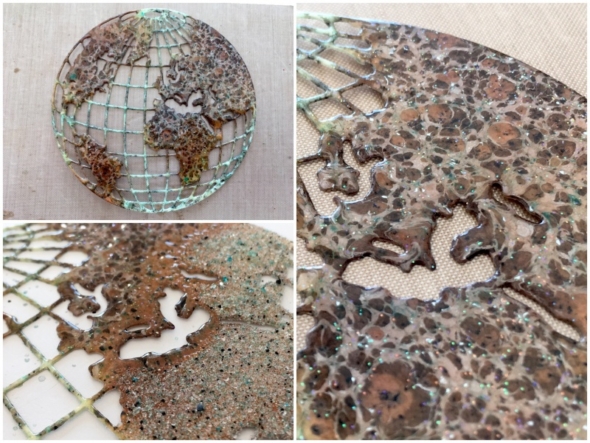
Step 5: Melt the embossing powder with a heat tool. The reaction it has with the distress oxide is SO COOL!
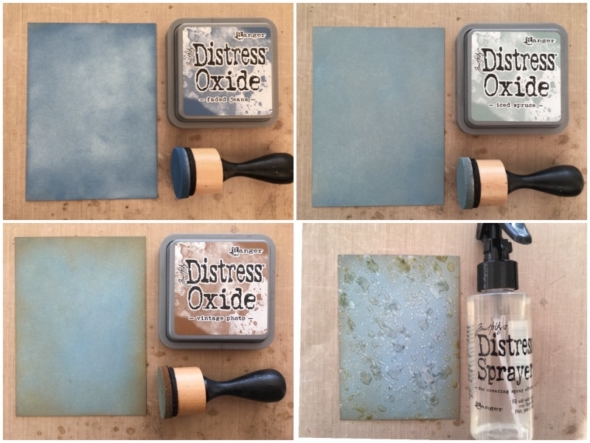
Step 6: Blend faded jeans distress oxide into distress mixed media heavystock.
Step 7: Blend iced spruce distress oxide over the top.
Step 8: Blend vintage photo distress oxide into the edges.
Step 9: Spritz with water using the distress sprayer and dry with a heat tool.
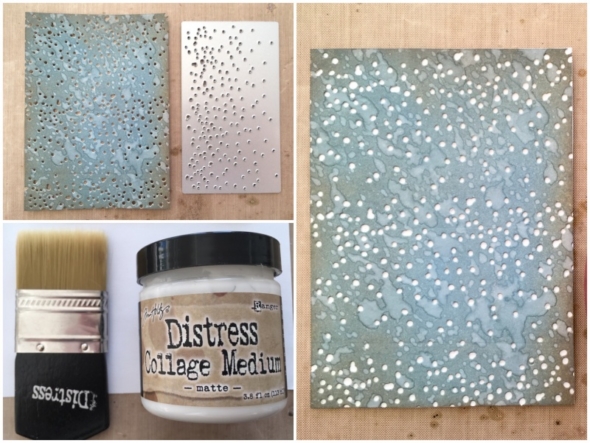
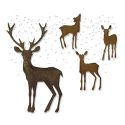
Step 10: Die cut the background using the snow die from the winter wonderland thinlits set.
Step 11: Cut a piece of printer paper slightly larger than the background and brush distress collage medium over the top.
Step 12: Working quickly (collage medium dries FAST), place the background over the top of the printer paper and trim the edges. The collage medium dries clear and matte so you don’t see it.
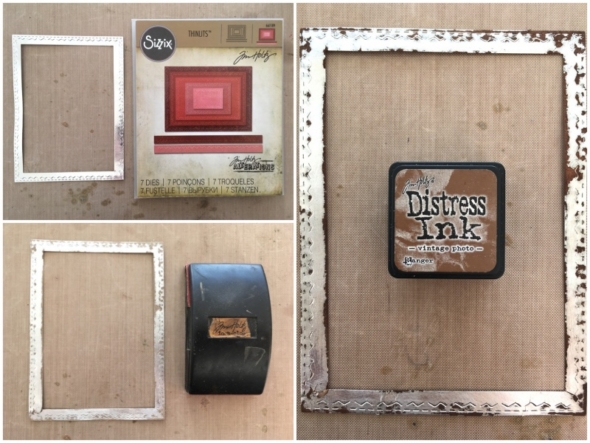
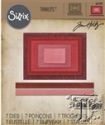
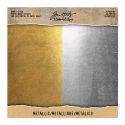
Step 13: Die cut a frame from metallic kraft stock using the stitched rectangle thinlits die.
Step 14: Using a sanding grip, carefully sand the frame, exposing the kraft core below the metallic surface.
Step 15: Blend vintage photo distress ink into the frame with a mini blending tool.
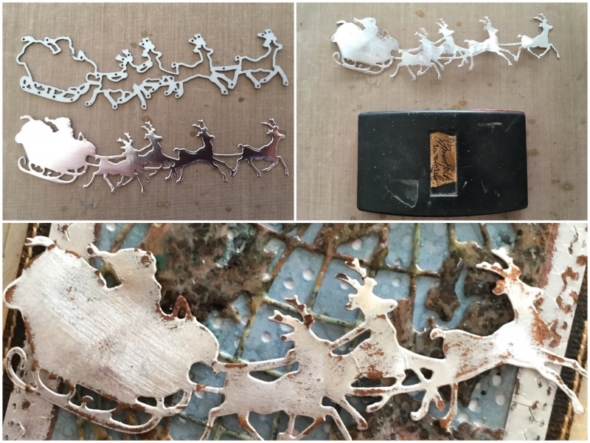
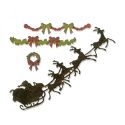
Step 16: Die cut santa and his sleigh from metallic kraft stock using the village christmastime thinlits die.
Step 17: Very carefully sand the edges of the die cut with a sanding grip.
Step 18: Blend vintage photo distress ink into the edges and mount using 3D foam.
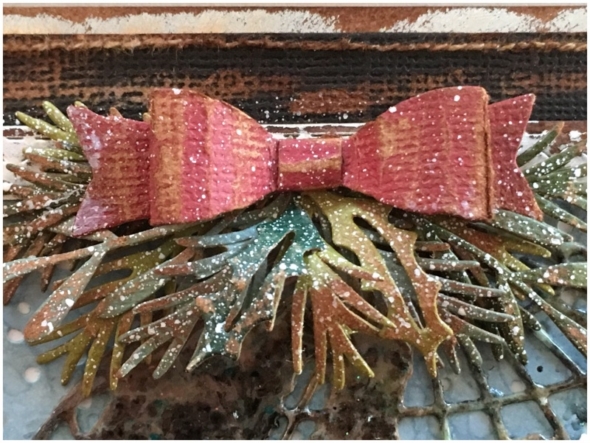
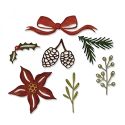
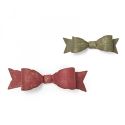
Step 19: Using classic kraft stock, die cut greenery using the festive greens thinlits die set. Layer up and adhere using distress collage medium. Die cut the small bow using the fold-up bows thinlits die set and mount over the top of the greenery. Splatter with picket fence distress ink using a spatter brush.
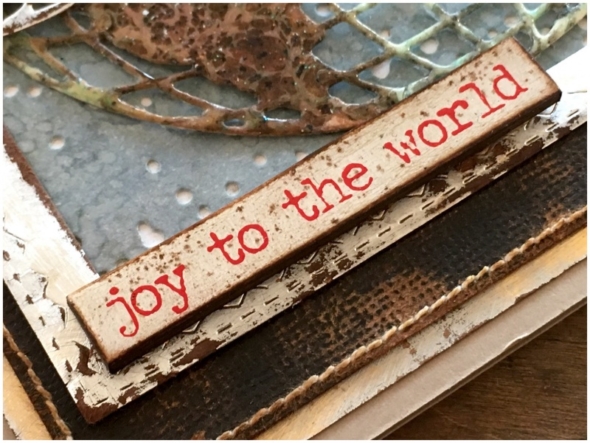
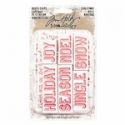
Step 20: This sentiment from the idea-ology quote chips was perfect for my card. I swiped vintage photo distress ink directly onto the edges and rubbed it over the top with my finger. I swiped the ink pad onto my non stick craft sheet and picked it up with the spatter brush to try to create aged brown spots.
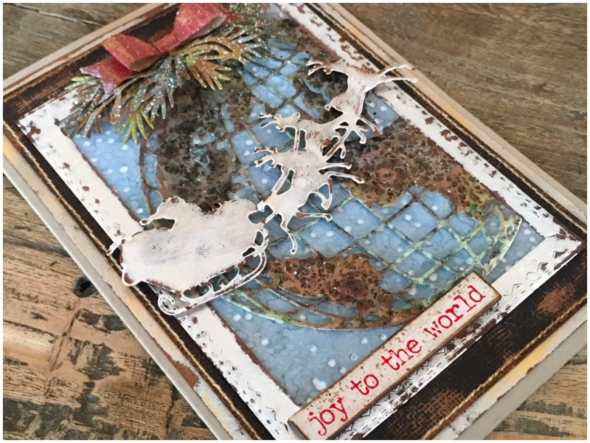
Thanks for stopping by, I hope this has inspired you to pull out your dies and make something. Don’t forget to catch up with all the projects from week 2 for more holiday inspiration. I’ll be back soon.
Cheers
Zoe x





Wonderful tutorial post Zoe you take great photos and make the process look achievable, even if it’s not. This card is layered with your signature style, grungy vintage perfection! ❤️❤️❤️
This is amazing Zoe! Love the globe, I need some of that embossing powder. TFS!
Marvelous! Thanks for the awesome tutorial! It’s such a gorgeous card and your attention to detail is remarkable.
Great tutorial with wonderful photos to go with. Your card is simply beautiful! Love all your TH elements on it. Thanks for sharing this wonderful project with us. ❤️❤️
Zoe, you used these dies brilliantly and in your signature grungy style which is so very appealing to me! I love how you altered the silver kraft core, it is so festive! That snowy background die is a must have! Amazing inspiration. Hugs, Autumn
Oh, WOW! This is a favorite for me! I love the grungy effects and I’m tickled to know that I can CASE this as I have every single product you’ve used! (Poor little Santa/sleight/reindeer has only put in one appearance this season at my place.) I love the effect you’ve discovered with the embossing powder and oxides! WONDERFUL, and I would have to frame this and give it a place of honor!
Love this — questions? Where do you buy the allure powder?
Looks like you went further than your instructions and mounted the whole thing on burlap and then sewed that on to another card???
Thanks for sharing,
I got the powder from Frilly & Funkie, link below the post. I mounted it onto black classic kraft cardstock by Tim Holtz which I sanded and blended in vintage photo distress ink. It looks like burlap, but isn’t 😉 I sewed the cardstock then adhered rather than sewing the layers together, it’s easier.
The final layer (before the card) is metallic kraft cardstock, also by Tim Holtz which I again sanded and blended in vintage photo distress ink. There is a step by step which includes this mount I used (link below). Hope this helps. 🙂
https://www.igirlzoe.com/8375/pumpkinhead.html