Hello friends, hope you’re well and having a nice summer. I’m happy to be back making after a little break. Speaking of being back, it was nice to have Tim and Mario back on our screens for a Saturday LIVE welcoming the new 12 Distress Embossing Glazes. You can see the LIVE replay over on Tim’s blog.
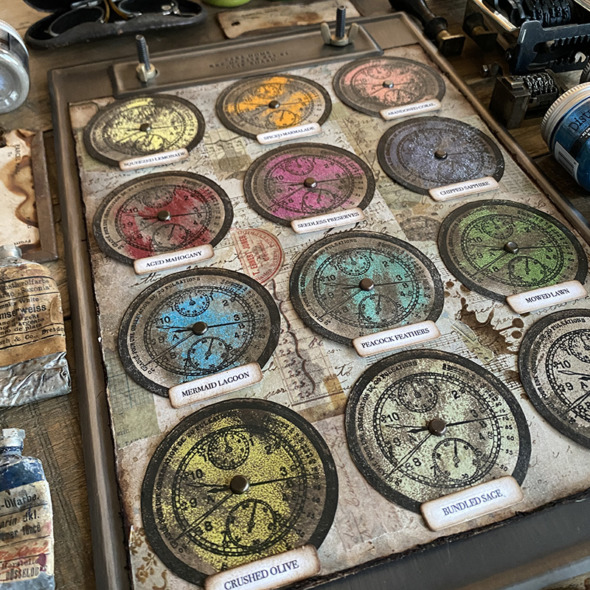
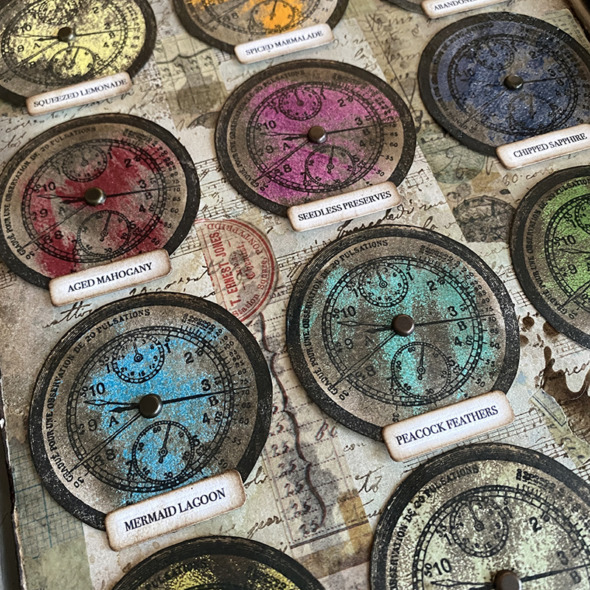
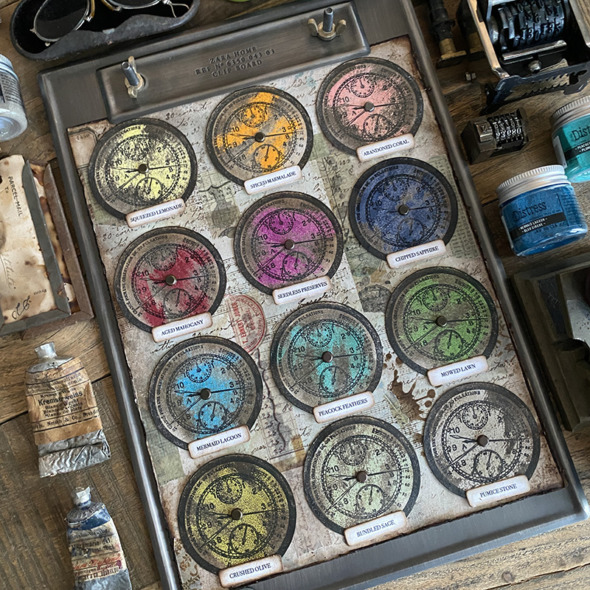
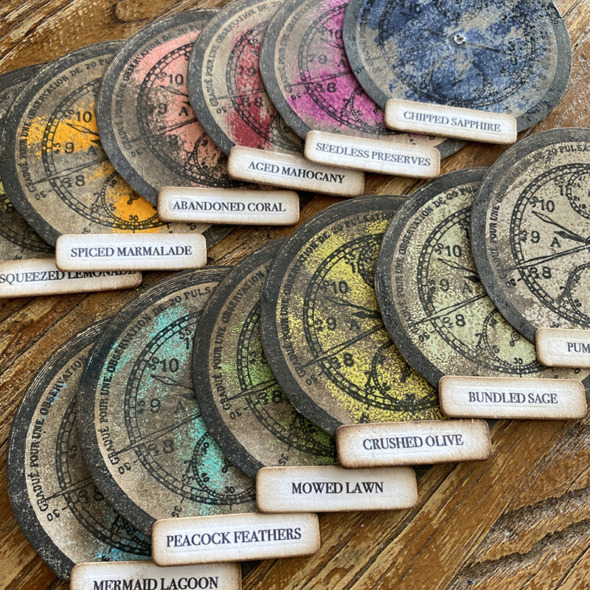
I love the new Distress Embossing Glazes and I was especially excited to have Pumice Stone and Bundled Sage in the glazes. I also love that Crushed Olive and Squeezed Lemonade look incredible grunged, Peacock Feathers makes wicked patina, Spiced Marmalade makes cool rust and you know that Mowed Lawn on a cauldron at Halloween is going to be amazing!
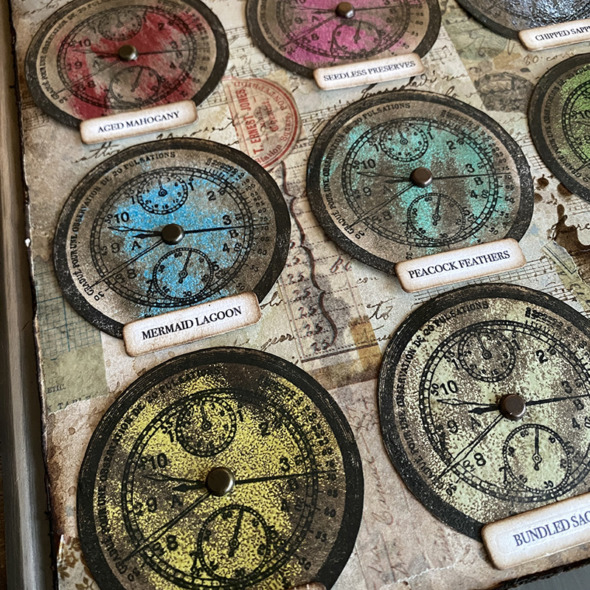
I created this fun swatch for the new Glazes using a technique from one of Tim’s YouTube videos. You can see the technique video HERE Timestamp: 1:24:38. Let’s get into the rest of the details…
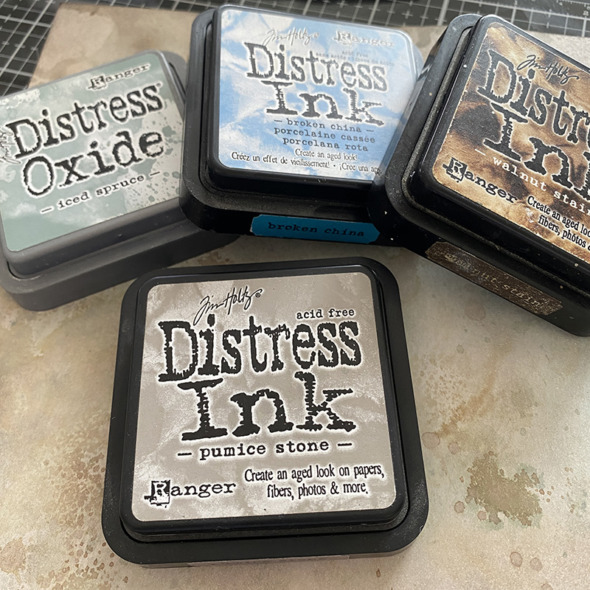
To create the background smoosh distress ink and distress oxide ink onto a non stick craft mat and spritz with water. Drag a whole piece of distress watercolor cardstock through the ink wash and dry with a heat tool, going back to pick up ink spots, drying between layers.
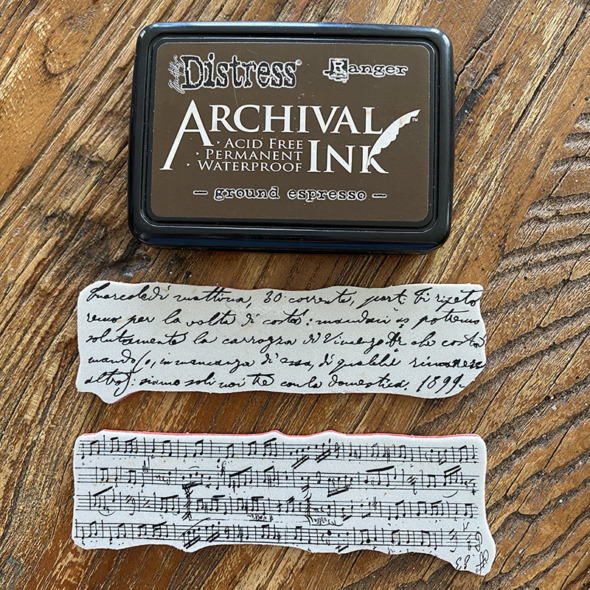
Don’t look past your seasonal stamps as often they can be used all year, like these background stamps from Gothic Tapestry stamp set that I stamped with Distress Archival ink.
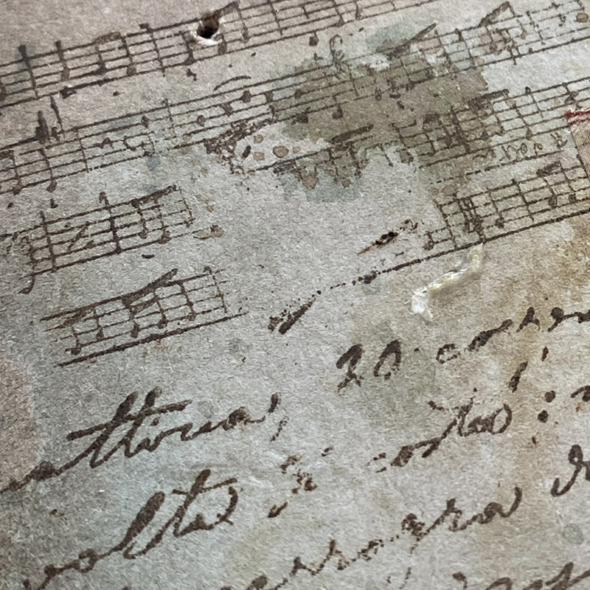
Stamping without a grid block allows you to stamp small portions of the stamp to create a more faded/aged look
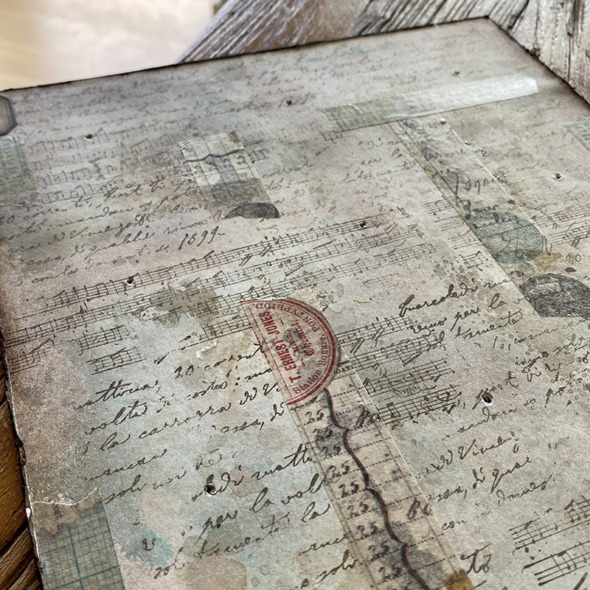
Add design tape to create points of interest or cover up something that didn’t work (which is what happened here lol)! Mount the background onto a sheet of distress kraft heavystock and distress the edges with a paper distresser tool. Swipe the tattered edges with a distress archival ink pad, direct to paper.

Blend distress ink through a stencil with a blending tool and quickly sprinkle on Distress Embossing Glaze, tap off excess and melt. I love how the glaze makes the ink splodge look wet. I used walnut stain distress ink with pumice stone glaze over the top. It created a nice fade where the ink was lighter.
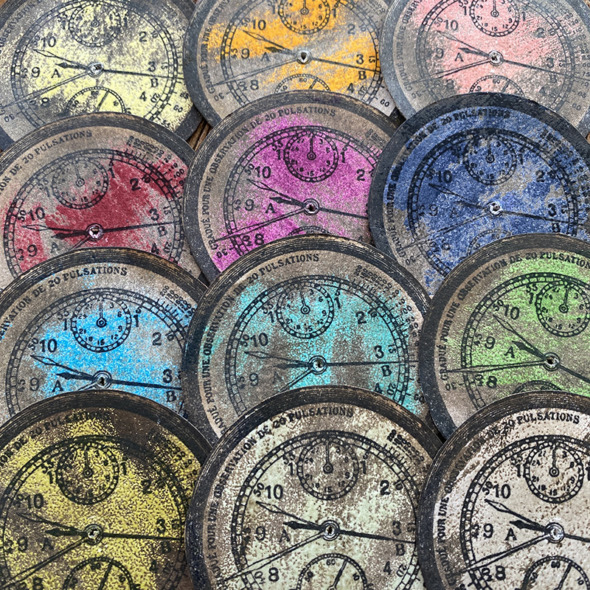
In black soot distress archival ink, stamp the dial stamp from The Inspector stamp set onto distress watercolor cardstock and fussy cut. Repeat 12 times so you have a dial for each new Distress Embossing Glaze color. Using the technique from Tim’s demo HERE.
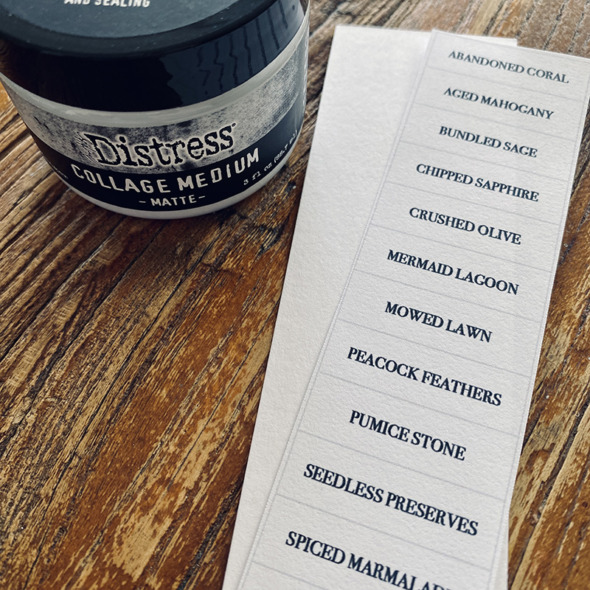
My sweet husband created some labels which you are welcome to use HERE. I printed them onto printer paper and mounted onto distress watercolor cardstock with distress collage medium. Set aside to dry for a few minutes.
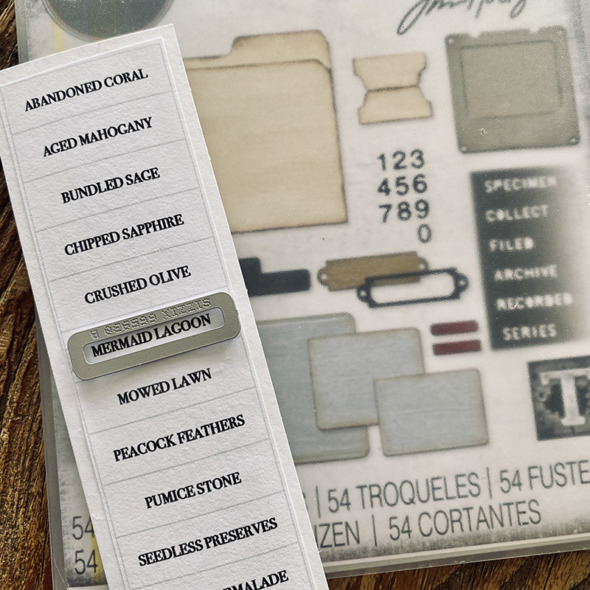
Using a die from the Chapter 3 Specimen die set to create tiny little tags. The font is perfectly sized.
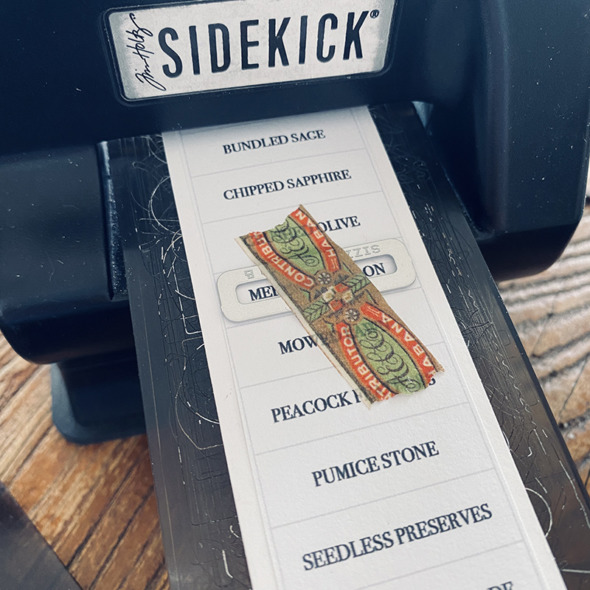
I secured with a little piece of tape and ran through my sidekick.
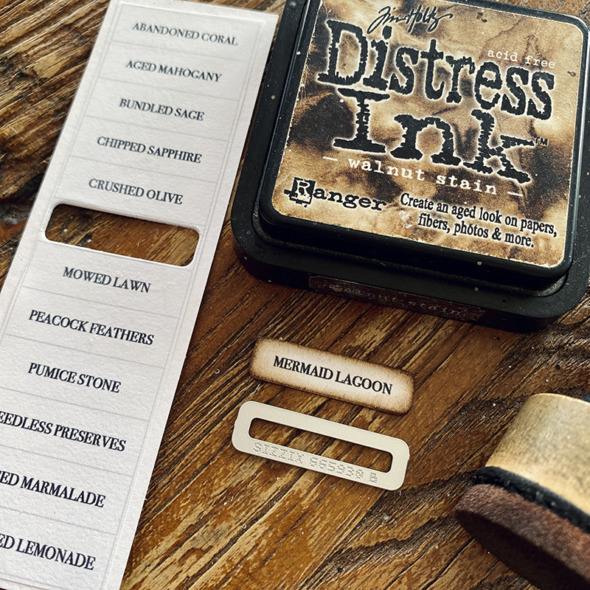
Edged with walnut stain distress ink using a mini blending tool.
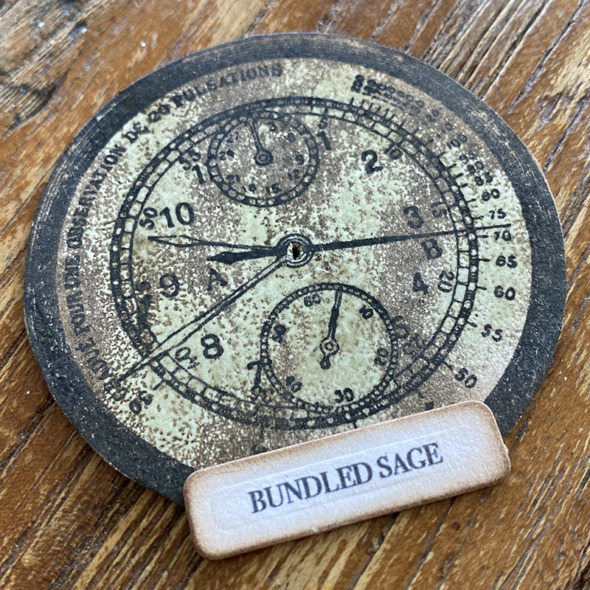
Using distress collage medium, glue the label onto the base of the corresponding dial, allowing the label to hang off the edges a little.
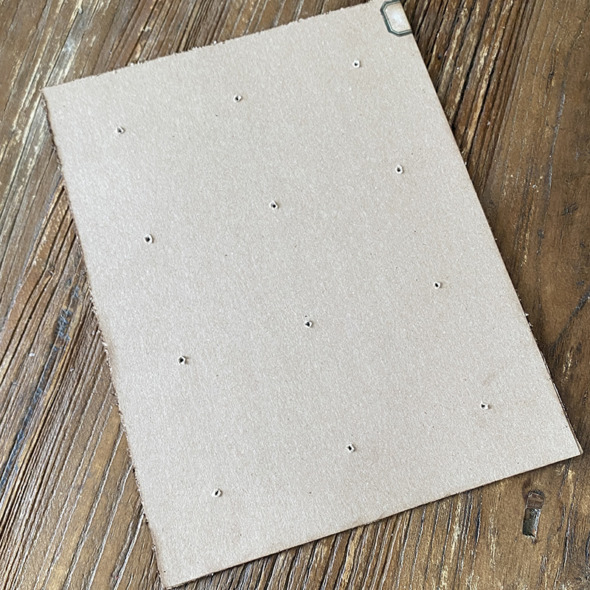
Poke 12 holes in the back where the dials will be attached. I did this by laying my dials where I wanted them to be and marking through the middle of a dial with a pencil.
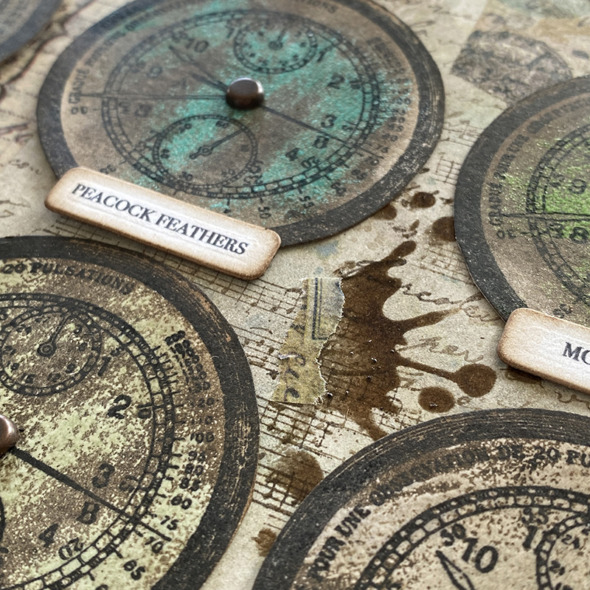
Secure the dials with an idea-ology large fastener. Confession… I intended to bash each of these with my tiny texture hammer and completely forgot until I was editing my photos for this blog post.
Thanks for stopping by and let me know if you have any questions.
Zoe
…
affiliate links used at no cost to you


So amazing! ALWAYS inspired by your work!
Love, love this project.
Love the swatches, nice clipboard too! Thank your hubbs for the labels.
Love this so much Zoe! Yesterday I placed an order @simonsaysstamp,
I ordered the new Embossing Glazes, @stampersanonymous’ The Inspector
Stamp, and the new 3D Embossing folder “cracked”. Now I know
exactly what I’ll be doing once they’ve arrived, along with my chapter 3 dies✨🤗✨
So grateful for the inspiration you share so freely!
Amazing as always!!! Love this! Thanks for the inspiration!!!
Wow!!!! This is Incredible!!!! I love it!!!
I’m in awe of the effects from the embossing glazes. You are so talented! Thank your hubby for the labels.
Thank you so much Zoe. Super amazing 🤩😊❤️
Love this ,thank you xxx