Hello friends. I’m sharing some details of the envelopes I made for the Tim Holtz Stampers Anonymous 2023 Collection LIVE launch on Saturday. To see the products showcased, incredible maker inspiration and demo, head over to Tim’s blog.
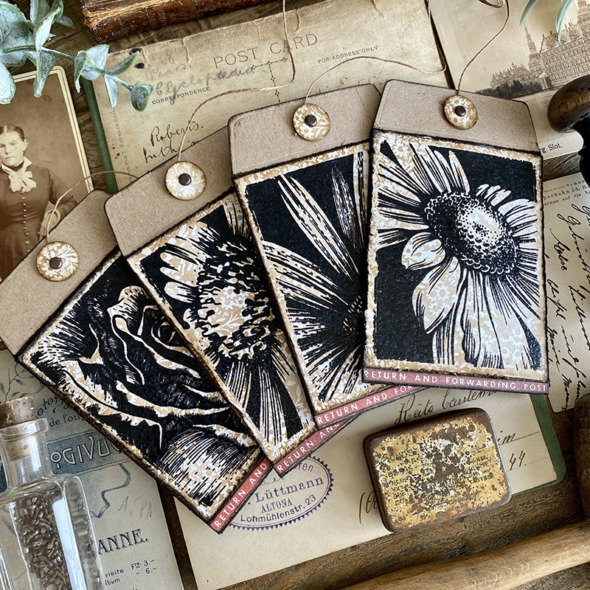
When I shared this make on instagram over the weekend, a few people asked if I could provide some instructions and as it was such a quick, simple and fun make, I decided to make a couple more and share the process for those who asked. Let’s get into the details…
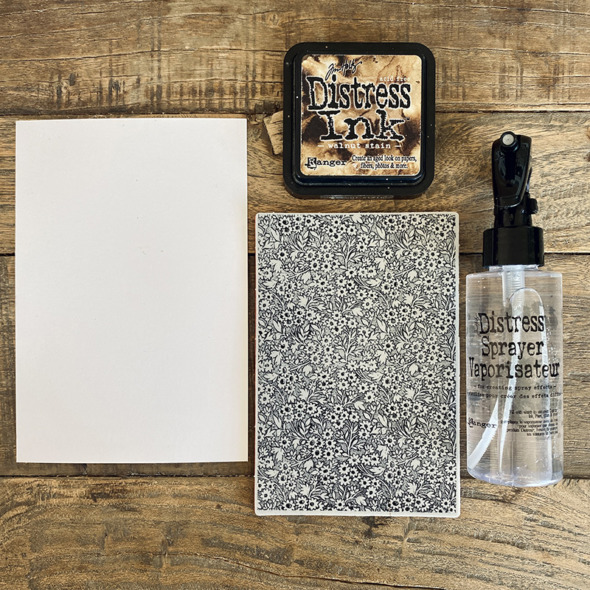
Gather distress watercolor cardstock, walnut stain distress ink, distress water sprayer, Tiny Prints stamps.
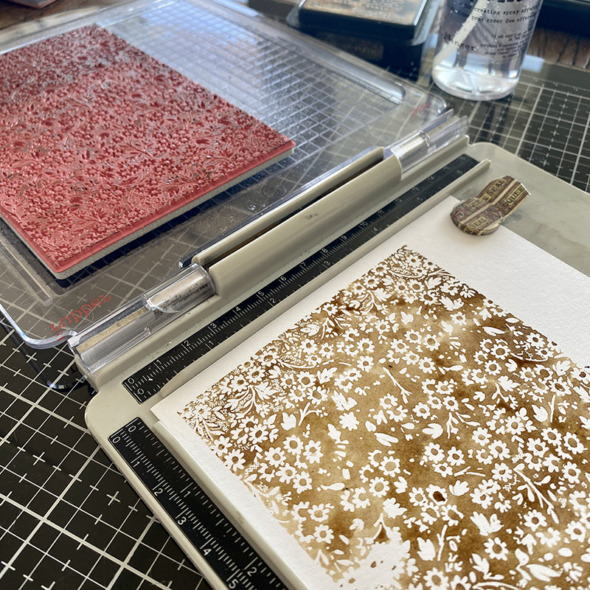
Ink a stamp from Tiny Prints stamp set with distress ink (I used walnut stain), give a good spritz of water and stamp onto distress watercolor cardstock. Set aside to air dry or dry with a heat tool.
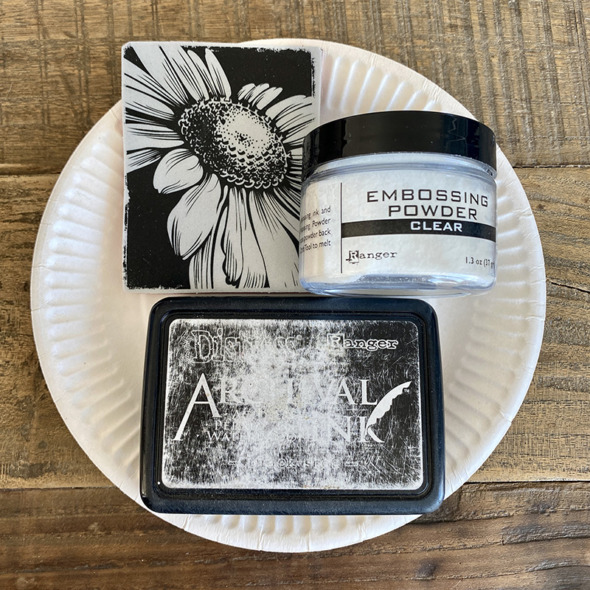
You need to have your supplies gathered and ready for the next part. Paper plate or copy paper, black soot distress archival ink, clear embossing powder, Bold Botanicals stamps.
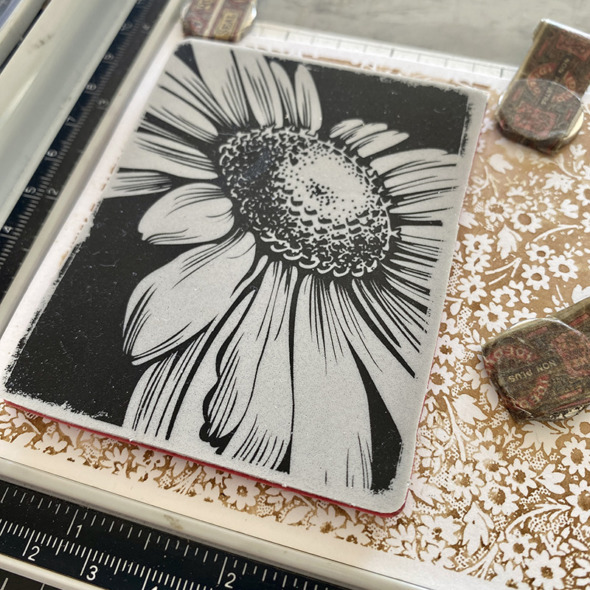
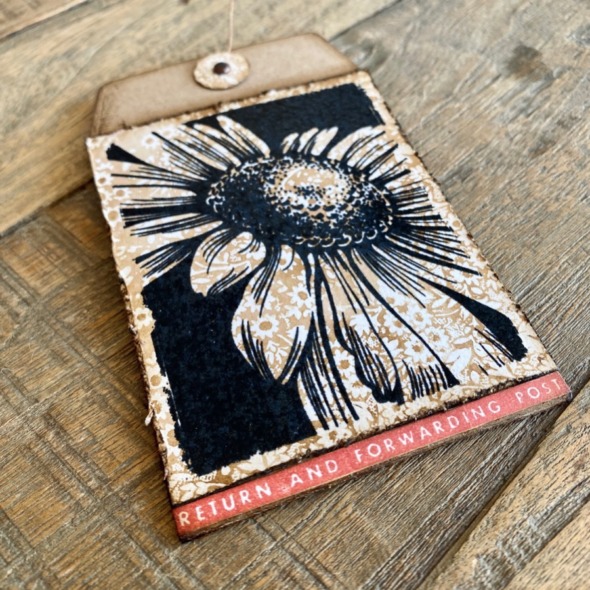
Ink a stamp from Bold Botanicals stamp set with distress archival ink (I used black soot) and stamp onto the Tiny Prints stamped background. Repeat to give a good layer of ink.
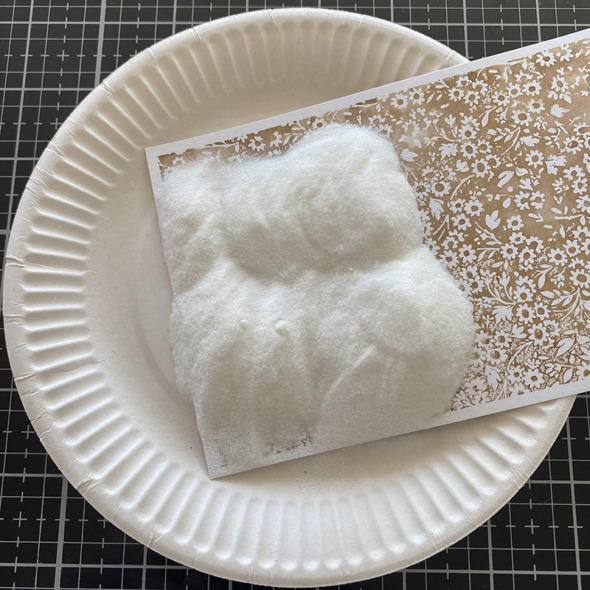
Distress archival ink dries fast, so immediately cover the stamped image with clear embossing powder, gently tap off excess powder and heat.
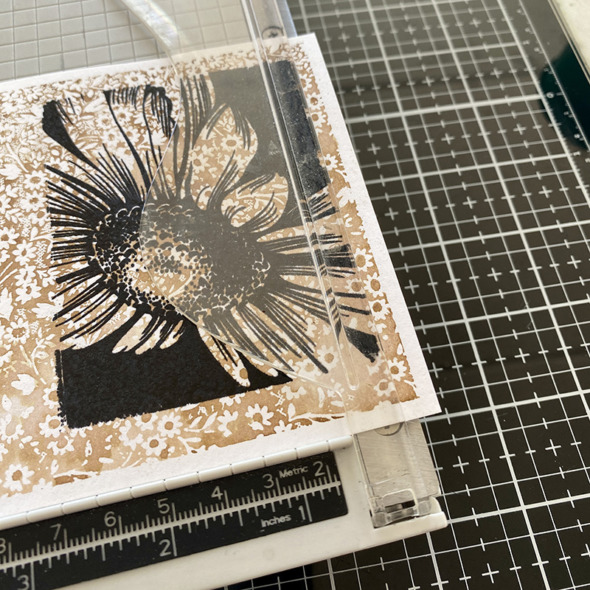
Using a paper trimmer, trim the stamped image to fit the front of the coin envelope (2.75 x 3.5 inches).
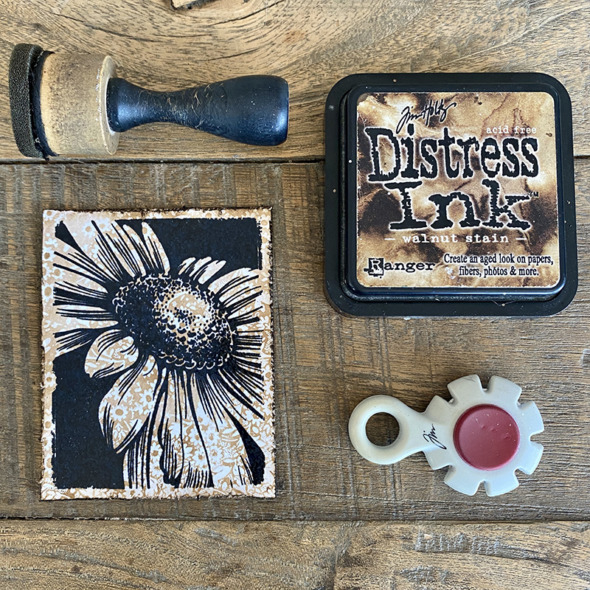
Use a paper distresser tool to distress the edges of the stamped image and add distress ink (I used walnut stain) with an ink blending tool.
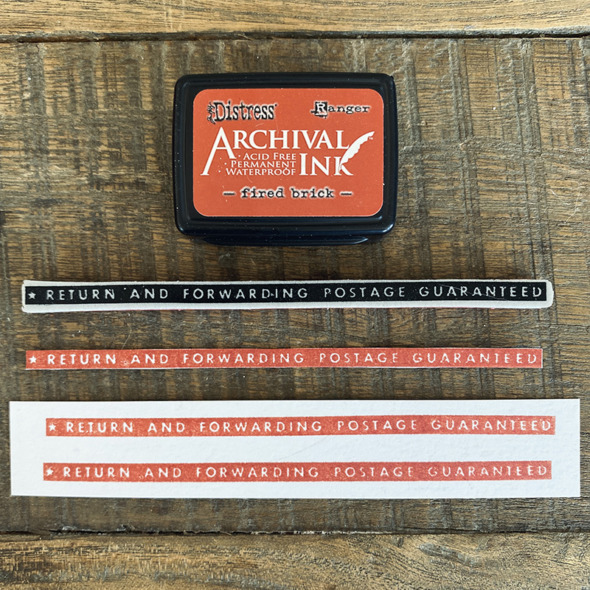
Stamp “return and forwarding postage…” from Eccentric stamp set with distress archival ink (I used fired brick) and fussy cut.
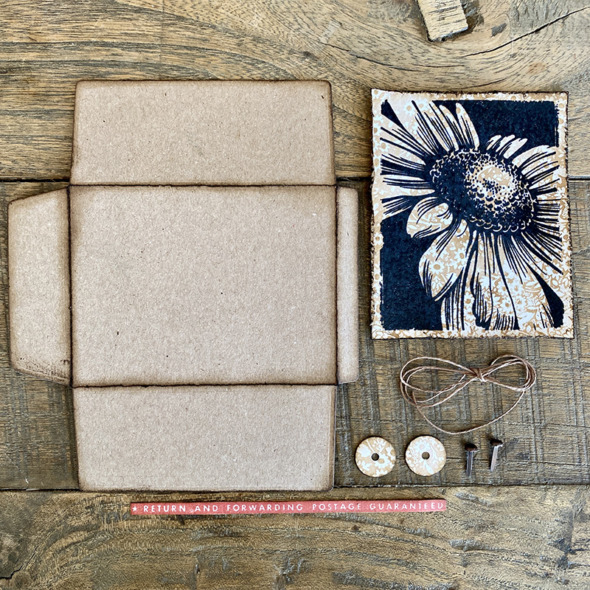
Die cut coin envelopes using the collector thinlits die set from distress kraftt heavystock. Assemble the envelopes using scor-tape and add the stamped images to the front.
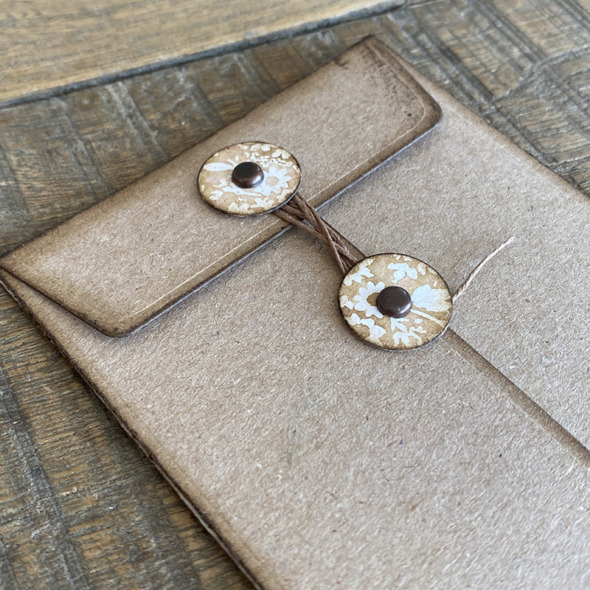
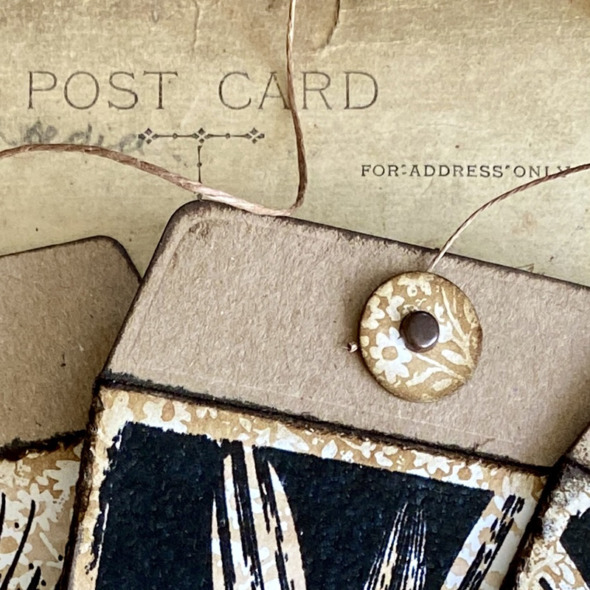
Use idea-ology long fasteners to attach the paper fasteners, die cut from the Tiny Prints stamped background with the collector thinlits die set and wrapped with twine to close.
Thanks for stopping by and let me know if you have any questions.
Zoe
…
affiliate links used at no cost to you


Thank you so much! Your a star 🌟
Love, love, LOVE these, Zoe~! What a great tutorial as well! Thank you!
Love these so much!
Alison x
Thank you so much for doing this; now I am going to have to buy the Tiny Prints!
Thanks, Zoe
Really love these!! Thank you for sharing with us!!! There are many of this new release that I would LOVE to have, but unfortunately have to be picky. These are on my list!!
Looks really sharp with the tiny flowers showing thru. Thanks for sharing with us 🇨🇦 Love your work Zoe 👏❤️
Thanks Zoe, I can’t wait to try this 🤗
Thank you for the tutorial love how this turned out!
Great tutorial my friend! Perfect for little notes or gift cards! I’m definitely going to make some!!!
These are Amazing!!!! I need this stamp set in my life!!!
Amazing! Thank you for this post! I’m going to make ATCs with your process. Thank you!
These are gorgeous stamped onto the background stamp!
Great techniques, so much to learn…