Hello friends I hope you’re doing well and loving the new 2023 idea-ology products. Whether you’re a colorful rainbow lover, or grunge lover (like me), there’s something for you. You can watch the LIVE replay and see the full product range and inspiration makes over on Tim Holtz blog.
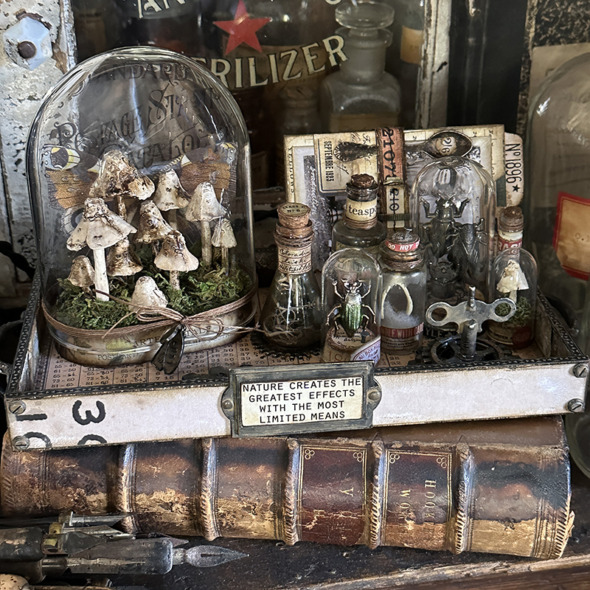
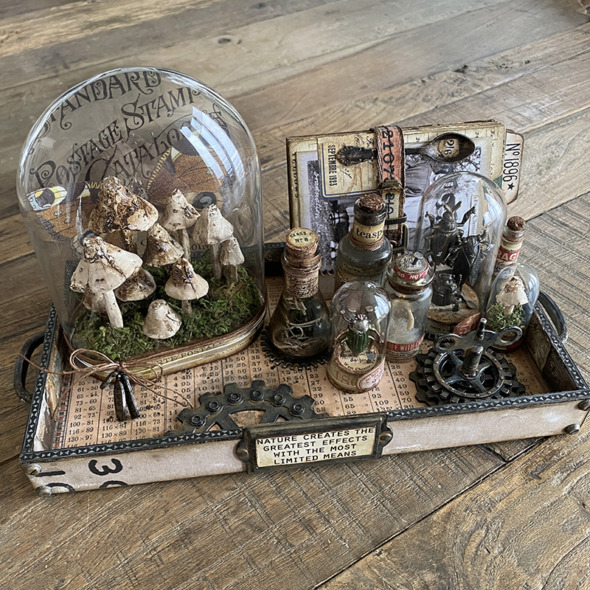
I was inspired to make with the new idea-ology Reliquary Dome from the moment Tim showed it to us. I love a good dome and having another, larger and differently shaped dome… well yes please. I decided to make something for me, to put in my apartment that would fit the vintage aesthetic. Let’s get into some of the details…
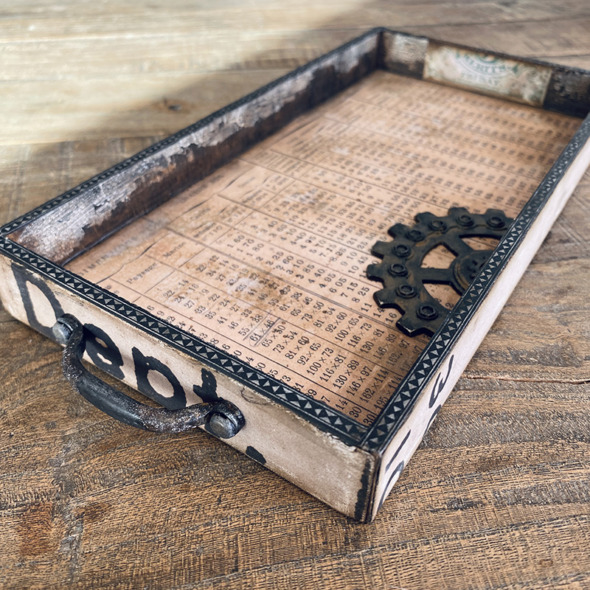
Taking a small vignette tray and covering the inside base and sides with papers from the idea-ology backdrops Volumes 4 and 5 paper packs. I used the new large fasteners to attach handles from the mini hardware pulls set to the sides of the vignette tray! Thanks to Paula Cheney for her creative “what about” input on the handles and making it into an actual tray!
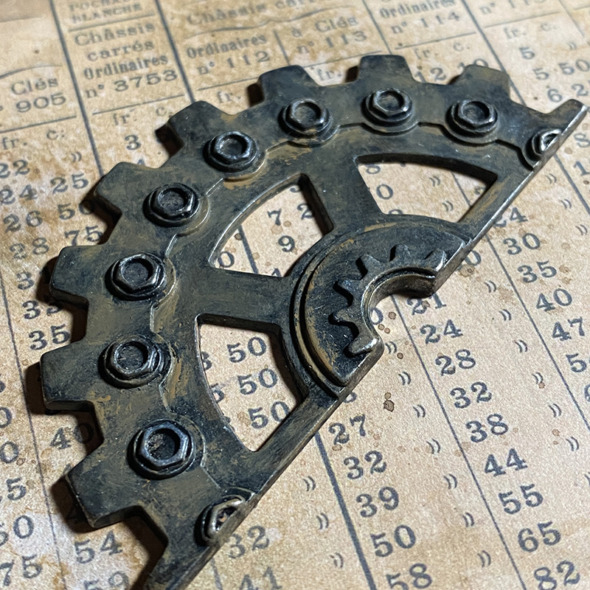
I love how detailed the idea-ology industrial gears are. I covered with layers of black soot and vintage photo distress paints to create an aged rusty look before adding to the base of the tray with distress collage medium. This is my “go to” glue which I used throughout this make.
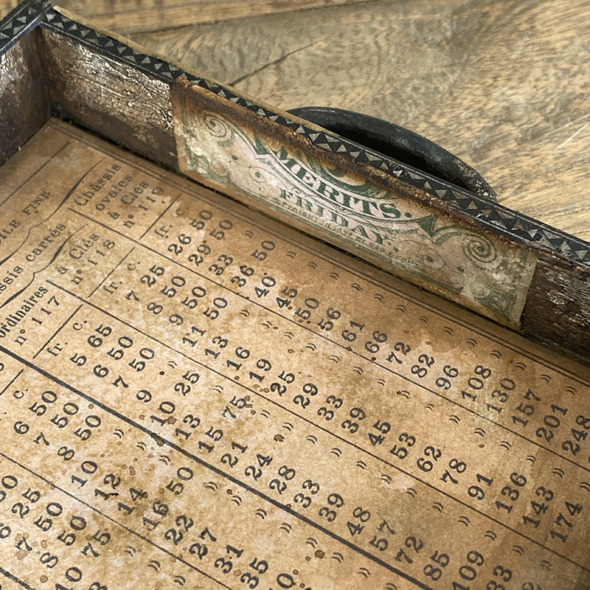
Next I added pieces of ephemera from the palette ephemera pack to the inside sides of the vignette tray and added distress crayon over dried distress opaque crackle paste. I added idea-ology trim design tape around the top edge of the vignette tray. I love this trim tape and how narrow it is, making it really easy to add to vignette trays and boxes.

The idea-ology line is perfect for telling a story and this piece of ephemera from the organic layers pack did just that. It’s on the back of the tray but I know it’s there and it makes me smile. If you know you know!
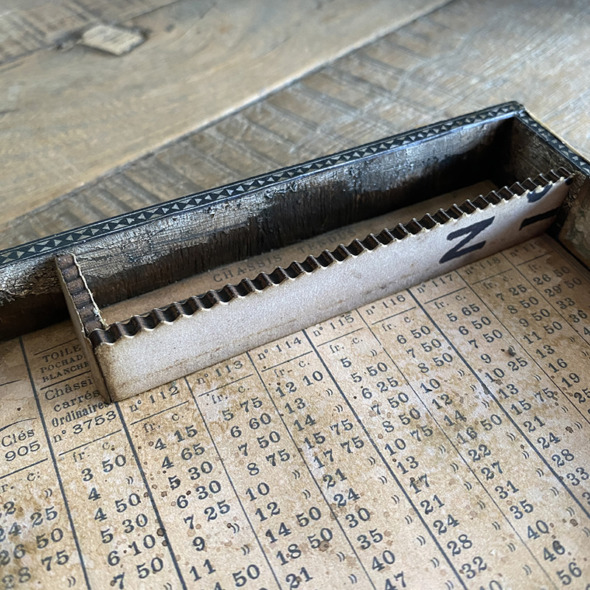
I used the etcetera thickboard trims to create a compartment for my file cards and matching decorative trims thinlits dies to cut backdrops papers to match the outside of the tray. I use my Tim Holtz scissors to cut the thickboard trims to size and love having the dies to match as it makes it so quick and easy to decorate. I glued into place with distress collage medium.
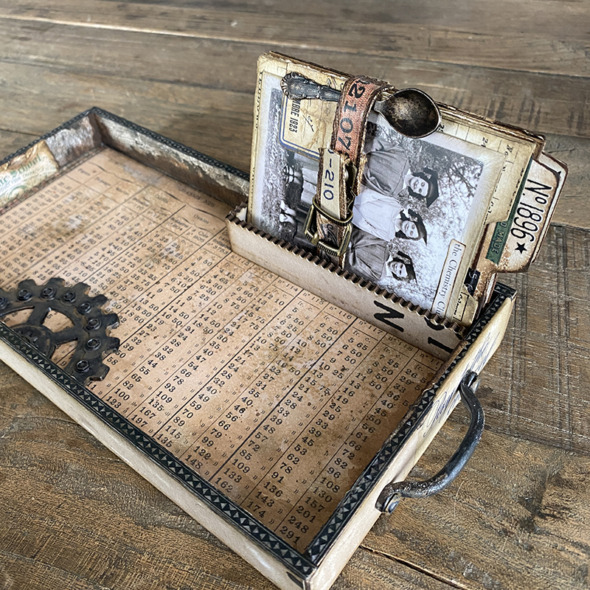
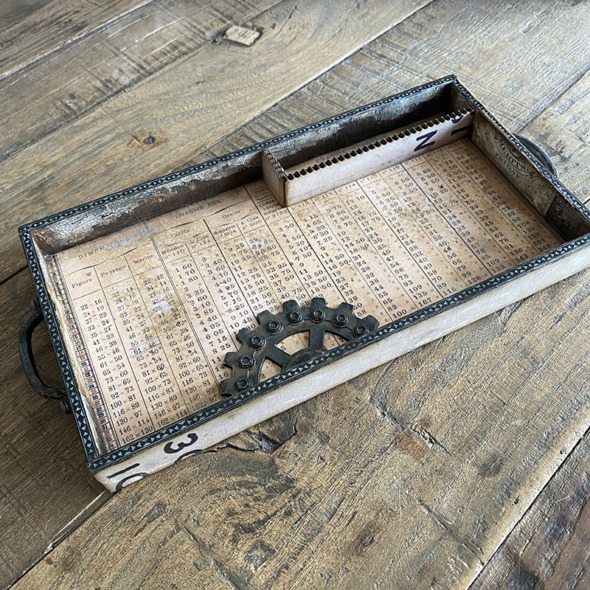
Look at that gorgeous backdrop paper! I added a few drops of ink splatter to it, but it’s plenty grunge-alicious with nothing added.
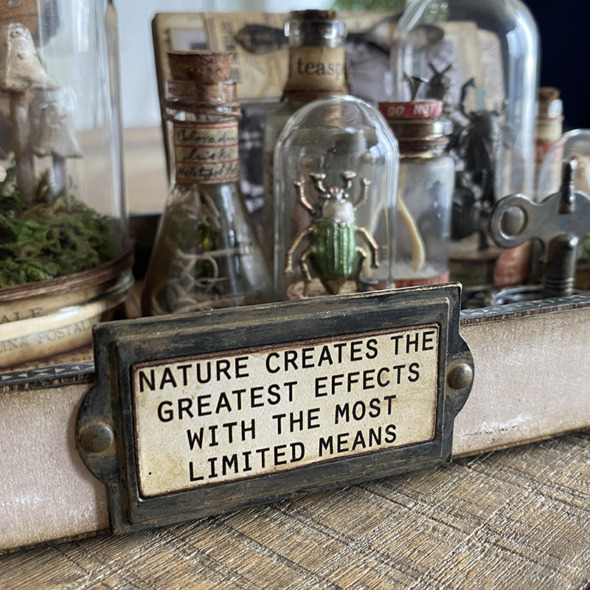
I love love love the new idea-ology quote chip labels designed to match perfectly with the idea-ology label frames. I added a little black soot and vintage photo distress paint to the label frame and sanded the quote chip edges and inked before adding to the front of the vignette tray with distress collage medium.
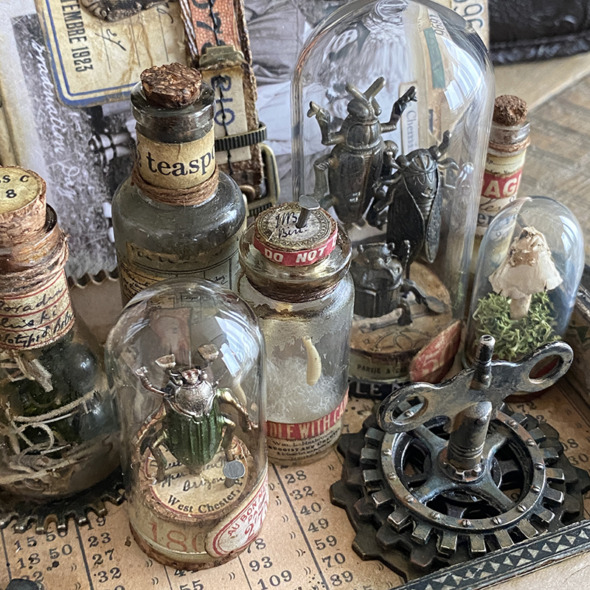
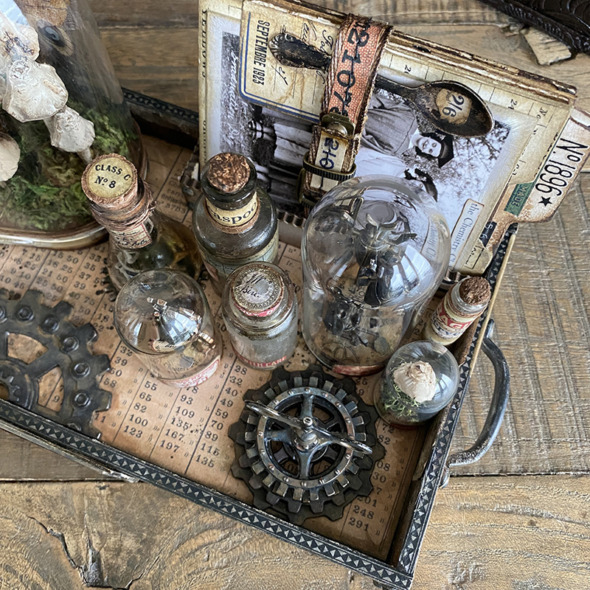
Next I turned my attention to the pieces going inside the tray… This is where you get to go to town and find things that fit inside the domes, bottles and test tubes. I sometimes find making a larger project overwhelming, so breaking it down into small bite size pieces really suits my maker style and it’s fun tinkering with each piece.
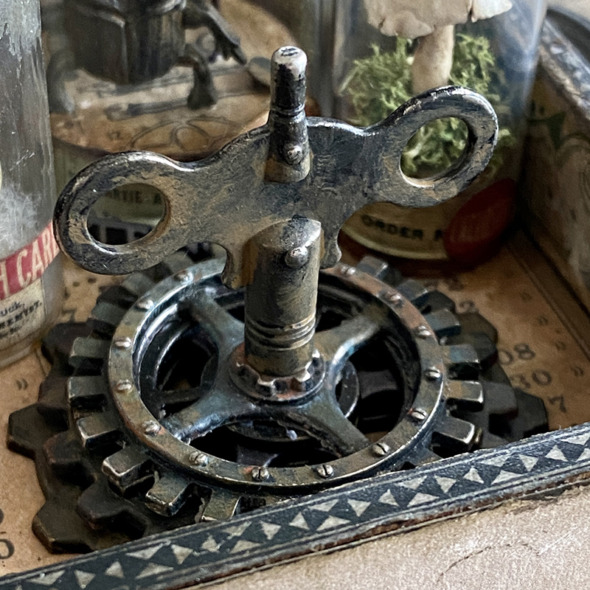
Starting with a stack of gears with a clock key on the top, I used distress collage medium to glue the gear stack together and the clock key was added using the tiny screw in the base, thread through the top gear. Again I used black soot and vintage photo distress paints to create a rust effect.
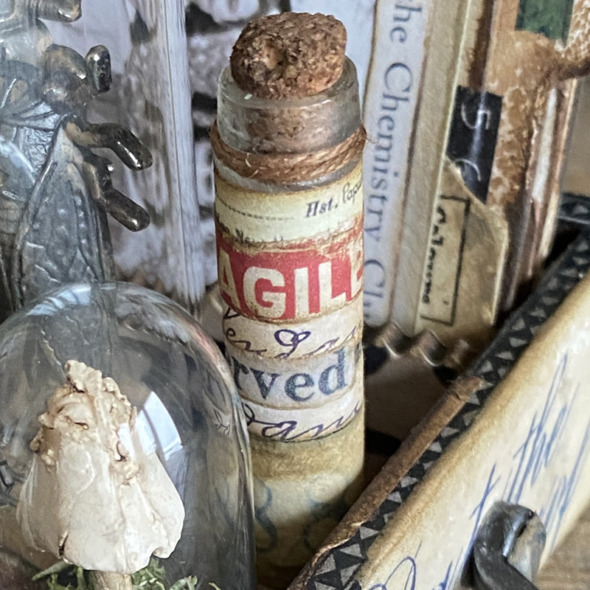
I wanted to create a bottle that looked like labels had been added on the top of others over the years. To do this I cut strips from the collage strips pack to decorate the side of a bottle from the corked vials set. Using the mini round blending tool with the sanding disk attached, gently sanded the cork and labels and inked.
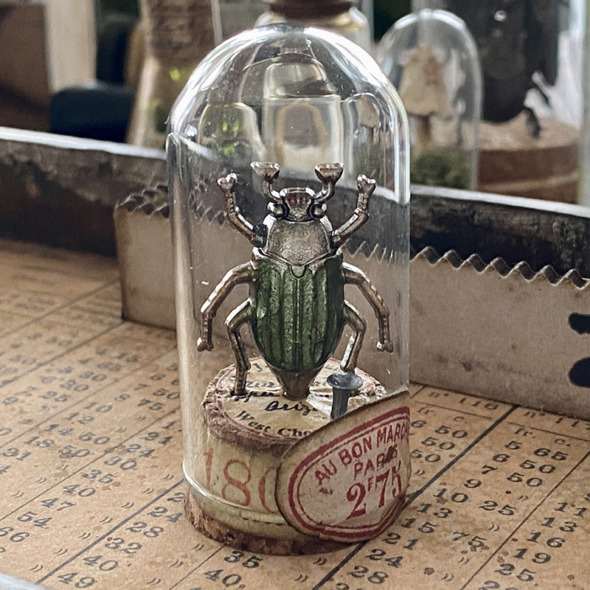
I love using ephemera to cover the cork in the domes. I added a bug from the entomology adornments set, covered in alcohol pearls. The bug is pushed into the cork and secured with a little drop of distress collage medium and I added a tack nail. Glue the dome into place and then add any outside ephemera using collage medium.
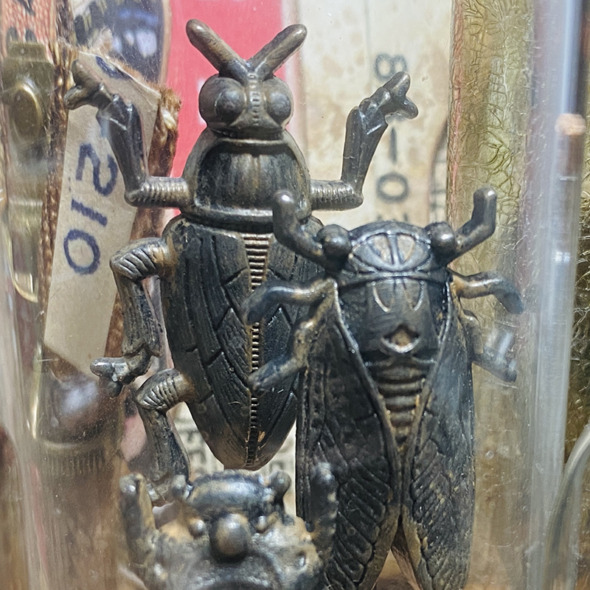
I used more of the bugs from the entomology adornments set inside a small display dome. I covered each in black soot and vintage photo distress paint for a rust effect to match the gears. I used memo pins to stand the bugs into the cork at different heights. Use a pair of pliers (tool box pliers not jewelry pliers) to squish the memo pin top and hot glue into the recess behind the bugs.
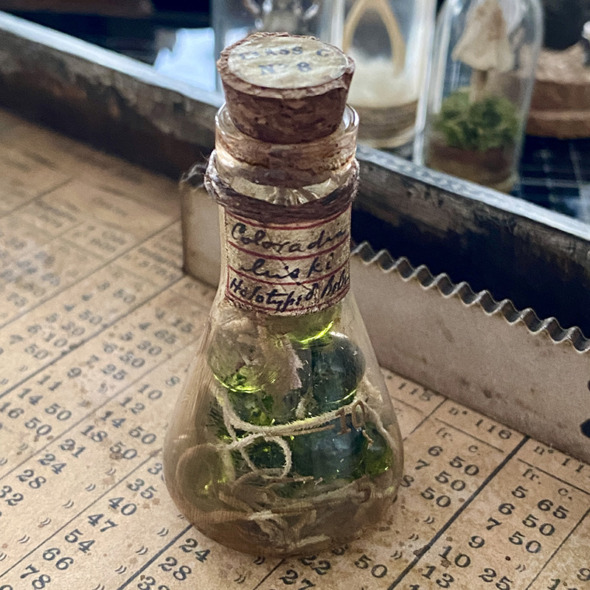
I covered a laboratory bottle with distress collage medium using a paintbrush and once dry, dry brushed distress paint over the top, wiping parts to create a more natural worn look. Next added idea-ology bubbles covered in alcohol ink that I hoarded from Halloween, along with some creepy string. I added pieces of ephemera to the bottle and cork that I rubbed with walnut stain distress crayon for a little grunge.
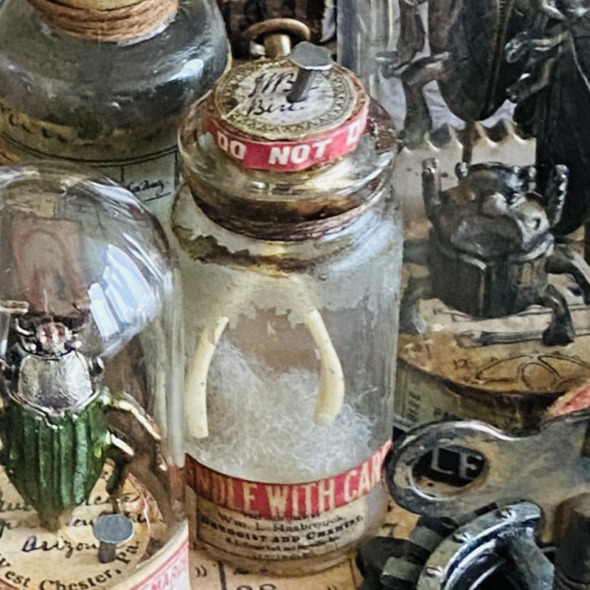
I cut more of the idea-ology collage strips to cover the cork of one of the jars from the idea-ology corked vials set. Adding a little collage medium and mushroom alcohol ink to make it grungy. I put some wadding inside the jar and squeezed in a wishbone that was attached to fishing wire and thread up through the cork so the wishbone is suspended in the jar. Finally adding some ephemera and pieces cut from the collage strips to create a label at the base of the jar so it doesn’t cover the contents. I pushed a tack nail into the top of the cork which had a piece of ephemera from the curator pack on top.
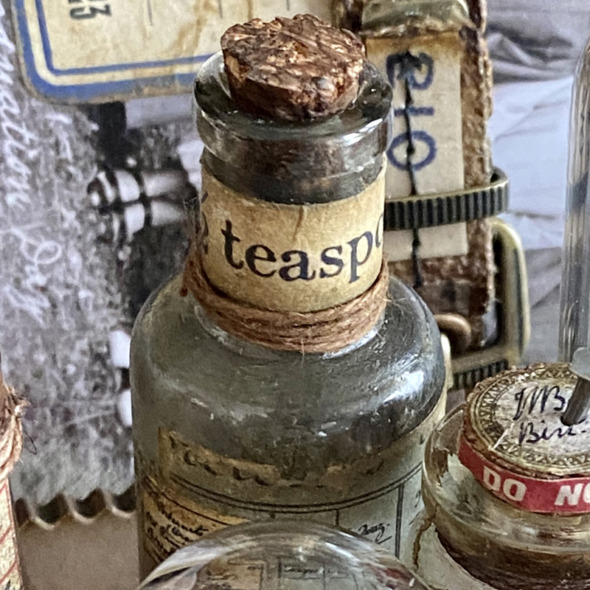
I added one more bottle from the corked vials set. Love how there are so many different pieces in this idea-ology pack enabling you to create lots of individual pieces. I used more palette ephemera from the new idea-ology pack and a small piece from the palette collage paper. Simply add with distress collage medium using a paint brush. I love that it becomes quite translucent against the glass.
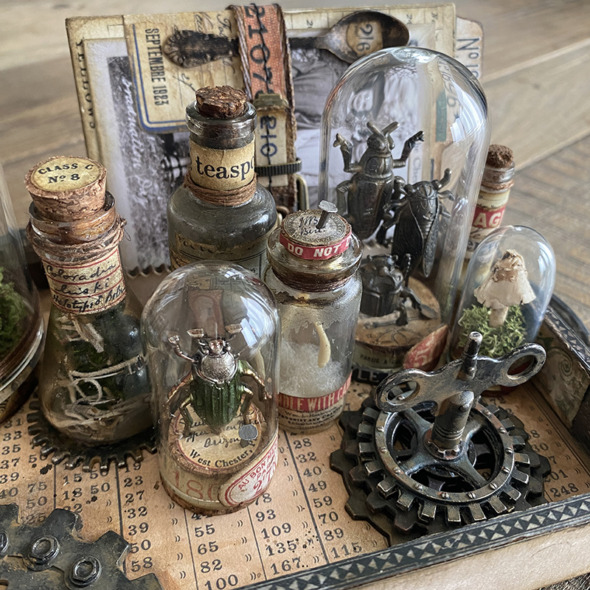
Glue each piece onto the tray using distress collage medium and WALK AWAY! LOL Allow time to cure before touching… or shipping! 😉
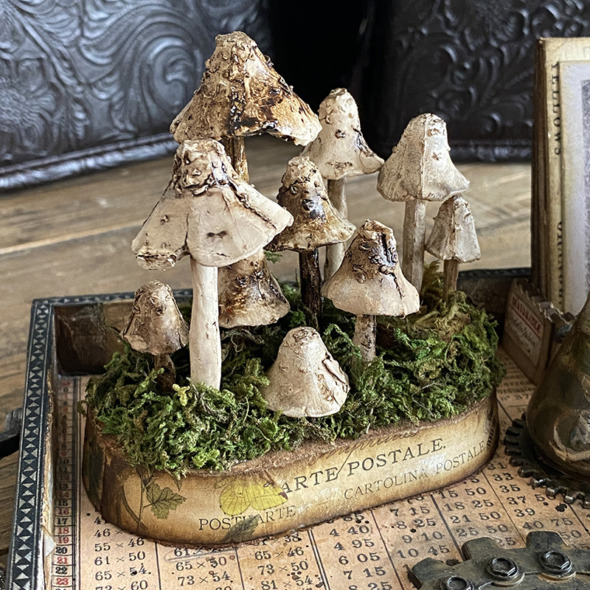
Look at how much space you get in the new idea-ology reliquary dome!! I trimmed pieces of ephemera from the palette ephemera pack and glued around the cork base. I added quite a few idea-ology toadstools, using my Tim Holtz scissors to cut some of the stems shorter to create the different heights. I used some spare pieces of cork and leftover woodland tree bases to make some of the larger toadstools taller. I used my Dremel tool to make holes in the cork and added a little hot glue and pushed each toadstool in. Adding more hot glue and pushing the moss into and over it. Finally adding a little distress crayon to the toadstool tops.
I recommend you wear safety glasses when trimming the toadstools and using a Dremel or other power tools.
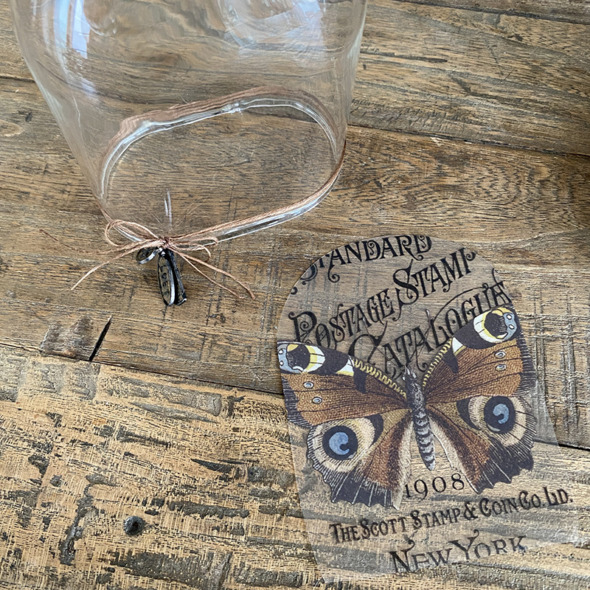
I trimmed one of the beautiful transparencies from the transparent layers pack to fit inside the dome behind the toadstools.
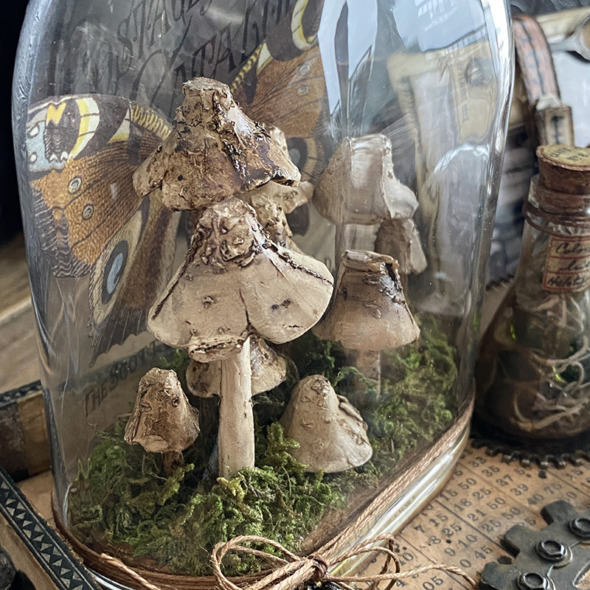
Slide the transparency into the back of the dome and carefully slide the glass over the toadstools onto the cork base.
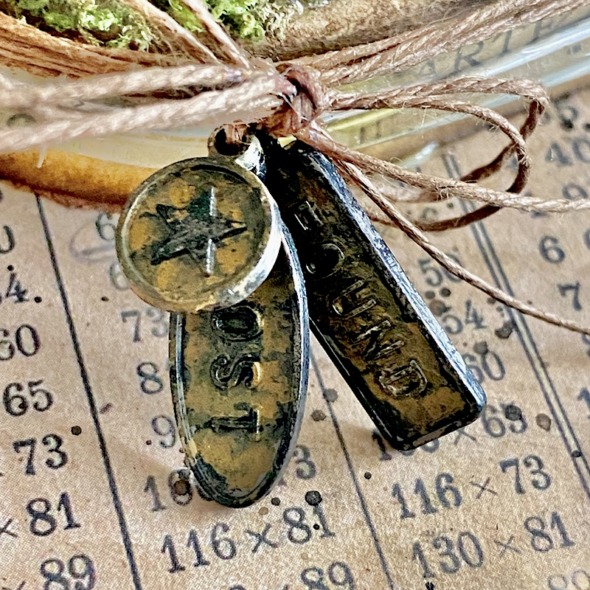
I added several of the adorable new idea-ology word tags to twine which was wrapped around the base of the reliquary dome glass. Painted with black soot and vintage photo distress paint. They look way more yellow in the photo than they actually are.
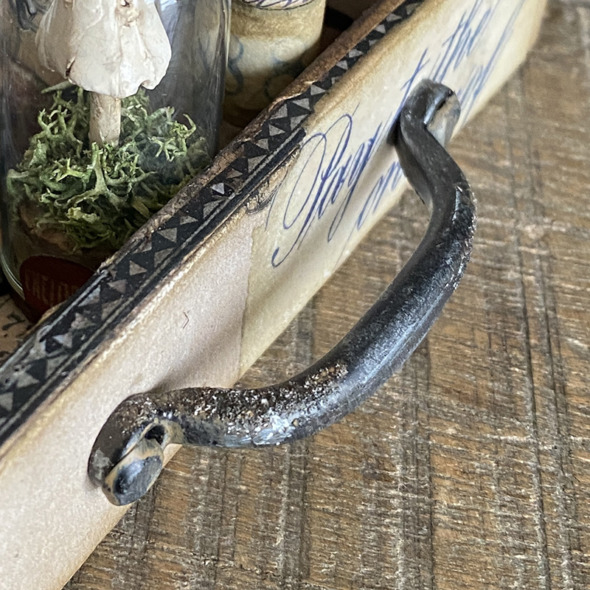
I added distress grit-paste to the handles and once dry, covered with distress paint. Using the AWESOME new texture hammer to give the new large fasteners a good bash. #MacGyverApproved
A big thank you to Tim, Mario and Paula for their encouragement, creative support and shipping wizardry and to you for the kind comments left for all the makers during the LIVE and on social media.
Thanks for stopping by and let me know if you have any questions.
Zoe
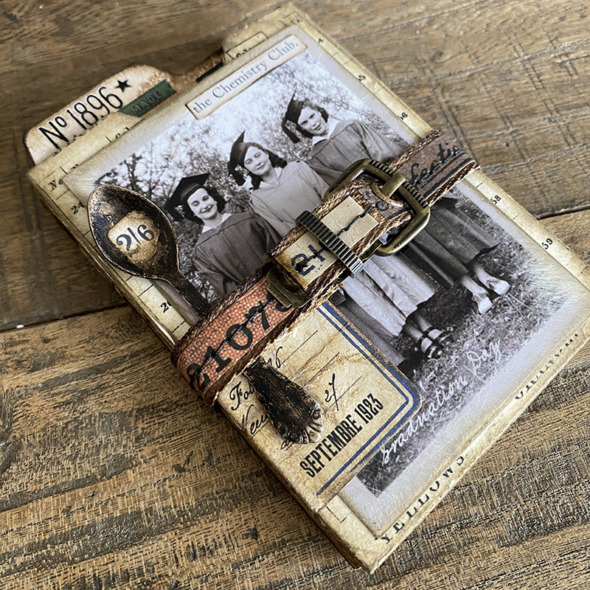
Join me on my blog tomorrow(ish) to see details of the file cards.
…
affiliate links used at no cost to you


A beautiful piece of art Zoe!! Love every detail, especially how you placed all of the toadstools in the dome🤗
It’s your usual fabulousness Zoe! Thank you for sharing your details with us!
Dolly
This is just so cool I can only imagine how fantastic this looks in real life! AWESOME make.
Thank you so much for sharing.
Love this make and especially the beautiful transparency in your new reliquary dome! Fantastic make!!!
Absolutely fantastic. You are so talented!
Absolutely enthralled and mesmerized by your fabulous make!!! Thank you for your continued amazing inspiration Craft on!
That is amazing! You always have wonderful ideas!
Insane Zoe, just amazing!! Your imagination station is truly outstanding!
I just love this make <3 Thank you for all the explanation of the details. Newby with Idea-ology makes and no autodidact or blessed with a "what if brain" this will help me get over my fear to use the Idea-ology I collected so far (although it looks very pretty in their storage all by themself). Think I'm gonna give this make a try 🙂
Well, you’ve done it again. This is too fabulous for words. Thanks for inspiring me once more. There are so many ideas in this make that I’m going to save it to enjoy over and over. My creative juices are flowing and I’m off to the studio. Thank you!!
Love this!
AMAZING! SO many things to look at! Great job!
What a feast for the eyes!! So much detail. Inspiring & fun!
Absolutely fantastical! Love your artwork 🥰🎉 all the little details are so amazing! Thank you for sharing Zoe ❤️🌎
Amazing, love all the different “works of art”, each in their own right. But, when you put it all together…BAM!!! Can hardly wait to see the post on the file cards…
[…] friends, hope your week is off to a great start. In my last post I shared my science experiment tray and today I’m sharing the idea-ology file cards that were part of that make. You can see the […]
Total cost?