Hello friends. Without delay, I’m back with part 3 of my witches potting shed! Halloween products are one and done each season, so grab what you need to last you and check out incredible makes over on Tim’s blog.
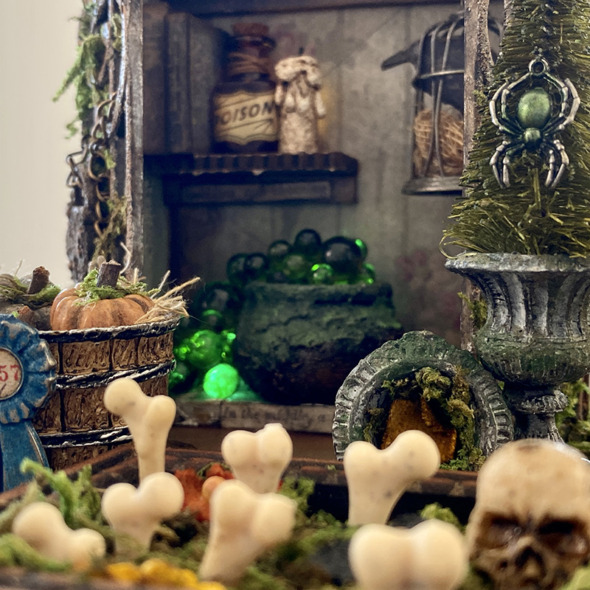
Today I’m sharing part 3 of the witches potting shed made for the LIVE launch. You can see the introduction and close ups in my first post. Let’s get into the details…
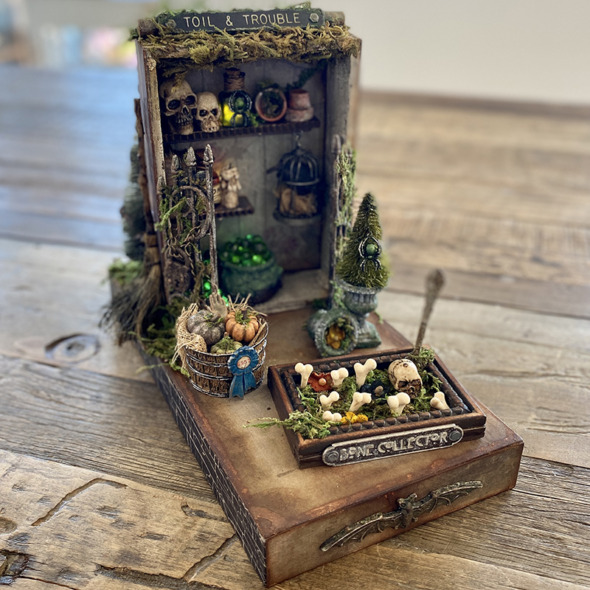
BONE GARDEN, BARREL + URNS
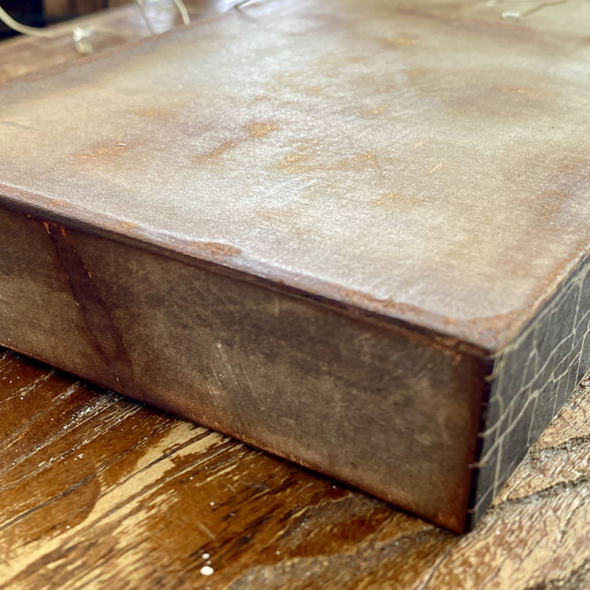
In Part 1 I talked through preparing the vignette tray.
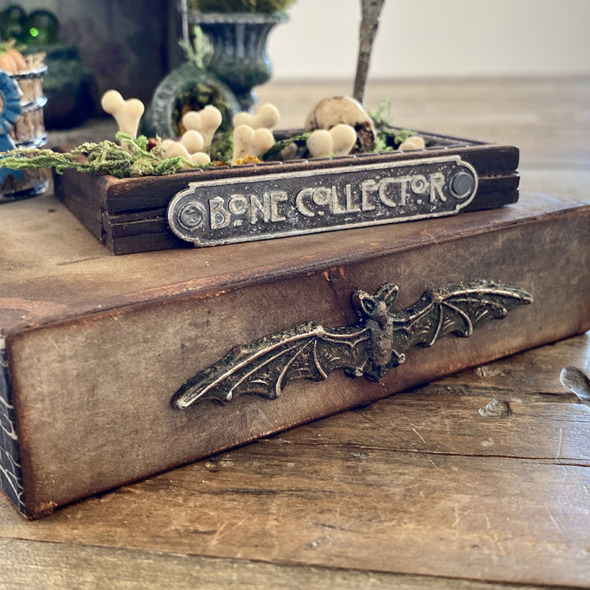
I adorned the front of the vignette tray with a bat from the halloween adornments set.
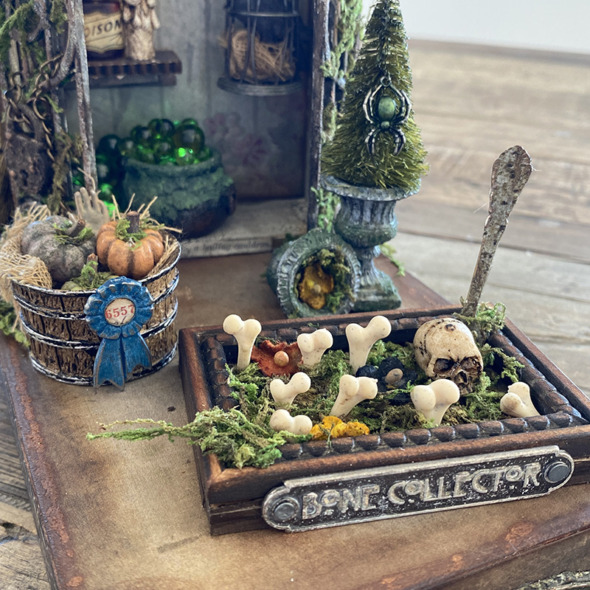
Time to assemble the individual pieces for your garden, starting with the bone garden…
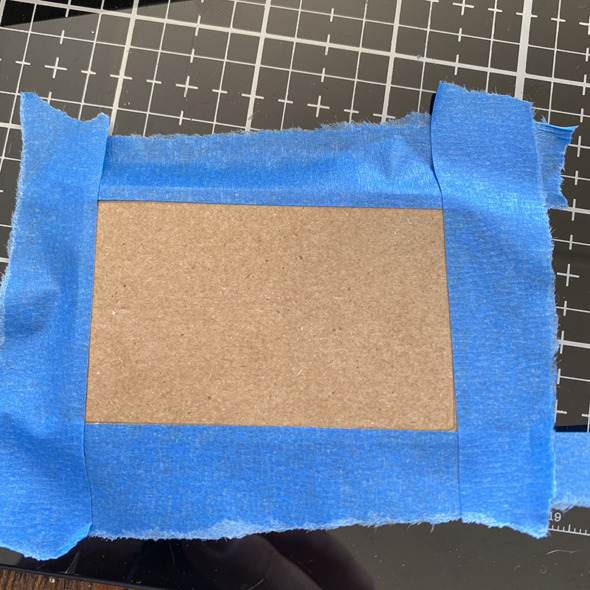
Tape off the area where the vignette frame will sit to keep the paste and moss off.
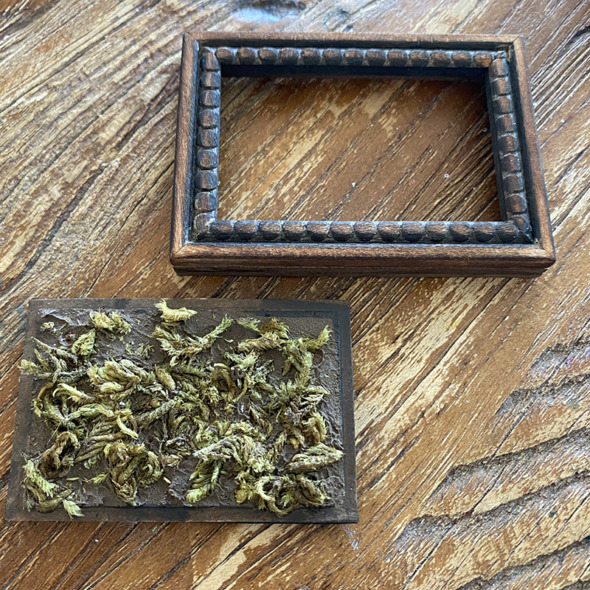
Add distress grit-paste to the piece of cardstock and once dry remove tape. Paint the surface with distress paint to simulate soil and once dry, add moss with distress collage medium.
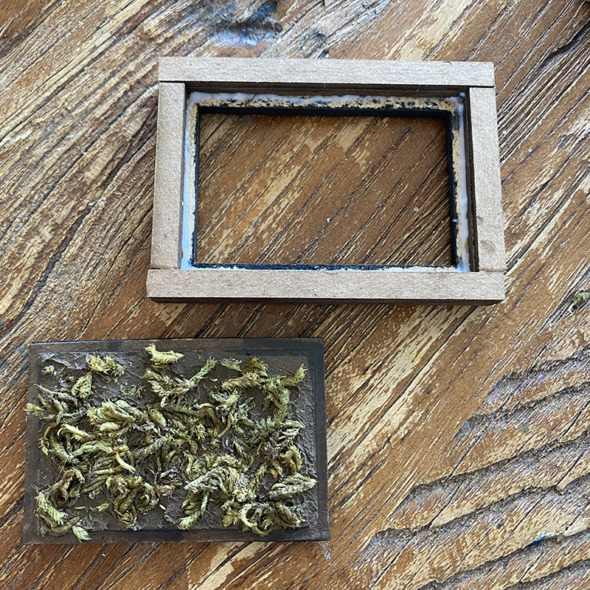
Add etcetera trims from the halloween set to the underside of the vignette frame to make it deeper. Glue to the cardstock base with distress collage medium.
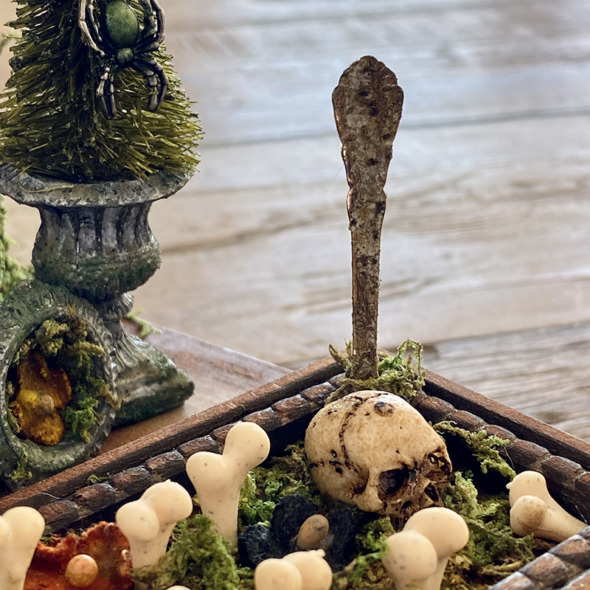
Grunge up a fork from the idea-ology silverware set and glue into the plant bed with distress collage medium.
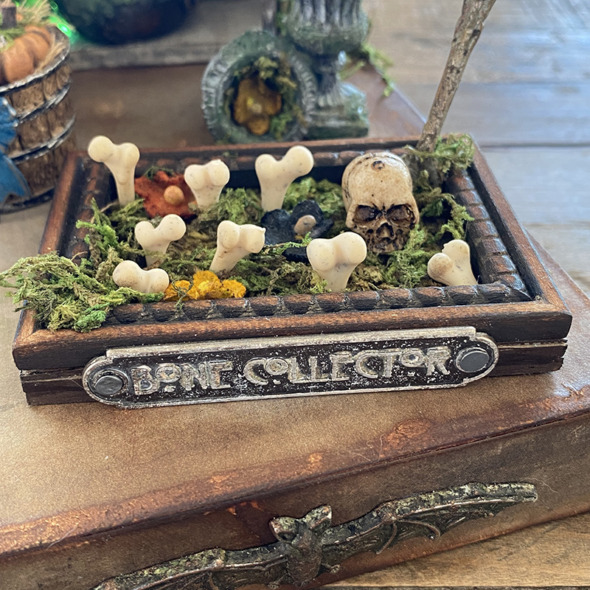
Add bones from the boneyard pack, skulls and bouquet flowers to the plant bed with extra moss. Using nails from the vignette hardware set to add a halloween word plaque covered with picket fence distress crayon.
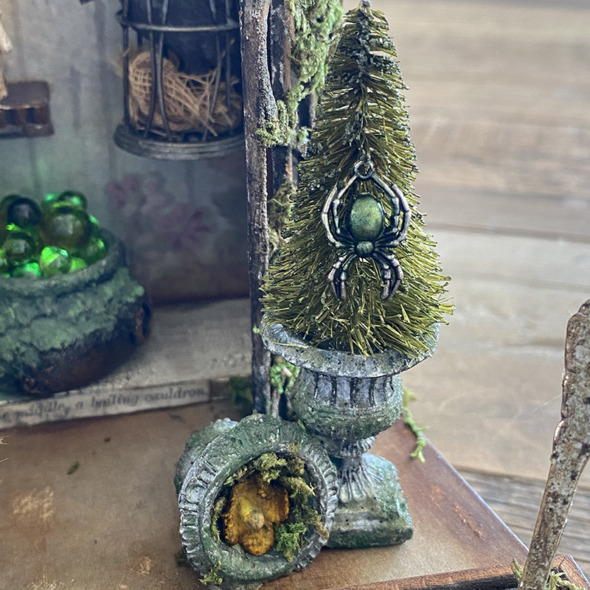
Spray a medium idea-ology woodland tree with distress spray and once dry, add to an idea-0logy urn grunged up with distress paint and distress crypt-paste. I added a spider from the halloween adornments set to the tree.
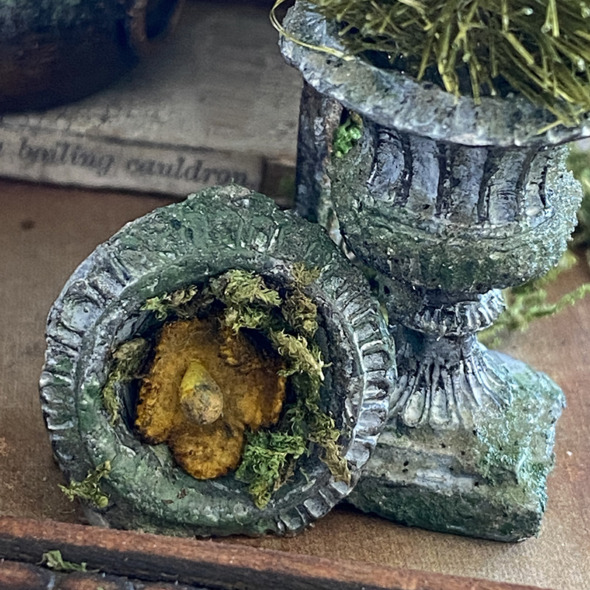
One of my urns arrived broken so I went with it and used the broken one on it’s side with moss and a flower from idea-ology glued in.
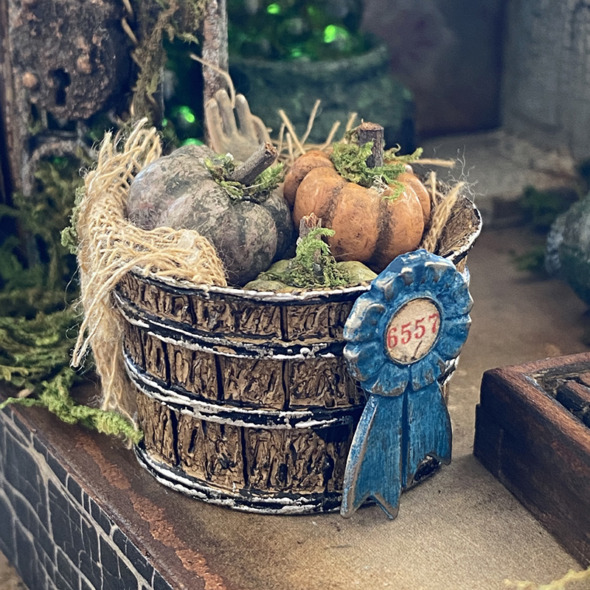
I have been obsessed with these idea-ology barrels since Tim showed a ruler with barrels with different things in them. I added mummy cloth that I dyed with distress spray and idea-ology pumpkins.
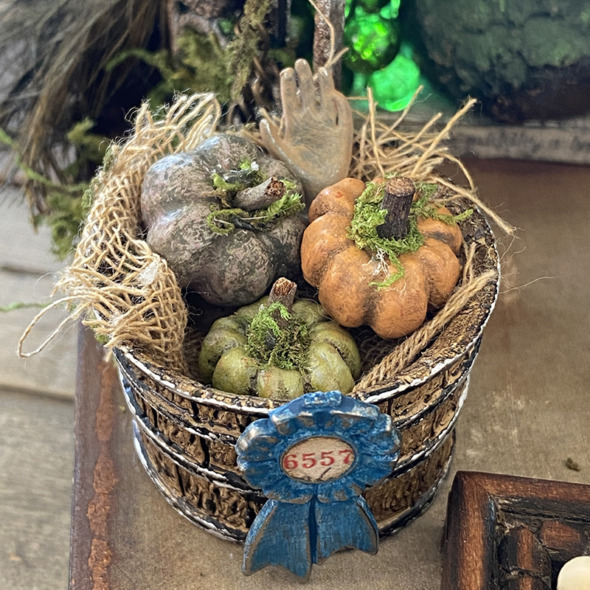
The pumpkins were painted with distress paint, with distress crayon painted down the creases and moss and a stick hot glued into the center of the pumpkin. Stacy Hutchinson shared a tutorial on her instagram stories a few years ago. For extra creep I added a hand from the milagros adornments set. I painted it with antique linen distress paint and glued it into the barrel.
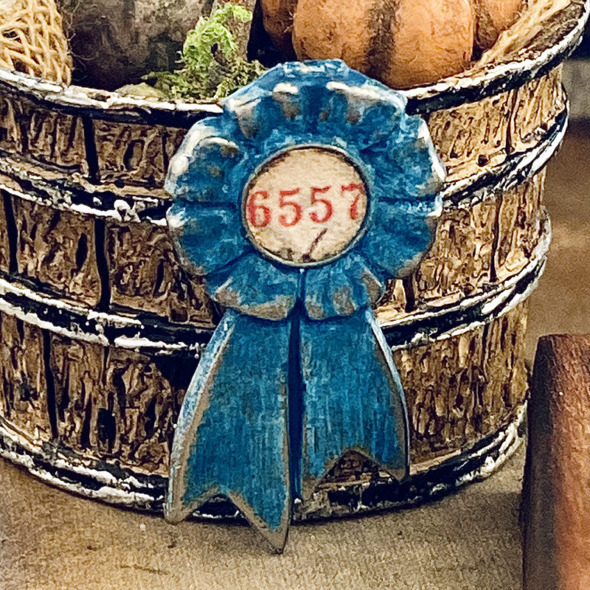
They’re prize winning pumpkins so I added a prize ribbon, covered with distress paint with a piece of ephemera cut to size and added to the center.
Thanks for stopping by, I hope you found this post helpful and it has inspired you to make. Let me know if you have any questions.
Back soon with the final installment in the witches potting shed…
Part 4 – Back Garden, Bat Tree, Tombstone + Broomstick
Zoe
…
affiliate links used at no cost to you


wow! This is just as fantastic as the previous parts! You are so very creative! How I find myself eagerly awaiting your Halloween makes as they are my favorite and you are one of my all time favorite mixed media artists! Thankyou for sharing! Happy Holidays to you and yours!
OMGeezers…the hand in the barrel is epic….so love that! I saw that part 4 is ready, so see you there…