Hello friends, hope you’re doing well! I had the best of intentions to get these posts finished before Halloween, but alas, December arrived! I make for the dark side all year though and there’s nothing to stop you adapting any of the things I share to any season, so grab your broomsticks witches and let’s continue this flight…
Remember that the seasonal products are one and done for the season so grab anything you need to last you. To see all the incredible makes, head over to Tim’s blog for the LIVE replay.
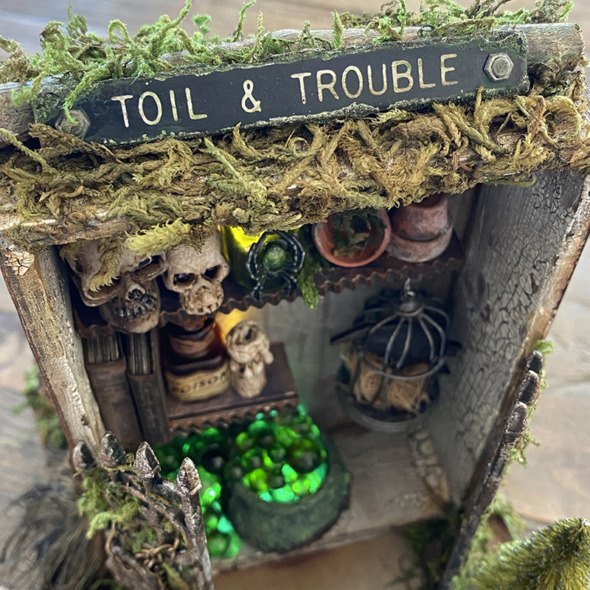
Today I’m sharing part 2 of the witches potting shed made for the LIVE launch. You can see the introduction and close ups in my first post. Let’s get into the details…
POTTING SHED, CAULDRON + GATES
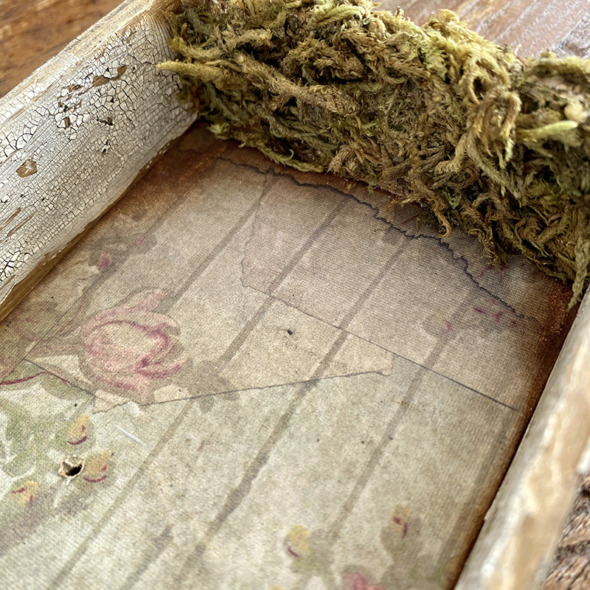
In Part 1 I talked through preparing the vignette box.
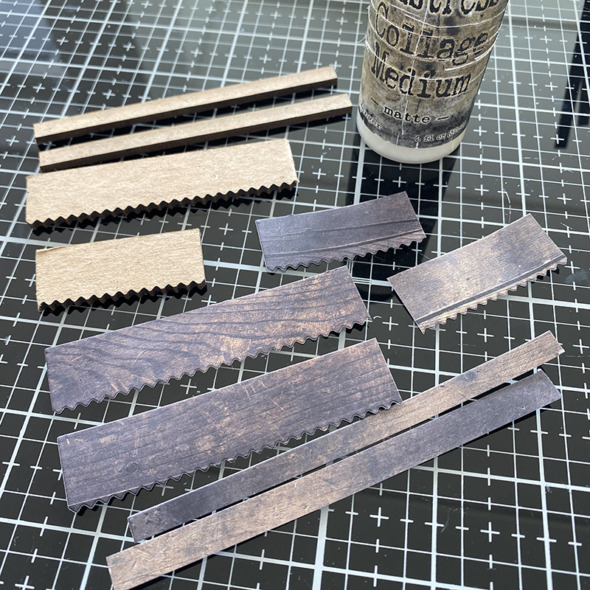
To create the shelves for the potting shed, cut pieces from the idea-ology Halloween backdrops with the decorative trims thinlits die. These dies perfectly fit the etcetera thickboard trims, I used scalloped edged with the corresponding dies. Use distress collage medium to glue the die cuts to the thickboard trims.
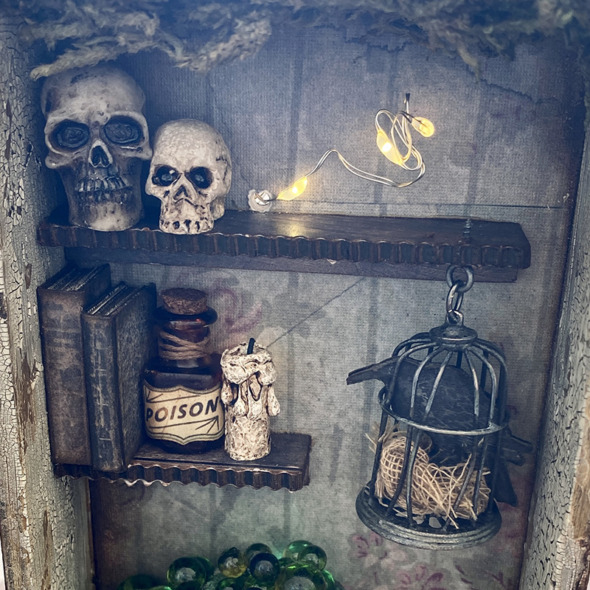
Thread tiny lights into the vignette box through holes drilled in Part 1. I simply glued the lights behind where the bottle would sit so it lit up the bottle, (see next photo).
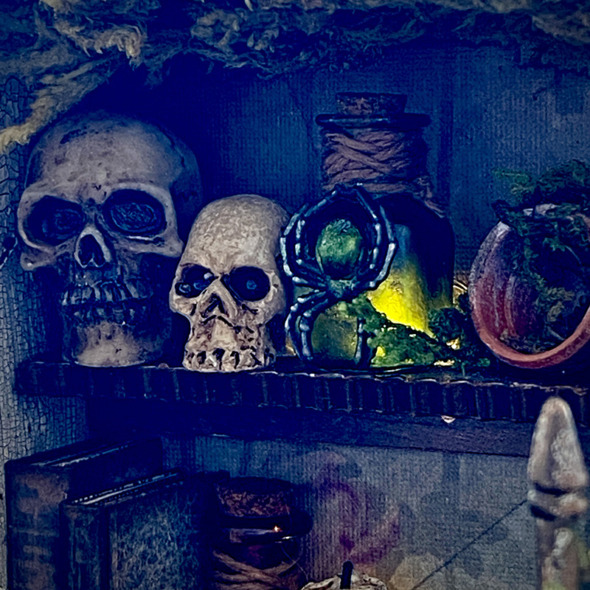
Cover an idea-ology tiny vial with alcohol ink, I added a spider from the idea-ology Halloween Adornments pack. Cover the spiders back with a drop of envy alcohol pearls ink and tie it to the bottle with twine. The tiny lights glued behind the bottle give it a creepy glow. I added a little moss with distress collage medium to hide the wires.
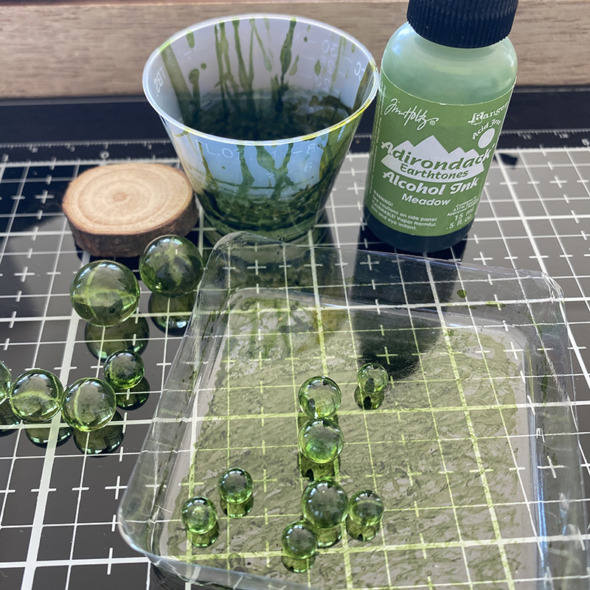
Using meadow alcohol ink to dye the idea-ology bubbles, I swirled them in a cup and used the packaging they came in as a “bubble drying station!”
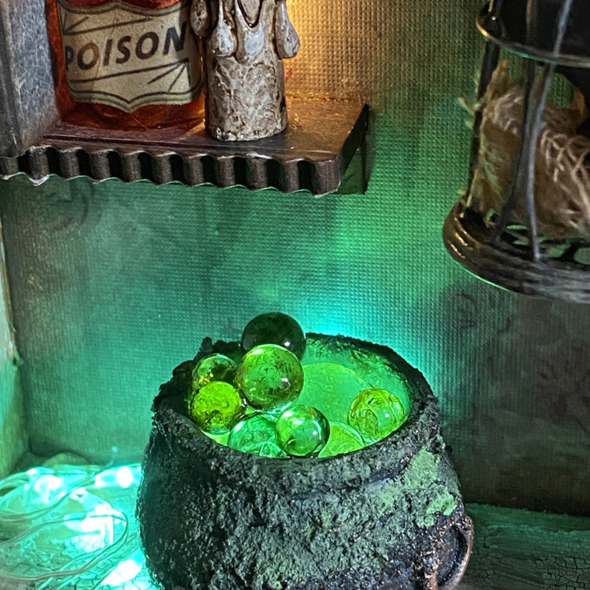
Thread a set of Halloween tiny lights in green up into the vignette box and through the back of the cauldron. I use a Dremel Micro tool to make the holes and don’t forget to wear your safety glasses for drilling. Glue the tiny lights into the bottom of the cauldron and add one large bubbles and then begin adding more bubbles. I use glossy accents to attach them as it dries clear. You need a little patience with this as the glossy accents take a little while to dry, but worth it.
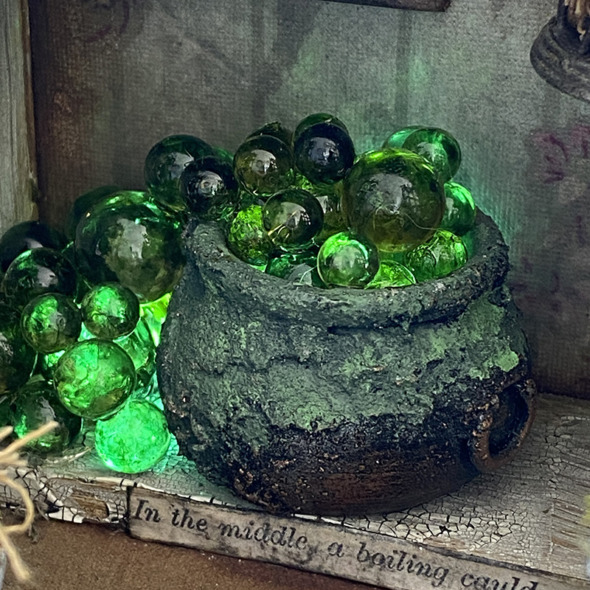
Add distress crypt-paste to the edges of the cauldron. Once dry I painted with black soot and then added peeled paint distress paint to highlight, allowing it to dry between layers. I added a sticker from the idea-ology curiosities sticker book.
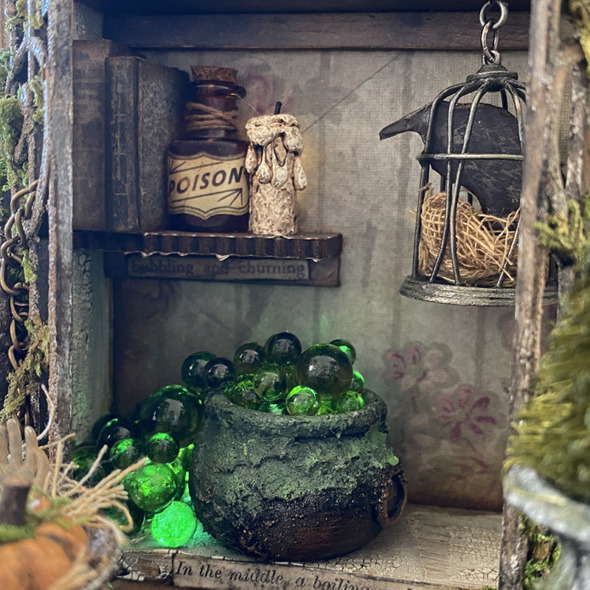
I added another sticker from the curiosities sticker book under the shelf above the cauldron. These curiosities stickers help tell the story.
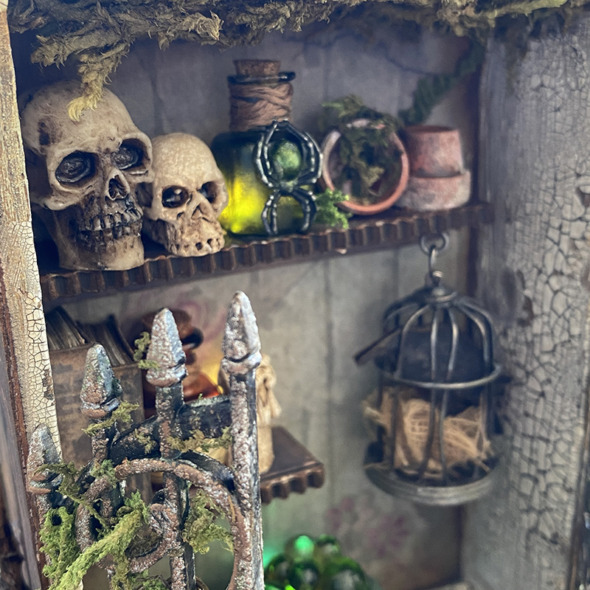
I love having new larger skulls in the idea-ology Halloween line. I wanted to show the size comparison so used this years and last years together. I LOVE how creepy and dark the 2022 skulls are!
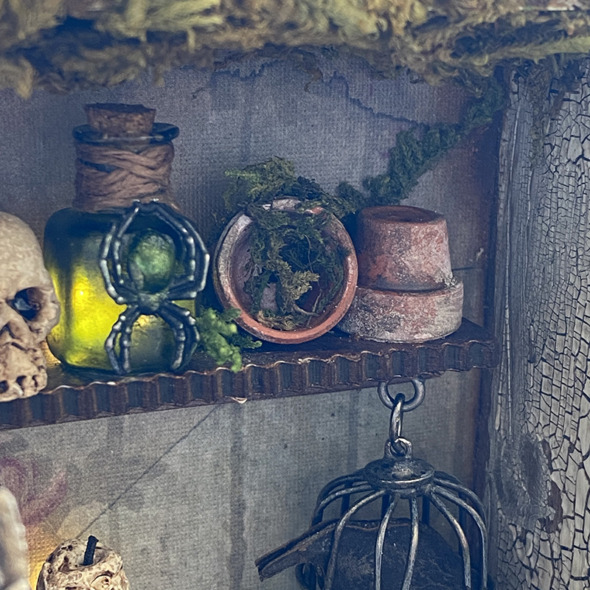
Every potting shed needs pots, so I added a couple of tiny terracotta pots. They are real terracotta, I bought them from Switzerland 10 years ago. I’m sure you can get similar from hobby stores and if not, maybe we could ask Tim, “wouldn’t it be cool if…” 😉
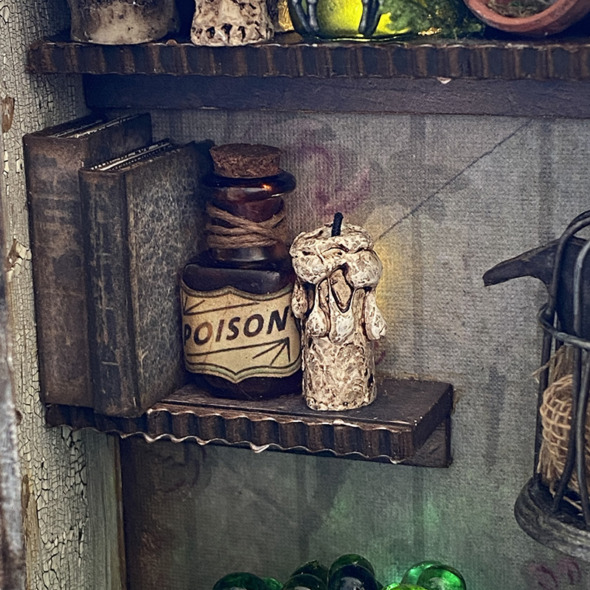
On another shelf I added a couple of books made using the book covers from the Halloween ephemera pack. I added another bottle, this time dyed brown, with a label from the same ephemera pack. The drippy candle is back lit by a clear tiny light from the same set as the onea sitting behind the green spider bottle.
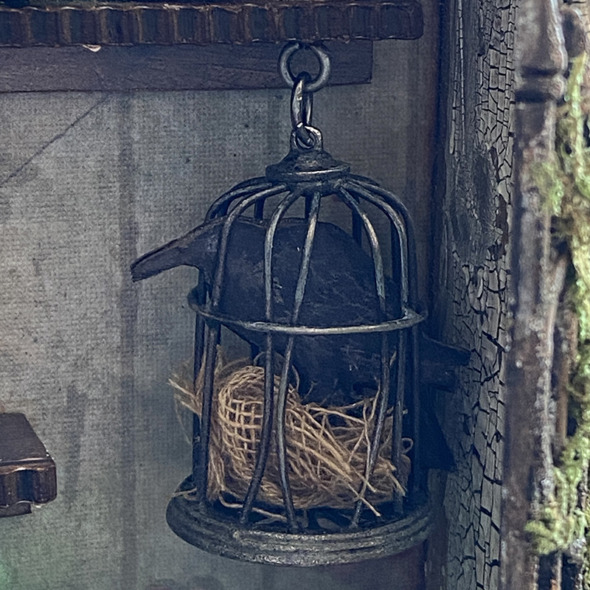
Using a piece from the vignette hardware pack, I hung a birdcage. I used pliers to bend the cage bars and added a piece of mummy cloth to the bottom and a crow made using the Halloween ephemera. Glue 2 crows either side of a piece of fun foam and fussy cut.
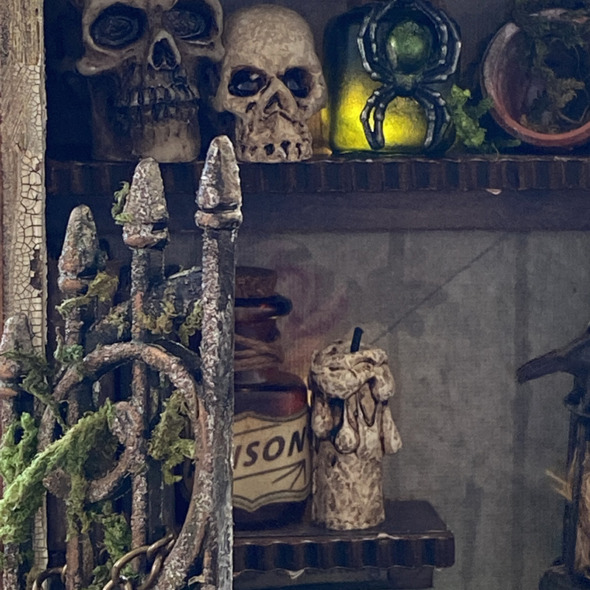
I added gates to either side of the potting shed using distress collage medium to attach to the edges of the vignette box. Adding distress grit paste to the gates with my finger and once dry, dry brushed black soot distress paint over the top. Once dry, I used bronze Gilders Wax to highlight.
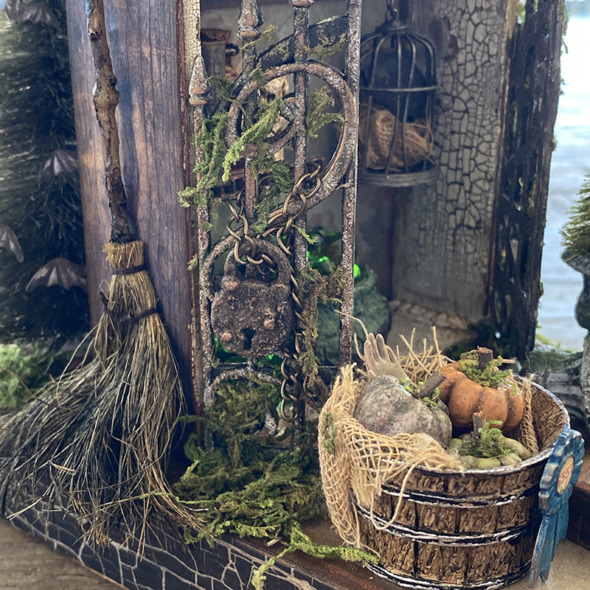
Finally I wrapped a chain around the gates and added a lock from the locks and keys set. I rubbed distress collage medium onto the gates with my fingers and then added moss and left to dry.
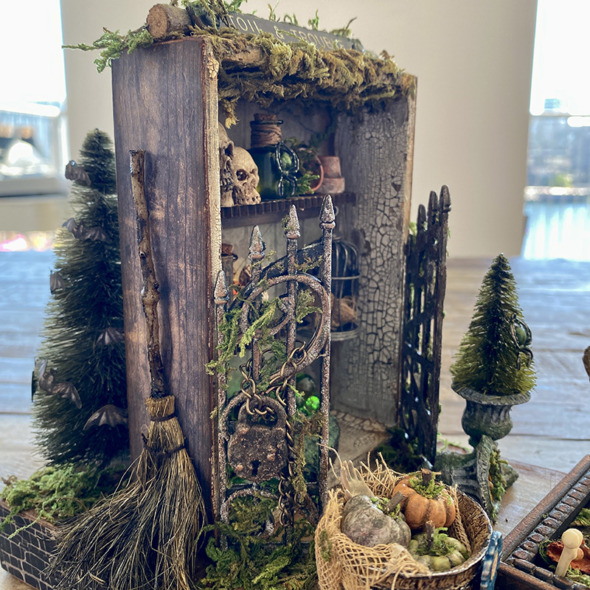
Thanks for stopping by, I hope you found this post helpful and it has inspired you to make. Let me know if you have any questions.
Back soon with the next installment in the witches potting shed…
Part 3 – Bone Garden, Barrel + Urns
Zoe
…
affiliate links used at no cost to you


This is just so fantastic! LOVE it!
You are so creative; be fun to watch you put it all together – fascinating! Beautiful every post!
Heck, Yea’ll, I will make whatever project I have time for as long as I have everything. Doesn’t matter to me what season it is…LOL. I need to go back to part one and visit it again, then come back to the future to read this one once more, then on to three…..
thanks for putting up part 2. now I can finish this after Christmas. it is always halloween and Christmas making season. thanks as always for sharing and all the inspiration.
This is so creative! I just love it! Thank you!
Amazing!!! Loving all the greenish grungy goodness boiling out of that cauldron!!
This is AMAZING…the details. I particularly like the cauldron treatment…so knarly! And, of course, the glowing green bubbles. Creatively creepy with a sense of humor. Thank you for all the inspiration! Love, love, love your work!