Hello Friends, I hope you’re having a great week! Did you see the awesome Tim Holtz Halloween Stamp launch on Saturday? Oh my pumpkins it was so much fun and the maker inspiration was incredible! Tim did an awesome demo using the moon masks and mica sprays and watch to the end to see Mario’s costume! Replay and maker inspiration over on Tim’s blog.
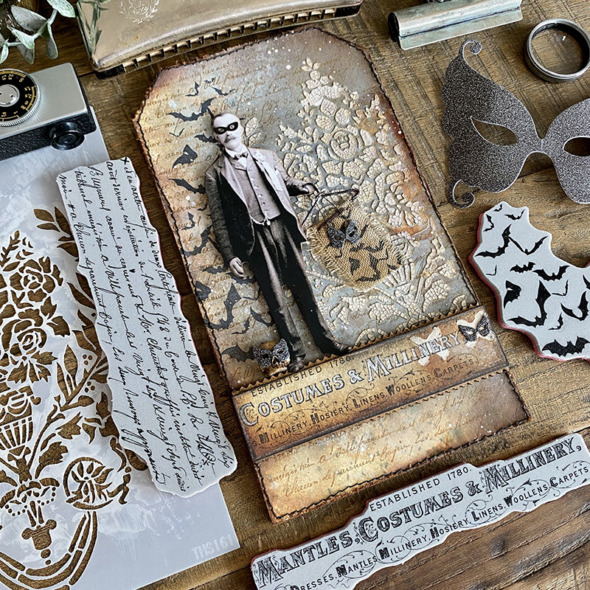
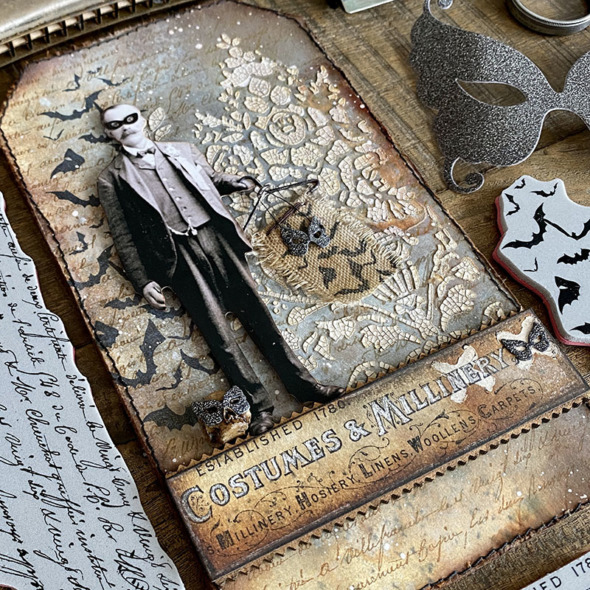
Speaking of costumes… I loved one of the stamps so much that I created one of my makes around it. The “Costumes and Millinery” signage stamp from the aptly named Exquisite CMS453 stamp set was where I began…
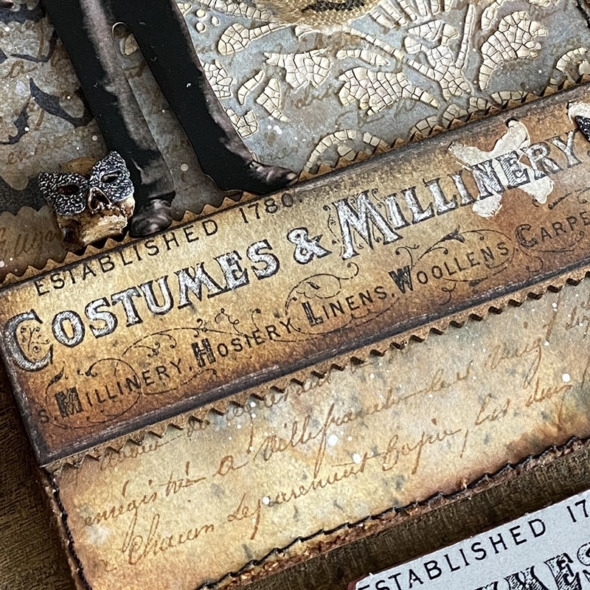
I stamped onto the smooth side of a piece of distress watercolor cardstock with black soot archival ink and blended in gathered twigs distress ink. I used a white posca pen to highlight the center of the letters. I didn’t stamp a second time over the top as I like the look of the pen slightly bleeding over the black in. You could leave the stamp on your stamp platform and stamp a second time over the top.
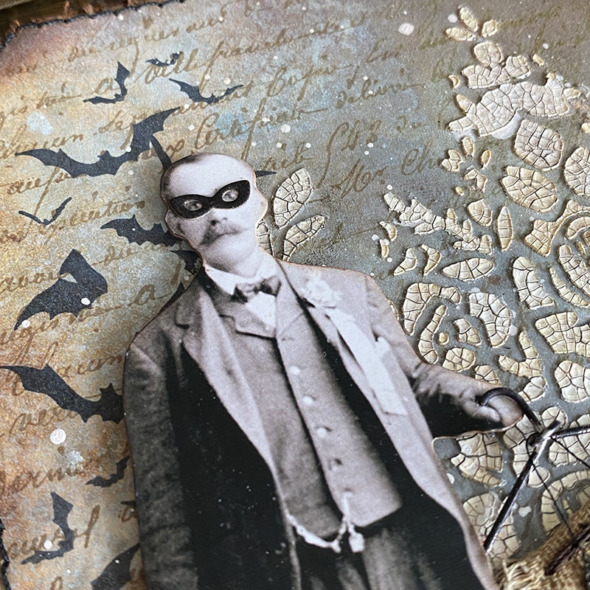
I needed to find myself a Milliner and this gentleman from the new Halloween paper dolls pack with his mask from the new curiosities sticker book was the perfect fit. Something about that mustache says “get your costumes here!” 😉
For the background I cut a piece of distress mixed media heavystock the same size of an etcetera thickboard mini tag. Sprayed with distress sprays and mica sprays from the new Halloween Mica sets. I stamped some of the background stamps from Exquisite CMS453 stamp set in vintage photo and ground espresso distress archival ink. Adding the larger bat stamp from the Unraveled CMS452 stamp set.
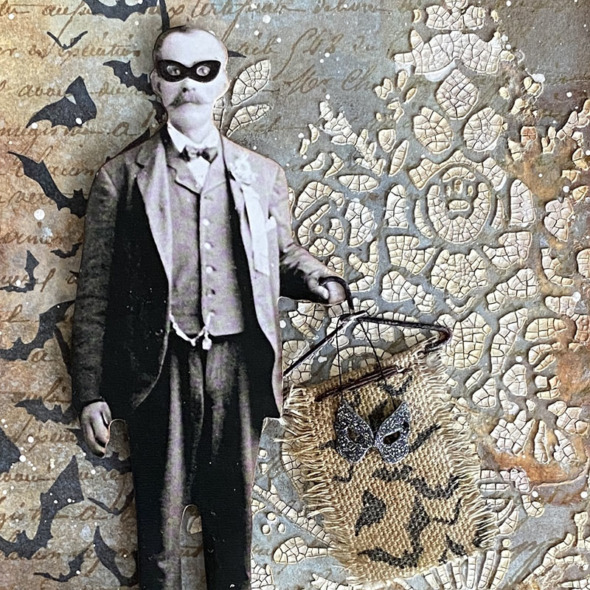
I was instantly smitten with the new Crest stencil and applied distress opaque crackle paste with a palette knife through the stencil onto the background. I added a little rusty hinge oxide ink between the stenciled paste and walnut stain distress crayon. I stitched the edges of my background with my sewing machine and then glued it to the etcetera tag with distress collage medium.
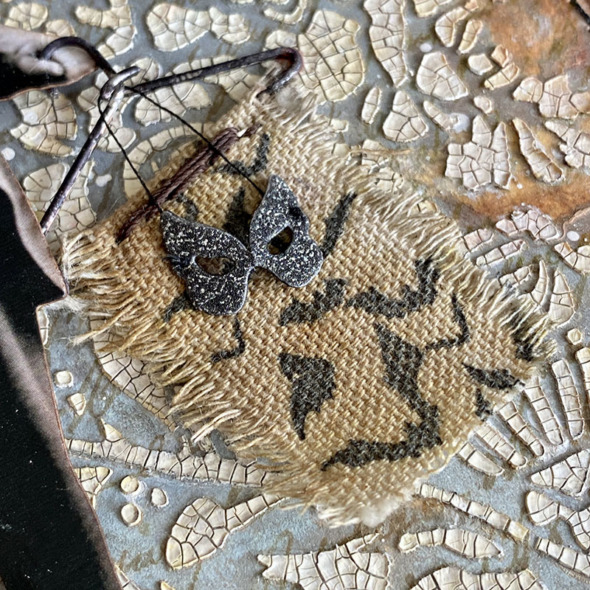
I used a very retired (I’m sorry) idea-ology hanger clip! I removed the inside clippy bit with my dremel and added white gesso and alcohol ink. I carefully made a hole in the paper dolls hand to slide the hanger through. I have 13 left, unlucky for some… but lucky for me. If you haven’t hoarded some of the idea-ology hanger clips, you could use a wire jig, which is a metal or plastic base with holes in and comes with pegs that you place into the holes to create the shape and then you pull your wire around it. Heavy gauge wire would work best for this.
I used the smaller bat stamp from The Scarecrow CMS451 stamp set to stamp onto a piece of linen fabric with black soot distress archival ink. I used sticky grid to hold the fabric in place on my stamp platform and stamped several times. The fabric will absorb some of the ink initially so keep stamping until you have a bold image.
The mask was cut from the (retired) Masquerade thinlits die set from idea-ology halloween deco sheet. I pierced a hole into each side with a pokey tool (retractable craft pick), added black thread and strung it from the hanger.
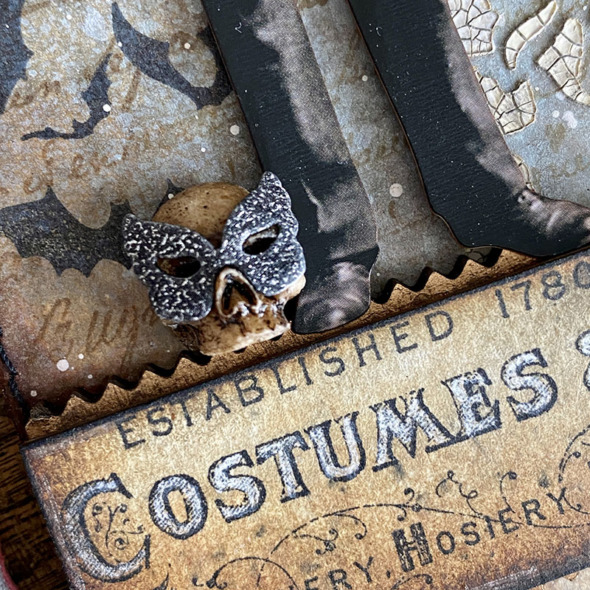
While I had my dremel out… I removed the back of smaller skull from previous idea-ology halloween release years. I have quite the collection. Read out of context, that sounded terrifying! LOL
I used the new idea-ology halloween deco sheets and cut another mask to fit from the (retired) Masquerade thinlits die set. Again, sorry if my use of retired items causes frustration, hopefully you have something in your stash you can use.
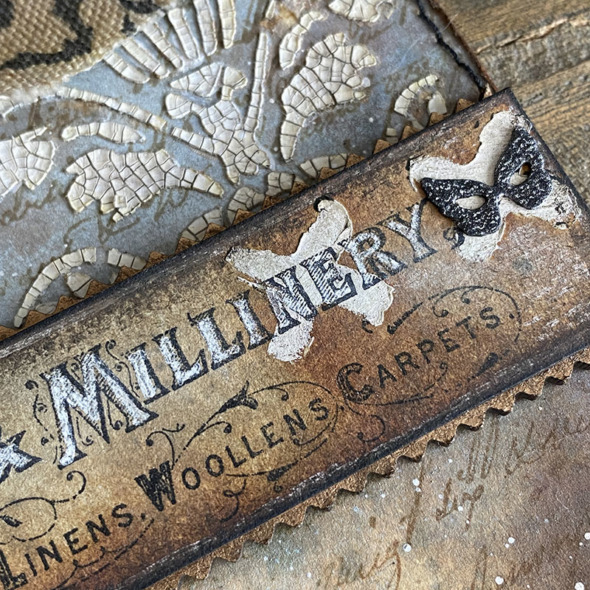
I used the Markings stencil to add a couple of X’s using white gesso. I added another mask cut from the halloween deco sheets to the end of the sign.
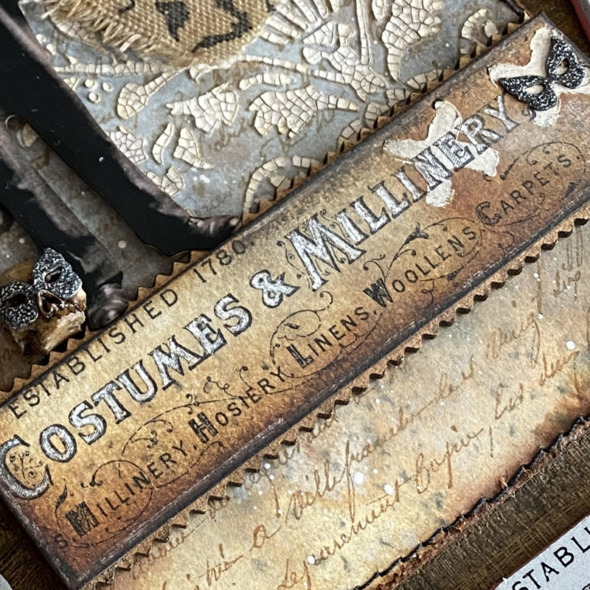
I mounted the signage onto 2 Etcetera pinked trims glued together in the middle at the straight edge so the pinked edges peek out at the top and bottom of the sign. I covered the pinked edges with distress foundry wax. I wasn’t kidding about it being all about this signage stamp! I also used the background script stamped with vintage photo distress archival ink. I will use these background stamps all year so I’m very happy to have them in my collection.
I cut one larger mask from the black halloween deco sheet with the (it’s still retired) Masquerade thinlits die set for staging. I love how all of Tim’s brands mix and match together.
Thanks for stopping by and let me know if you have any questions.
Zoe
…
affiliate links used at no cost to you


Love this piece Zoe, and that stamp set is amazing, I too love the costumes one in particular. They are all great! Thanks for sharing this one, great work as usual Zoe! Happy September first!
Love this make! Such amazing detail & texture.
Absolutely wonderful!
wonderful job as always. You are my favorite maker so I am prejudiced.Don’t apologize for using retired things. i believe, may be wrong, but we read to get the basics of how you create and then put one’s own ideas to work. We cannot copy exactly(I did once with TH valentine box).very few can buy everything, everytime.
Thanks for all the making tips and the mechanics of how you create you magic.
Funnily, when my granddaughter was going through my drawers, she found several of the hangers! i dont do these elaborate creations but it was a coincidence. CongratulatonS1
I love this!
Oh my gosh!!! Absolutely love this! What a great make, Zoe! I love your work so much!
I adore this make. The idea is fantastic for the seller of costumes. I may borrow that concept and do something totally different. Doing these sorts of makes is relatively new to me although I have been making various things all my life…which is quite a while now! I enjoy seeing your work and Tim’s videos showing them teach me so much and I have popcorn ideas going on now thanks to you and your fellow makers. Great job.
I have all kinds of retired stuff, including me ;-o so no need to apologize for using the stuff you love. I love all the tiny masks on the paper doll and the skulls. And, OH MY, that crackle!!! That is my all-time favorite stencil already. #mypile!
It’s just an awesomely cool make Zoe! TFS
Thank you for all you do!! I absolutely love each and every one of your makes, and this is no exception!!
So creative! I love how you share your design thinking and tips for execution, so helpful for people like me who don’t have your knack for ingenuity! Beautiful, beautiful make.