Hello Friends, I hope this finds you well. Did you catch the Tim Holtz Stamp LIVE launch party on Saturday?! There were very early morning coffees and early evening cocktails being poured from the various world time zones while we took our front row seats for the show… If you missed the party, you can watch the replay and see all the maker inspiration over on Tim’s blog.
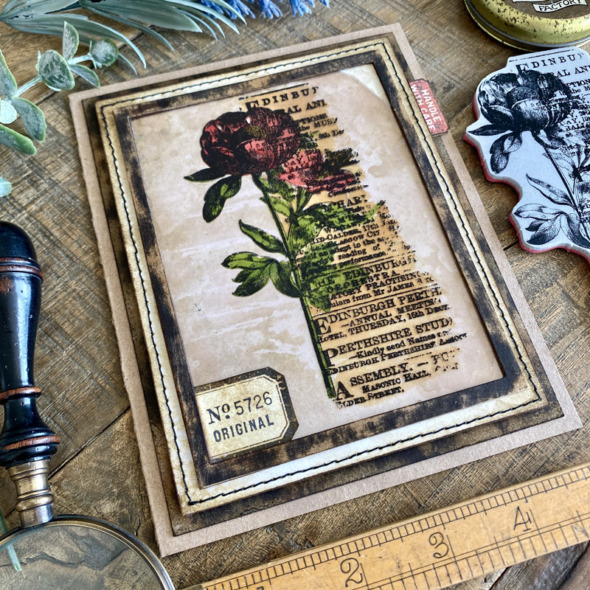
I made this card using the new Botanic Collage stamp set (CMS447). I’m not usually drawn to the floral side of the force, but the newsprint background gives these stamps such a cool vibe for me that I had to use them.
Let’s get into how I made it and the secret beneath the mica sheets! 😉
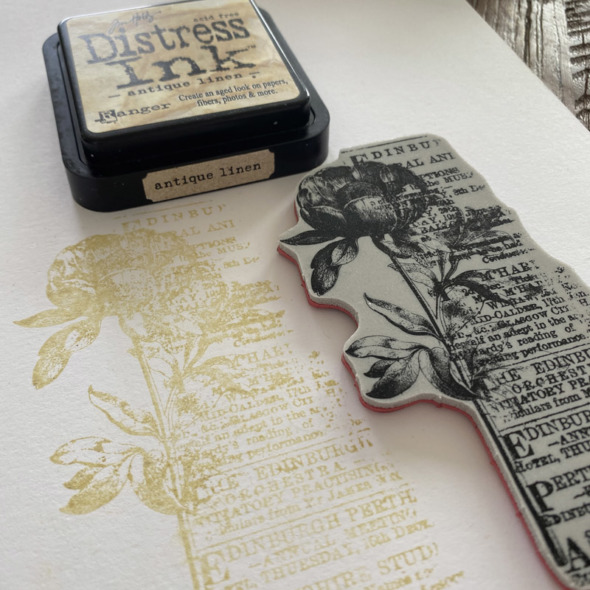
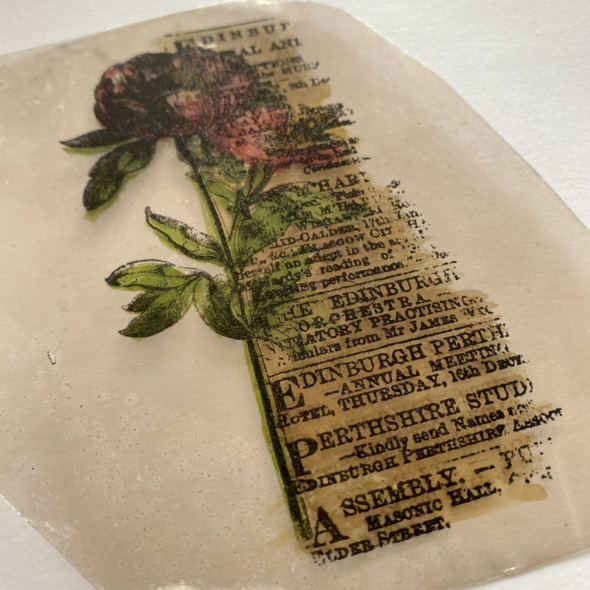
Ink up your stamp with antique linen distress ink or another very light distress ink and stamp onto the smooth side of distress watercolor cardstock.
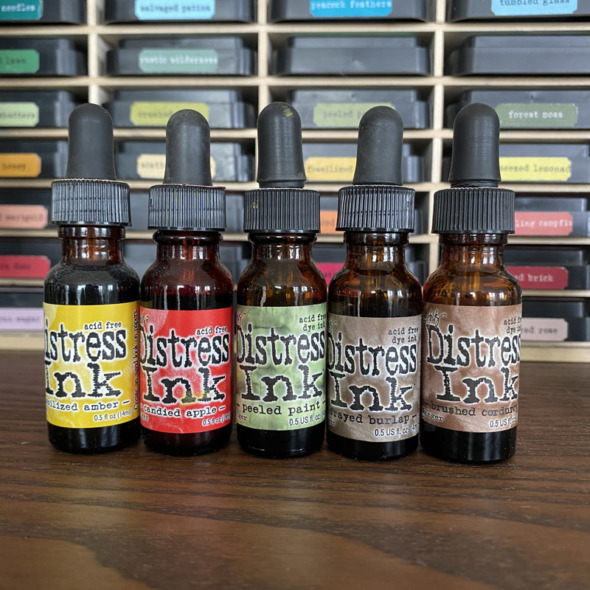
Choose the distress reinker colors you want to watercolor your stamped image with. Put a tiny drop of each on your glass media mat ready to pick up with your paintbrush to watercolor.
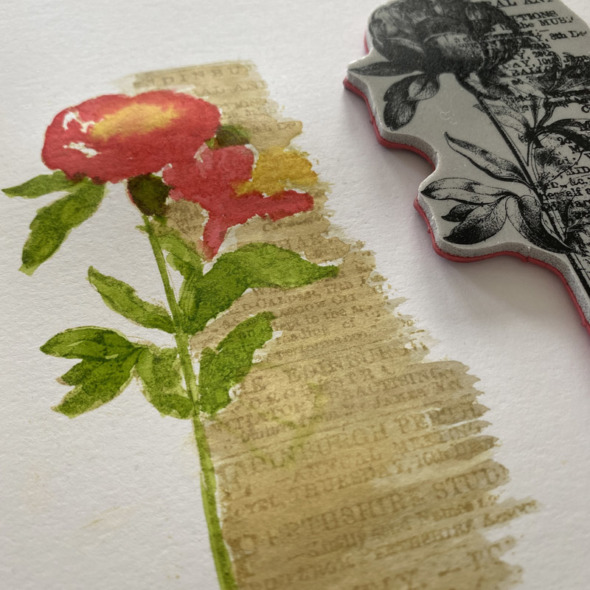
As you watercolor the stamped image, you will see the antique linen stamped lines become less prominent. You don’t need to be too delicate with this, however, do try to stay within the lines-ish. I set the stamp next to me when I’m watercoloring so I can check the design where the stamped image lines are feint.
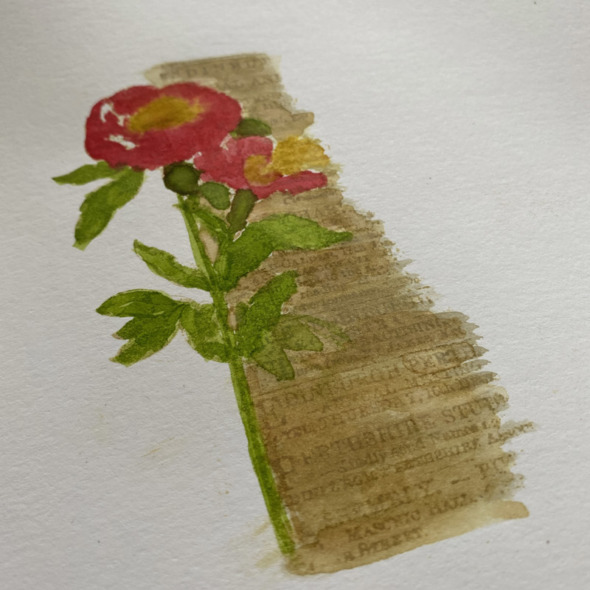
I know it looks like a hot mess, but stay with me…
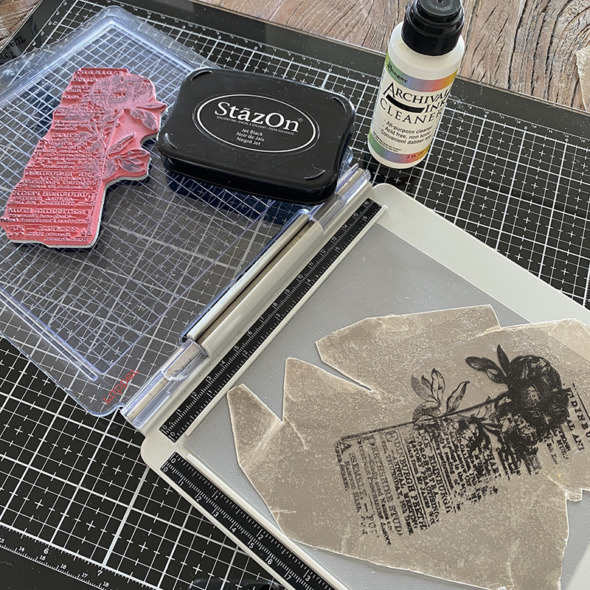
Place your mica onto your stamp platform. The Tim Holtz Tonic Media Grip Mat will keep the mica tile from moving. Magnets will work, but I wouldn’t use sticky grid because it makes a mess of the back of the mica. Position your stamp, ink with Stazon and stamp onto the mica tile. Because it’s Stazon ink, you will need to use stamp cleaner afterwards and then wash the stamp cleaner off with dish soap and water.
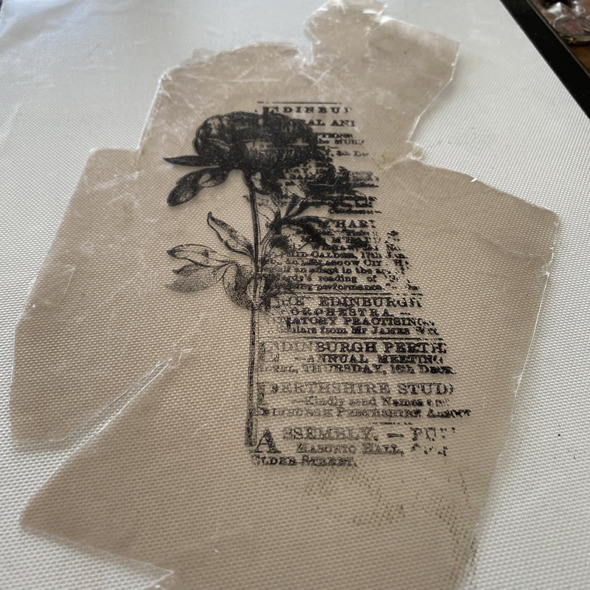
Your mica tile is now ready to place over the top of your hot mess watercolor background.
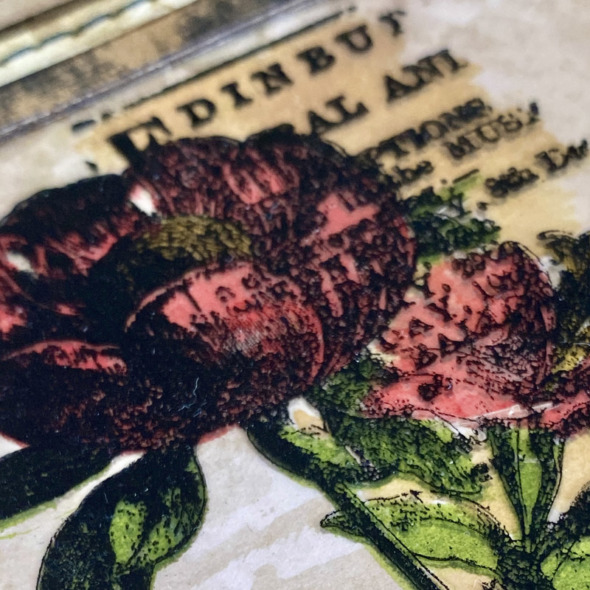
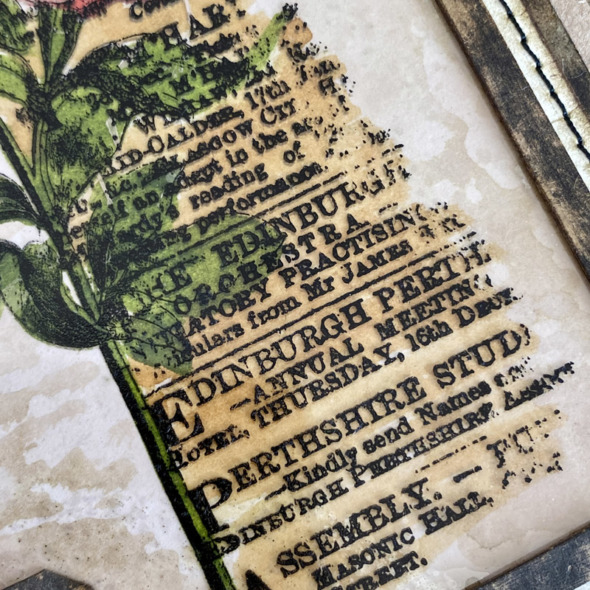
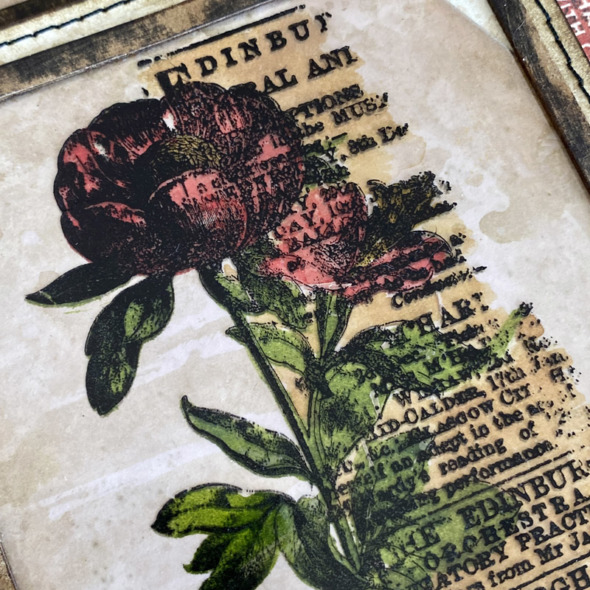
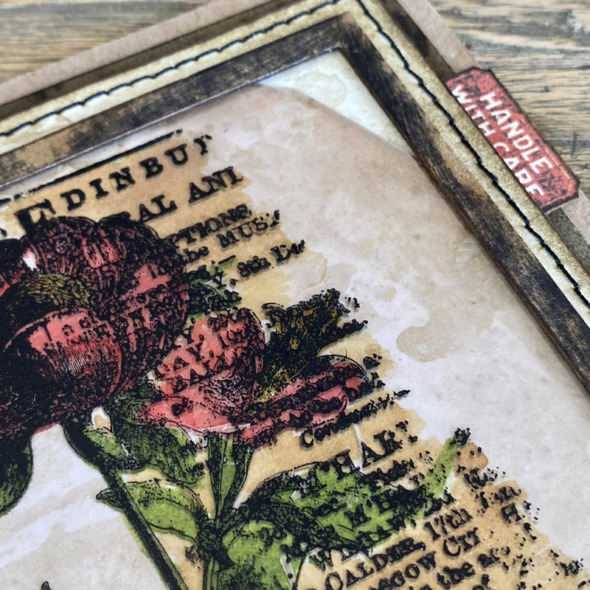
I added a frame over the top and trimmed the mica to size. Using distress collage medium to attach the mica tile at the edges and leave the center to sit slightly above the background.
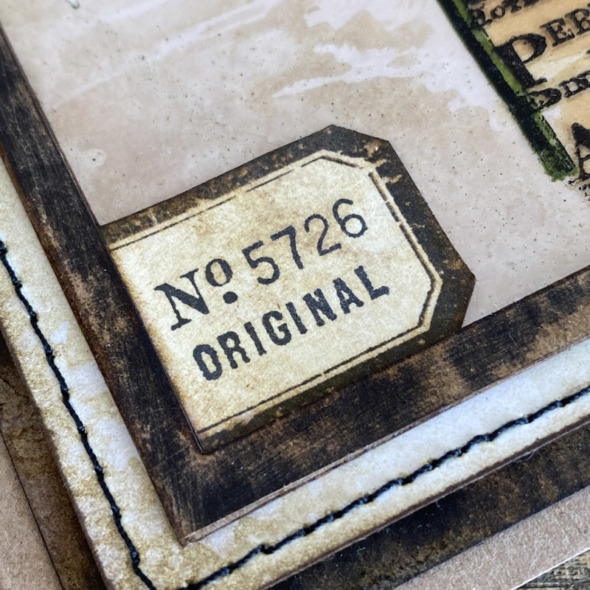
I added a couple of stamped images from the new Eccentric stamp set (CMS448) which I am OBSESSED with!
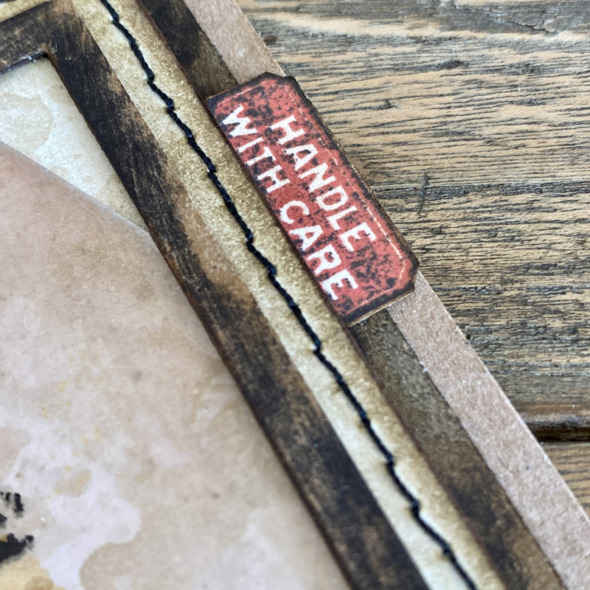
I stamped the “handle with care” stamp with barn door distress archival ink once and then lightly touched the stamp with a black soot distress archival ink pad and stamped very lightly. I fussy cut and tucked under the background layer which I stitched.
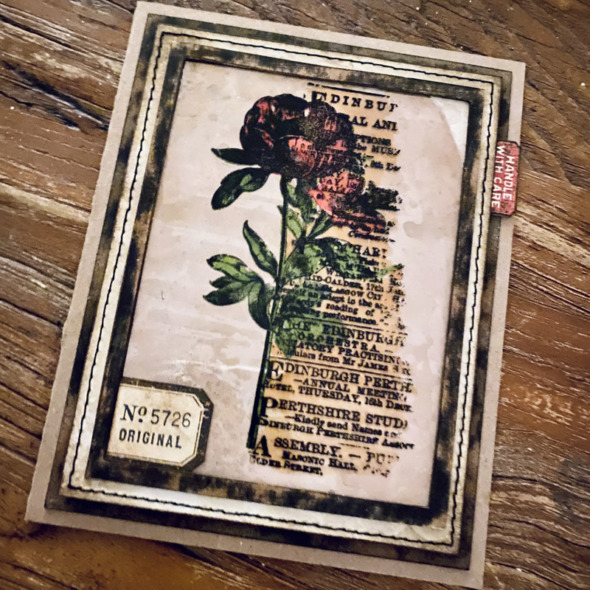
It’s a pretty quick card to make and you could easily adapt this to a slimline card or tag.
Thanks for stopping by and let me know if you have any questions.
Zoe
…
affiliate links used at no cost to you


I did see the live and it was spectacular! I love this piece Zoe, and thanks for sharing that technique. I still have yet to get some Mica pieces and other products with Mica in it.
Great piece of art!
Thank you 😊
Brilliant! Love it, will have to try this technique. Curious, why did you Staz-0n ink instead of Black Soot archival ink?
I tried archival ink and it didn’t dry. Don’t worry, I’m not giving up my distress archival
ink (ever) 😉
That is crazy good…Hot mess to perfection in 60 seconds…LOL. I am curious about the StazOn instead of Archival that Debbie E asked as well. Curous questions…
…hot mess to not mess with a simple mica tile 😉 I replied about the ink above 😊
Love this card with all its special touches- the “Handle with Care” ephemera piece just looks so perfect tucked in the stitches
Beautiful card!!! Love it! I always enjoy seeing your work. 🙂
Beautiful as always! Fabulous technique! Where did you find such a huge piece of mica? Thank you!
Amazon 😊
As always your work is inspirational!! TFS 😃
This is my favorite make! How creative to stamp on the mica and the beautiful effect that it gives! Ok, must try this technique! Thanks for always inspiring us my friend!
Great art piece; I love texture and depth achieved with the mica tile, gorgeous!
Beautiful!!!
this is just so cool!!
I love this. It looks much harder than it is. Great job!
Right?! All smoke and mirrors 😉
Love this! I am going to try your technique today. One question, did you use the full thickness of your tile, or did you peel off some layers?
I did yes, but you could try peeling it first and then stamp 😊
This is a beautiful card! I have not stamped with mica before. Gotta try it. I love how it instantly brought this piece together.
I completely love this!!! Thanks for sharing the how to on this. Since I don’t have Mica and have never used it, would it work on mylar? (I’ve never tried stamping on mylar, so I guess I will have to try it.) I can’t wait to try it!!
I haven’t used Mylar but if you try it, let me know 😊
Stunning Zoe, realy stunning how you made this.
Love it, I don’t have the mica tiles but this will also work with transparents (In the Netherlands they call them mica sheets but it’s totally different from what you used) I think only have to make them öld on the back side.
Thank you so much for the inspiration and for the awesome tutorial.
Stay safe and have a wonderful day.
Thank you Zoe for sharing your beautiful card. It is gorgeous I have never used mica I live in Australia and haven’t seen it. I will try the internet .
Thank you again
VERY beautiful card!
I love all of your work, you put so much into the samples and helpful with sharing techniques. Do you have a dedicated sewing machine for the stitching?