Hello friends. Sending you all extra love and peace during these difficult times; I definitely need a big dose of joy at the moment and have found some by quietly making over here in Copenhagen, enjoying some spring sunshine and some new distress. Tim Holtz introduced us to the newest member of the distress family recently, Saltwater Taffy. The LIVE launch replay and maker inspiration are over on Tim’s blog.
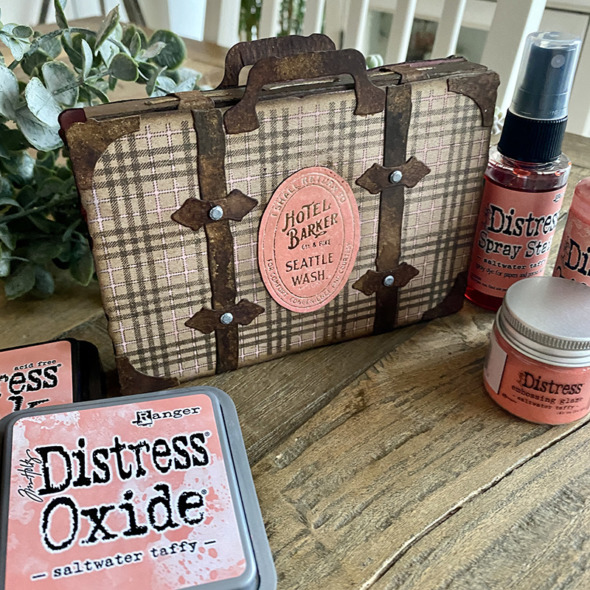
It’s such a pleasure to be a new distress color maker and when our boxes arrive with the new distress inside, we have no idea what color it is. My sweet husband makes a “drum roll” sound as I rip open the tissue paper to reveal the color and the name! Hands up who is obsessed with the names?!
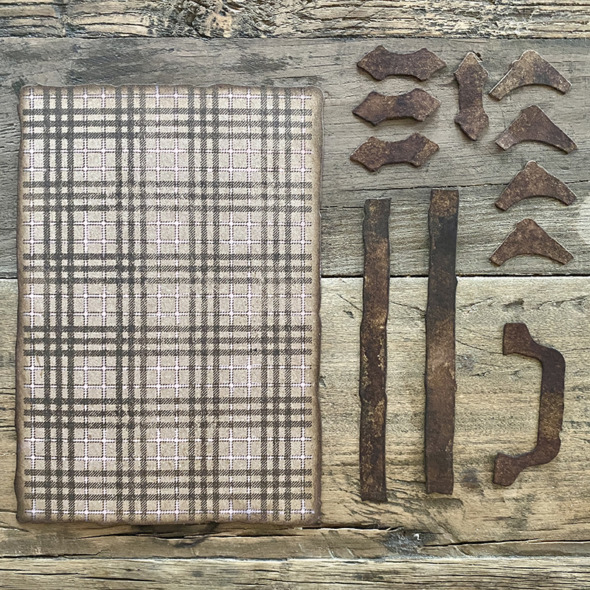
My remit for the new color is to use it with brown so I grabbed an old school BUT STILL AVAILABLE (at the time of writing this), Vintage Valise die. I cut the die twice from distress kraft heavystock (pic shows one set). I blended in ground espresso and walnut stain distress inks to the accessory parts (on the right), sanding a little and then blending with ink again to get a worn look. I stamped the base (on the left) with the plaid and nordic stamp set CMS243 with ground espresso distress archival ink.
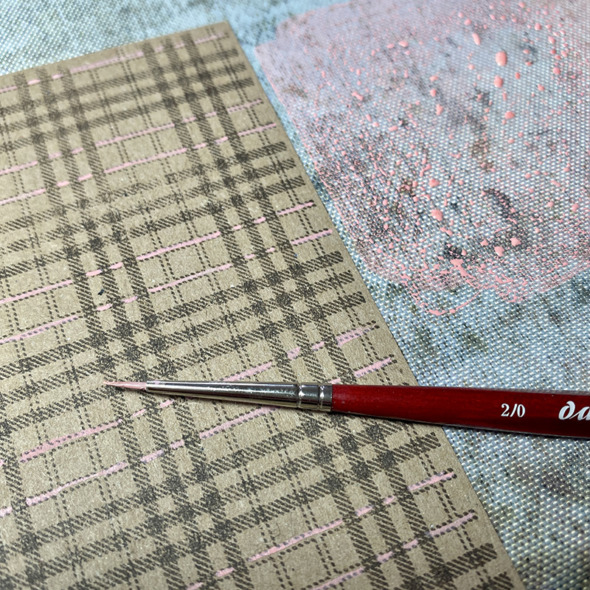
I smooshed saltwater taffy distress oxide ink onto my non stick craft mat, spritzed with a little water, picked up with a very fine paintbrush and painted between the lines. It doesn’t have to be perfect, it just lifts the plaid to look more dimensional.
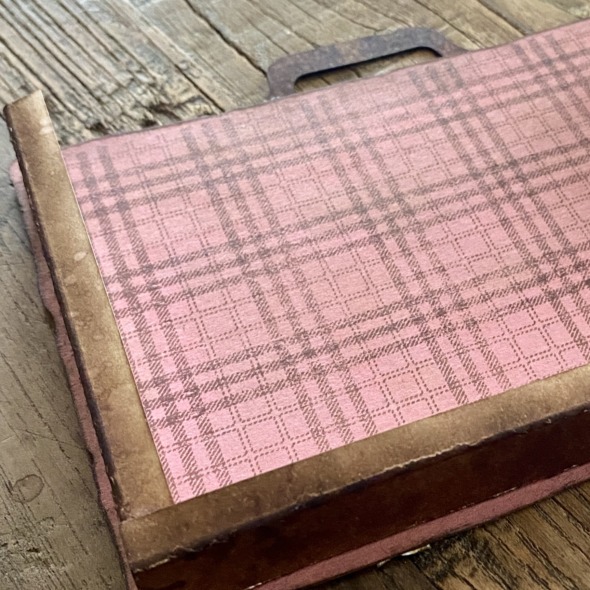
I turned the vintage valise base over and painted with a layer of saltwater taffy distress paint. Once dry, I stamped again with the plaid and nordic stamp CMS243 using ground espresso distress archival ink. I used distress paint and distress archival ink because they are permanent once dry and won’t rub off onto the journal going inside. (Ignore the side parts, they get added later).
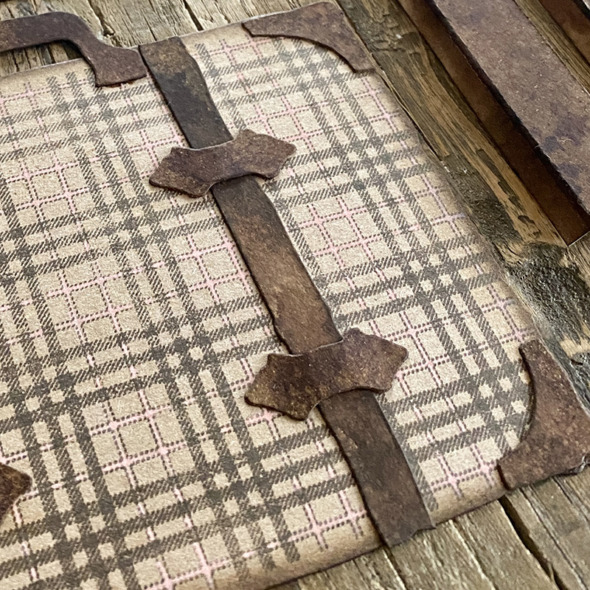
I added the handle, corners and straps to the valise using distress collage medium.
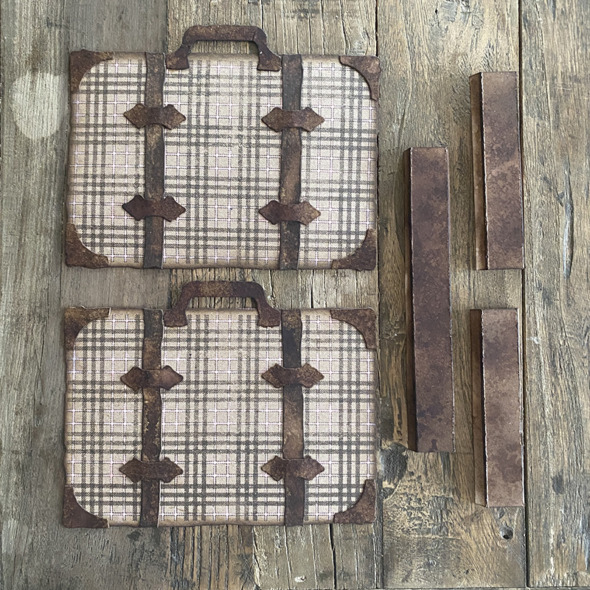
Repeat on the second valise ready to assemble.
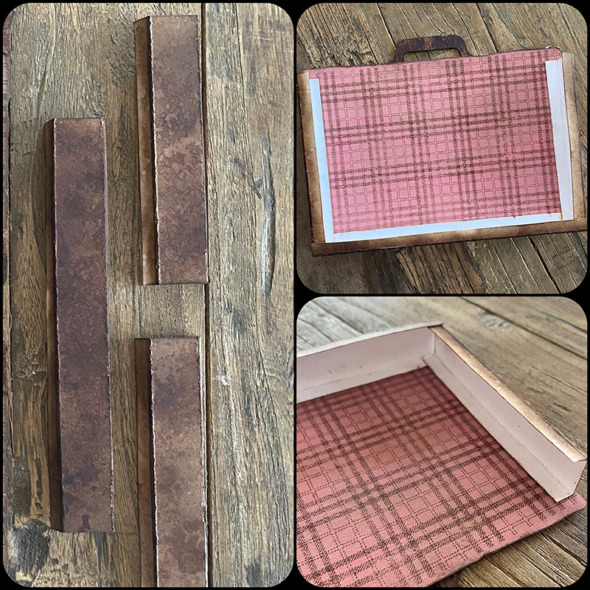
I cut 3 strips of distress white heavystock to fit the inside of the valise. 1x strip 6 x 1.5 inches and 2x strips 3.75 x 1.5 inches. Score 0.25 inches in from each of the long edges.
To make the valise wider just increase the width (1.5) of your strips. The length (6 and 3.75) and score line (0.25) measurements will remain the same.
I glued into place and allowed to dry before adding the other valise piece on top.
**I painted the inside of the strips once I had assembled it with ground espresso distress paint, (not pictured) but I recommend inking or painting before assembling. You can of course leave it blank but I thought it looked nicer when you peek inside and it’s matchy matchy.
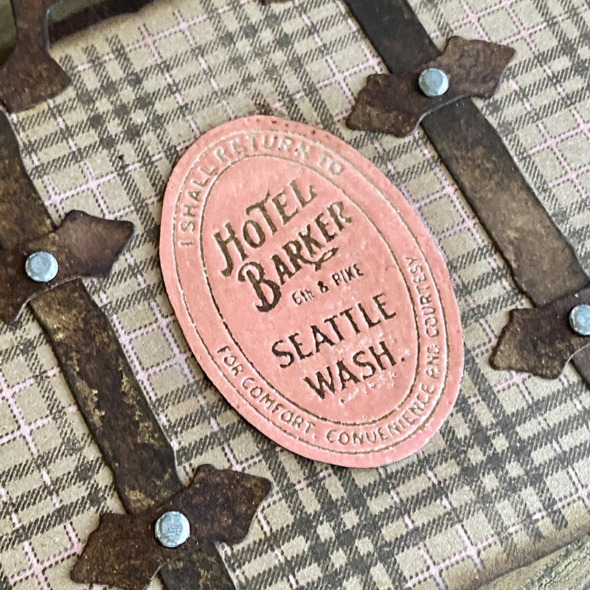
Using the travel label CMS108 stamp set I stamped in saltwater taffy distress oxide and heat embossed with saltwater taffy distress embossing glaze. I blended in ground espresso distress ink, spritzed with water and wiped the excess ink from the surface. The glaze acts as a resist and the ink sinks into some of the de-bossed areas.
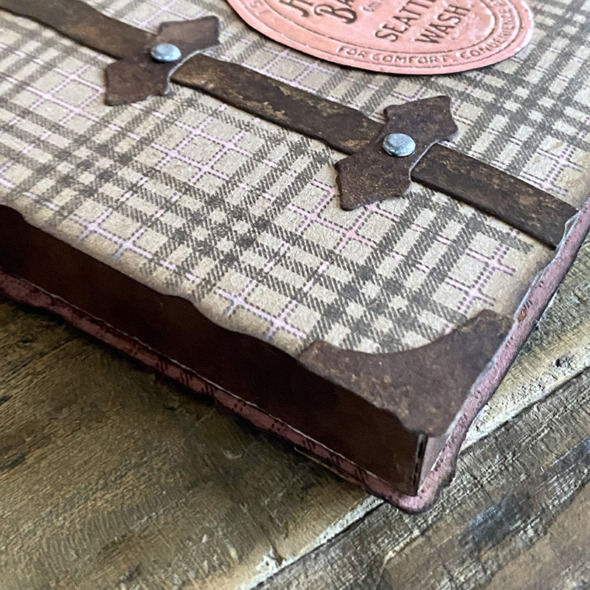
I added idea-ology hardware heads with a tiny dot of distress collage medium. Hardware heads have been out of stock for a little while but are not retired so keep checking with your local and online retailer. Some stores will allow you to enter your email and be notified when things are back in stock. Hope this helps.
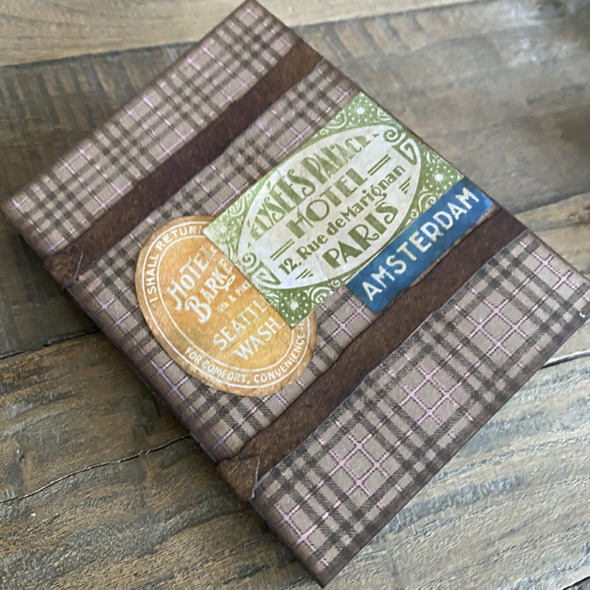
I created a simple travel journal by cutting distress kraft heavystock to fit the valise and used a scor-board to create the spine. I decorated the same way as the valise and die cut a couple of additional straps from the vintage valise bigz die to add to the journal.
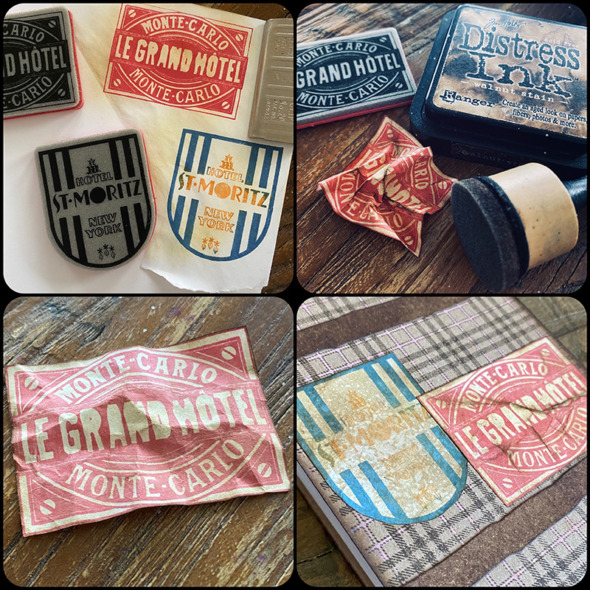
Using the travel labels CMS108 stamp set again, I stamped with distress archival ink onto distress white heavystock paper. I fussy cut, scrunched up and then inked each label. I sprayed with antique linen distress spray and once dry, added to the travel journal with distress collage medium.
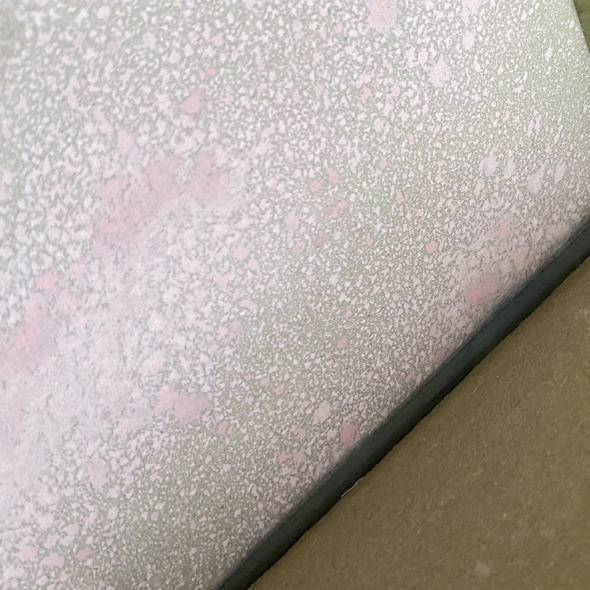
I sprayed the inside of the journal with saltwater taffy distress oxide spray. I LOVE how it looks over the distress kraft heavystock.
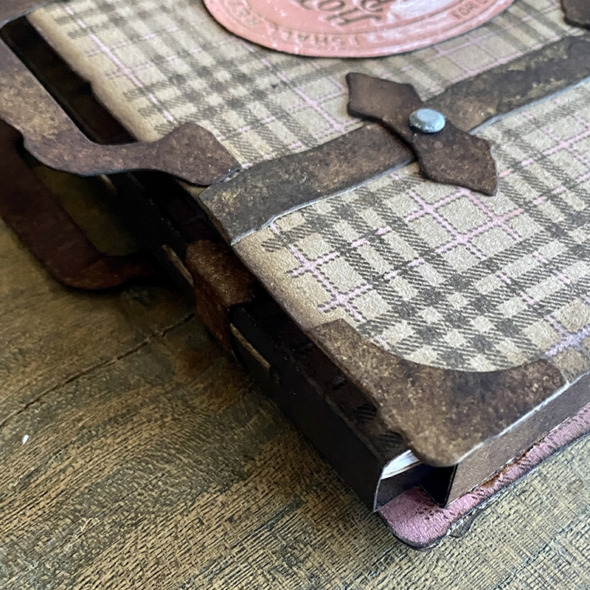
I tucked the journal into the valise. Love the saltwater taffy distress paint showing on the inside.
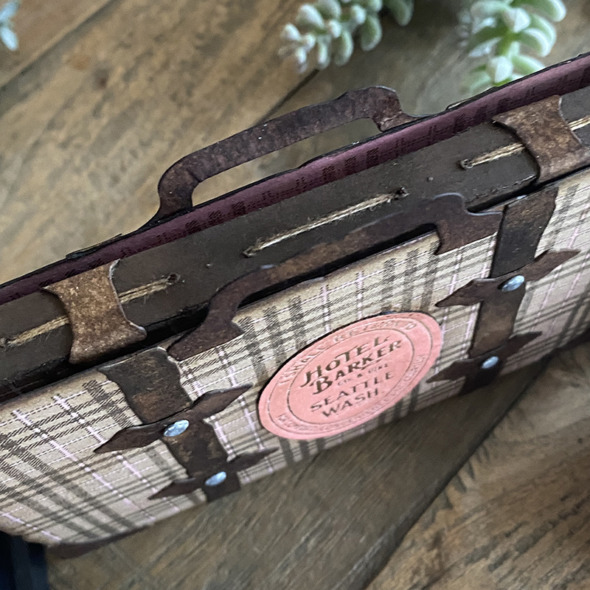
I stitched pages into the travel journal it was the first time I did it and it wasn’t as successful as I would have liked but I will work on it and do a tutorial for the travel journal if that helps. Let me know in comments.
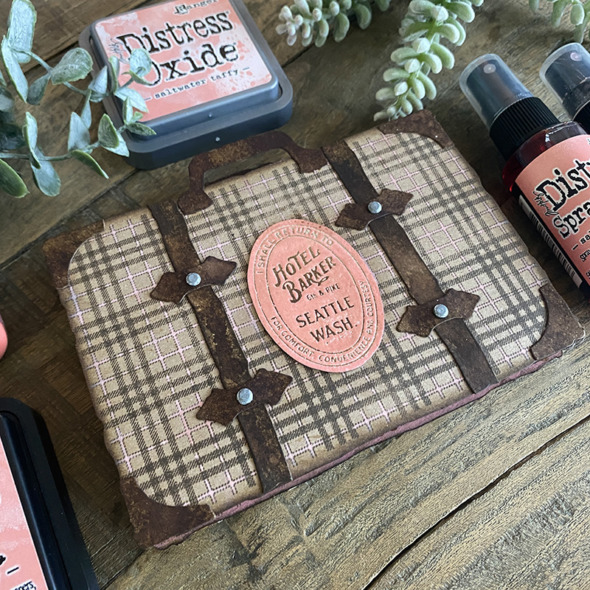
Another new distress in the family and I’m already excited to see what the next one will be and I know the next new distress won’t be yellow 😉 … If you know you know… if you don’t, watch the LIVE replay to the end.
I have to be honest, I’d never used the vintage valise bigz die before this. It’s one that I had to have and then happily inventoried, stored, dusted and never used! Thank you Saltwater Taffy for inspiring me to use it.
Thanks for stopping by.
Zoe
…
affiliate links used at no cost to you


I loved this the moment I saw it.
So glad you did the tutorial.
Definitely want to see tutorial on travel journal.
Your makes are always inspiring.
Thank you Zoe 😍
Same, same…had to have it, got it, look at it, stroke it, never used it….LOL. So much “Timm stuff”, so little time….
Same situation with the die. Haha. Had it for years. Never enough time.
Fabulous, Zoe!! I love your make!!
Great make Zoe, I love your journal and Saltwater Taffy is such a great colour to use with browns.
Thank you so much for the inspiration and your tutorial.
Stay safe and have a wonderful day.
fabulous fabulous make my friend, Saltwater Taffy sits so nicely with brown, happy travels when the time comes xxx
Awesome project. Would love to see a tutorial on the travel journal that goes inside.
Zoe – you never fail to amaze me with your makes! I am learning a lot by reading your posts as I am a card maker. One day I may actually try some of the techniques you show but for now I am living vicariously through your makes. Thanks so much for sharing.
Love the make Zoe!!
I love that bigz die!
Thank you so much for sharing and yes please do a tutorial on the journal I really would like to make a journal ❤️
Love this Zoe. It looks so authentic,great make❤️
I have been waiting for this! I love this project! Everything about it is awesome, and I would love to see a tutorial for the journal. Thanks, Zoe, for everything you do for all of us Tim Holtz Addicts.
Absolutely AMAZING!!! Thank you for sharing.
I have this die & would love to have your take on a travel journal. Beautiful project & great blog tutorial. Thank you for always sharing your incredible talent.
Just beautiful, Zoe! I’m glad you’re finding some joy through making during these times. Thanks for your lovely words as well as lovely makes. Been sending extra love and peace your way lately too. 💜🌷🙂
This is Amazing!!!!
Love what you did with one of my all time favorite Tim Dies. I was obsessed with it when it came out. So glad you have chosen to pack your bags with this valise and share it with us!
WOWSERS!! fantastic tutorial!! THX. for sharing. TIM’s the man, right?!
Really appreciate the step by step process shots that document your makes. I don’t think I’ve ever seen this bigz die before and the genius use you gave it as a journal. Look forward to seeing the tutorial on that make.
This is ingenious! Thank you for sharing!,
I love this! Such great use of the new color. Yes, I’d like to see a tutorial on how to make the travel journal. It makes a great gift!
Love this valise with the new Saltwater Taffy color! Definitely would love to see a tutorial on the travel Journal! Fantastic make my friend!
Love, love, love! Thank you for breaking it all out for us. I’m excited to try my own version. I would love to see a tutorial on the travel journal.
I just love this make!!!! You are such a talented crafter.
A stunning make my talented friend! You have aged it perfectly and I love the look of the Saltwater Taffy on the plaid. I too, would love to see how you made your journal. As you know, I am addicted to them and would love to see how your did your version! xxx
I just adore this!!! Love the side gussets, so brilliant and the thin Stripes of Saltwater Taffy. Fabulous!
Hi Zoe,
Is the plaid stamp the Nordic CMS243 or the Perfect Plaid CMS 383? I purchased both and now that I own them, yours looks like the perfect set CMS 383. Can you check? Thank you!