Hello Friends and happy witching hour. Thank you so much for hanging out with me in Halloween town this week. I’m going to curl up in a big comfy chair with some snacks this weekend and read the comments and answer any questions. Today I’m sharing the last of my Halloween makes. This one I made for the Tim Holtz idea-ology Halloween LIVE launch, you can check out the replay over on Tim’s blog.
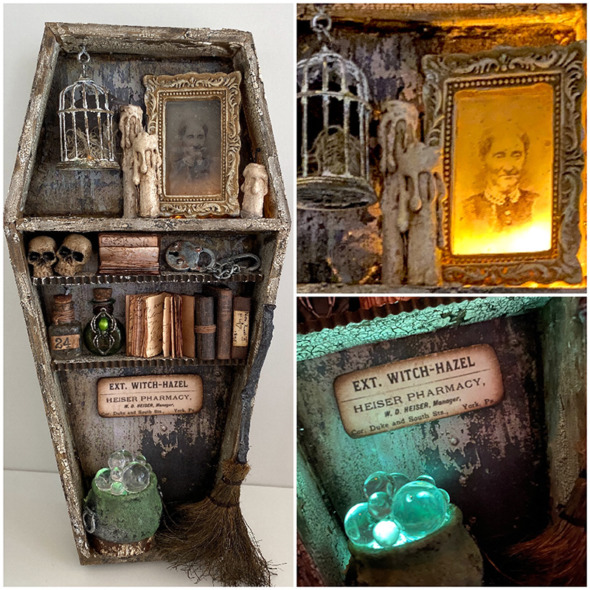
This is a long blog post as I’ve tried to include how to’s where I can, so you may want to curl up in big comfy chair with some snacks too.
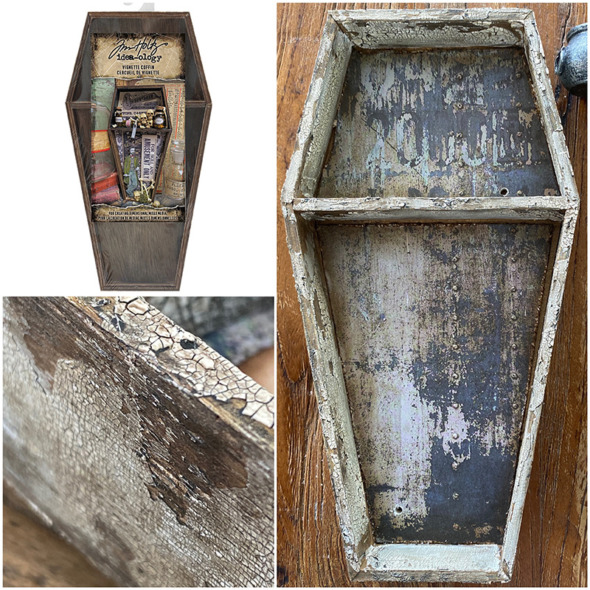
For the surface I chose a vignette coffin from the idea-ology halloween line. Here’s how I altered it…
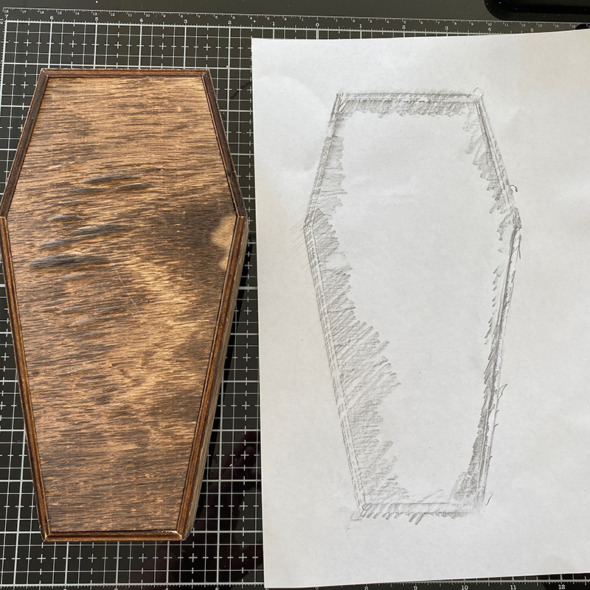
Turn the vignette coffin over and take a “brass” rubbing from the back of it. You do this by placing a piece of copy paper over the top of the vignette and using the side of your pencil, gently rub around the edge of the vignette coffin.
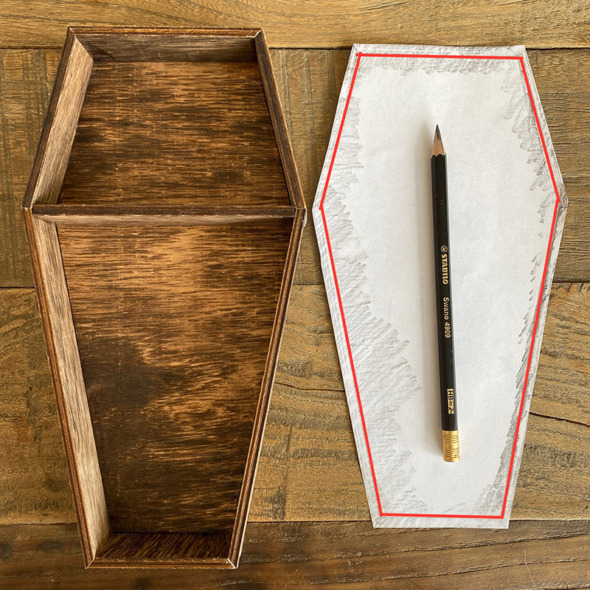
Cut the template on the inside line (marked in red). This is the inside measurement of the vignette, trim to fit inside your vignette coffin and you will have a template to trace around to cut your background paper from.
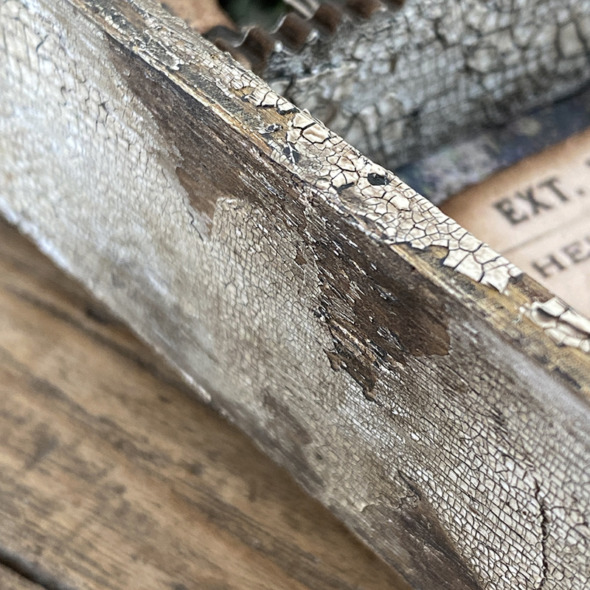
I distressed the inside and outside edges by covering with a layer of white gesso and allowing to dry before adding vintage photo distress paint. Once dry I added distress crackle texture paste and set aside to dry and crack. Finally I rubbed in walnut stain distress crayon.
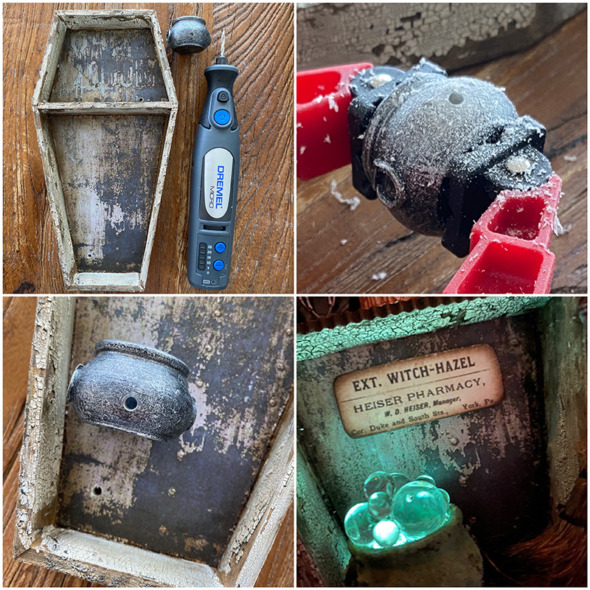
To light up the cauldron, I drilled a small hole in the side of it using a dremel mirco tool with drill bit attachment. I also drilled a hole in the back of the vignette coffin where I wanted to thread the lights in from the back and into the base of the cauldron to up light the bubbles.
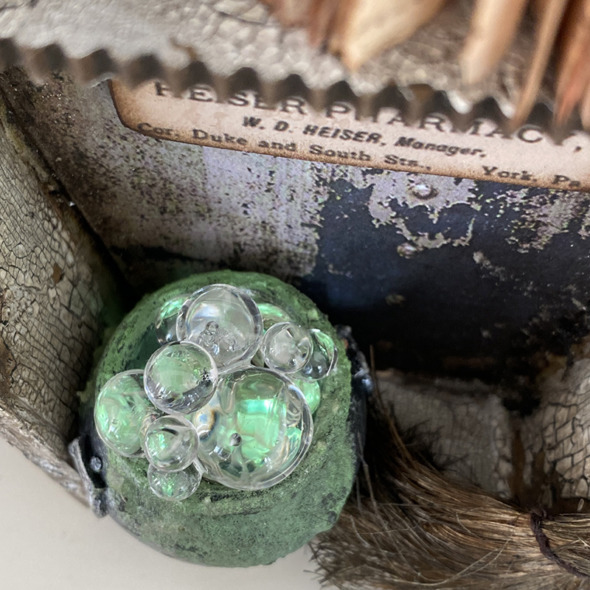
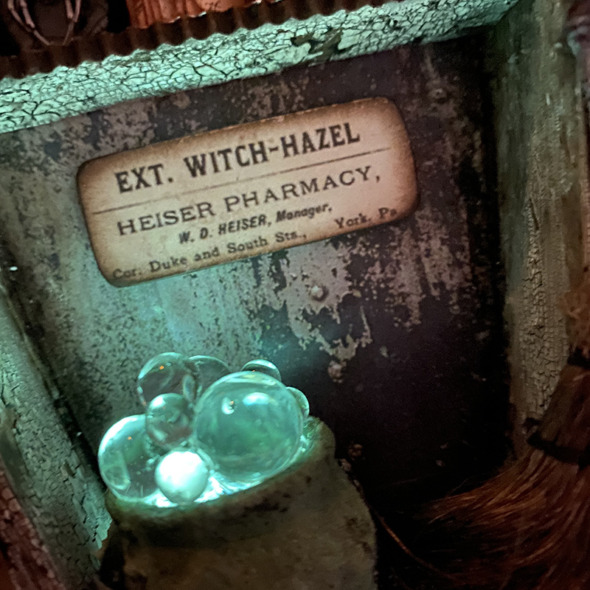
I added distress grit-paste to the cauldron and once dry, painted with mowed lawn distress paint and dirtied up by rubbing in black soot distress crayon. I glued the green set of halloween tiny lights into the base of the cauldron and added bubbles over the top, gluing them to each other with glossy accents and not collage medium. The collage medium is matt and will make the bubbles matt too, so glossy accents for the clear bubbles.
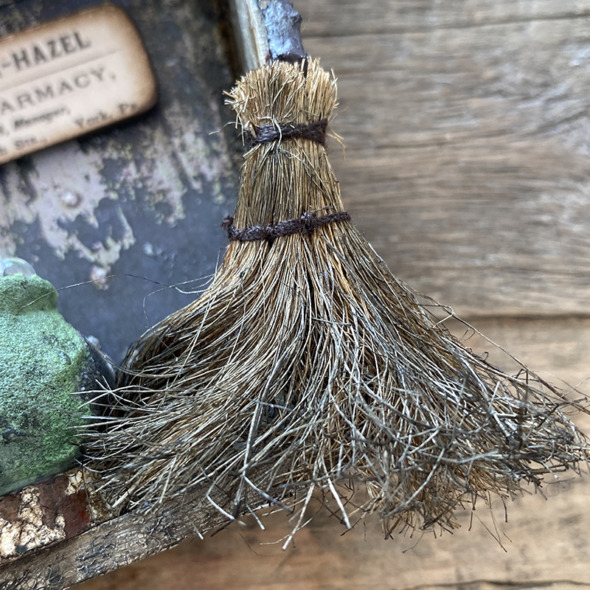
I didn’t want the distress collage medium to feel pushed out, so I used some on this broom and then smashed it on my media mat to make it all gnarly. The collage medium sets and the brush stays in place. This was inspired by a broom that the awesome Stacy Hutchinson did a couple of Halloween moons ago.
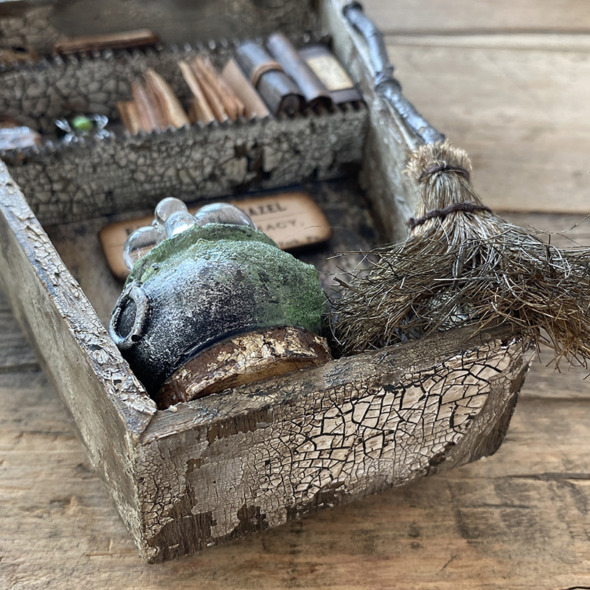
I used a wood slice from the idea-ology Christmas line to raise the cauldron a little, purely for aesthetic reasons.
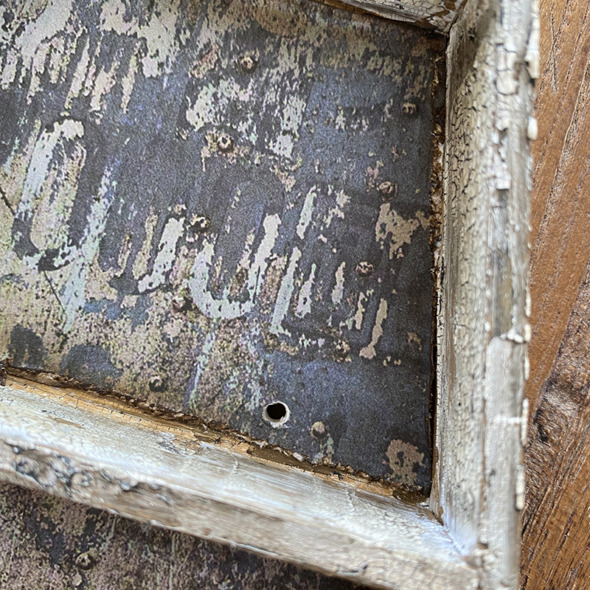
I drilled another hole in the coffin, this time in the top, just above the fixed shelf. I thread white tiny lights through the back and glued in place in the corner. That gorgeous grungy paper is from the Halloween backdrops. I LOVE this new paper format and the paper designs are SO freaking awesome.
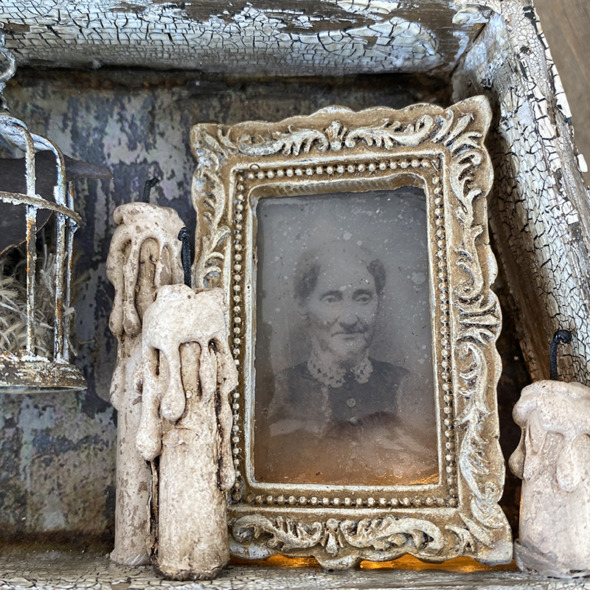
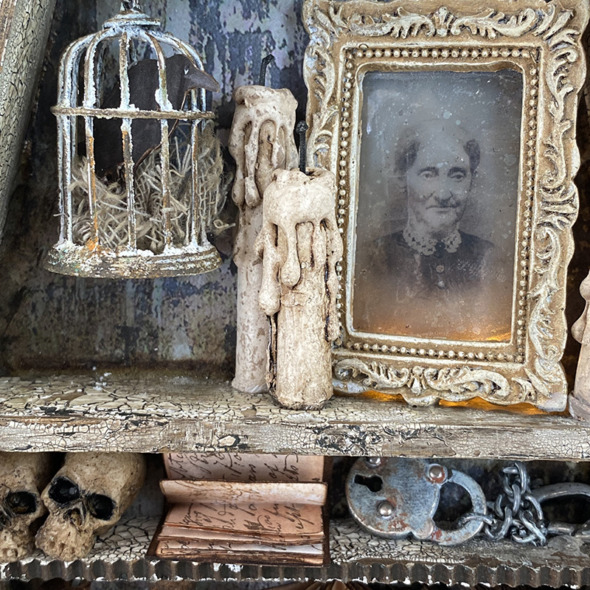
I altered one of the new gothic frames by covering with white gesso and once dry, covering with vignette photo distress paint and wiping the paint off the raised molding of the frame. I rubbed a little distress crayon in when it was dry.
I used one of the photo stickers from the curiosities sticker book to create a ghostly backdrop to the gothic frame. I covered the photo sticker with a piece of clear packing tape. You need to burnish it, which means rub the tape firmly with your finger so the tape has full contact with the photo sticker. This is because you are going to remove the paper part of the sticker with water.
Turn the photo over and spritz the back with water and start gently rubbing the back of the photo with your finger, adding more water as required. The paper will pill and come away as you rub. Eventually you rub away all the paper and are left with the ink on the clear tape. I added a little collage medium to the back to give a smokey effect.
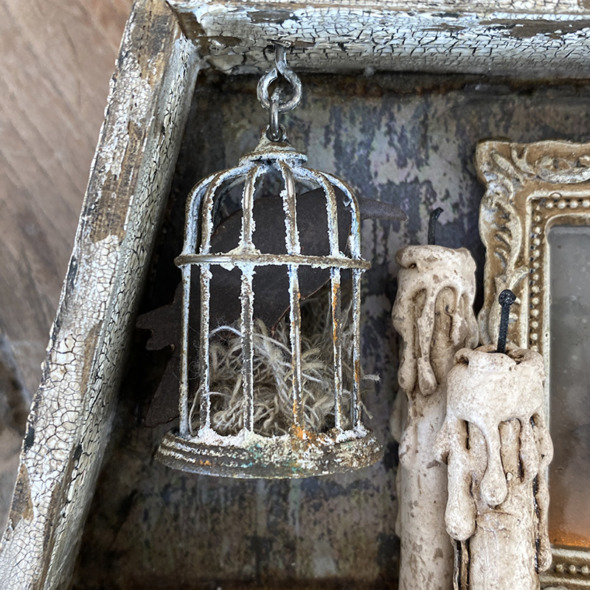
I LOVE the new birdcage. I covered this one with distress grit-paste, added a little distress paint here and there, some distress crayon and slid in some mummy cloth and a black crow from the ephemera pack. You have to look carefully to see the crow, but he’s there. I added his eye with a dot from a white posca pen. The drippy candles are as they came. They need nothing doing to them at all, they are simply awesome out of the packet!
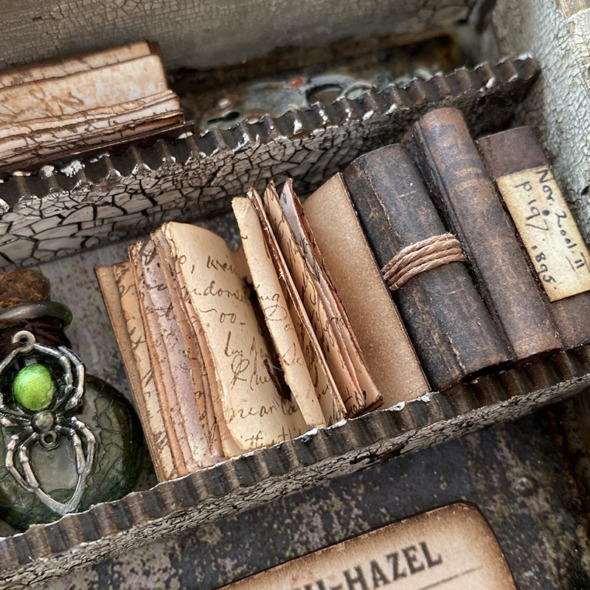
One of my favourite things from the halloween idea-ology release (and there were many) were these book covers that come in the ephemera pack! Oh my!! I would LOVE LOVE LOVE to have a pack of just book covers… Dear Santa… that would be worth being good for!
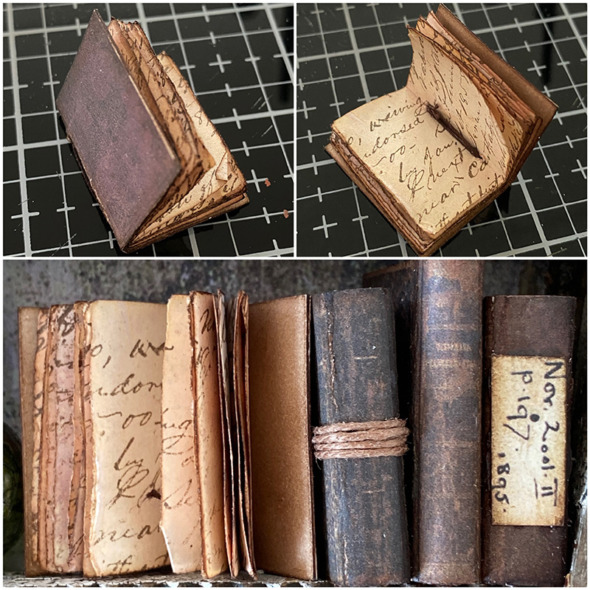
I sprayed some inexpensive printer paper with tea dye distress spray and water and dried with a heat tool. Cut to fit the book cover and folded in half, pierced 2 holes in the center with a pokey tool and sewed with thick thread. I folded the book cover in half and glued the stitched pages into the spine of the book cover. I used pieces from the ephemera pack on the spine of one of the books and wrapped another with twine. I LOVE them so much.
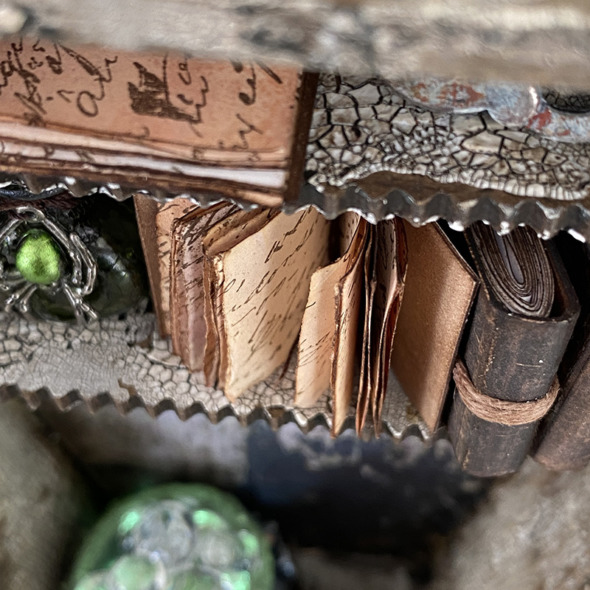
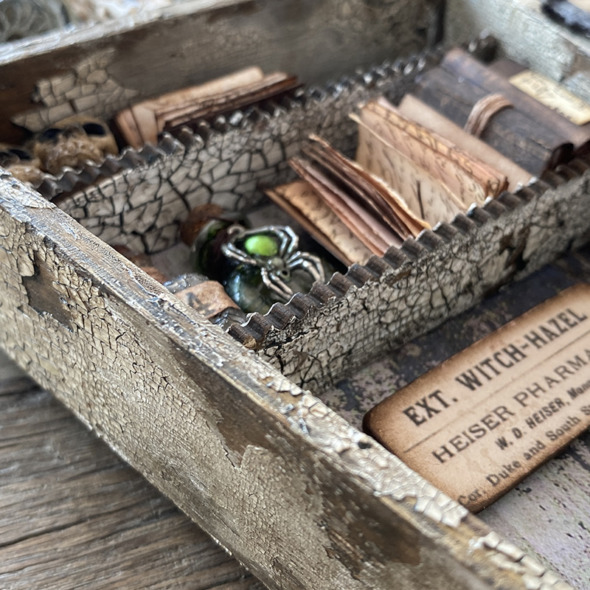
I added a couple of extra shelves by cutting scallop edged etcetera thickboard trims to size. Adding distress crackle texture paste and gluing into place.
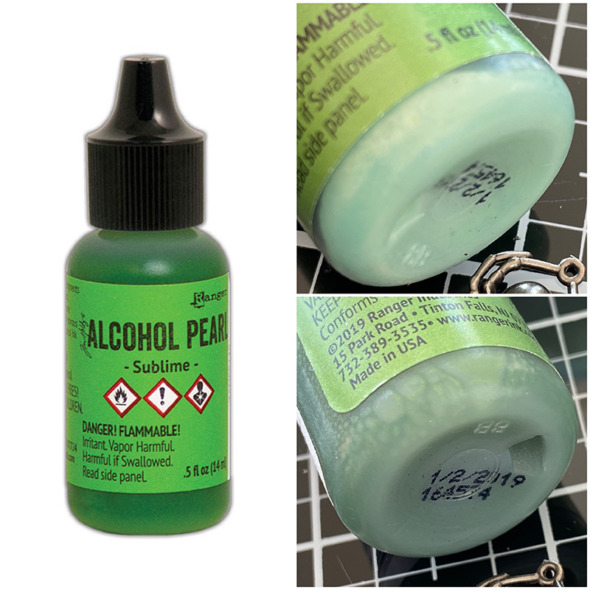
I used sublime alcohol pearl colour on the back of the spider adornment. You need to give the alcohol pearl bottle a really good shake. I lightly tap the side of the bottle on my desk between shaking to help release the mixing ball which does get stuck to the bottom, especially if your bottle has been sat for a while. Keep tapping lightly and shaking until the mixing ball is released (you’ll hear when it happens) and then shake until the bottom of the bottle is clear of settled pearl as above.
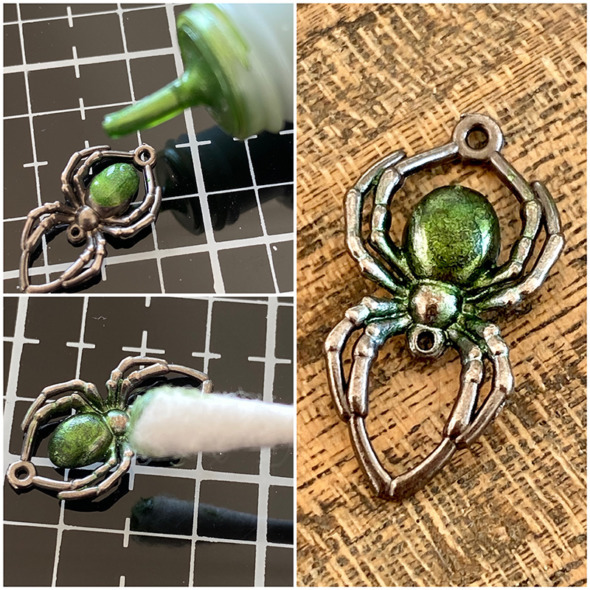
Drop a single drop of sublime** alcohol pearl onto an adornment spider from the skull and spider adornments pack. If you cover any other part of the spider, add a drop of alcohol blending solution to a cotton bud and wipe away.
** the alcohol pearl shown above is “envy” the pearl shown below and on the actual make is “sublime” I chose the wrong pearl when I was recreating the step out for someone in the Tim Holtz Addicts group.
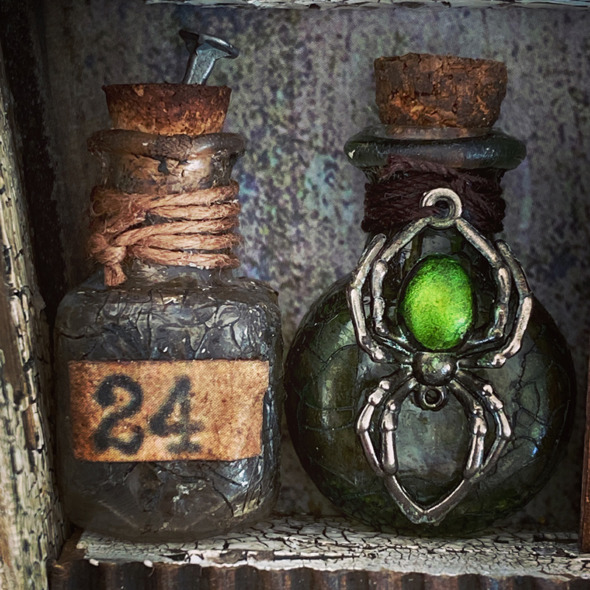
I have not used any filter or editing for that spider. The sublime alcohol pearl is really that vibrant! It’s wicked right?! I added a couple of tiny corked vials and a label from the ephemera pack. I added a stake from the vignette hardware pack. I LOVE these, they’re so vampire! The bottles are covered in distress rock candy crackle paint. You can see how on my pumpkin pumpkin post.
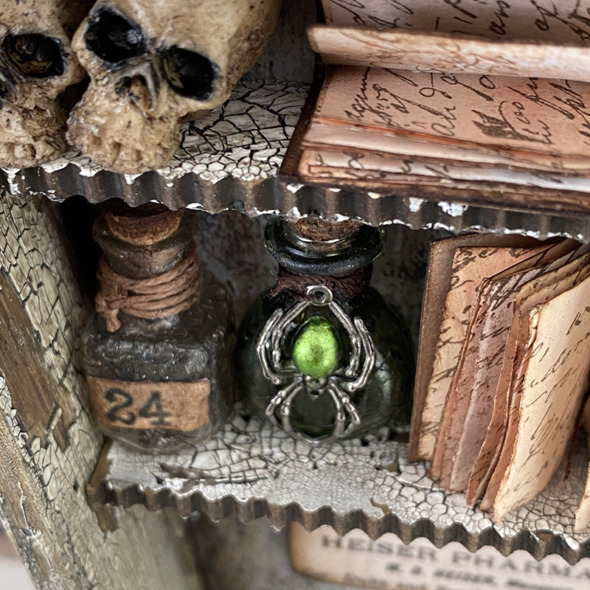
I love these shelves to add trinkets to, and of course a couple of skulls from the skull and pumpkin pack, with a little black soot distress paint brushed into the eye sockets.
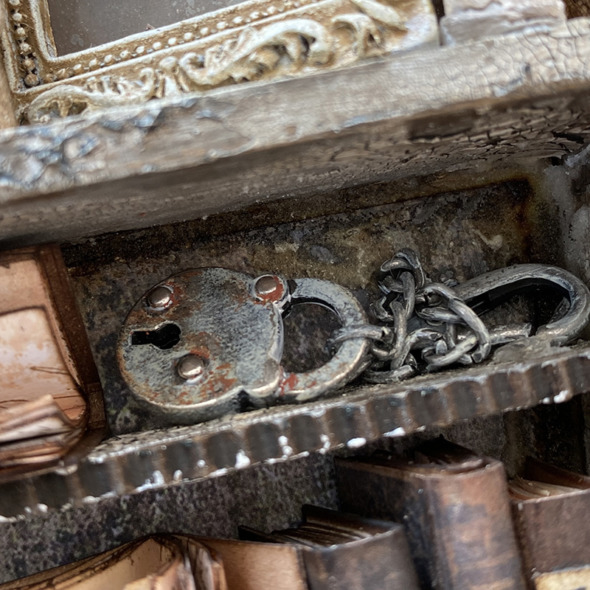
I grunged up a lock from the lock and keys adornments pack by adding distress grit paste and crackling campfire distress paint and a little white gesso. Attached to the chain of a hook clasp, glued to the shelf.
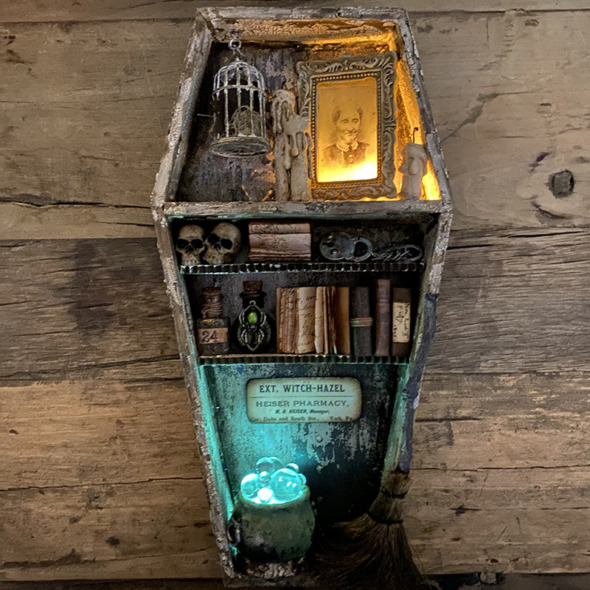
I hope you’ve enjoyed this walk through of my witchy vignette coffin. I think you’ll agree that Tim designed the most EPIC idea-ology Halloween line. A huge thanks to Tim, Mario and Paula for all their support and encouragement. It was a lot of fun making this and they gave me some great tips and advice and you couldn’t ask for a better cheer squad.
Thanks so much to you for joining me this week and I hope you are enjoying making in whichever season your heart desires.
If you haven’t seen, Tim has announced his Holiday 2021 demo series. Join Tim on his YouTube channel every Saturday in November! I can’t wait.
Zoe
…
affiliate links used at no cost to you


Love all the trinkets and goulish goodies that you added to the vignette….mwahahaha….still making Halloween projects…still waiting on Drippy Candles too!…makers gonna make….
I LOVE your fabulous creations!
you give me so many things to try though the halloween season. yet another great make. and all the details are so very helpful and appreciated. thanks as always for sharing.
When I saw this on the live, my eyes were just going everywhere. Love everything about this Zoe, those skulls, the books, the everything. Thank you for sharing the techniques you used too. Have a good Saturday.
Thank you so much for the up close photos of your project! I have given up hope of getting my hands on the drippy candles. I guess it is time to try to make my own!! I do understand these are trying times for us all. Just blessed to be alive and breathing. God bless!
Absolutely stunning Zoe.
I totally love how you made this and the lighted bubles in the cauldron are magnificent.
Thank you so much for the super how-to post, stay safe and
have a wonderful day.
Thank you so much for sharing your process Zoe! Another Absolutely Fabulous creation!
I shall be referring back to these tips & tricks in future.
Sadly many of the Halloween supplies are not available’ down under’ ( New Zealand) are quickly sold out, or don’t make it here in time for October. So I enjoy your creations very much, while being a little sublime lime 😄
This is one of my all time favourites of yours Zoe, you really are the queen of crackle! I just love how luminous that spider is, the cauldron lit up is superb and the birdcage is fabulous. A truly inspirational make! xx
So amazing! I love your attention to detail. Thank you for posting this. It is quite inspiring.
This is so fabulous.
I love all your makes and cannot thank you enough for all your tips and instructions. Great project!!
Thank you so much for the steps! I’m new to the deco side of all these goodies. I just started making cards. I was curious how all the books were made in the makes. Now I know! Thank you again for sharing!
Love your style!!! Thanks so much for sharing your talent!
So much fun ! Thank you for sharing all your ideas and talent !
You are so amazing in all your creations! What you think of making and how you carry it out is over the top! Thank you for sharing how you created this!
Thank you for sharing all your tips and tricks!!
An amazing make love it
Thanks for all these awesome details! I was looking for how to do the tiny books and this really helped! An amazing project! So creative!
Amazing make and detailed walk through. Thank you so much for taking the time to post the process. I learned some techniques just from reading through it! Thank you Zoe! Going to tread lightly and try some of these one at a time 😊👍
I study your work alot even over and over but never left you a comment. Your work is fabulous and very detailed. I guess thats why I look at it so much. Lol. Thanks for sharing your talents. From a budding, new crafter.
I love your way to distress and crackeld the “cercueil “…i am gonna try to do the samedi way…see you on the group “addict” for the results…thank you for inspiration