Hello friends! It’s that time of year again… red cups at Starbucks, cinnamon candles, chestnuts roasting on an open fire and Tim Holtz Christmas stamps! I hope you managed to catch the Tim Holtz facebook LIVE showcasing the new Stampers Anonymous Christmas stamps. You can catch up on all the fun on Tim Holtz blog.
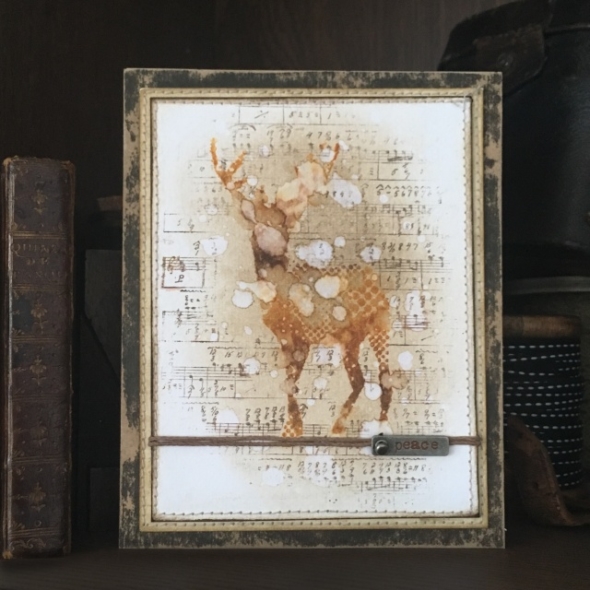
If you know me or know of my love for all things vintage, you can probably guess the “what am I going to do with these” look on my face when I saw the modern christmas (CMS388) stamp set. I love a creative challenge and decided to make it my own…
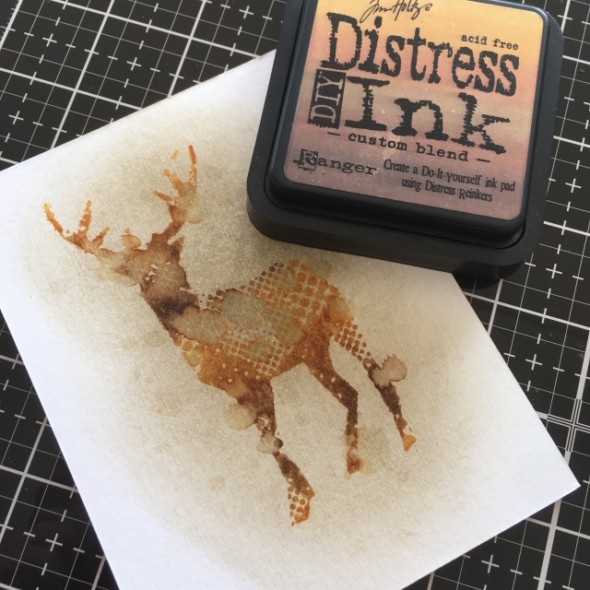
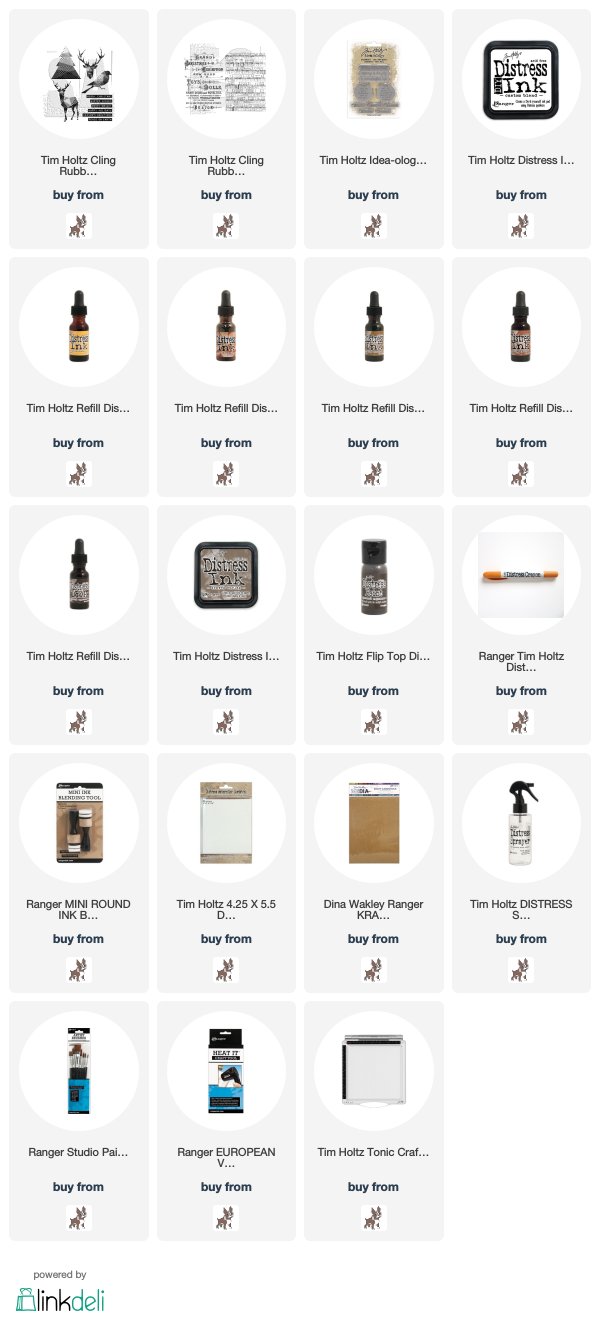
Using a custom blend distress ink pad (wild honey, rusty hinge, brushed corduroy, vintage photo, ground espresso), I inked the deer stamp from the set and spritzed the stamp with water before stamping onto distress watercolor cardstock using the travel stamp platform and drying with a heat tool. Once completely dry, I blended in frayed burlap distress ink over the center of the card and masked off the deer ready for the next step.
*Beginner Tip: To create a stamp mask, simply stamp the image onto inexpensive copier paper and fussy cut. Place this over the original stamped image to protect during background stamping. It’s best to use thin paper for the mask, otherwise you create a step for the background stamp and you won’t get nice and close to the image.
Click HERE to see how to create a custom blend distress ink pad.
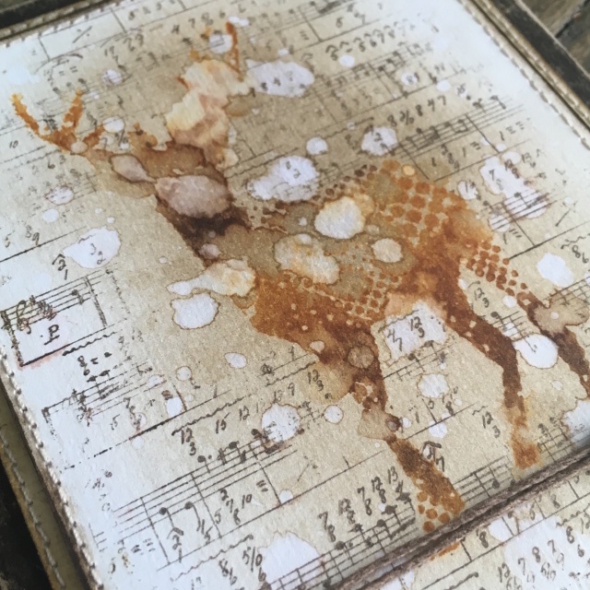
One of the many things that I love about Stampers Anonymous, is they never retire any of the Tim Holtz stamp sets. I used a stamp from last years seasonal release stamp set, music and advert (CMS358). I inked up with ground espresso distress archival ink and stamped without a grid block or stamping platform to get an inconsistent and weathered look. I spritzed with water and used a clean cloth to pick up the water droplets, it lifts the ink and creates the cool bleached effect. I got a lucky drip right on his nose which was perfect.
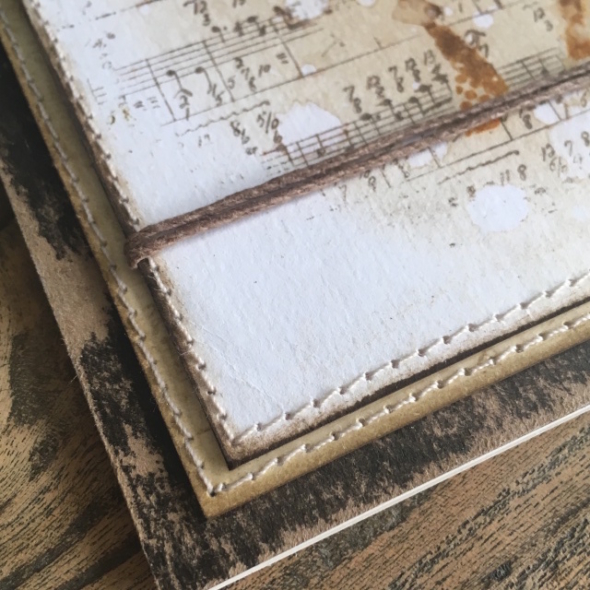
I wrapped twine around the card and stitched the edges with my sewing machine, I use a Singer heavy duty machine. I painted the edges of kraft card stock with ground espresso distress paint and sanded back to reveal the kraft.
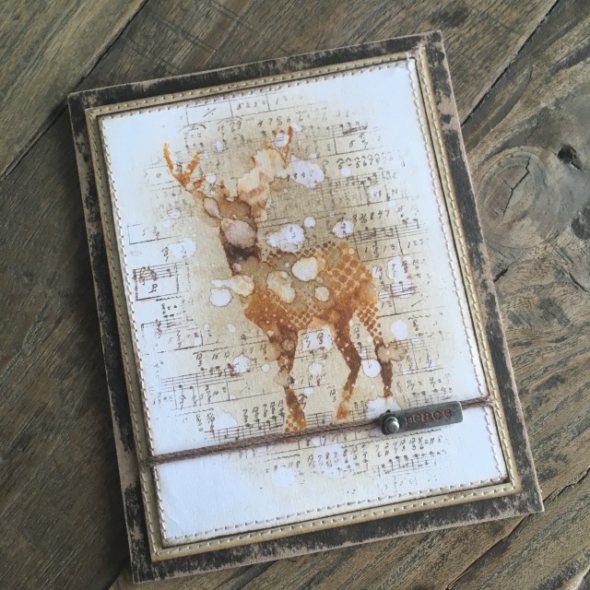
I love that this card is so quick and easy to make. Perfect if you want to keep it simple or are sending out lots of holiday or winter cards this year. I added a story stick with rusty hinge distress crayon, but you can add any sentiment to make it a winter themed birthday or notecard, lots of versatility.
I’ll be back tomorrow with another Christmas card. Thanks for stopping by.
Zoe


One of the favourite techniques you taught me and my fellow crafters… you are so awesome ♡♡♡
Great card Zoe, love the technique. Like the deer and how you stamped it then sprayed before stamping. I LOVE how it turned out.
Zoe, this card was a favorite of mine, you’ve absolutely captured the vintage look. The beautiful stamp is such a fabulous mix of color and I am definitely picking up that music and advert stamp I missed last year as it’s just such a wonderful background graphic. Thank you for sharing your super talents with us! xx
This is ABSOLUTELY GORGEOUS!!! I think I may have had a similar look on my face when I saw this set…you absolutely ROCKED this and that technique is the bomb! I am totally going to have to try. A modern stamp with vintage perfection ..who knew that it could be done. I love it! Awesome job, Zoe! ♥️
This might be my favourite of your holiday cards (they are all fabulous – you have my address, right?!). Simple techniques well-executed #allthehearts for that custom blend combo; now I need to make me one of these.
Genius idea to use a Custom Blend Pad. Such a great card (even in brown) for Christmas! This is vintage perfection my friend.
Oh your stitching frames this ethereal deer so perfectly…dreamy looking!
Oh Zoe that card just warmed my heart… that deer …OMG; fabulous !!
Somehow I missed those stamps when they released … love your card.