Christmas is coming and it’s time to think about decking the halls. I was inspired by the wonderful new Tim Holtz holiday idea-ology to make a holiday table decoration.
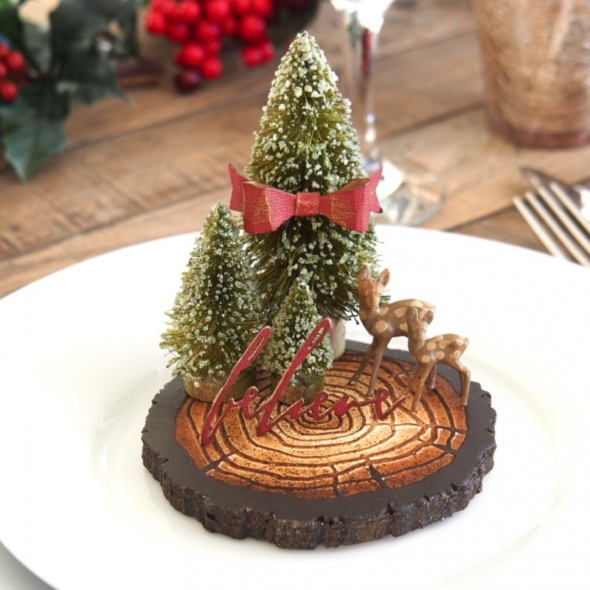
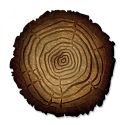
Living in Denmark for the past couple of years, I wanted to add a little Scandi style to my Christmas decorations. The woodland theme is popular here, so the tree ring die was perfect and that’s where I began…
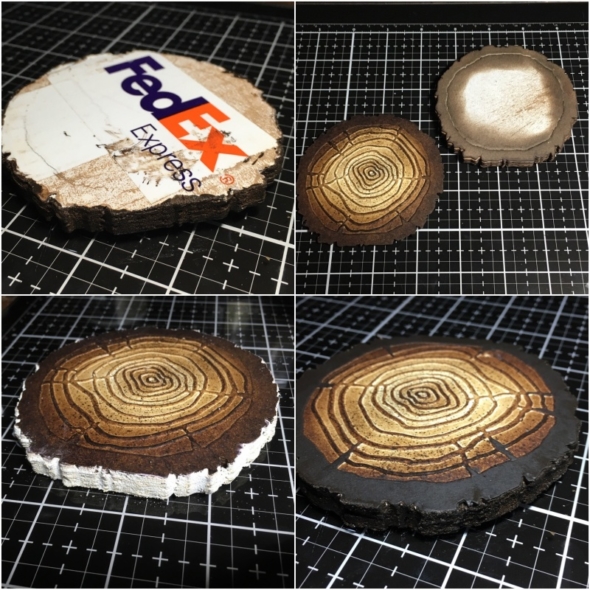
To make a dimensional base, I upcycled some shipping boxes I had amassed during a lot little black friday sale shopping!
Step 1: Die cut slices of tree ring from the shipping boxes and glue them together using distress collage medium.
Step 2: Die cut one piece from distress mixed media heavystock, (this is the piece you’ll emboss, using the matching texture fades folder that accompanies the tree ring die). Blend in vintage photo distress ink and adhere onto the top of the stack.
Step 3: Using a finger, spread distress grit paste onto the side to hide the layers of corrugated cardboard packaging, wiping any grit paste off the top surface and set aside to dry.
Step 4: Paint the side and top outer tree ring with ground espresso distress paint and set aside to dry.
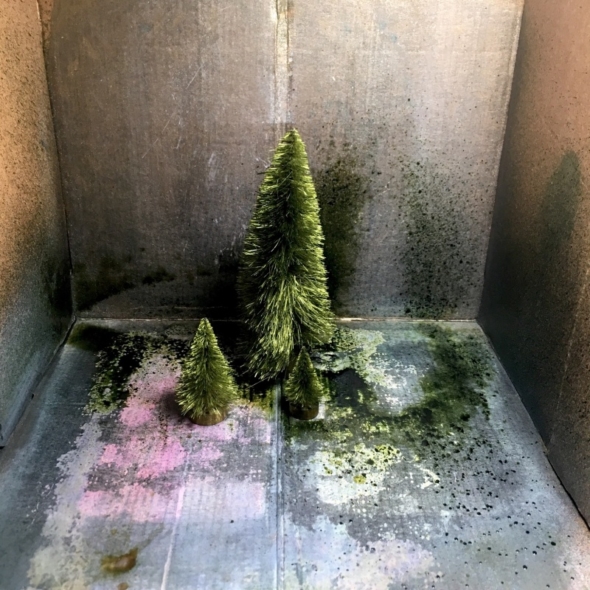
Using a Stampers Anonymous Splatbox, spray a mini, small and large woodlands tree with peeled paint distress spray.
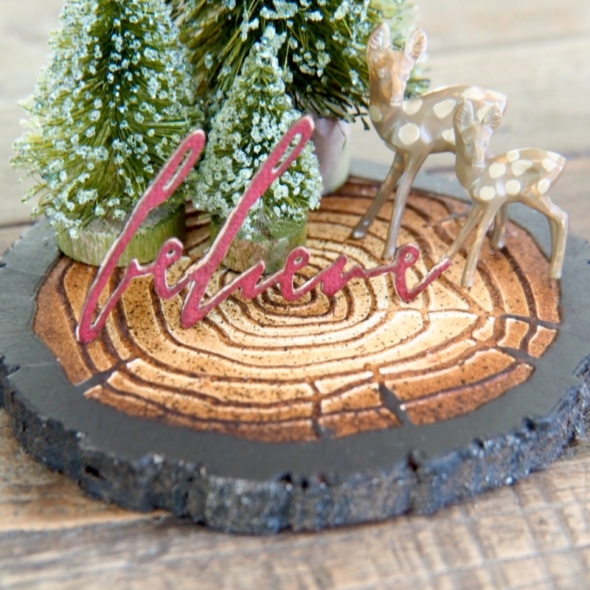
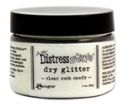
Brush distress collage medium over the trees with your finger and sprinkle over distress rock candy glitter. If you use the new glitter duster that was recently released by Stampers Anonymous, you get a much finer layer of glitter than pictured here.
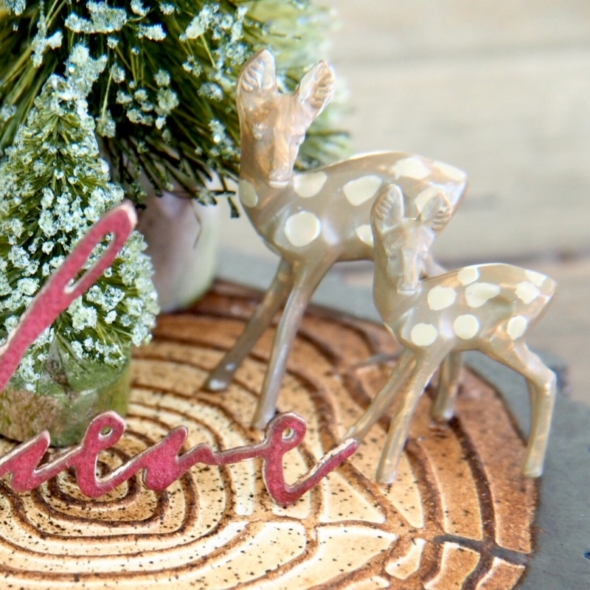
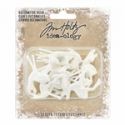
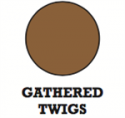
Paint a small and large idea-ology decorative deer with gathered twigs distress paint and once completely dry, add circles with antique linen distress paint.
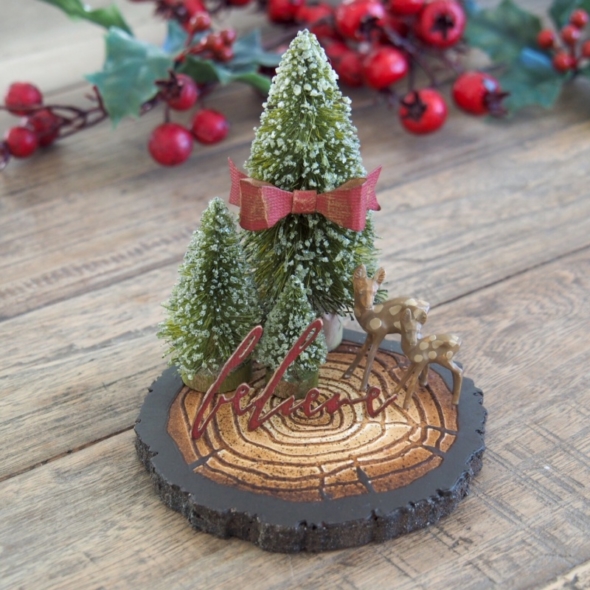
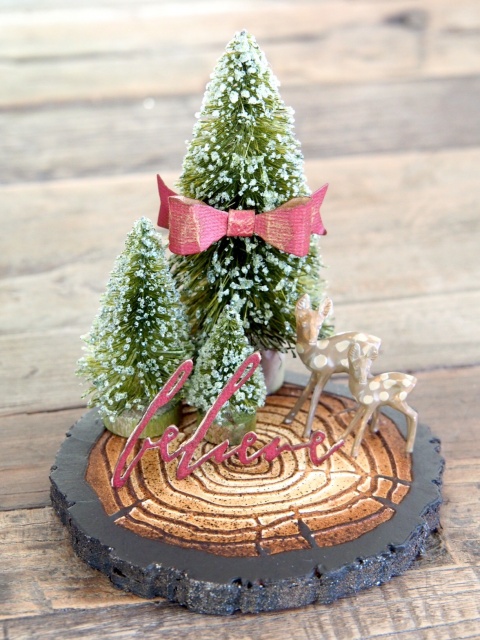
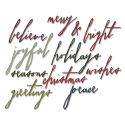
Die cut a bow and word from Tim Holtz thinlits handwritten holidays and fold-up bows thinlits dies, from idea-ology classic kraft stock. Adhere everything to the base using distress collage medium (a little goes a long way and it dries in seconds).
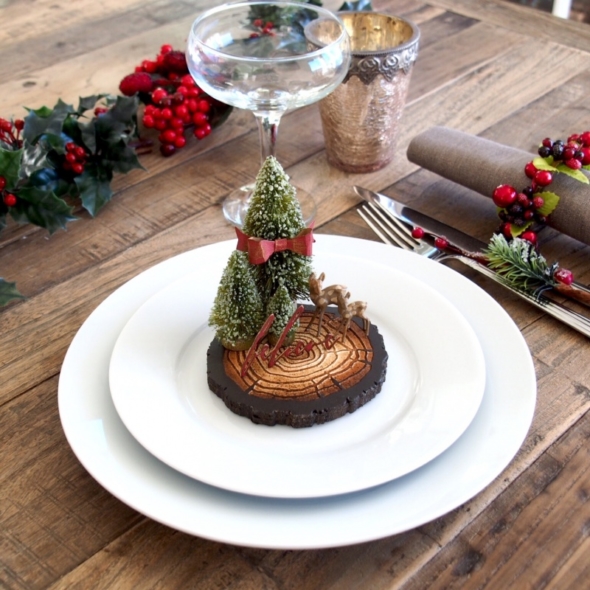
There are so many options with this decoration. You could add an idea-ology memo pin with a name and use it as place-card holder. You could leave off the “believe” die cut and put an electric tea light in the front. You could also add a bent word band to the front. I will be making some more for my family Christmas table and will share them on my instagram.
 Thanks for stopping by and I hope that this has inspired you to make something for the holidays. You can see all of Tim Holtz holiday idea-ology products on Tim’s blog.
Zoe







Adorable. I am going to give this a try.
Really nice project, really nice. I love the trees! Deers have been always a given at this time of year, they just fit. Really like this one Zoe. 🙂
Looking lovely, I love the layers on the base… Merry Christmas ..
This is fantastic! I love the dots on the fawns and the base especially.
I so need your little makes for my table…lol! LOVE the layers on the wood slice base…and the spotted deer…too cute!!!
Soooo flippin’ COOL, Zoe!!! I have always known you were one, clever gal…but THIS…it’s over the top awesome!!!
Pure genius!
Pure AWESOMENESS…love these to bits!! I am always inspired by you!!! Hugs! ~Stacy ♥️
meget flot detvdu har lavet, kan se du bor i dk som mig, voææe være rart hvid du evt lave link til dansk , nmere følge hvad du laver så
My niece lives in Norway now. She would so love something like this.
What a great project
Awesome,It looks resin the base. You rock!
Really love this Zoe! That wood slice base is perfect!
Very nice! I was wondering how you got that nice thick base.