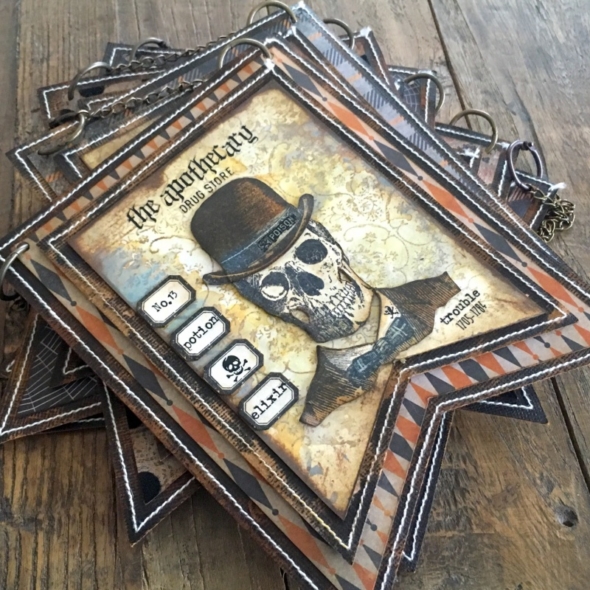
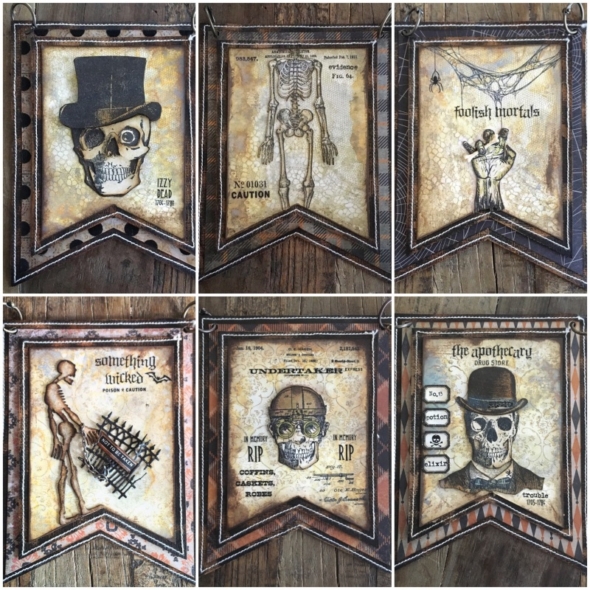
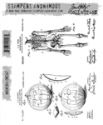
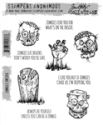
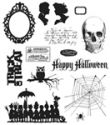
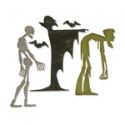
Hello friends. Hope you had a happy halloween with lots of treats. Today I’m sharing the halloween banner I made using some of Tim Holtz Halloween 2018 products. I loved this years Halloween release, but my heart was stolen by Mr Bones from the Mr Bones stamp set (cms345).
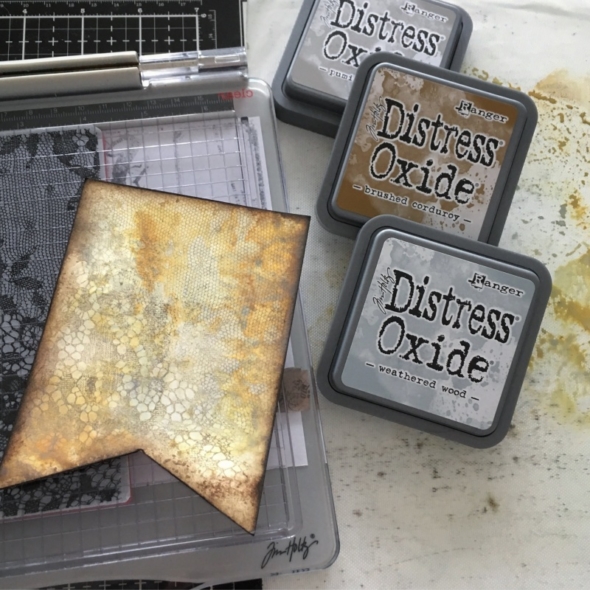
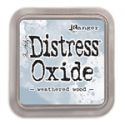
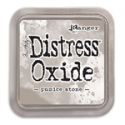
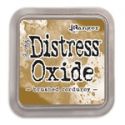
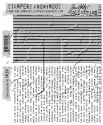
Using 3 of my favourite distress oxide inks from the final colour release, I created a base for the top layer of the banner. Stamp the lace stamp from ornate and lace stamp set (cms348) with frayed burlap distress ink. Edged with ground espresso distress archival ink.
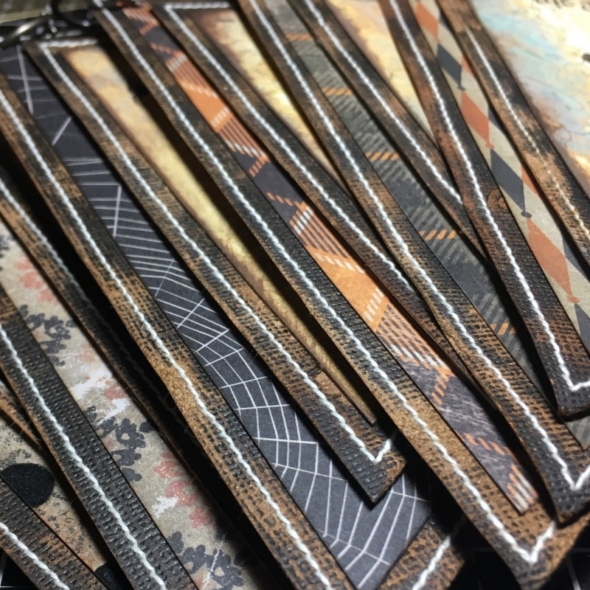
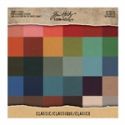
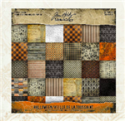
All of the background banner panels are Tim Holtz halloween paper stash and classic kraft stock, sanded and blended with vintage photo distress ink and stitched. You can see the banner dimensions HERE.
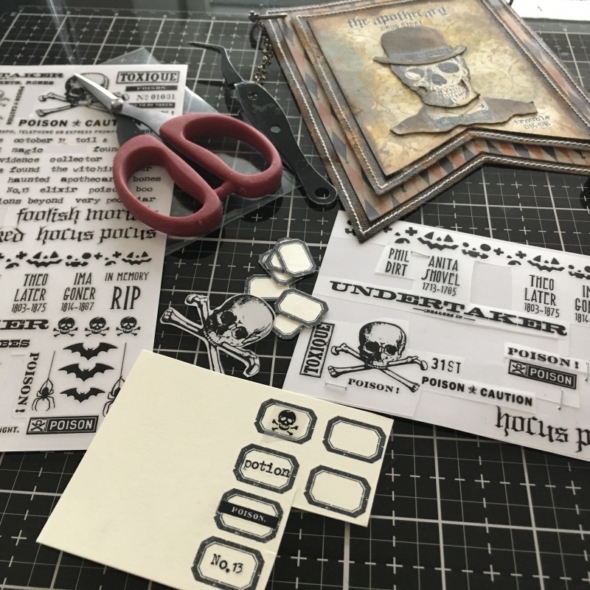
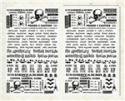
The Halloween remnant rubs were perfect for adding accents and I used them throughout the banner. How cute is this tiny vial label stamp from stamp set mini halloween 3 (cms140). I used the skull head from the same set in 2 of the banners further down.
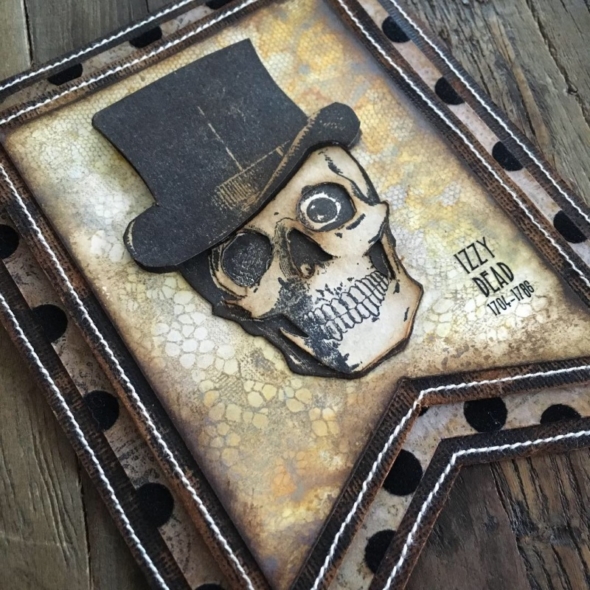
But back to Mr Bones, who was the beginnings of this banner and my favourite stamp of the season. I will let you into a little secret, he’s sticking around for Christmas… with that hat straight out of Dickens, A Christmas Carol!
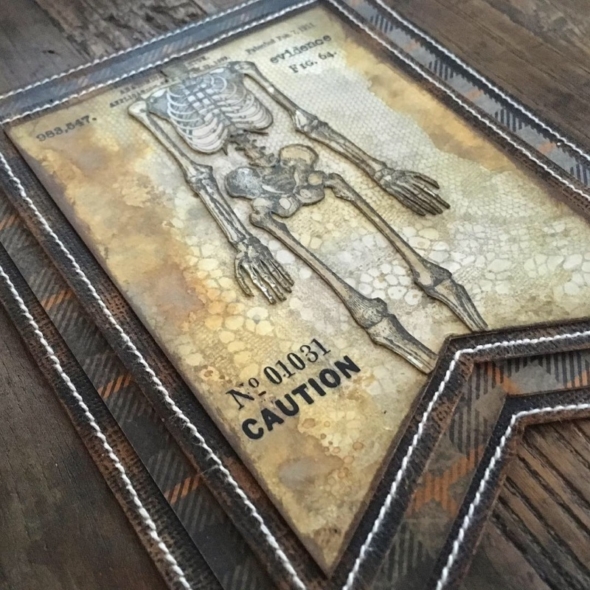
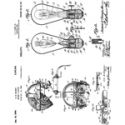
Anyone else signed up to the inventor stamp club?! I did fussy cut this, I find it relaxing, but for those who don’t, stamp directly onto the banner. I’ve just ordered the inventor Christmas stamps and can’t wait to play with them.
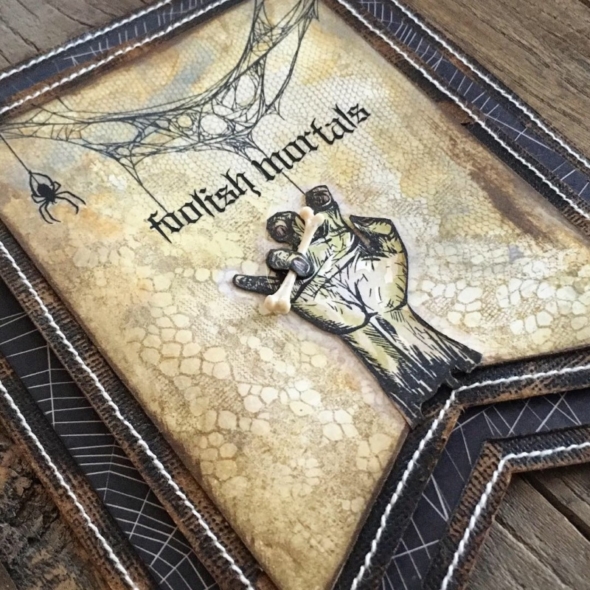
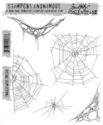
Another of my favourite stamps from this season was this one from the tangled webs set (cms346). This is another stamp I am going to use beyond halloween. I’ve seen some fantastic things done using this and the theories stamp set (cms329) in the Tim Holtz Addicts facebook group. If you’re an addict, come and join in the fun. I tucked a bone from the idea-ology boneyard set by stamping an extra finger and gluing it over the bone. Thanks Tami Bastiaans for the zombie finger inspiration.
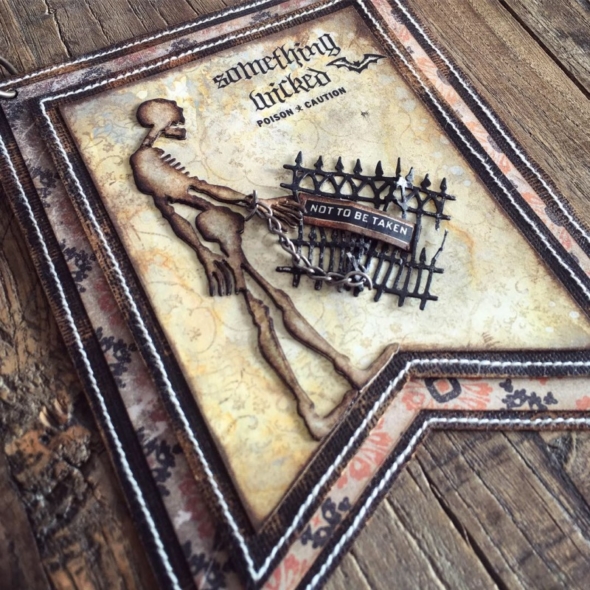
I used the ornate stamp from the ornate and lace set (cms348) for the background on the next 3 banner panels. I cut a skeleton from heavystock with the ghoulish thinlits die set and a fence from the village graveyard thinlits set. I covered the fence with black soot distress paint and chained it to the skeleton. I just love how well the old and new products in Tim’s line work together. It makes adding to your collection each year so much fun.
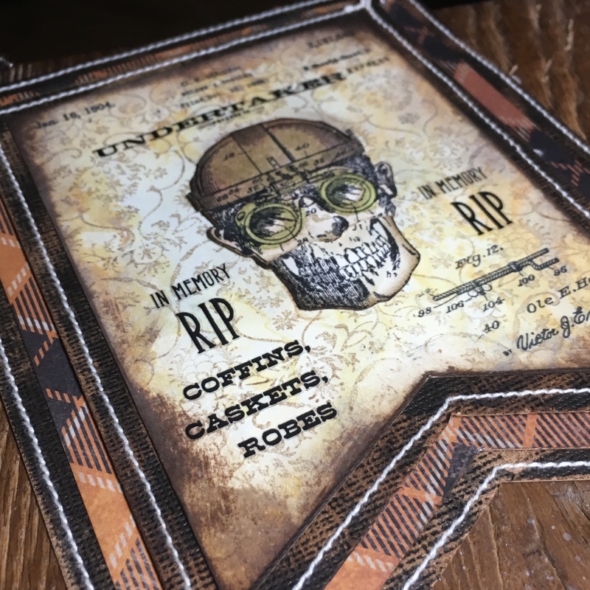
This was a “huh, what if…” idea that became a “YES” moment. I combined the top of a stamp from the inventor 2 stamp set (cms342) and bottom of the skull head from mini halloween 3 stamp set (cms140). Stamp, fussy cut and glue one over the other and watercolour with distress inks.
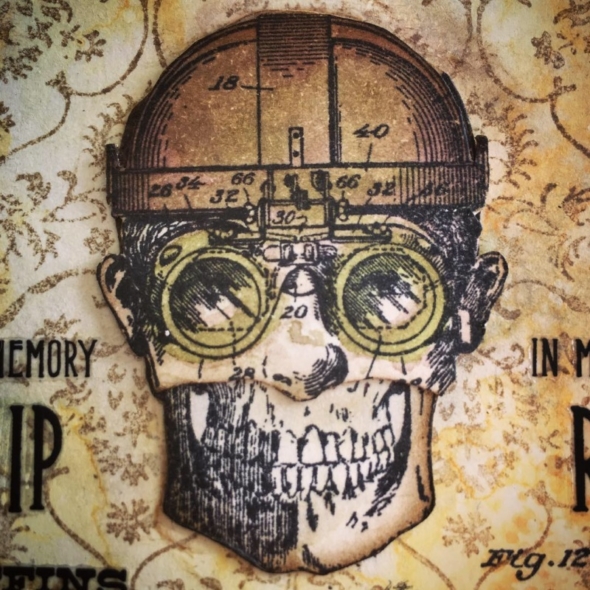
I posted the uncanny resemblance that my husband’s 2016 halloween costume has to this stamping monster mash up, on my instagram.
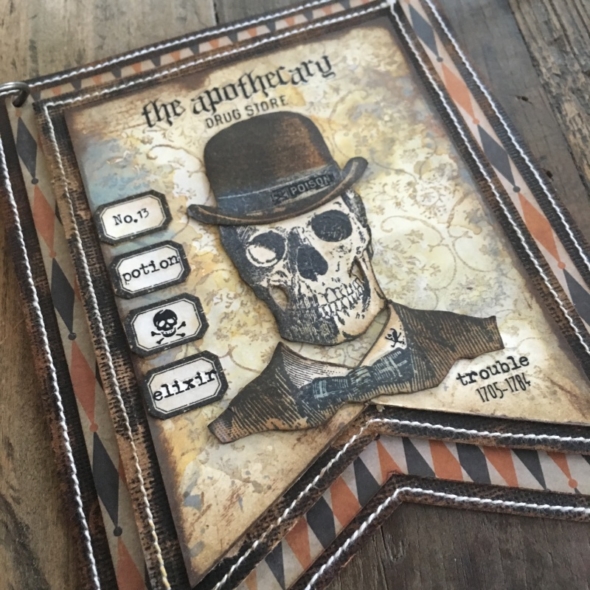
There had to be a dapper skull head including in this banner. I used some of the remnant rubs on the shirt collar and hat, as well as on some stamped tiny vial labels. There is a little extra chain (used to connect the banner) left at each end ready to add a couple more panels next year…
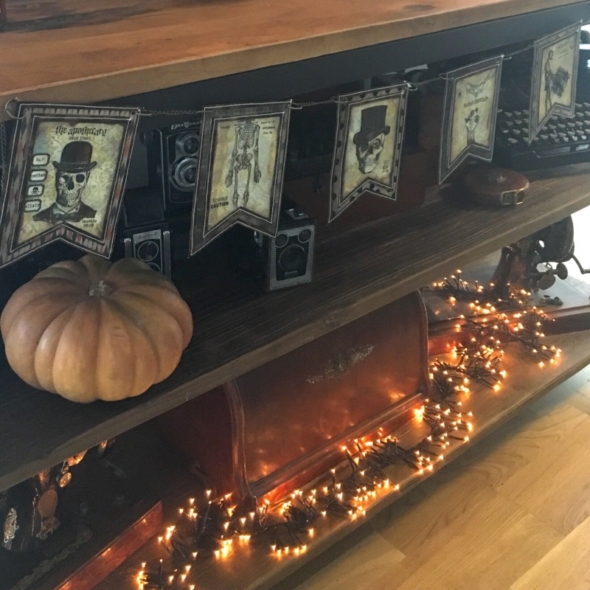
Thanks for stopping by. I hope you like the banner and it’s inspired you to make your own.
Have a great Saturday.
Zoe
