‘Tim Holtz’ Category

  1. Tim Holtz Easter Idea-ology

    23rd January, 2023 by iGirlZoe

    igirlzoe: tim holtz idea-ology easter salvaged rabbits tiny eggs

    Happy Monday friends. Hope you had a nice weekend and were inspired to get making after such a fun Saturday with Tim’s Valentine + Easter LIVE demo. If you missed it, Tim showcased the new idea-ology Salvaged Rabbits and Tiny Eggs and shared some great techniques, tips and tricks (and Mario brought the costume fun with his cute bunny glasses). You can catch up with the replay over on Tim’s blog.

    igirlzoe: tim holtz idea-ology easter salvaged rabbits tiny eggs
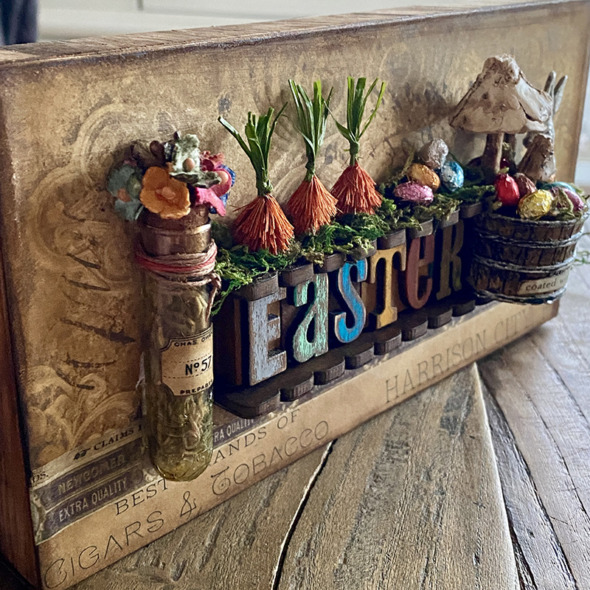
    I made a sample that Tim shared during the LIVE using the new Salvaged Rabbits, Tiny Eggs and some other pieces from the idea-ology line. I’m so happy that Tim designed some rabbits and eggs for this year and I hope they come back next year, but I stocked up just in case, so grab what you need before they hop away.

    I was inspired by many of the ideas Tim shared during last years Creative Easter Ideas LIVE. So make yourself some snacks and check out the how to’s on Tim’s blog.

    Here are a few more details of my make and the idea-ology products used…

    igirlzoe: tim holtz idea-ology easter salvaged rabbits tiny eggs
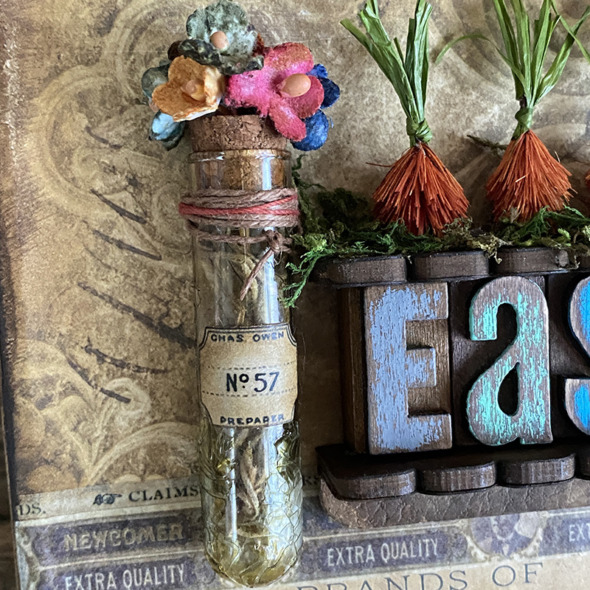
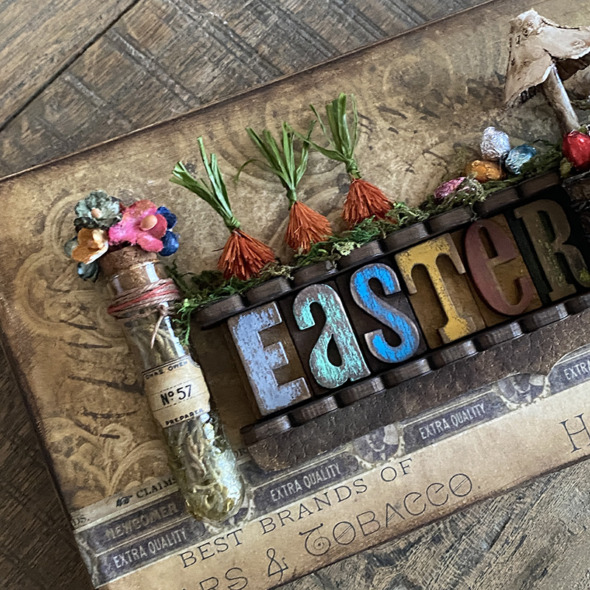
    Botanical Test Tube
    idea-ology: Test tube. Bouquet. Snippets Ephemera. Specimen Remnant Rubs.

    igirlzoe: tim holtz idea-ology easter salvaged rabbits tiny eggs
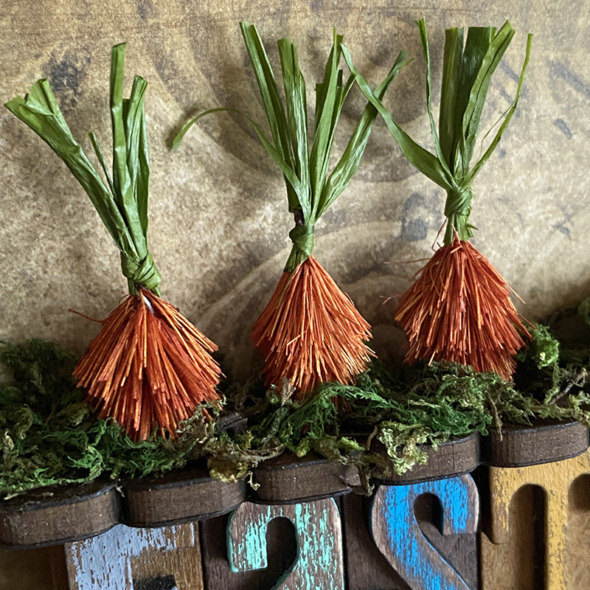
    Buried Carrots (Technique Video HERE)
    idea-ology: woodland tree.

    igirlzoe: tim holtz idea-ology easter salvaged rabbits tiny eggs
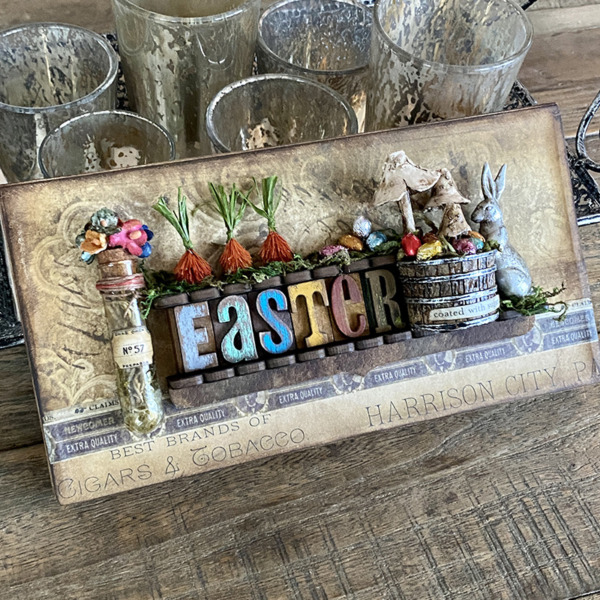
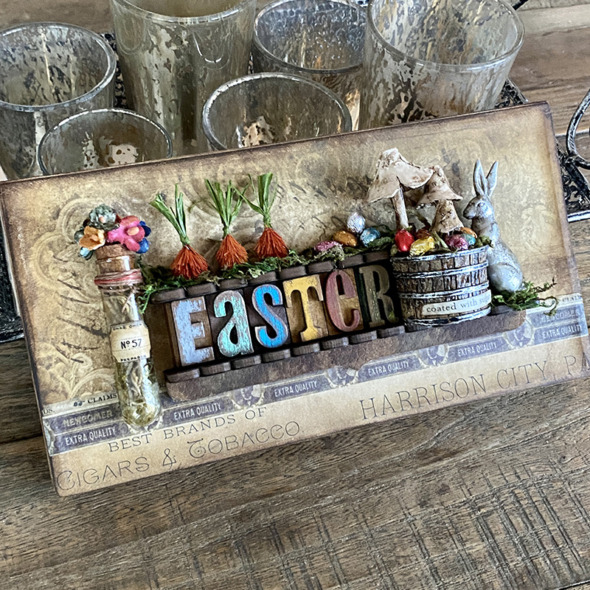
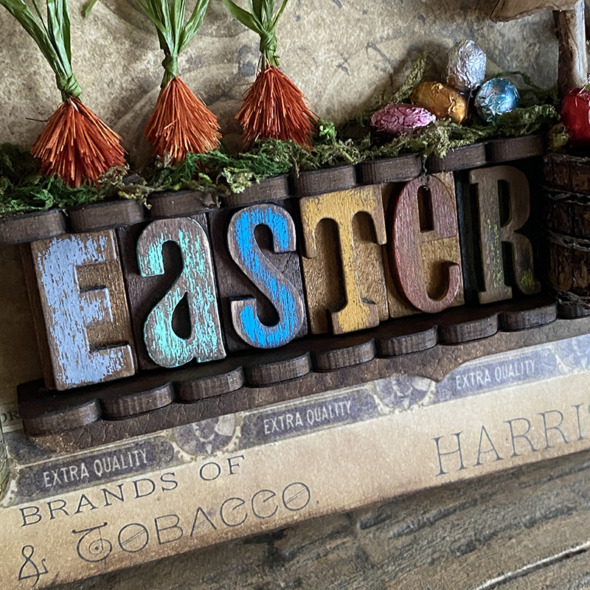
    Easter
    idea-ology: Letterpress (retired).

    igirlzoe: tim holtz idea-ology easter salvaged rabbits tiny eggs
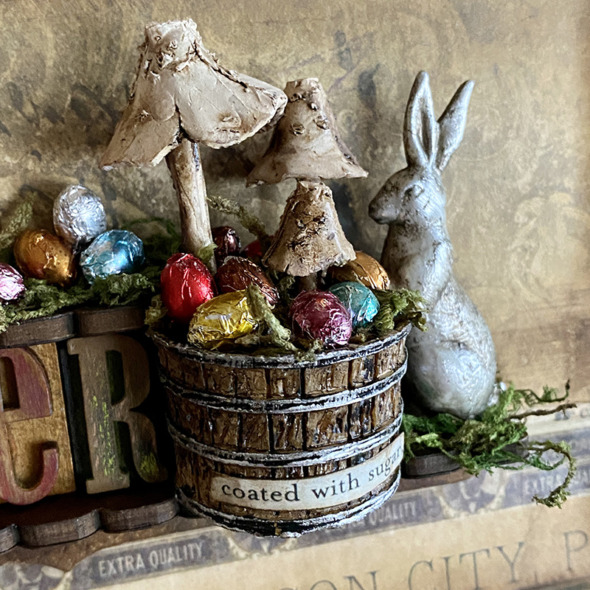
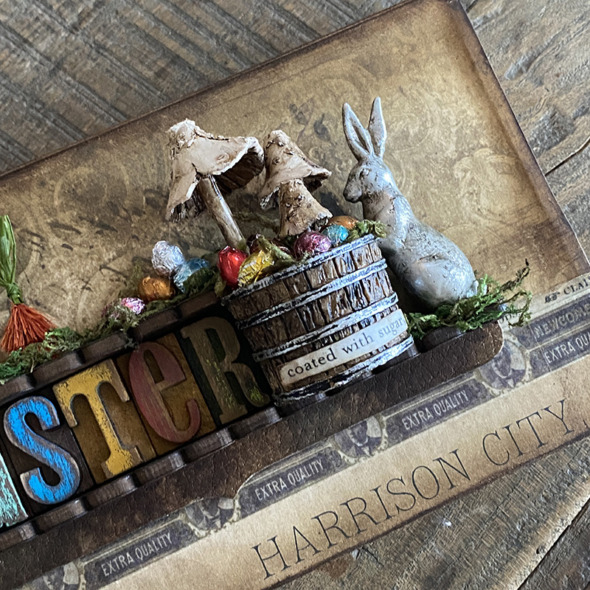
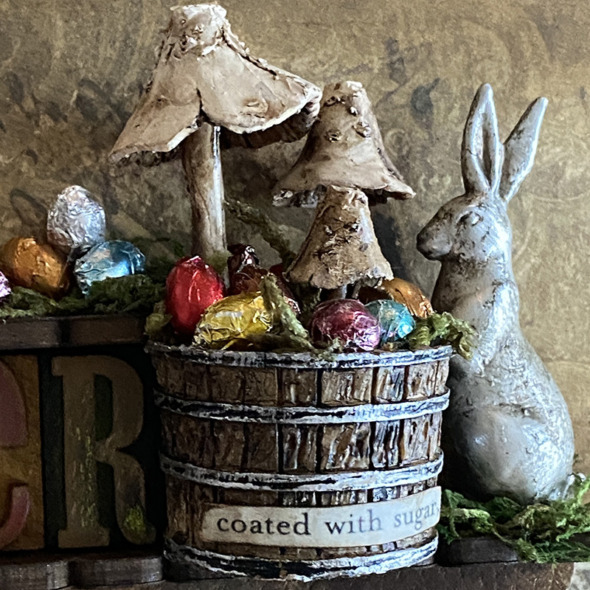
    Barrel of Eggs
    idea-ology: Tiny Eggs. Barrels. Toadstools. Salvaged Rabbit. Clippings Stickers.

    igirlzoe: tim holtz idea-ology easter salvaged rabbits tiny eggs
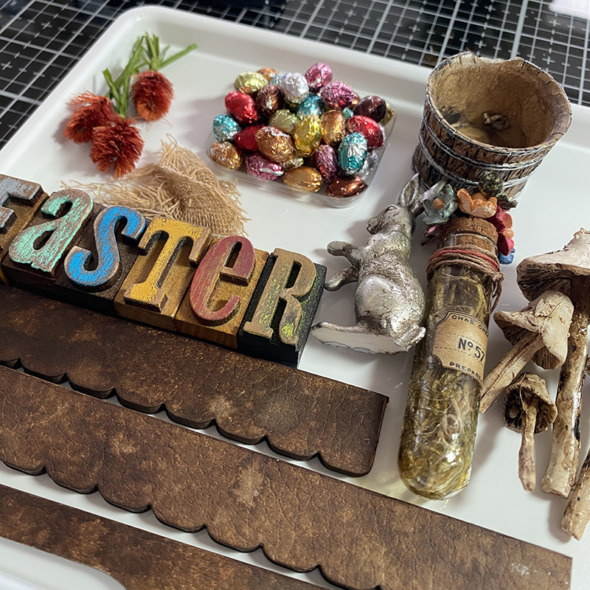
    I made each of the components for my sample and gathered them ready to add to my vignette tray.

    igirlzoe: tim holtz idea-ology easter salvaged rabbits tiny eggs
    Cover a small idea-ology vignette tray with paper from the backdrops paper pack and add design tape for detail.

    igirlzoe: tim holtz idea-ology easter salvaged rabbits tiny eggs
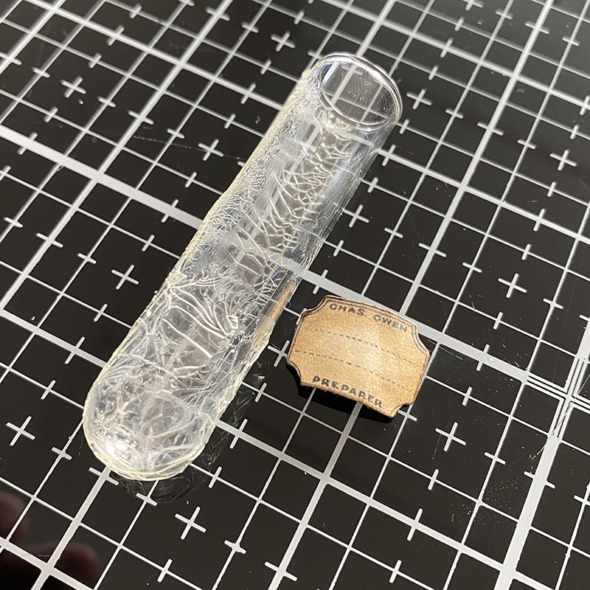
    Paint a test tube with distress collage medium and once dry, add a layer of distress translucent crackle paint and set aside to dry again. Add a little mushroom alcohol ink to age and a label from the idea-ology snippet ephemera set.

    igirlzoe: tim holtz idea-ology easter salvaged rabbits tiny eggs
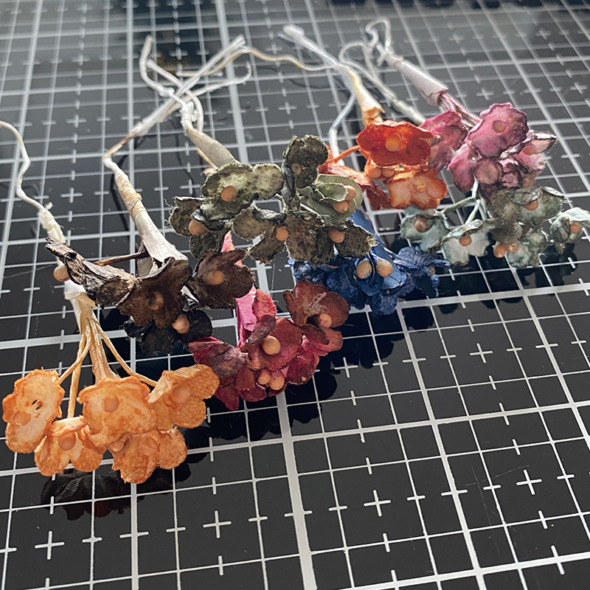
    Dye idea-ology bouquet flowers with distress spray stains and once dry, paint the center piece with distress paint.

    igirlzoe: tim holtz idea-ology easter salvaged rabbits tiny eggs
    Add moss to the inside of the test tube, make a hole in the top of the cork and push the bouquet flower stems in. Add jute string around the top and hot glue to the vignette tray. I added “No. 57” from the specimen remnant rubs set.

    igirlzoe: tim holtz idea-ology easter salvaged rabbits tiny eggs
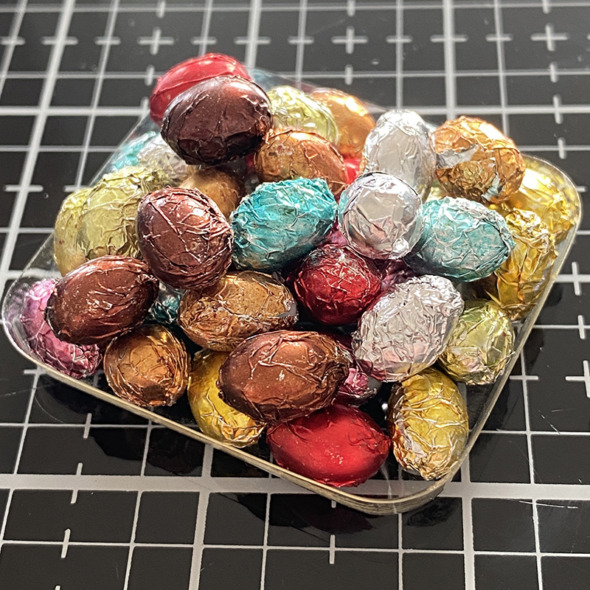
    Check out the LIVE replay to see Tim’s egg-citing foil technique. I didn’t make mine smooth as I wanted them a bit crinklier and grungier.

    igirlzoe: tim holtz idea-ology easter salvaged rabbits tiny eggs
    Hot glue idea-ology toadstools into an idea-ology barrel and add moss and the foiled eggs. The “coated with sugar” sticker would be even more perfect for the sugar eggs that Tim shared during the LIVE. They are definitely on my list to make next, so cool!

    igirlzoe: tim holtz idea-ology easter salvaged rabbits tiny eggs
    igirlzoe: tim holtz idea-ology easter salvaged rabbits tiny eggs
    igirlzoe: tim holtz idea-ology easter salvaged rabbits tiny eggs
    Thanks for stopping by and be sure to check out Tim’s LIVE replay. Let me know if you have any questions.
    Zoe


    affiliate links used at no cost to you


  2. Emporium

    20th January, 2023 by iGirlZoe

    igirlzoe: tim holtz sizzix 2023 everyday collection tailored gentlemen emporium

    Hello friends, happy Friday! I can’t believe it’s been almost a week since Tim Holtz launched his incredible 2023 Sizzix Everyday Collection. Where has the week gone?!! To see the LIVE replay and check out all the makes and the brilliant demo at the end, check out Tim’s blog.

    igirlzoe: tim holtz sizzix 2023 everyday collection tailored gentlemen emporium
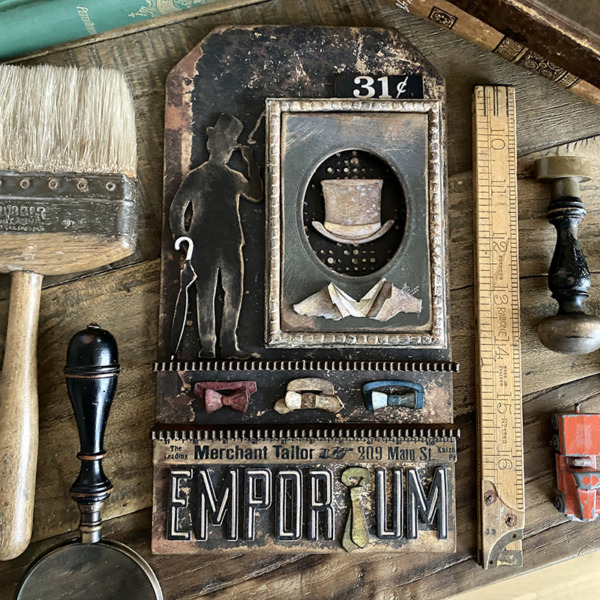
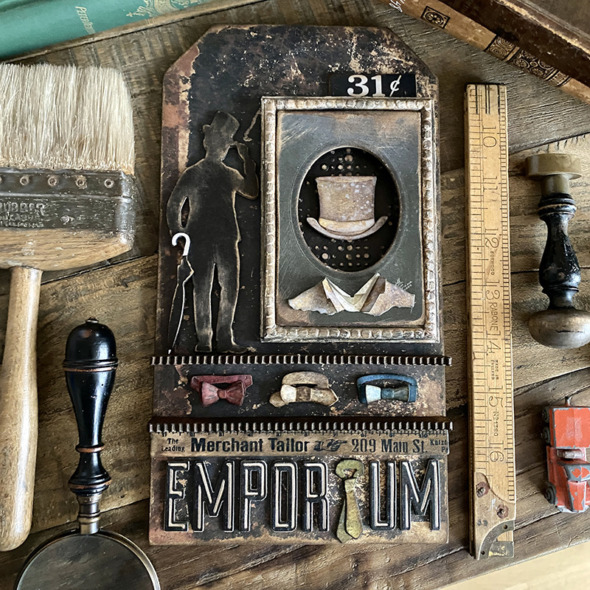
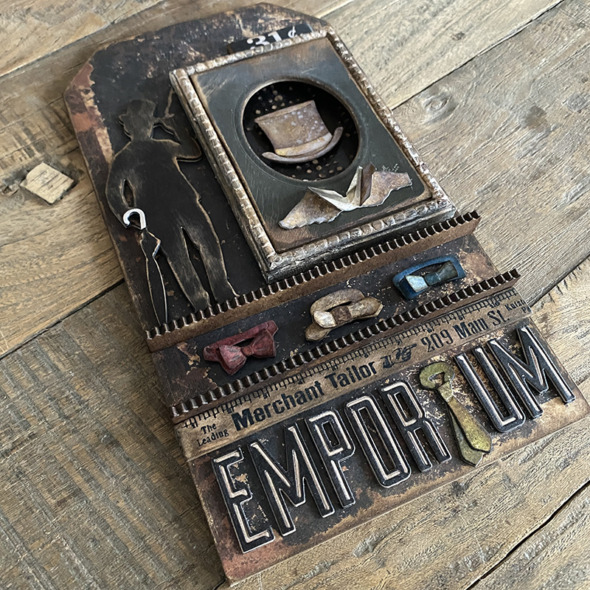
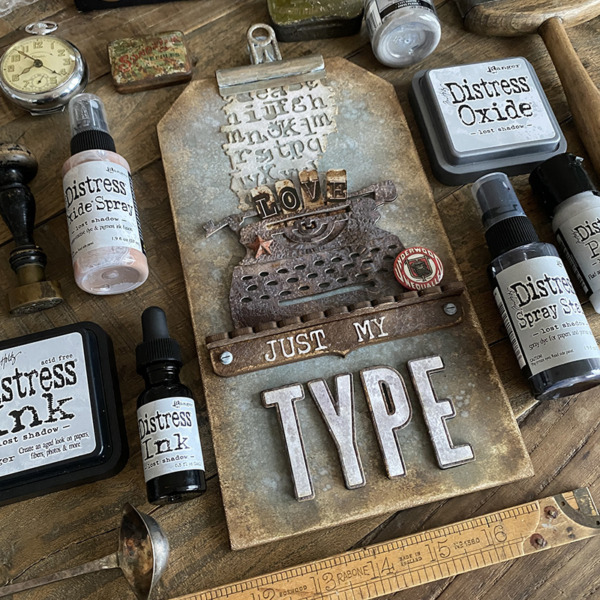
    I’m sharing my second make from the launch, and of course I had to make something using the Tailored die set! It’s definitely a top hat thing for me, which always has that vintage vibe I love. I love that these dies are 3 dimensional and during our maker zoom call when Tim showed us the turnover collars I nearly feinted! You MUST check out the demo at the end of the LIVE replay where Tim shares a hack on how to use these dies with the distinguished stamps! Oh my word! Let’s get into the details…

    igirlzoe: tim holtz sizzix 2023 everyday collection tailored gentlemen emporium
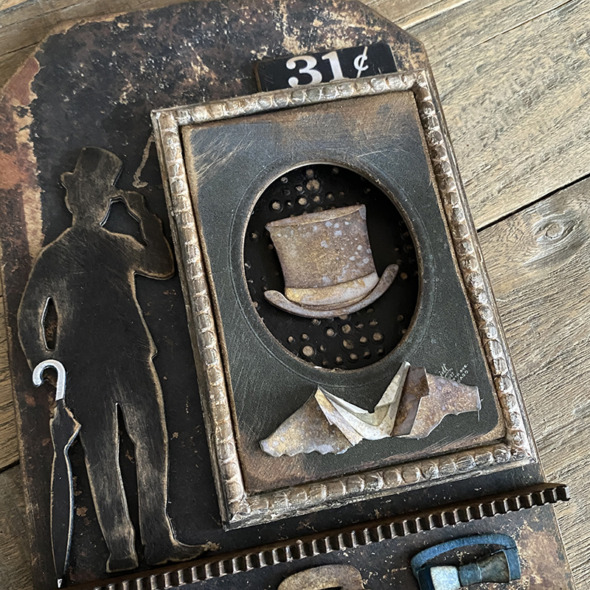
    I covered a small etcetera tag with paper from Tim’s Halloween backdrops (still available at the time of posting). I love the Halloween backdrops papers because they are so dark and grungy which works perfectly for a more vintage look. I added distress crackle opaque texture paint and distress crayon to a vignette frame and inset a baseboard frame, all from idea-ology.

    igirlzoe: tim holtz sizzix 2023 everyday collection tailored gentlemen emporium
    Using the new Gentlemen die set, I cut idea-ology black kraft stock and mounted onto black foam which I also cut using the die set. Adding a piece of metal foil on the handle and tip of the umbrella. The foil is adhesive backed so cut the handle and tip, trim as needed, peel and stick. This die reminds me of The Greatest Showman and The King’s Man, which was what my make was inspired by.

    igirlzoe: tim holtz sizzix 2023 everyday collection tailored gentlemen emporium
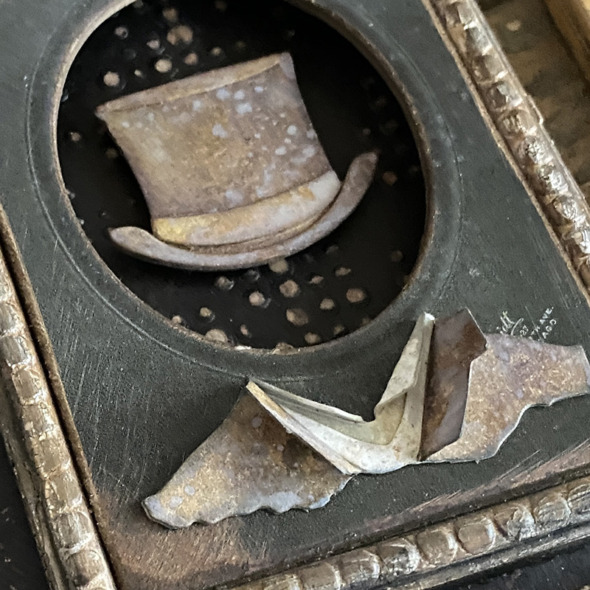
    I added the hat and collar from the Tailored die set. The turned up collar is everything and I love how easy it is to put together, there are crease lines which show you where to fold and the packaging makes it simple to see what goes where. You can glue the collar flat if you prefer but I really love the dimensional look. Make sure you check out Tim’s brilliant demo at the end of the LIVE, as mentioned above.

    igirlzoe: tim holtz sizzix 2023 everyday collection tailored gentlemen emporium
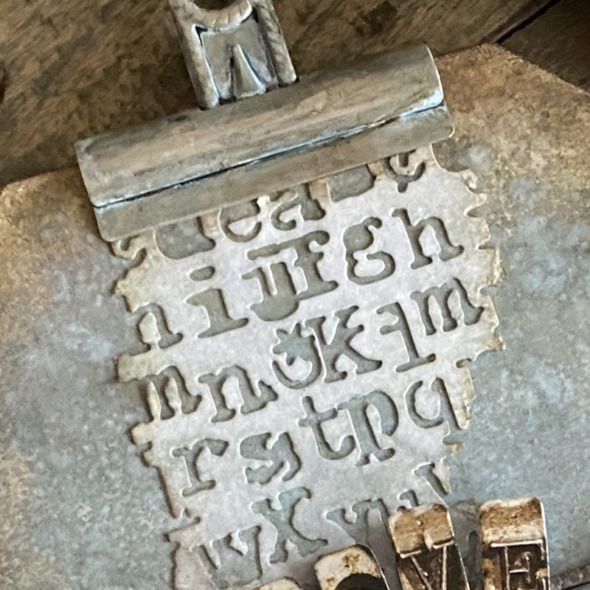
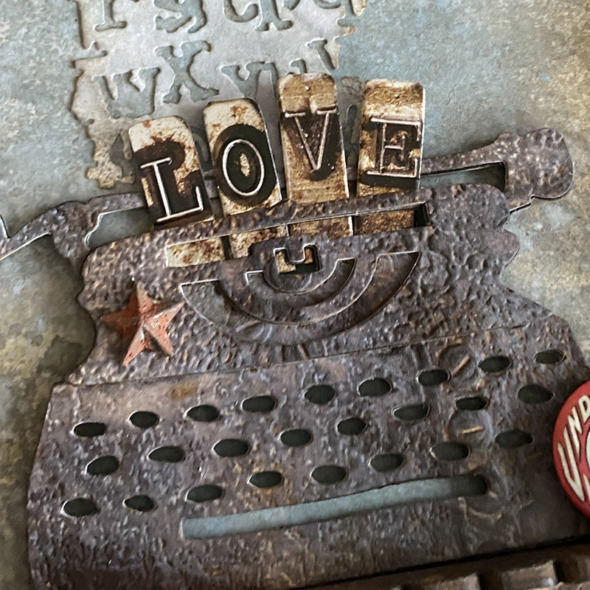
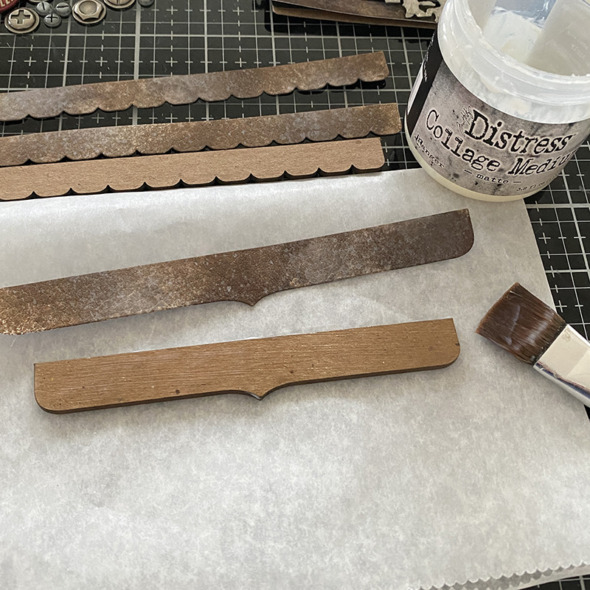
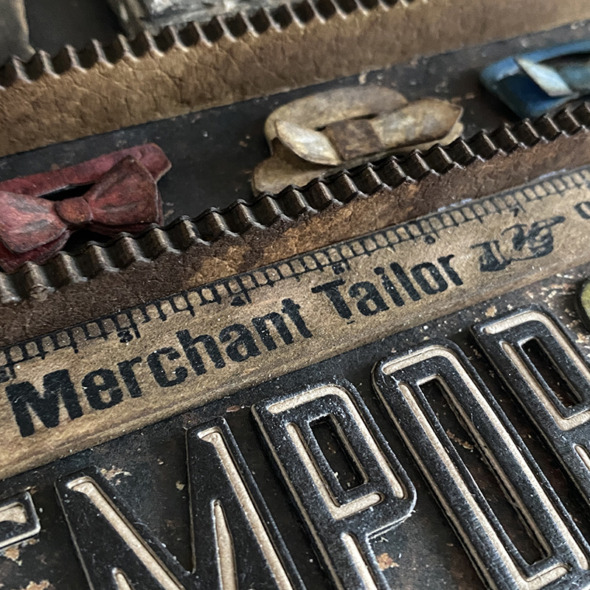
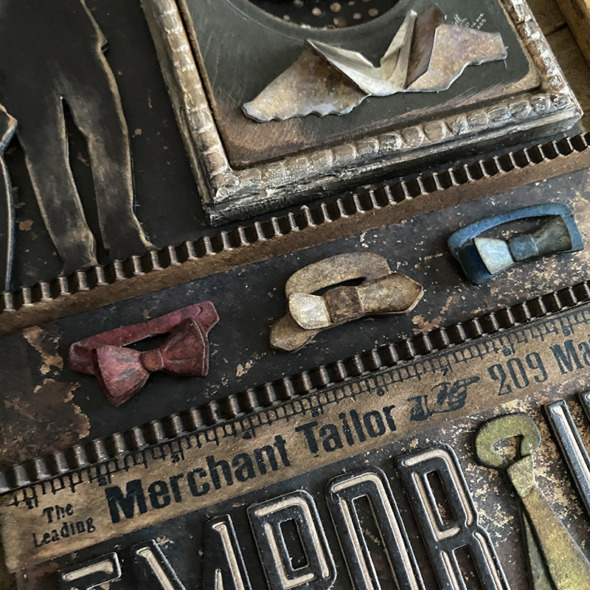
    To create shelves for the bow ties, I added etcetera tag pinked trims with distress watercolor cardstock cut with the decorative trims thinlits dies and embossed using the Cracked 3D folder. These decorative trims dies are unsung heroes of the die cutting world. I use them so often and they make adding any paper to the trims easy peasy! So happy Tim designed them.

    igirlzoe: tim holtz sizzix 2023 everyday collection tailored gentlemen emporium
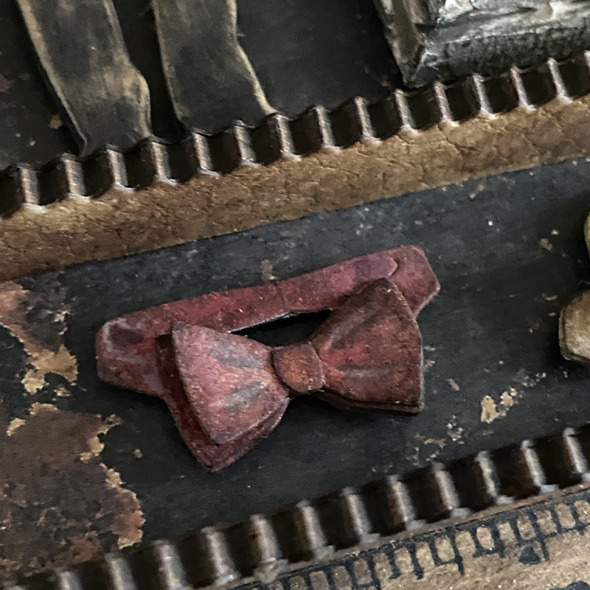
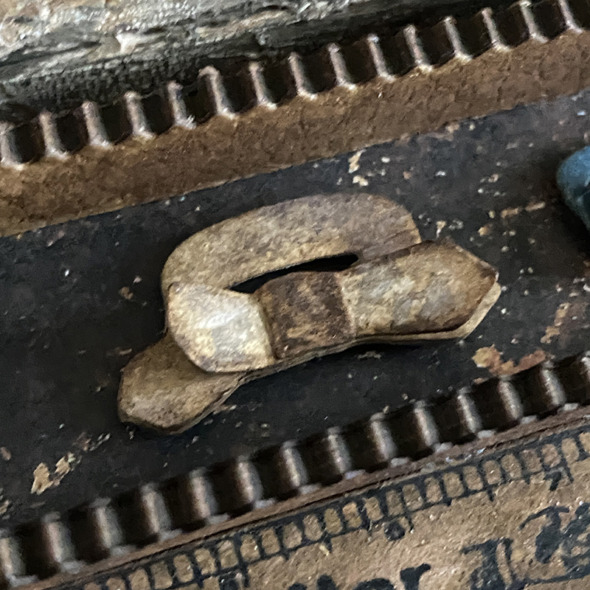
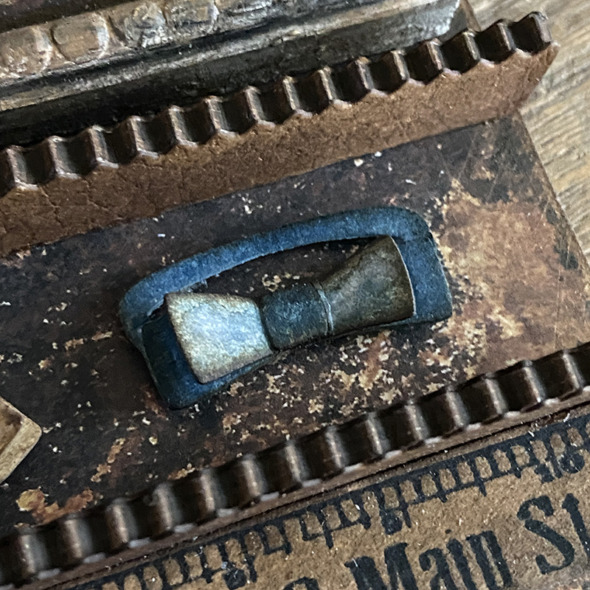
    The bow ties, also from the Tailored die set are another favorite and I love how all the pieces give them such dimension and really bring them to life. Each die is on it’s own plate with all the pieces so it’s really easy to die cut and assemble. You could of course use just the top piece as a bow tie as I did in a card I made and shared on my instagram here.

    igirlzoe: tim holtz sizzix 2023 everyday collection tailored gentlemen emporium
    igirlzoe: tim holtz sizzix 2023 everyday collection tailored gentlemen emporium
    igirlzoe: tim holtz sizzix 2023 everyday collection tailored gentlemen emporium

    igirlzoe: tim holtz sizzix 2023 everyday collection tailored gentlemen emporium
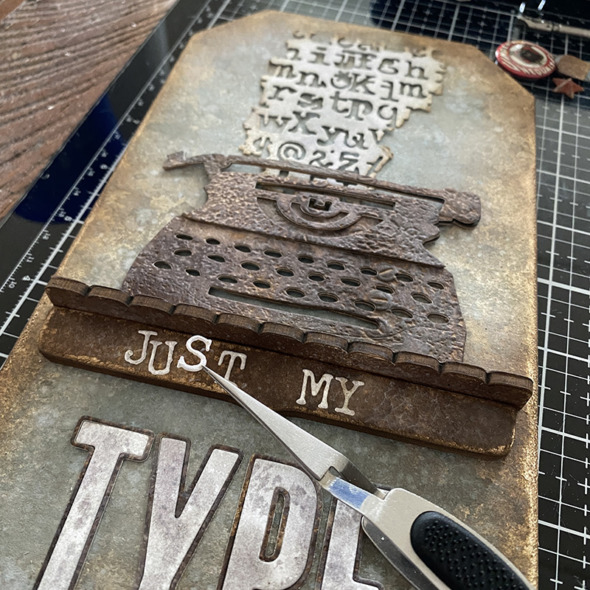
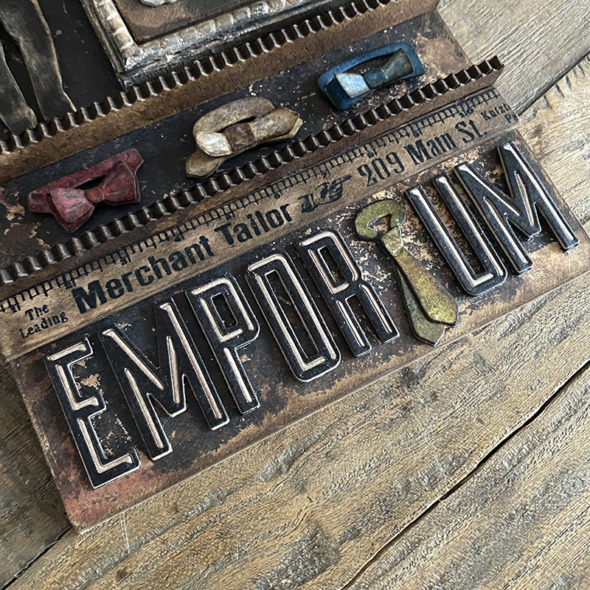
    I love all of the Alphanumeric dies that Tim designs but of course there are always favorites and the Alphanumeric Emporium die set are on that list. I love the style and that you have options, because options are always a good thing. 😉 I cut 3 sets in black kraft stock, metallic kraft stock (both from idea-ology) and foam to give it some height.

    igirlzoe: tim holtz sizzix 2023 everyday collection tailored gentlemen emporium
    I added the tie from the Tailored die set in place of the letter “i” … seriously though, that alpha is SO GOOD! Tim ROCKED it!!

    igirlzoe: tim holtz sizzix 2023 everyday collection tailored gentlemen emporium
    Thanks for stopping by and let me know if you have any questions.
    Zoe


    affiliate links used at no cost to you


  3. Winter Vacation

    17th January, 2023 by iGirlZoe

    igirlzoe: tim holtz sizzix 2023 everyday collection road trip colorize

    Hello friends and Happy New Year! I hope your New Year is off to a fantastic start. Did you catch the first Tim Holtz LIVE launch of 2023?! Tim showcased his Sizzix 2023 everyday collection, along with all the makes AND a demo at the end! It was an EPIC party! You can catch the replay over on Tim’s blog.

    igirlzoe: tim holtz sizzix 2023 everyday collection road trip colorize
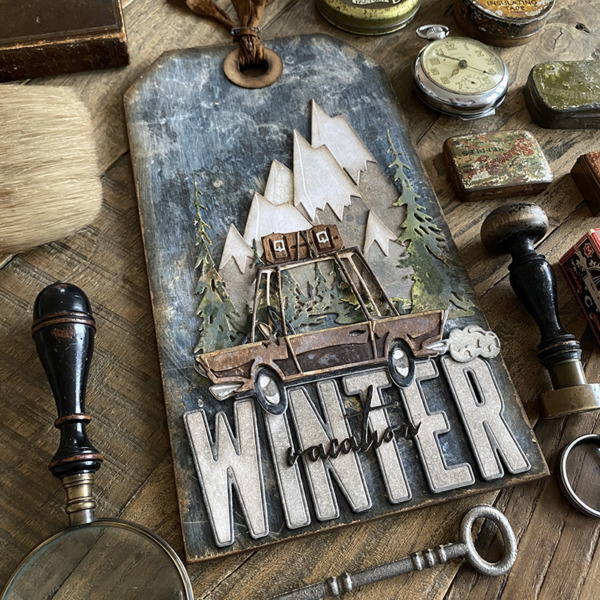
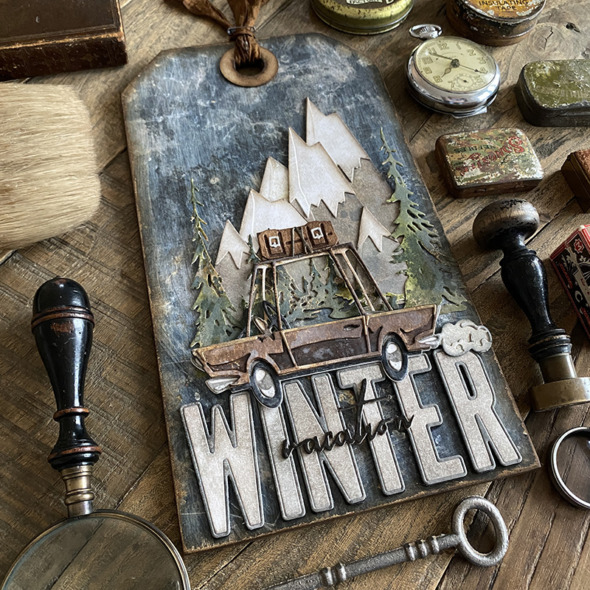
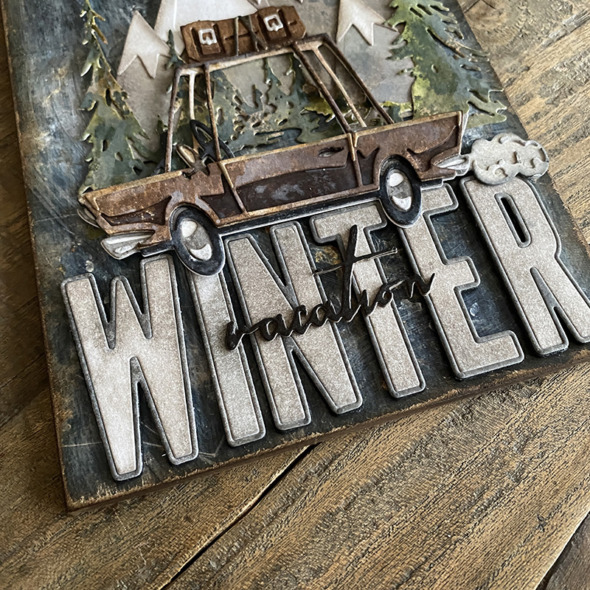
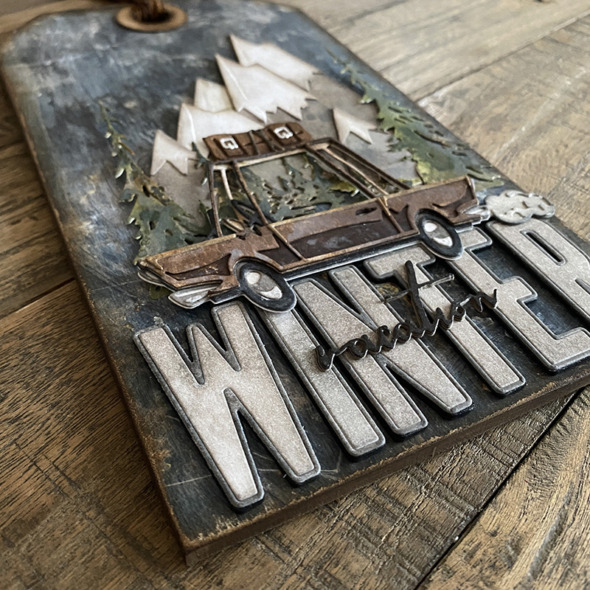
    I fell in love with the Road Trip Colorize die, it reminded me of my childhood watching Saturday morning cartoons. The colorize dies are so detailed and easier than ever to put together.

    igirlzoe: tim holtz sizzix 2023 everyday collection road trip colorize
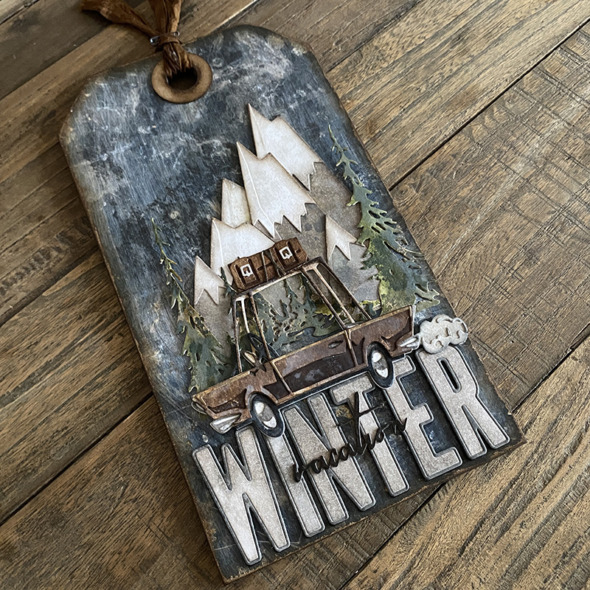
    Winter road trips with my husband in the Swiss mountains and those beautiful winter backdrops inspired this tag and brought back some truly wonderful memories. Let’s get into the tag details…

    igirlzoe: tim holtz sizzix 2023 everyday collection road trip colorize
    Taking a mini etcetera thickboard tag from Stampers Anonymous, I added a piece of paper from the idea-ology Halloween backdrops paper pack.

    igirlzoe: tim holtz sizzix 2023 everyday collection road trip colorize
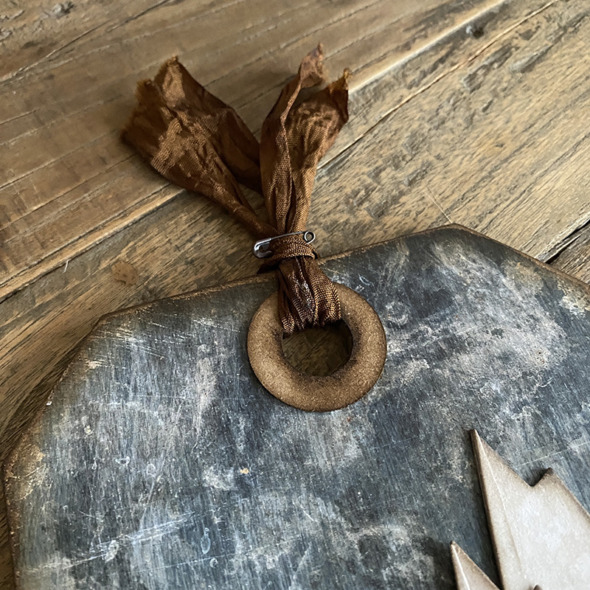
    Add the reinforcer that comes with the tag, along with some seam tape dyed with distress spray and secure in place with an idea-ology mini pin.

    igirlzoe: tim holtz sizzix 2023 everyday collection road trip colorize
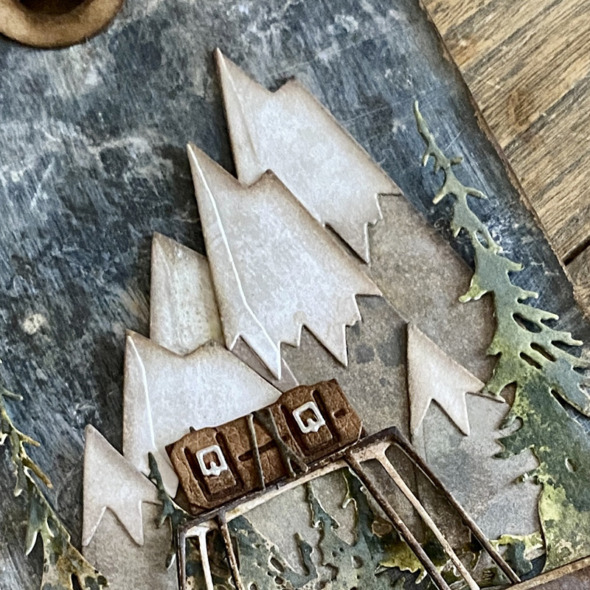
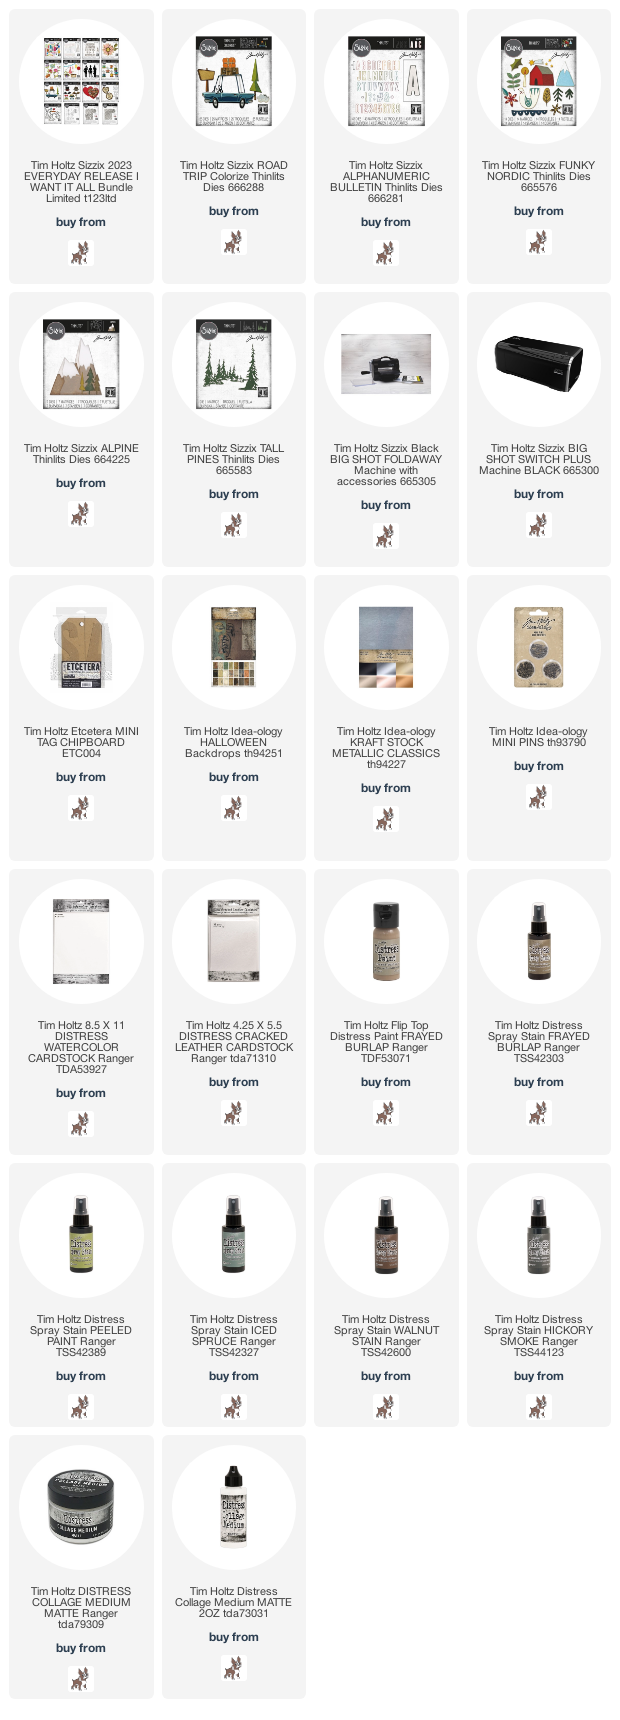
    I used Alpine mixed with the Funky Nordic and Tall Pine Trees thinlits die sets to create a backdrop for my winter vacation tag. These are older dies from my collection which are still available in short supply (at the time of writing this) and linked below.

    igirlzoe: tim holtz sizzix 2023 everyday collection road trip colorize
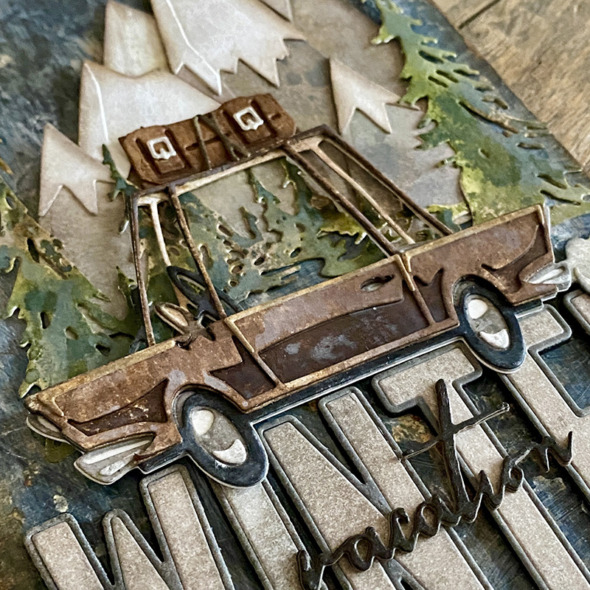
    I love this car and of course I had to color mine brown. Cutting the pieces from distress watercolor cardstock and adding distress spray stain to each layer and once dry, assembling with distress collage medium.

    igirlzoe: tim holtz sizzix 2023 everyday collection road trip colorize
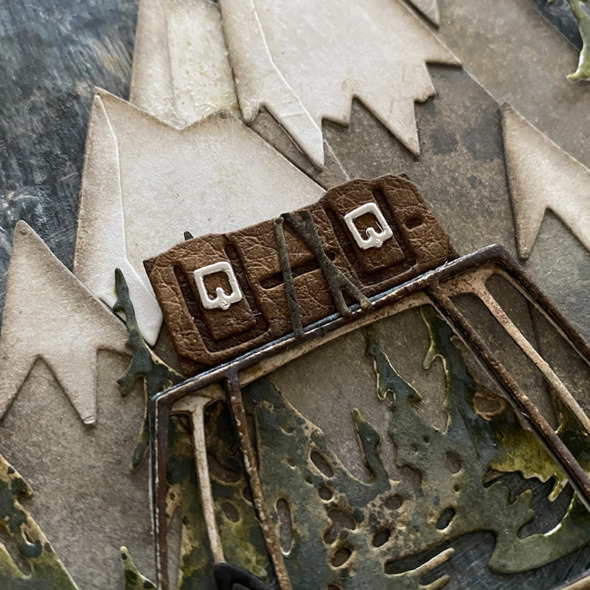
    The suitcase attached to the top of the car was such a clever design by Tim. Check out his LIVE replay where Tim shows how to attach the tree to the car roof. I used distress cracked cardstock and idea-ology metallic kraftstock to create my suitcase.

    igirlzoe: tim holtz sizzix 2023 everyday collection road trip colorize
    Another really cool part of this die set is the exhaust smoke. It’s a perfect little puff of smoke. Check out the other makes to see how it was used as clouds! So clever.

    igirlzoe: tim holtz sizzix 2023 everyday collection road trip colorize
    I used the awesome new Bulletin Alphanumeric thinlits dies to create my sentiment, adding vacation from the much older Handwritten Vacation (661286) thinlits die set. These handwritten sets are long retired, however, you may still find them in local craft stores or online marketplaces or even in your stash…

    igirlzoe: tim holtz sizzix 2023 everyday collection road trip colorize
    I think this would be really nice as a journal cover to memory keep my Swiss winter vacations. Memory keeping is something I plan to do more of in 2023.

    igirlzoe: tim holtz sizzix 2023 everyday collection road trip colorize
    Thanks for stopping by and let me know if you have any questions.
    Zoe


    affiliate links used at no cost to you


  4. Tim Holtz Christmas Box

    19th December, 2022 by iGirlZoe

    igirlzoe: tim holtz lumberjack plaid distress ranger ink

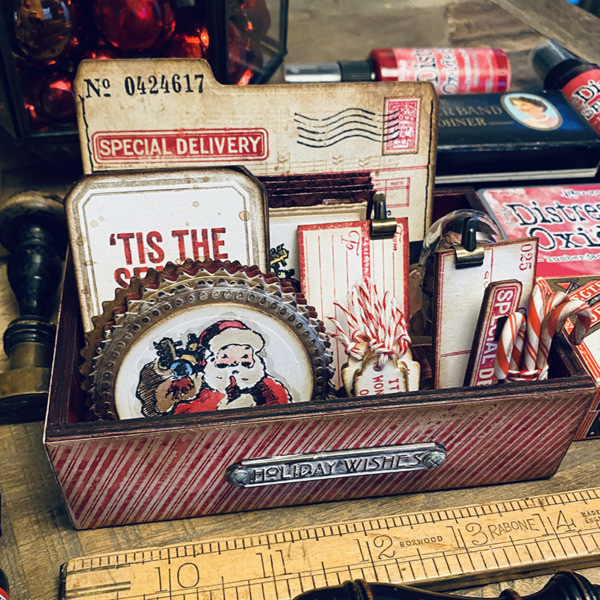
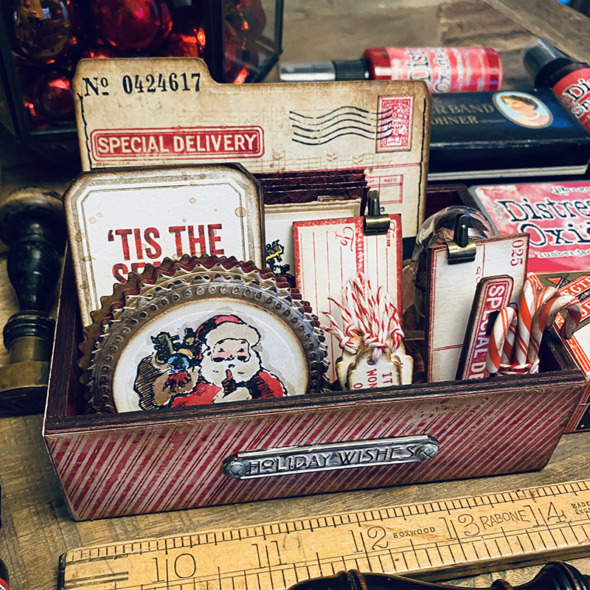
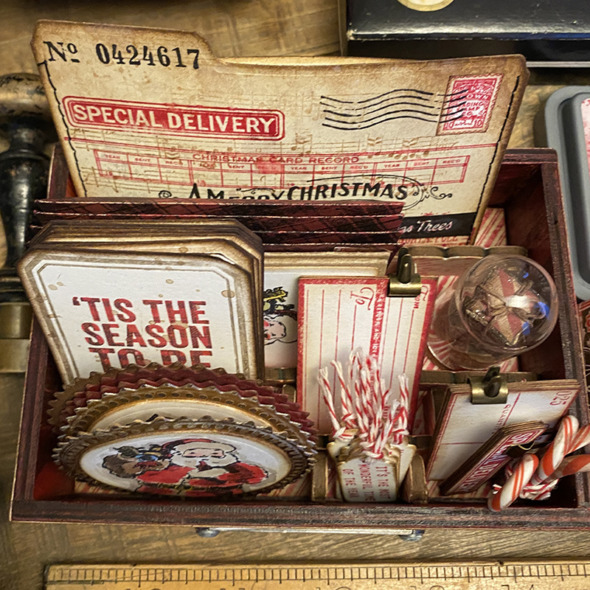
    Hello friends, I hope you’re well and enjoying December. I’m sharing a Christmas gift tag box I made for the LIVE launch of the newest member of the Tim Holtz Distress family, Lumberjack Plaid. You can see this Christmas gift tag box and the other new color makes over on Tim’s blog.

    igirlzoe: tim holtz lumberjack plaid distress ranger ink
    I was inspired by Tim’s demo during the LIVE launch of his Christmas stamps and had just enough time to make and ship it for the new distress launch. It’s a simple make that you could complete in an afternoon. You could also do a little compartmental making each evening or when time allows. If Christmas is not your jam, it’s easily adapted to a Halloween, spring or an every day gift tag box. Let’s get into the details…

    igirlzoe: tim holtz lumberjack plaid distress ranger ink
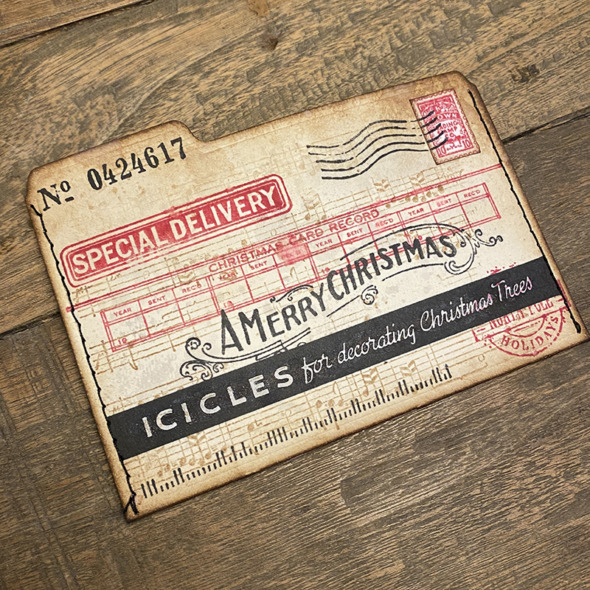
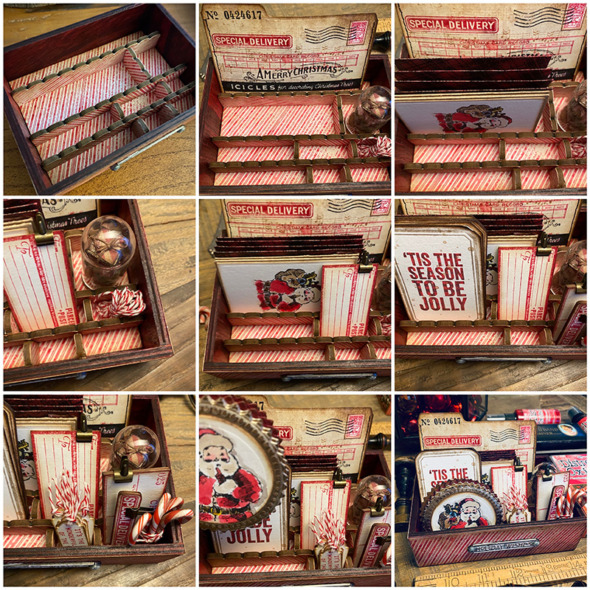
    Using the technique Tim demoed, stamp panels of paper to cover a large vignette box. Add a word plaque from the idea-ology Christmas line with picket fence distress crayon rubbed in and add hardware heads to finish. I used distress collage medium to attach everything.

    igirlzoe: tim holtz lumberjack plaid distress ranger ink
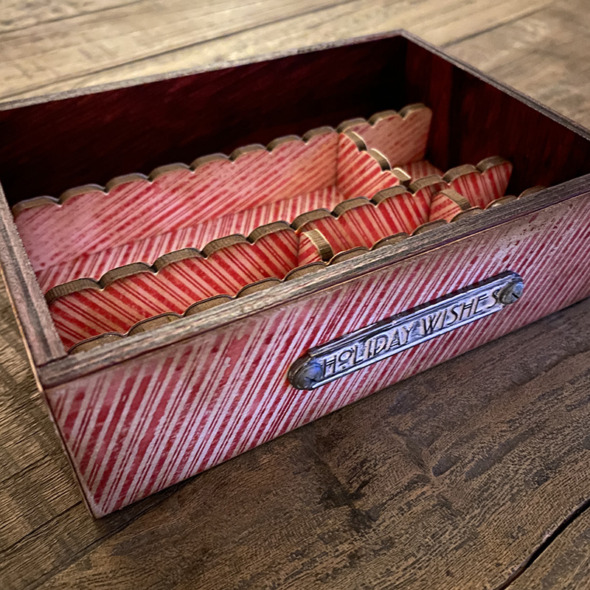
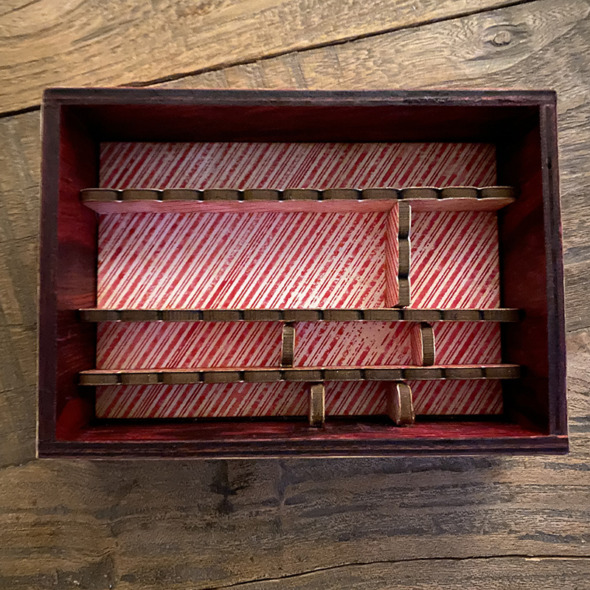
    The inside of the vignette box is sprayed with lumberjack plaid distress ink spray and dried with a heat tool. Add a piece of striped stamped cardstock to the bottom of the vignette box and use the etcetera tag trims and decorative trims dies to create dividers. These are the scalloped edged trims, glued into place with distress collage medium.

    igirlzoe: tim holtz lumberjack plaid distress ranger ink
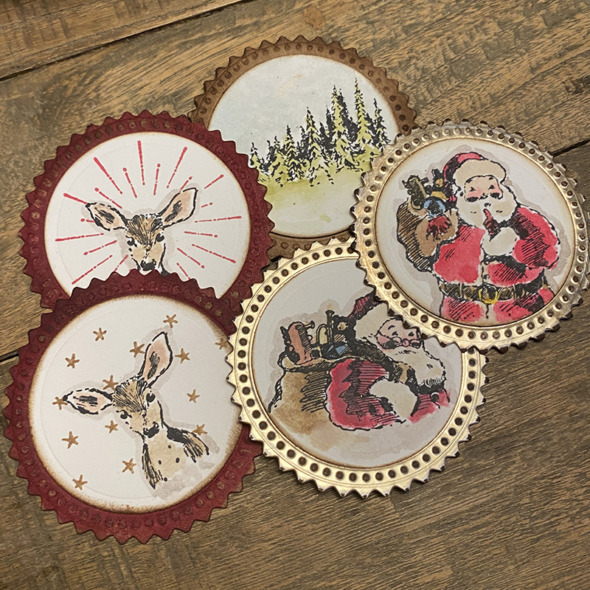
    Create envelope or gift box seals with the switchlits seal and darling stamp set, watercolored with distress pencils. The seals were cut from distress kraft heavystock and a couple sprayed with lumberjack plaid distress ink spray and the others from idea-ology metallic cardstock. The darling stamps are the perfect size for the seals.

    igirlzoe: tim holtz lumberjack plaid distress ranger ink
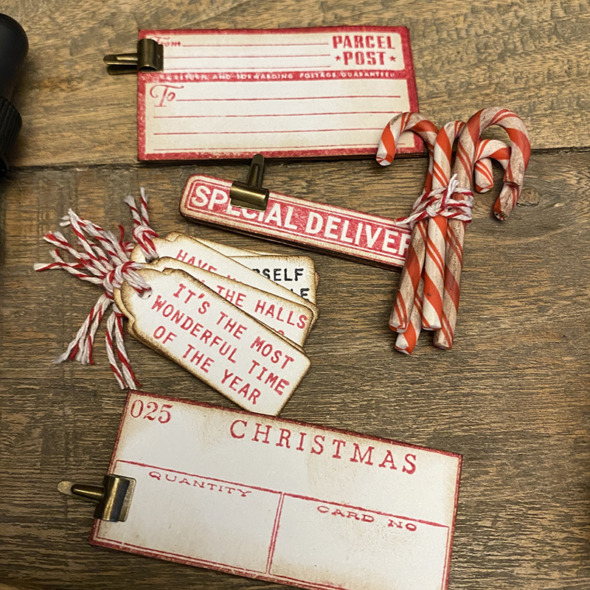
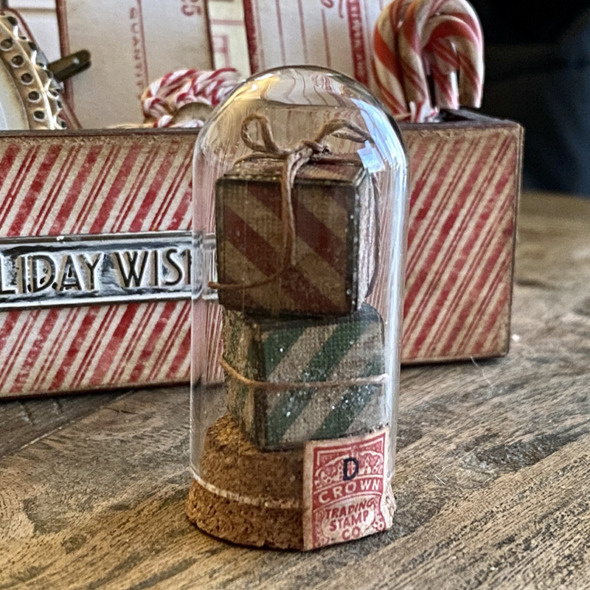
    Stamping in lumberjack plaid distress ink, create some tags to add to cards and gifts. The sentiment stamps from the new darling stamp set fit perfectly onto a tag cut from the chapter 3 thinlits collector die set. Grunge up some idea-ology candy canes and tie with string. Stamp and fussy cut to create ephemera, I took stamps from vintage holidays and department store stamp sets. An idea-ology tiny clip will hold them together neatly in the box.

    igirlzoe: tim holtz lumberjack plaid distress ranger ink
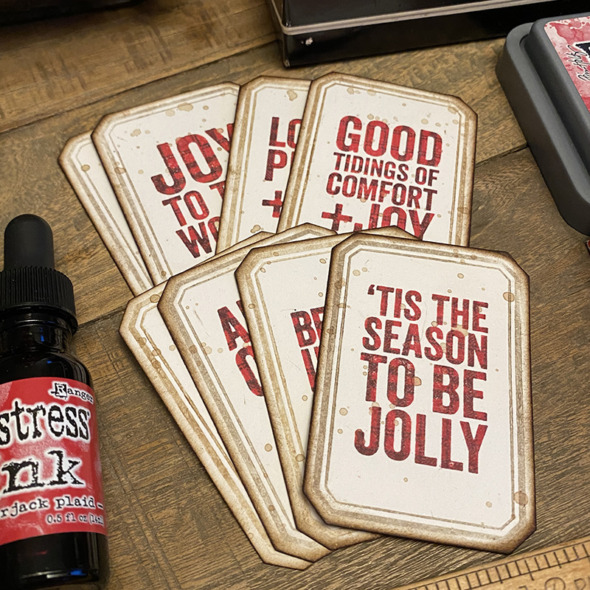
    Another technique I took from Tim’s demo to create these card toppers/gift tags using the new vintage label thinlits dies + bold tidings mini and plaid + nordic stamp sets, stamped in lumberjack plaid distress ink of course.

    igirlzoe: tim holtz lumberjack plaid distress ranger ink
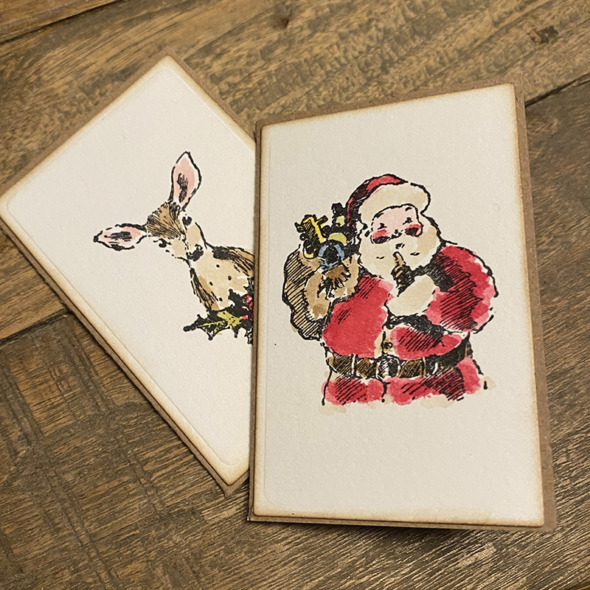
    Using the postale thinlits die set from chapter 3 with the darling stamp set and distress watercolor pencils, create some mini cards.

    igirlzoe: tim holtz lumberjack plaid distress ranger ink
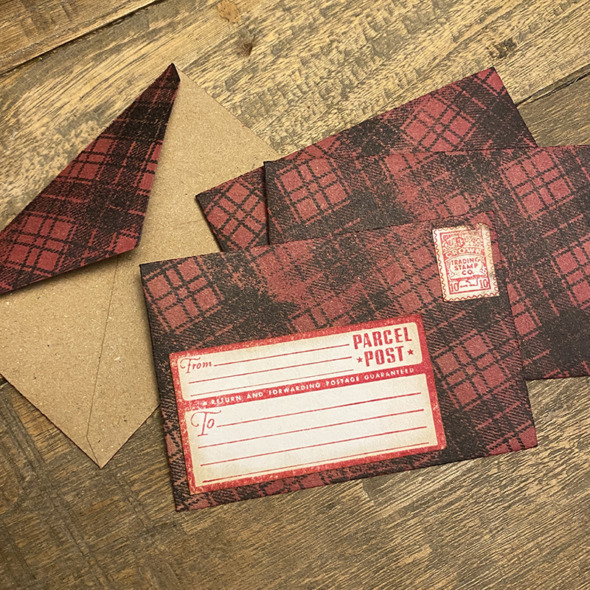
    The mini envelopes were created using the postale thinlits set cut from kraft envelopes that you can find here.

    Here’s how you make them…

    igirlzoe: tim holtz lumberjack plaid distress ranger ink
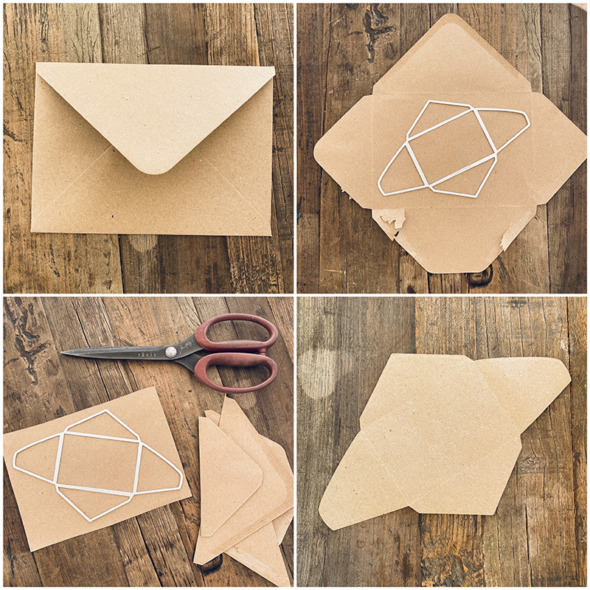
    Take a 5×7 inch kraft envelope and use a letter opener, ruler, palette knife to open the envelope. Trim away the flaps, leaving you with the center of the envelope which perfectly fits the postale envelope die. Run the die through your machine.

    igirlzoe: tim holtz lumberjack plaid distress ranger ink
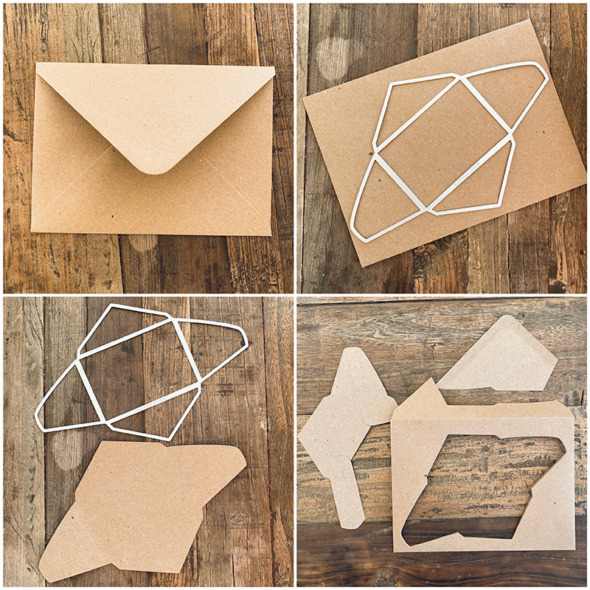
    If you’re short on time or have no use for spare pieces of kraft paper don’t open the envelope, simply place the postale envelope die over the front of the envelope and die cut through it.

    igirlzoe: tim holtz lumberjack plaid distress ranger ink
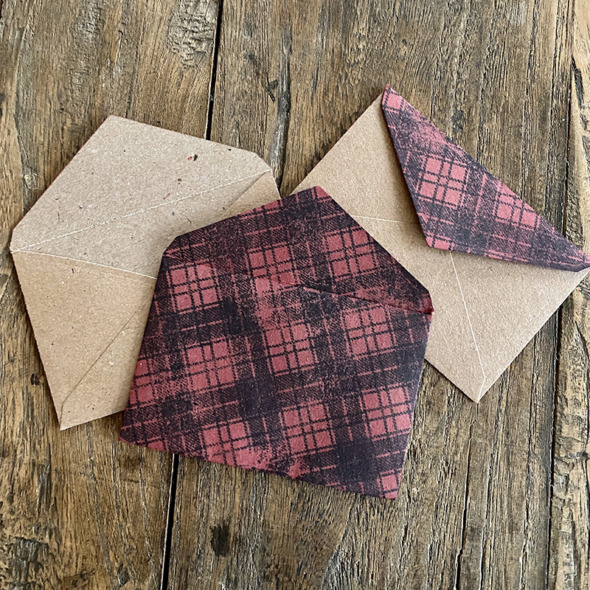
    Assemble the envelope, then open the flap and spray one side with lumberjack plaid distress spray and once dry, stamp with the plaid stamp from plaid + nordic stamp set in black soot distress archival ink.

    igirlzoe: tim holtz lumberjack plaid distress ranger ink
    Create a file pocket to store tiny pieces of ephemera and blank notecards. Cut a folder using the specimen thinlits die set and stamp with stamps from vintage holidays stamp set in lumberjack plaid distress ink and black soot and vintage photo distress archival inks. Stitch the sides by hand or with a sewing machine to create the pocket.

    igirlzoe: tim holtz lumberjack plaid distress ranger ink
    Confession time… I repurposed this from my Christmas Charcuterie! I was a little pushed for time and this was perfect for my gift themed box. I think it’s cute to add a little trinket to the box.

    igirlzoe: tim holtz lumberjack plaid distress ranger ink
    I took the “some assembly required” photos for Mario aka MacGyver, who kindly assembles makes which travel better internationally disassembled. If you wanted to make a Christmas box for a gift, you could send it disassembled and wrapped in tissue with an assembly photo.

    igirlzoe: tim holtz lumberjack plaid distress ranger ink
    Thanks for stopping by, I hope this has been helpful and let me know if you have any questions.
    Zoe


    affiliate links used at no cost to you



  5. Witches Potting Shed Part 4

    13th December, 2022 by iGirlZoe

    igirlzoe: tim holtz idea-ology halloween witches

    Hello friends. I’m back with the final part of my witches potting shed! Thanks for flying your broomsticks with me witches! If you’ve just arrived, you can grab your broomsticks HERE!

    Remember that the Halloween products are one and done for the season so grab anything you need to last you. To see all the incredible makes, head over to Tim’s blog for the LIVE replay.

    igirlzoe: tim holtz idea-ology halloween witches
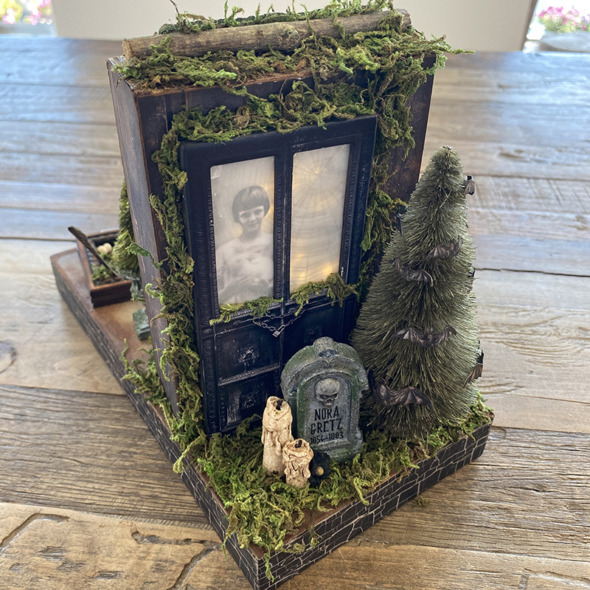
    Today I’m sharing part 4 of the witches potting shed made for the LIVE launch. You can see the introduction and close ups in my first post. Let’s get into the details…

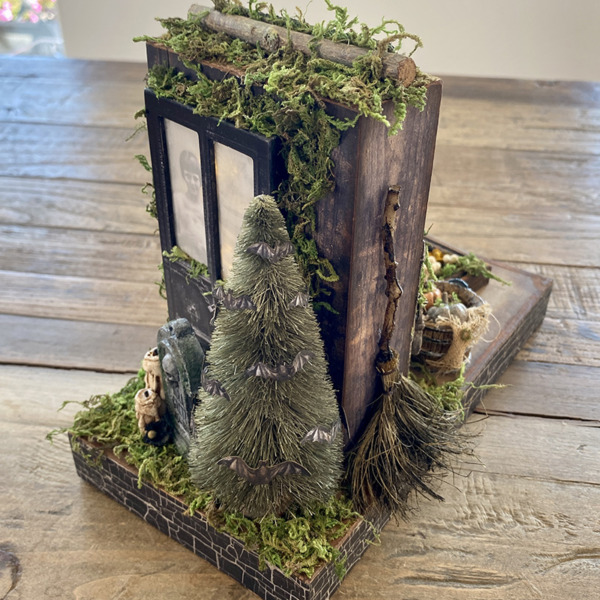
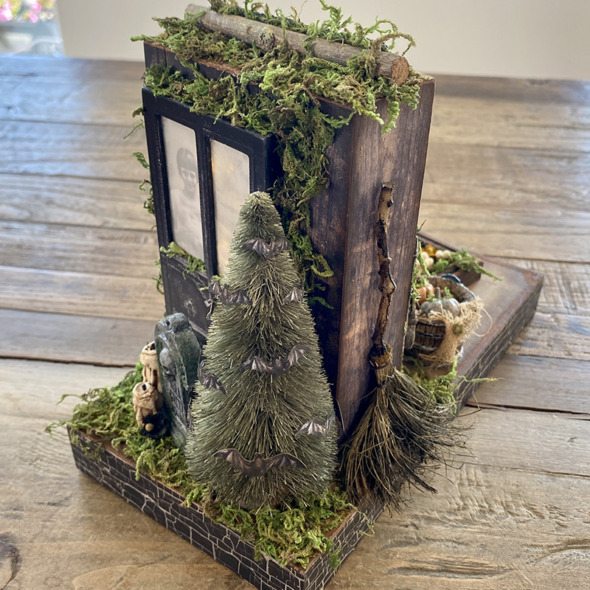
    BACK GARDEN, BAT TREE, TOMBSTONE + BROOM

    igirlzoe: tim holtz idea-ology halloween witches
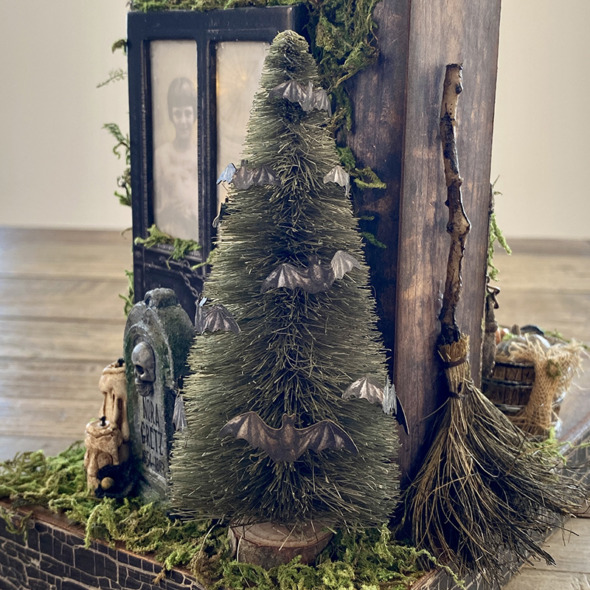
    The idea-ology woodland trees are good for all seasons so I make sure to stock up on these each year. They take distress ink like a dream, I added iced spruce and rustic wilderness distress ink sprays and allowed to air dry. There are so many of the cool bats in the halloween ephemera pack, so perfect to add lots to the tree. I replaced the tree’s wood base with a wood slice.

    igirlzoe: tim holtz idea-ology halloween witches
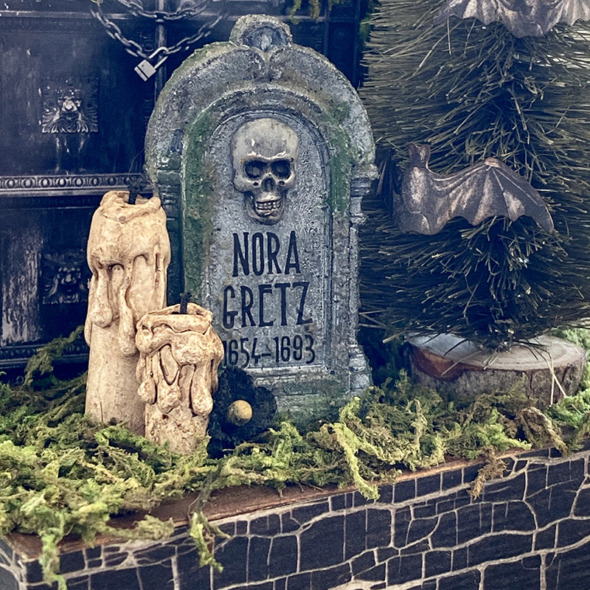
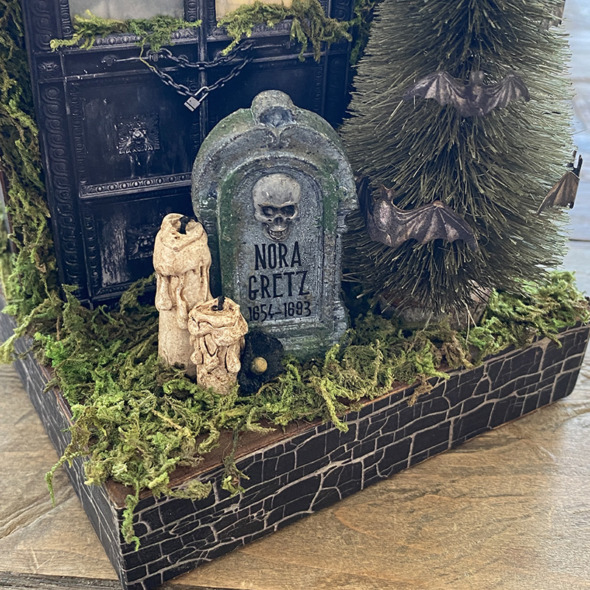
    I added distress crypt-paste to an idea-ology tombstone and once dry, added distress crayon and paint. I love the fun “tombstone toppers” from the halloween remnant rubs and used “Nora Gretz” on the front. I removed the crossbones from the skulls and spiders adornment set, covered the skull head with distress crypt paste, dry brushed with black soot distress paint and glued to the tombstone above the remnant rubs.

    igirlzoe: tim holtz idea-ology halloween witches
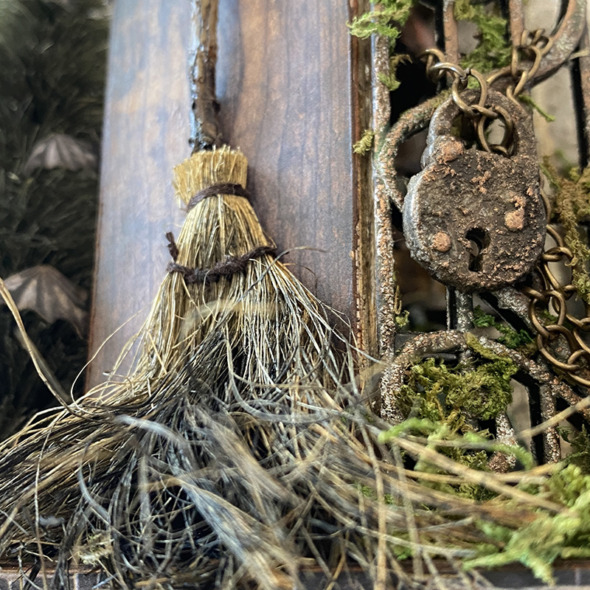
    I love the new idea-ology broomsticks, the handles are so gnarly and needed no additional grunge and a little distress paint and collage medium over the brush makes it look witchy and weathered.

    igirlzoe: tim holtz idea-ology halloween witches
    Finally, I added the idea-ology drippy candles and a flower from the idea-ology bouquet pack dyed with black soot distress ink spray. This photo gives you a good view of the idea-ology halloween design tape I covered the vignette tray sides with.

    igirlzoe: tim holtz idea-ology halloween witches
    Thanks for stopping by, I hope you have enjoyed the witches potting shed series and it inspires you to make. I really appreciate the kind and funny comments you’ve left and a big thanks for being patient. Let me know if you have any questions.

    Zoe


    affiliate links used at no cost to you


  6. Witches Potting Shed Part 3

    12th December, 2022 by iGirlZoe

    igirlzoe: tim holtz idea-ology halloween witches

    Hello friends. Without delay, I’m back with part 3 of my witches potting shed! Halloween products are one and done each season, so grab what you need to last you and check out incredible makes over on Tim’s blog.

    igirlzoe: tim holtz idea-ology halloween witches
    Today I’m sharing part 3 of the witches potting shed made for the LIVE launch. You can see the introduction and close ups in my first post. Let’s get into the details…

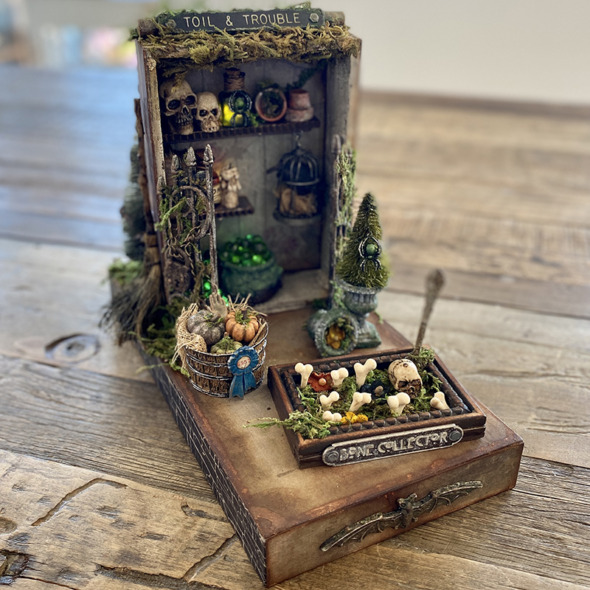
    BONE GARDEN, BARREL + URNS

    igirlzoe: tim holtz idea-ology halloween witches
    In Part 1 I talked through preparing the vignette tray.

    igirlzoe: tim holtz idea-ology halloween witches
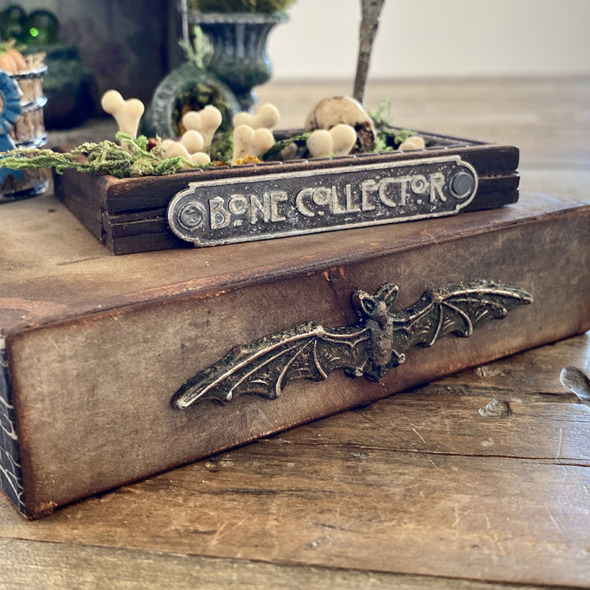
    I adorned the front of the vignette tray with a bat from the halloween adornments set.

    igirlzoe: tim holtz idea-ology halloween witches
    Time to assemble the individual pieces for your garden, starting with the bone garden…

    igirlzoe: tim holtz idea-ology halloween witches
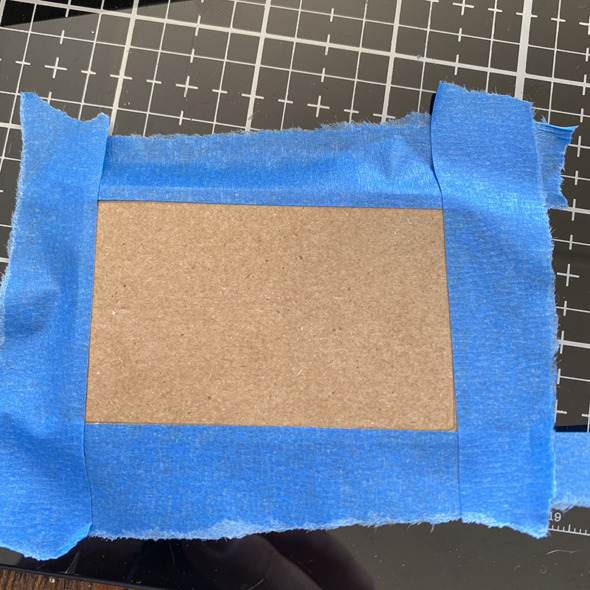
    Tape off the area where the vignette frame will sit to keep the paste and moss off.

    igirlzoe: tim holtz idea-ology halloween witches
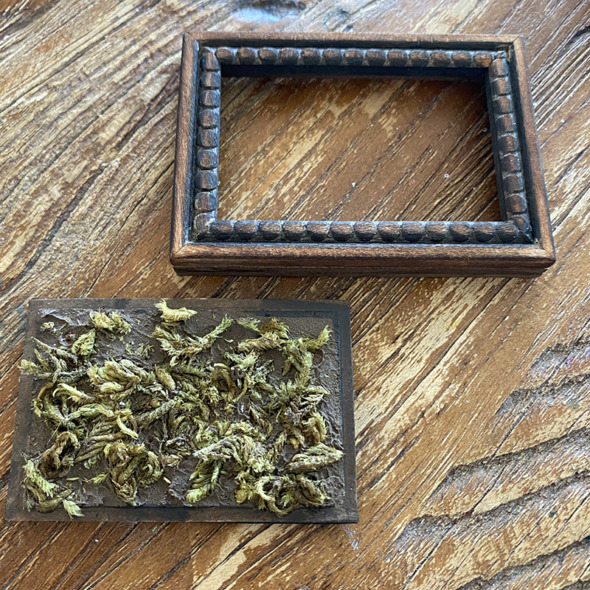
    Add distress grit-paste to the piece of cardstock and once dry remove tape. Paint the surface with distress paint to simulate soil and once dry, add moss with distress collage medium.

    igirlzoe: tim holtz idea-ology halloween witches
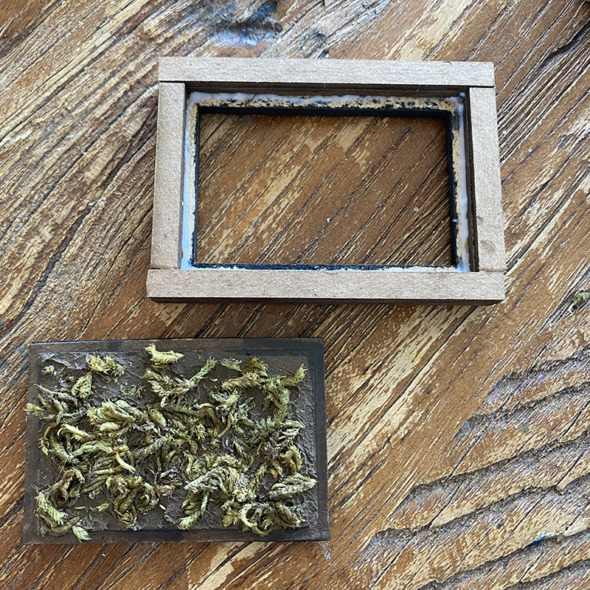
    Add etcetera trims from the halloween set to the underside of the vignette frame to make it deeper. Glue to the cardstock base with distress collage medium.

    igirlzoe: tim holtz idea-ology halloween witches
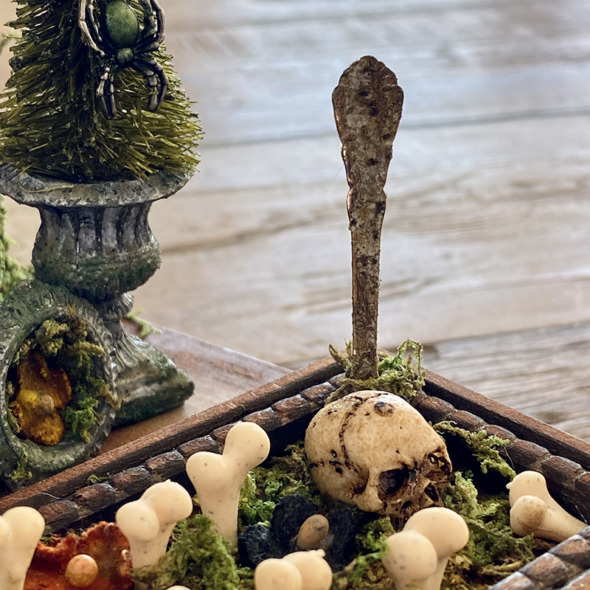
    Grunge up a fork from the idea-ology silverware set and glue into the plant bed with distress collage medium.

    igirlzoe: tim holtz idea-ology halloween witches
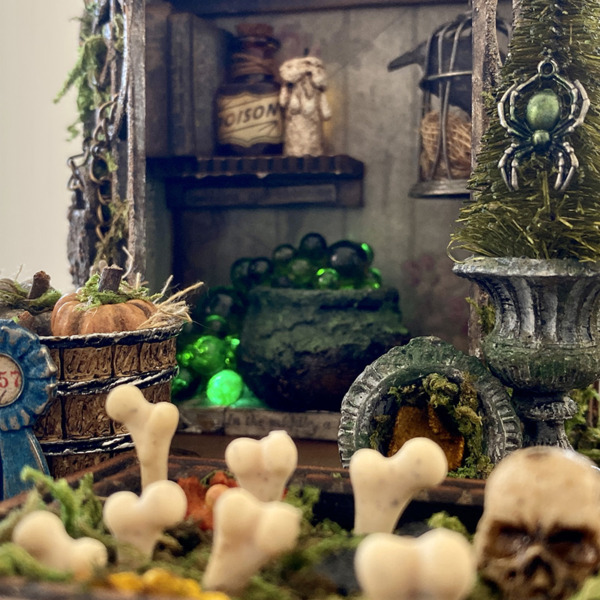
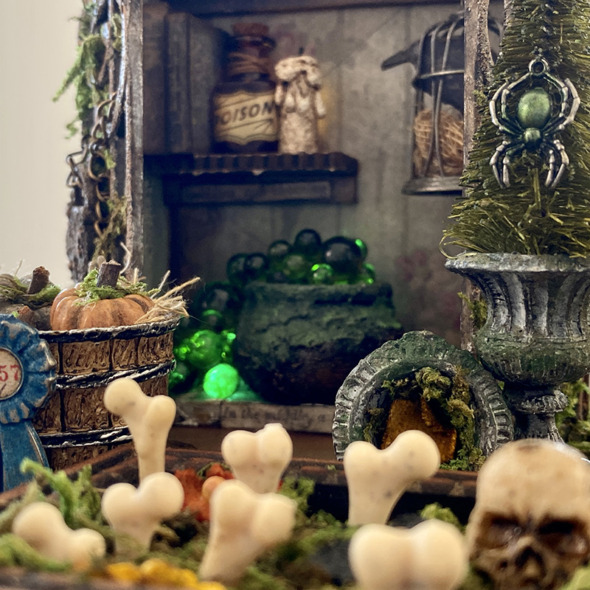
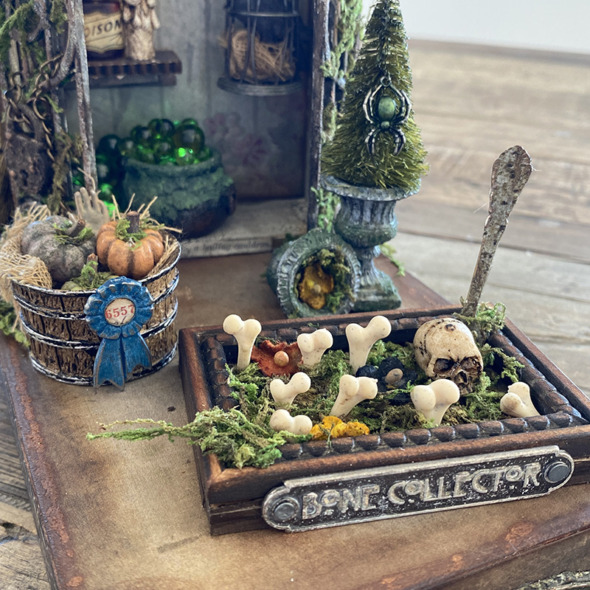
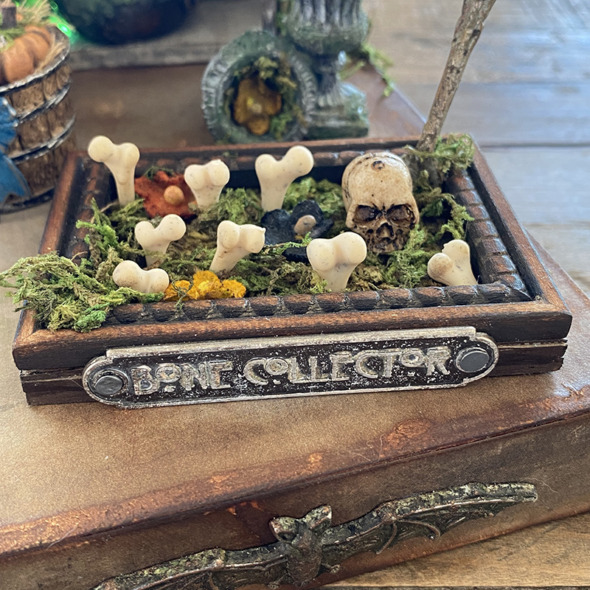
    Add bones from the boneyard pack, skulls and bouquet flowers to the plant bed with extra moss. Using nails from the vignette hardware set to add a halloween word plaque covered with picket fence distress crayon.

    igirlzoe: tim holtz idea-ology halloween witches
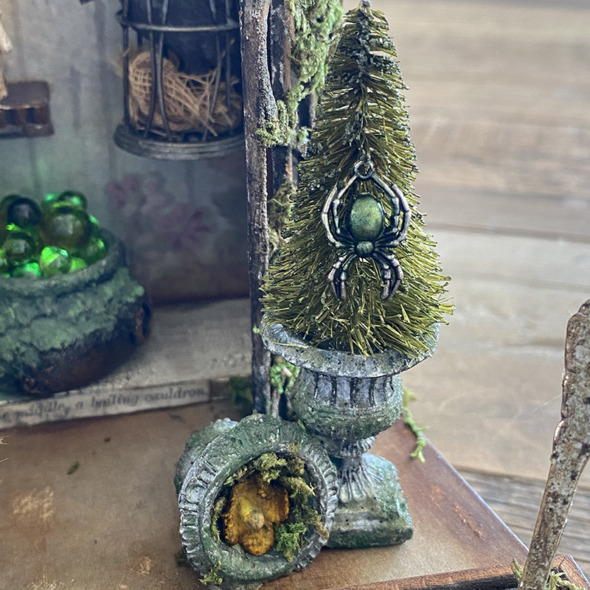
    Spray a medium idea-ology woodland tree with distress spray and once dry, add to an idea-0logy urn grunged up with distress paint and distress crypt-paste. I added a spider from the halloween adornments set to the tree.

    igirlzoe: tim holtz idea-ology halloween witches
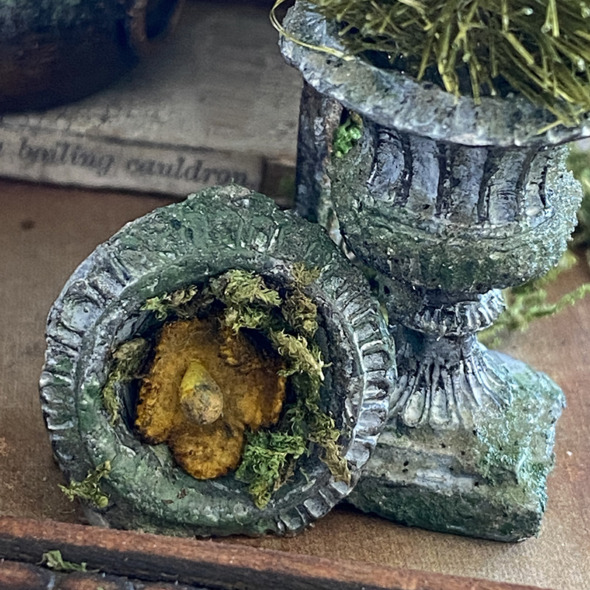
    One of my urns arrived broken so I went with it and used the broken one on it’s side with moss and a flower from idea-ology glued in.

    igirlzoe: tim holtz idea-ology halloween witches
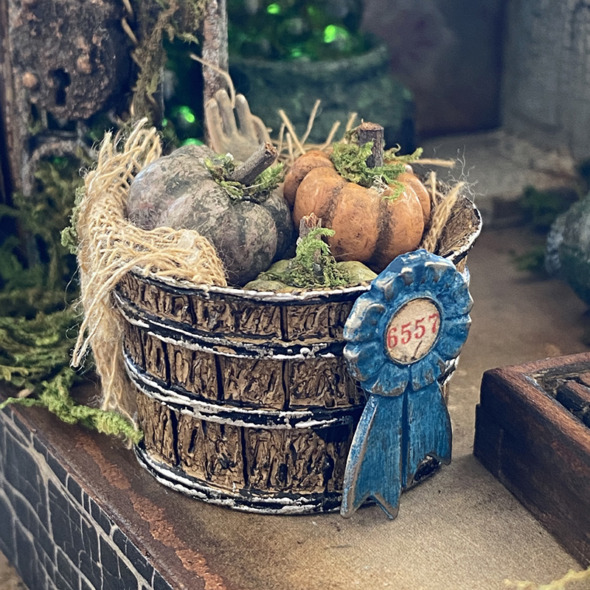
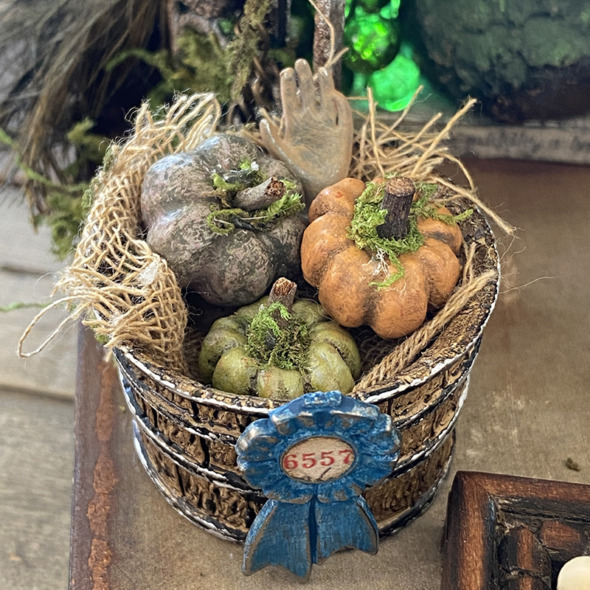
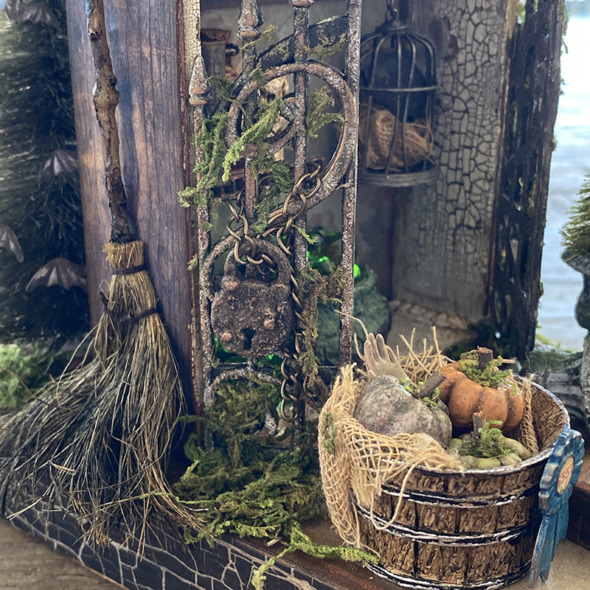
    I have been obsessed with these idea-ology barrels since Tim showed a ruler with barrels with different things in them. I added mummy cloth that I dyed with distress spray and idea-ology pumpkins.

    igirlzoe: tim holtz idea-ology halloween witches
    The pumpkins were painted with distress paint, with distress crayon painted down the creases and moss and a stick hot glued into the center of the pumpkin. Stacy Hutchinson shared a tutorial on her instagram stories a few years ago. For extra creep I added a hand from the milagros adornments set. I painted it with antique linen distress paint and glued it into the barrel.

    igirlzoe: tim holtz idea-ology halloween witches
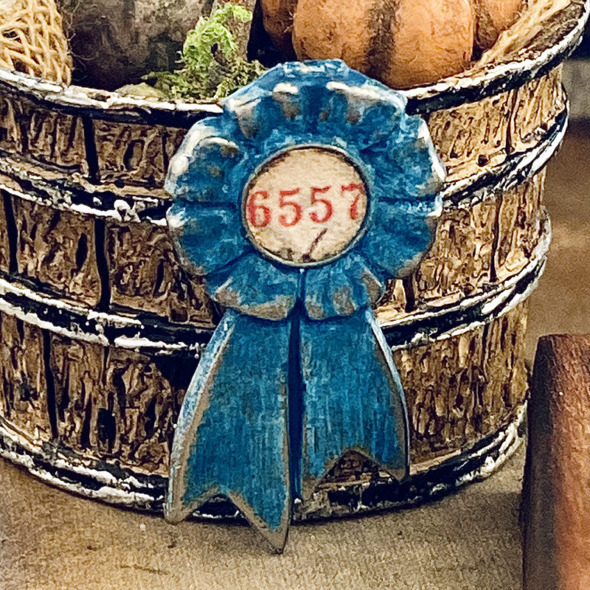
    They’re prize winning pumpkins so I added a prize ribbon, covered with distress paint with a piece of ephemera cut to size and added to the center.

    igirlzoe: tim holtz idea-ology halloween witches
    Thanks for stopping by, I hope you found this post helpful and it has inspired you to make. Let me know if you have any questions.

    Back soon with the final installment in the witches potting shed…
    Part 4 – Back Garden, Bat Tree, Tombstone + Broomstick

    Zoe


    affiliate links used at no cost to you


  7. Witches Potting Shed Part 2

    9th December, 2022 by iGirlZoe

    igirlzoe: tim holtz idea-ology halloween witches

    Hello friends, hope you’re doing well! I had the best of intentions to get these posts finished before Halloween, but alas, December arrived! I make for the dark side all year though and there’s nothing to stop you adapting any of the things I share to any season, so grab your broomsticks witches and let’s continue this flight…

    Remember that the seasonal products are one and done for the season so grab anything you need to last you. To see all the incredible makes, head over to Tim’s blog for the LIVE replay.

    igirlzoe: tim holtz idea-ology halloween witches
    Today I’m sharing part 2 of the witches potting shed made for the LIVE launch. You can see the introduction and close ups in my first post. Let’s get into the details…

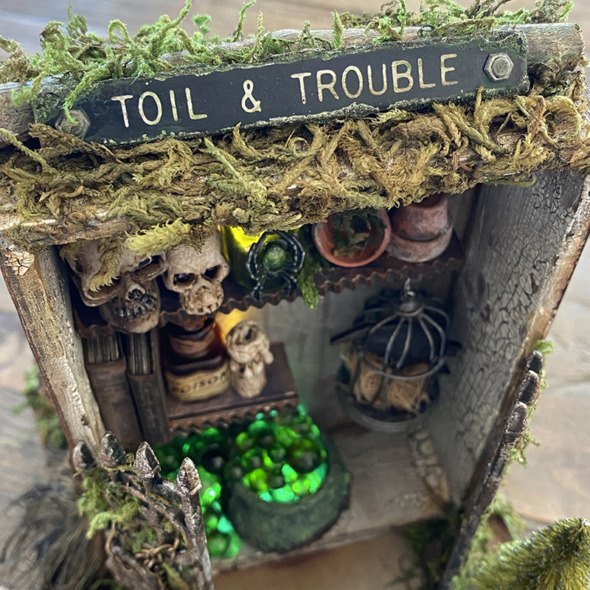
    POTTING SHED, CAULDRON + GATES

    igirlzoe: tim holtz idea-ology halloween witches
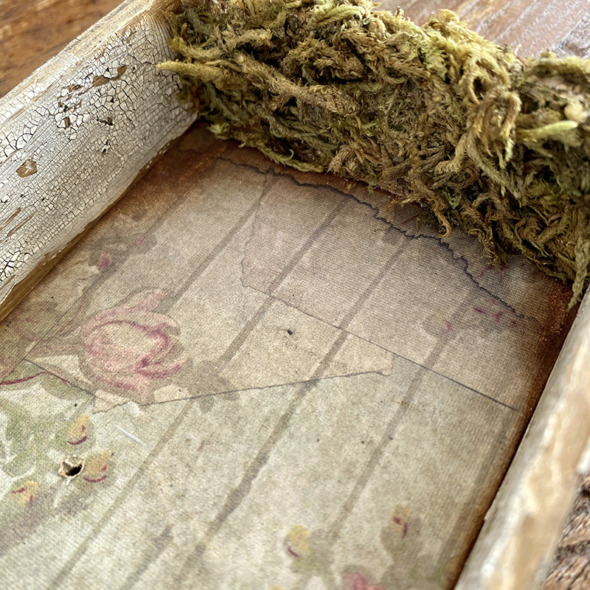
    In Part 1 I talked through preparing the vignette box.

    igirlzoe: tim holtz idea-ology halloween witches
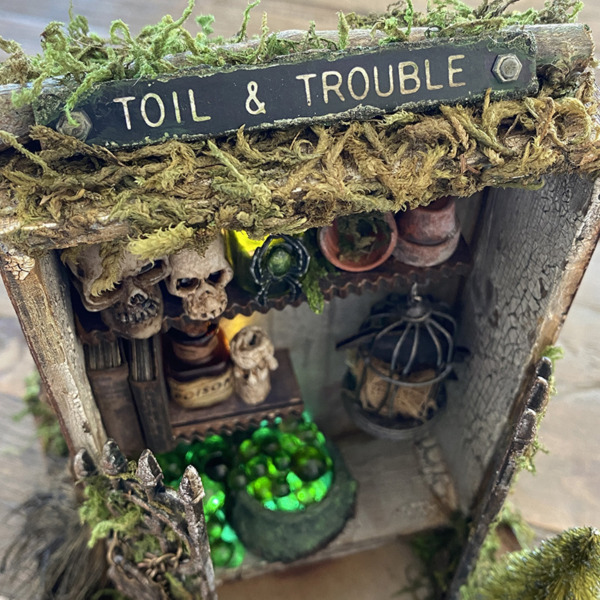
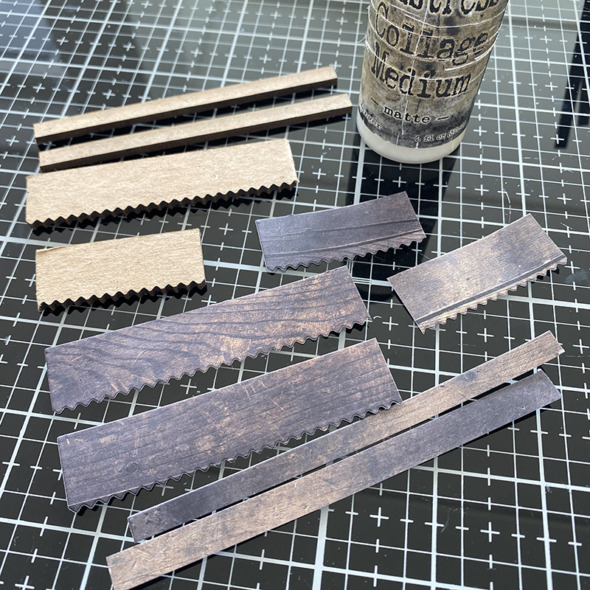
    To create the shelves for the potting shed, cut pieces from the idea-ology Halloween backdrops with the decorative trims thinlits die. These dies perfectly fit the etcetera thickboard trims, I used scalloped edged with the corresponding dies. Use distress collage medium to glue the die cuts to the thickboard trims.

    igirlzoe: tim holtz idea-ology halloween witches
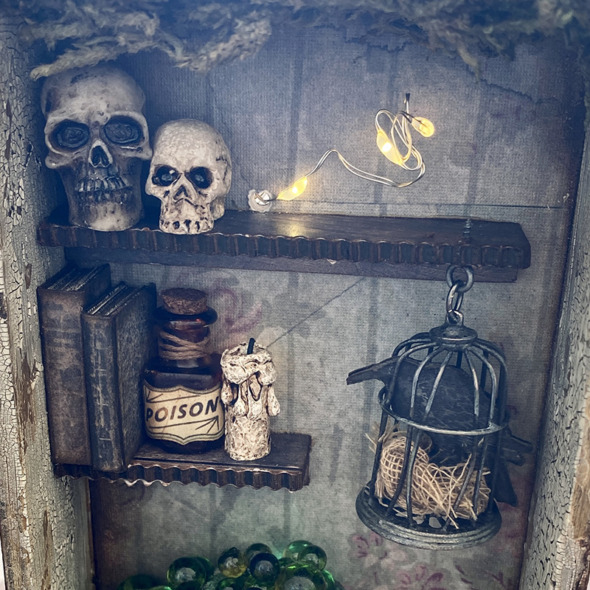
    Thread tiny lights into the vignette box through holes drilled in Part 1. I simply glued the lights behind where the bottle would sit so it lit up the bottle, (see next photo).

    igirlzoe: tim holtz idea-ology halloween witches
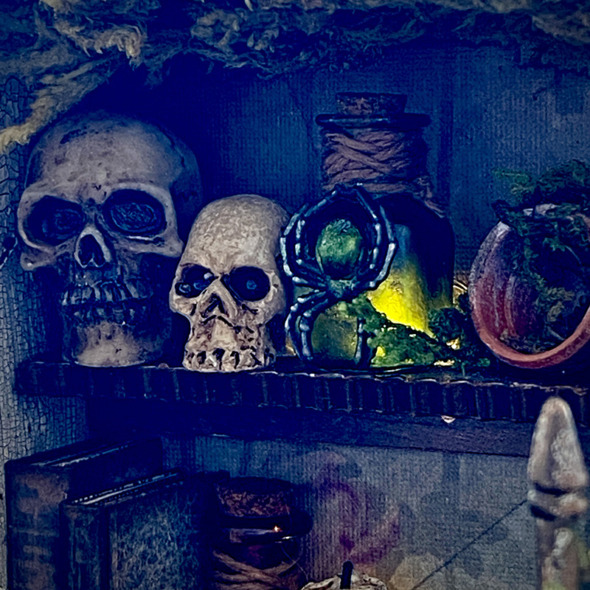
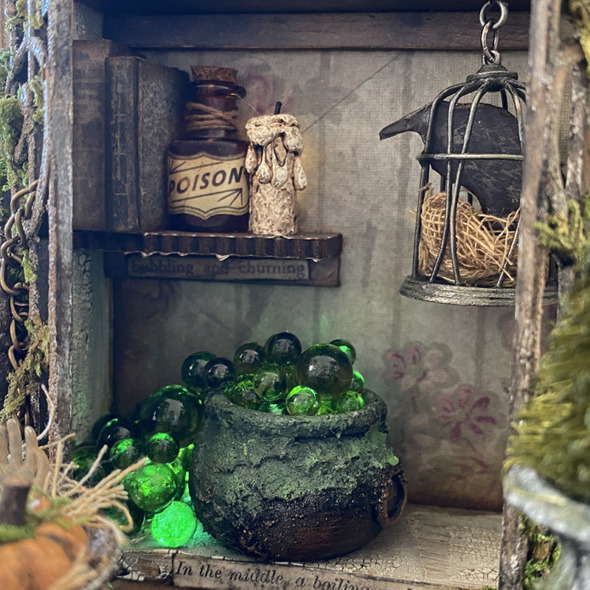
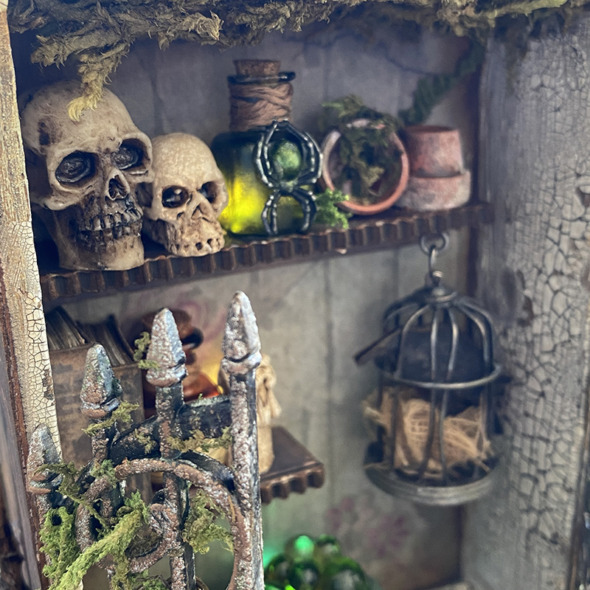
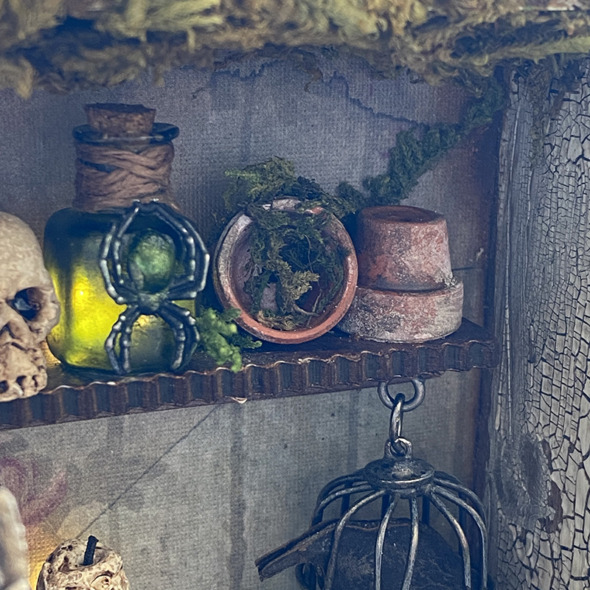
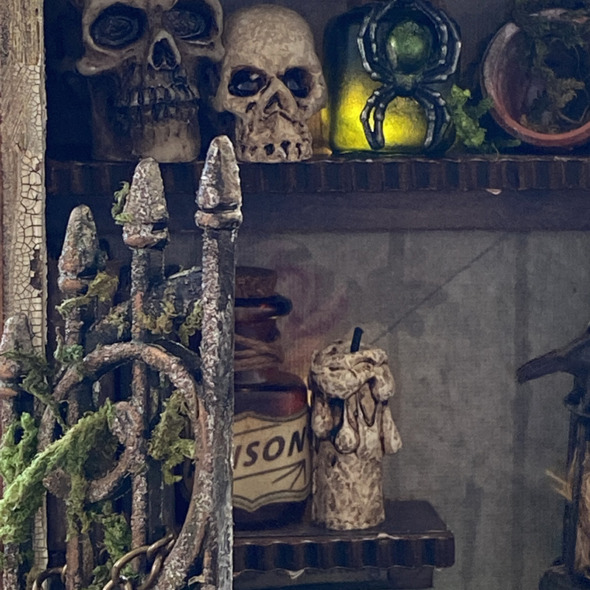
    Cover an idea-ology tiny vial with alcohol ink, I added a spider from the idea-ology Halloween Adornments pack. Cover the spiders back with a drop of envy alcohol pearls ink and tie it to the bottle with twine. The tiny lights glued behind the bottle give it a creepy glow. I added a little moss with distress collage medium to hide the wires.

    igirlzoe: tim holtz idea-ology halloween witches
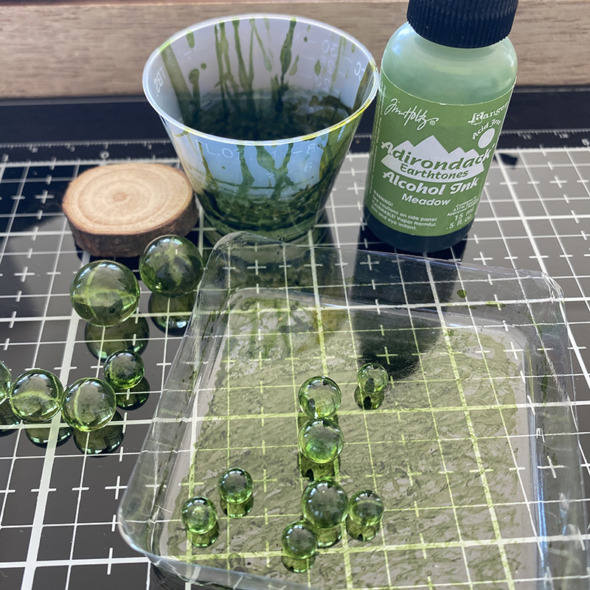
    Using meadow alcohol ink to dye the idea-ology bubbles, I swirled them in a cup and used the packaging they came in as a “bubble drying station!”

    igirlzoe: tim holtz idea-ology halloween witches
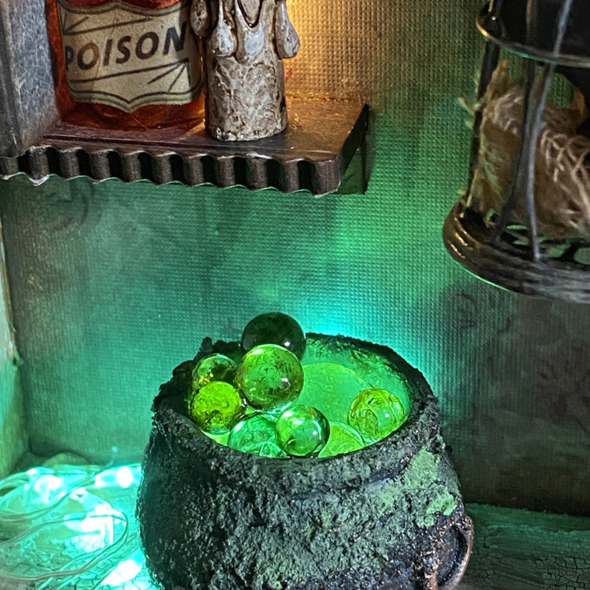
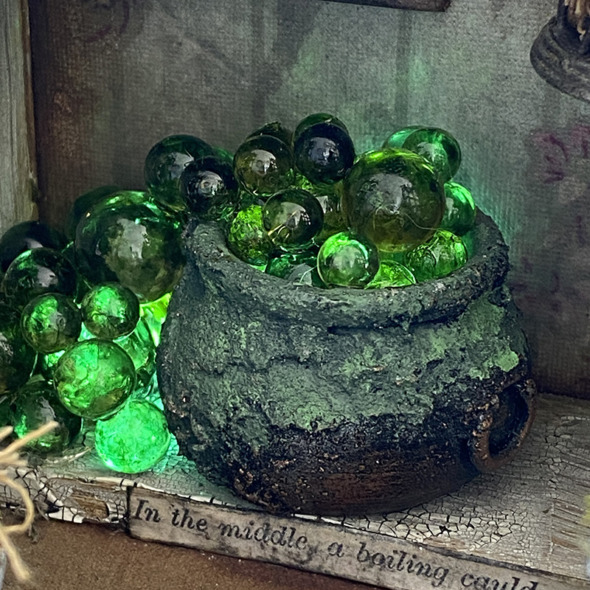
    Thread a set of Halloween tiny lights in green up into the vignette box and through the back of the cauldron. I use a Dremel Micro tool to make the holes and don’t forget to wear your safety glasses for drilling. Glue the tiny lights into the bottom of the cauldron and add one large bubbles and then begin adding more bubbles. I use glossy accents to attach them as it dries clear. You need a little patience with this as the glossy accents take a little while to dry, but worth it.

    igirlzoe: tim holtz idea-ology halloween witches
    Add distress crypt-paste to the edges of the cauldron. Once dry I painted with black soot and then added peeled paint distress paint to highlight, allowing it to dry between layers. I added a sticker from the idea-ology curiosities sticker book.

    igirlzoe: tim holtz idea-ology halloween witches
    I added another sticker from the curiosities sticker book under the shelf above the cauldron. These curiosities stickers help tell the story.

    igirlzoe: tim holtz idea-ology halloween witches
    I love having new larger skulls in the idea-ology Halloween line. I wanted to show the size comparison so used this years and last years together. I LOVE how creepy and dark the 2022 skulls are!

    igirlzoe: tim holtz idea-ology halloween witches
    Every potting shed needs pots, so I added a couple of tiny terracotta pots. They are real terracotta, I bought them from Switzerland 10 years ago. I’m sure you can get similar from hobby stores and if not, maybe we could ask Tim, “wouldn’t it be cool if…” 😉

    igirlzoe: tim holtz idea-ology halloween witches
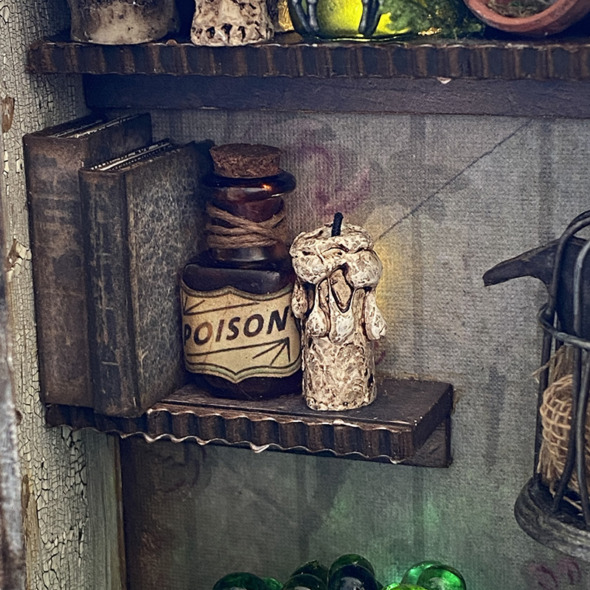
    On another shelf I added a couple of books made using the book covers from the Halloween ephemera pack. I added another bottle, this time dyed brown, with a label from the same ephemera pack. The drippy candle is back lit by a clear tiny light from the same set as the onea sitting behind the green spider bottle.

    igirlzoe: tim holtz idea-ology halloween witches
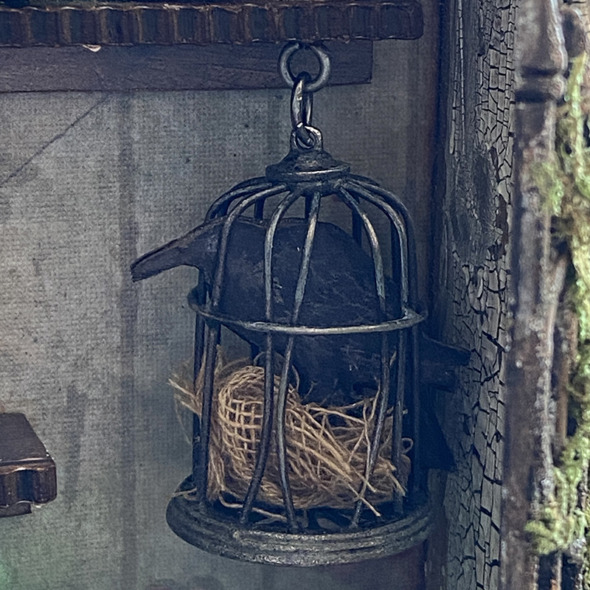
    Using a piece from the vignette hardware pack, I hung a birdcage. I used pliers to bend the cage bars and added a piece of mummy cloth to the bottom and a crow made using the Halloween ephemera. Glue 2 crows either side of a piece of fun foam and fussy cut.

    igirlzoe: tim holtz idea-ology halloween witches
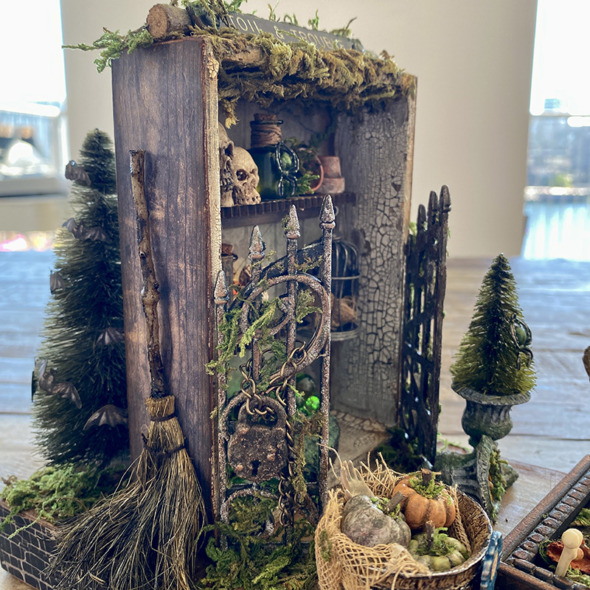
    I added gates to either side of the potting shed using distress collage medium to attach to the edges of the vignette box. Adding distress grit paste to the gates with my finger and once dry, dry brushed black soot distress paint over the top. Once dry, I used bronze Gilders Wax to highlight.

    igirlzoe: tim holtz idea-ology halloween witches
    Finally I wrapped a chain around the gates and added a lock from the locks and keys set. I rubbed distress collage medium onto the gates with my fingers and then added moss and left to dry.

    igirlzoe: tim holtz idea-ology halloween witches
    Thanks for stopping by, I hope you found this post helpful and it has inspired you to make. Let me know if you have any questions.

    Back soon with the next installment in the witches potting shed…
    Part 3 – Bone Garden, Barrel + Urns

    Zoe


    affiliate links used at no cost to you


  8. December is here…

    2nd December, 2022 by iGirlZoe

    igirlzoe: tim holtz christmas idea-ology december daily

    Hello friends and happy December! I’m so happy it’s here. I love December and get so excited to crack open those tiny doors on Advent Calendars and decorate for Christmas without anyone grumbling about it being too early. I think December has a smell to it too, today it’s a yummy vanilla candle from day 1 (yesterday) of my Rituals Advent calendar. We take Advent Calendars pretty seriously in this house!

    igirlzoe: tim holtz christmas idea-ology december daily
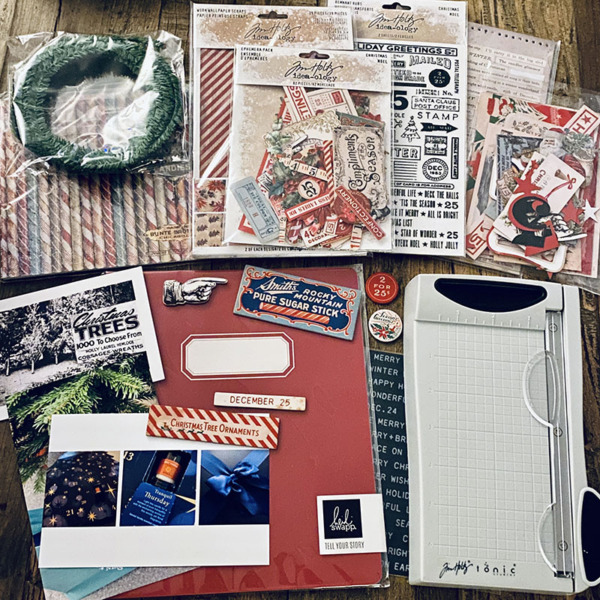
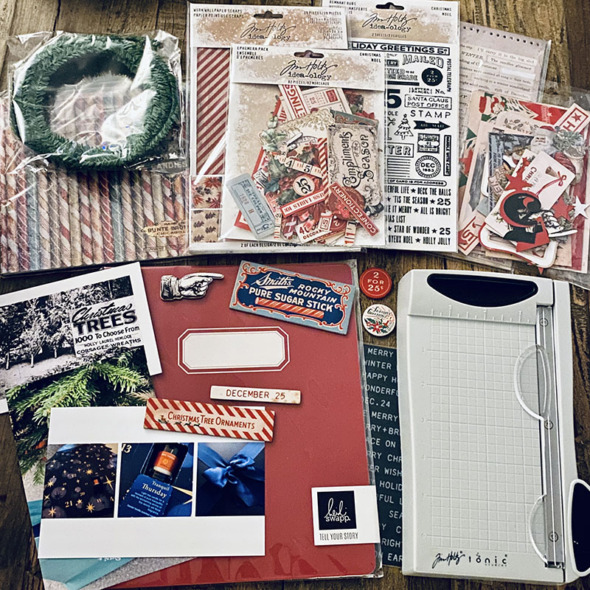
    We are putting our Christmas decorations up and have some special traditions when we do, things we eat and listen to. I really love the Christmas traditions that I have adopted over the years and every year I think I must document those traditions and the special moments. This year I finally decided not to wait another year and lightly follow December Daily using my Tim Holtz idea-ology products and a Heidi Swapp planner to document my December.

    igirlzoe: tim holtz christmas idea-ology december daily
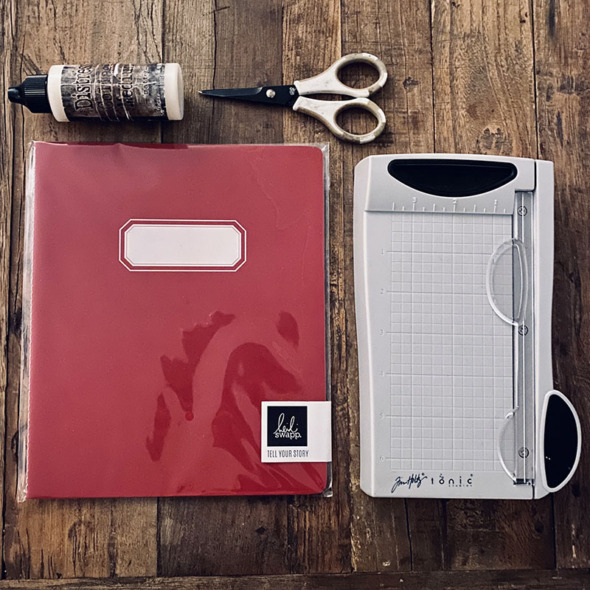
    I’m using a planner from Heidi Swapp and Tim Holtz Mini Trimmer and Distress Collage Medium. I fussy cut with EK scissors linked below. I also use an Epson XP8505 printer. It’s a European model and a fair few years old but it’s been low maintenance and it prints beautiful quality photos. This was a printer equivalent to a model that Ali Edwards recommended years ago on her blog. It’s pretty reasonable on ink cost wise and easy to use, I have zero patience for printer antics! ZERO!

    igirlzoe: tim holtz christmas idea-ology december daily
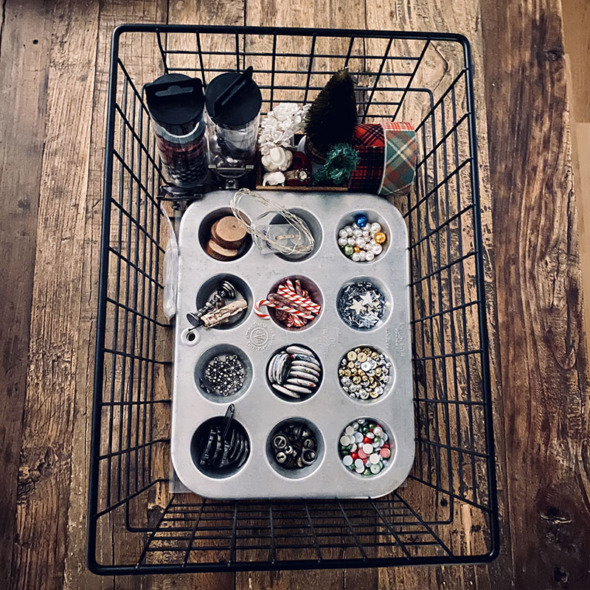
    I gather all my dimensional idea-ology in a muffin tin like Tim does. It helps being able to see it all when I’m making.

    igirlzoe: tim holtz christmas idea-ology december daily
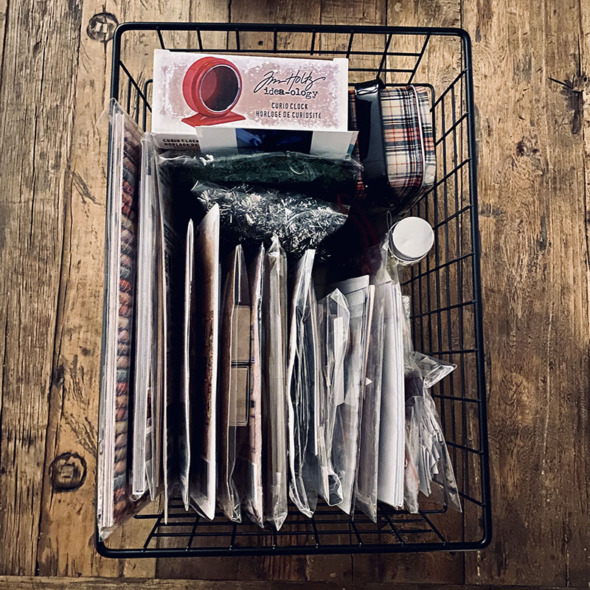
    This basket is known as the Christmas idea-ology paperie. Ready for me to dip in, to document December.

    igirlzoe: tim holtz christmas idea-ology december daily
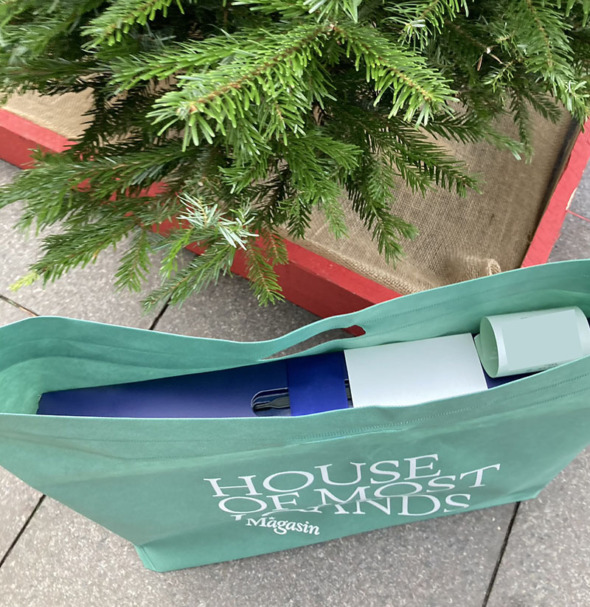
    My sweet husband even got behind documenting December by staging this festive photo outside of a department store in central Copenhagen after Advent Calendar shopping.

    If you would like to follow along or even document some of your own December traditions, whether you celebrate Christmas or simply enjoy the coziness of winter, join me. I’ll be sharing here and on instagram.

    I’ve linked to some of the items that I’m going to be using to document December.

    Let me know if you have any questions.

    Zoe


    affiliate links used at no cost to you


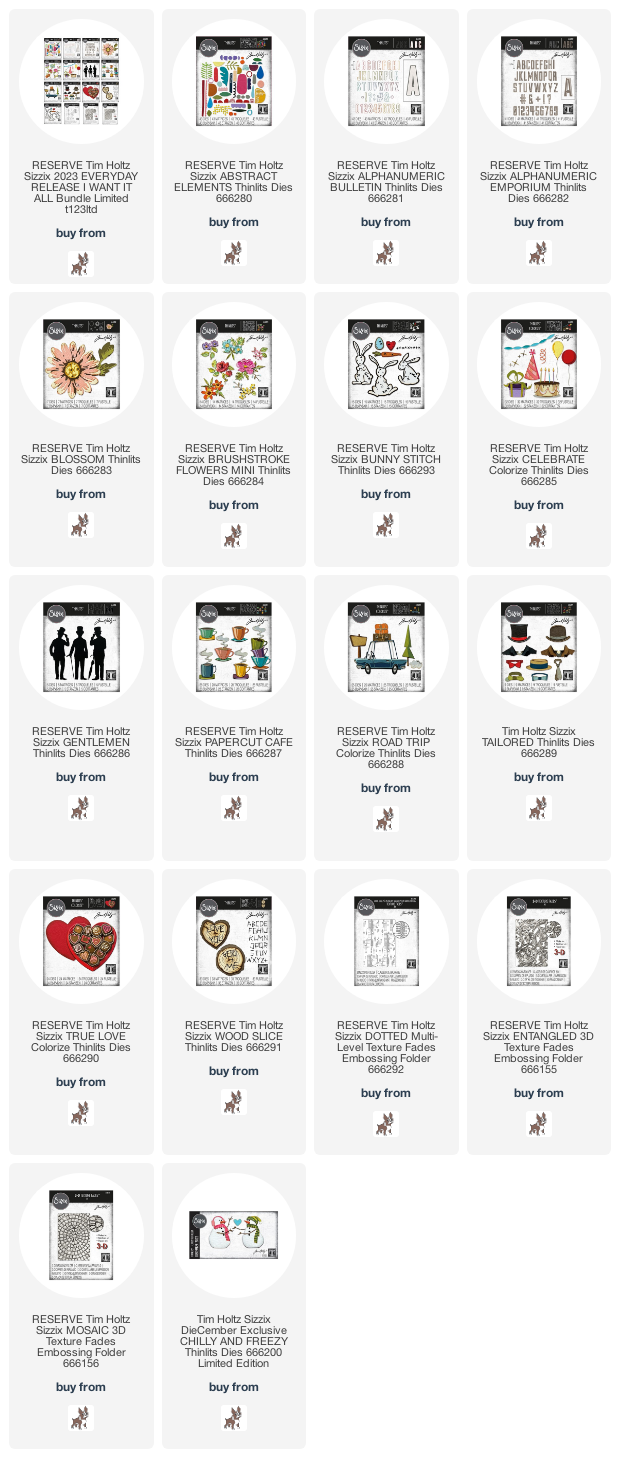
  9. Tim Holtz Sizzix 2023 Collection

    1st December, 2022 by iGirlZoe

    igirlzoe: tim holtz sizzix 2023

    Happy first day of December friends. It’s also the first day that you can pre-order the Tim Holtz Sizzix 2023 Collection. This collection is amazing and I cannot wait for the LIVE launch next month (date TBC) and all the inspiration makes.

    igirlzoe: tim holtz sizzix 2023
    I know you’ve all be incredibly good this year (Santa told me), so add a few extras to your Christmas list and get ready for an amazingly fun and creative 2023.

    At the time of writing this, if you spend $25 on Tim Holtz branded products with Simon Says Stamp you get the EXCLUSIVE Chilly + Freezy die set free with purchase. This item will be automatically added to your cart if you have added the qualifying items. Please note that your free purchase will not be shipped until your order is.

    Thanks for stopping by and let me know if you have any questions.

    Zoe


    affiliate links used at no cost to you


  10. Retro Santa in Lumberjack Plaid

    17th November, 2022 by iGirlZoe

    igirlzoe: tim holtz lumberjack plaid distress ranger ink

    Hello friends, hope you’re well.  I’m playing catch up still, but before I skip off to finish some blog posts about witches, I wanted to share this card that I made for the Tim Holtz LIVE launch of the newest member of the Distress family, Lumberjack Plaid.

    igirlzoe: tim holtz lumberjack plaid distress ranger ink

    I still have my Christmas cards to make, I always mean to start early but never do so I need some quick and simple cards, like this one I made for the Lumberjack Plaid LIVE launch. The Retro Santa die perfectly carries the new Lumberjack Plaid Distress ink. I stamped with it using a stamp from the Vintage Holiday (CMS423) stamp set and stamped with another stamp from that set and one from the Music and Advert (CMS358) stamp set in Distress Archival Ink. I know both this Santa and Distress Color are going to feature in many of my Christmas cards this year!

    Thanks for stopping by and let me know if you have any questions.
    Zoe


    affiliate links used at no cost to you