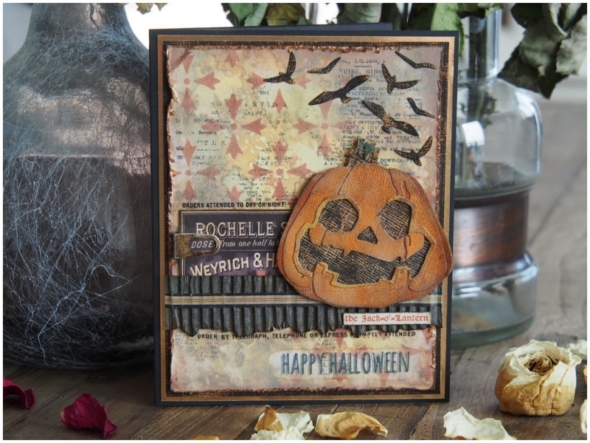
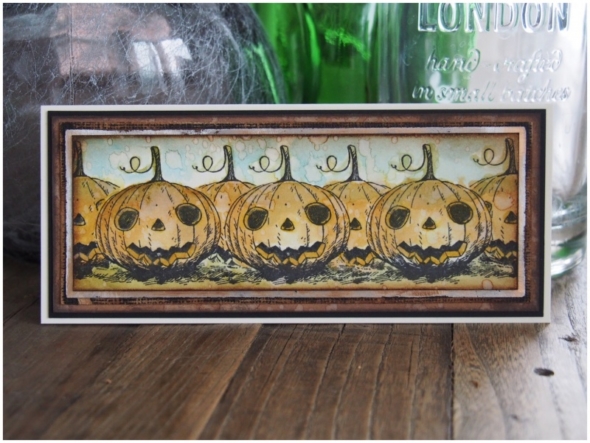
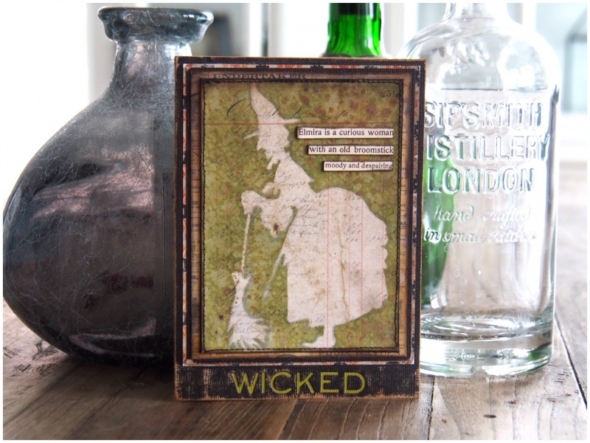
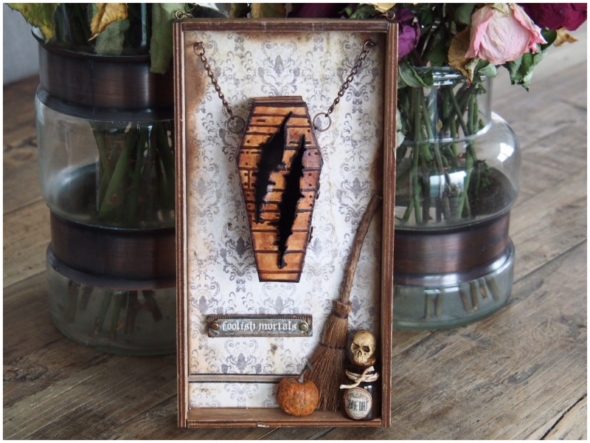
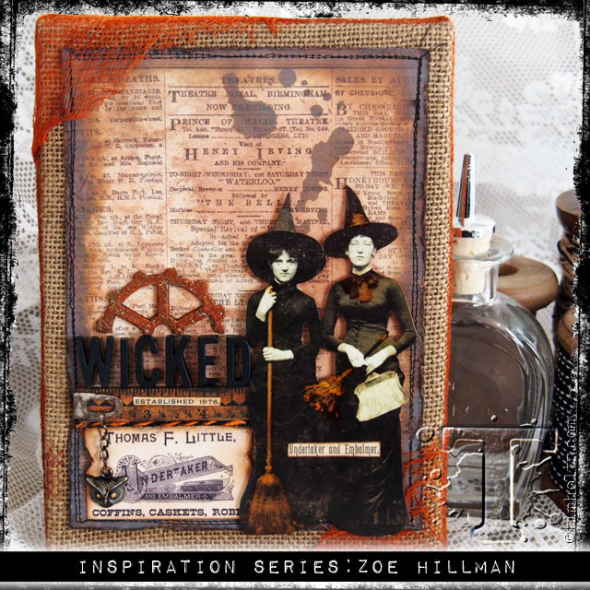
With All Hallows’ Eve drawing near, I’m sharing this haunted banner that I made for the Tim Holtz Halloween inspiration series. You can follow along on Tim’s facebook and instagram with a weekly recap on Saturday on his blog.
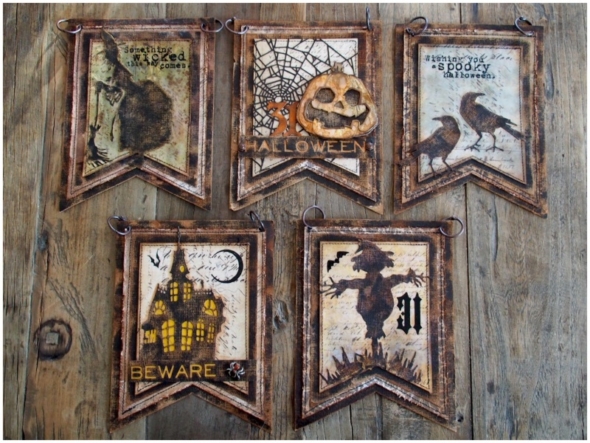
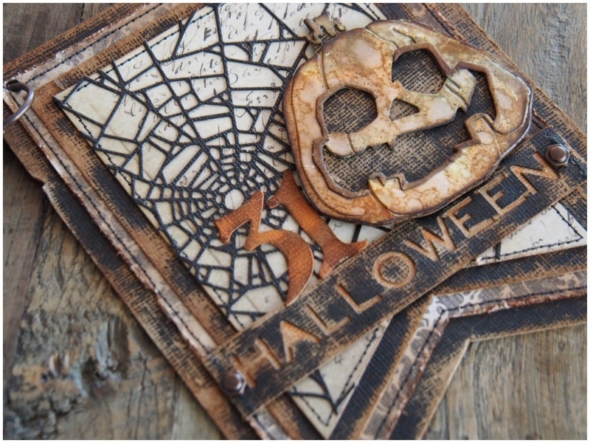
Here’s how I made the jack-o-lantern banner…
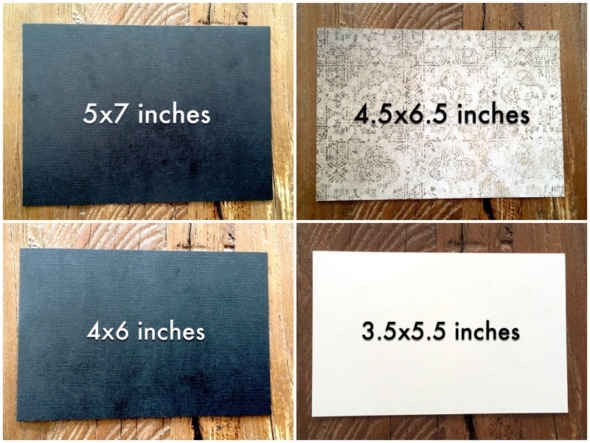
Step 1: Cut a piece of black classic kraft stock 5 x 7 inches.
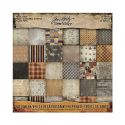
Step 2: Cut a piece of paper from the Halloween mini stash 4.5 x 6.5 inches.
Step 3: Cut a second piece of black classic kraft stock 4 x 6 inches.
Step 4: Cut a piece of mixed media heavystock 3.5 x 5.5 inches.
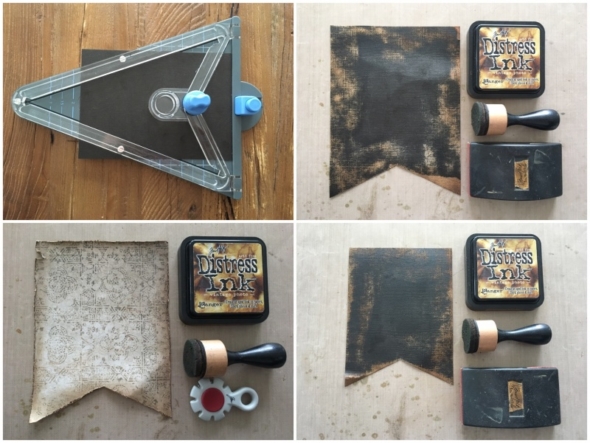
Step 5: Using the WRMK banner punch board, cut the ends to create a banner.
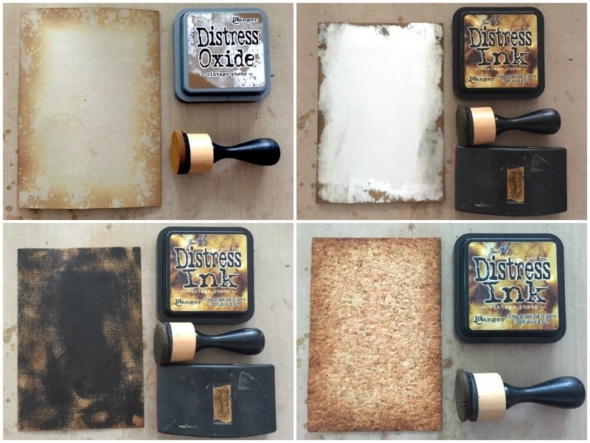
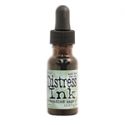
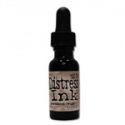
Step 6: Sand the edges of the large black classic kraft stock banner with a sanding grip and blend in vintage photo distress ink.
Step 7: Distress the edge of the halloween mini stash paper banner and blend in vintage photo distress ink.
Step 8: Sand the edges of the small black classic kraft stock banner with a sanding grip and blend in vintage photo distress ink.
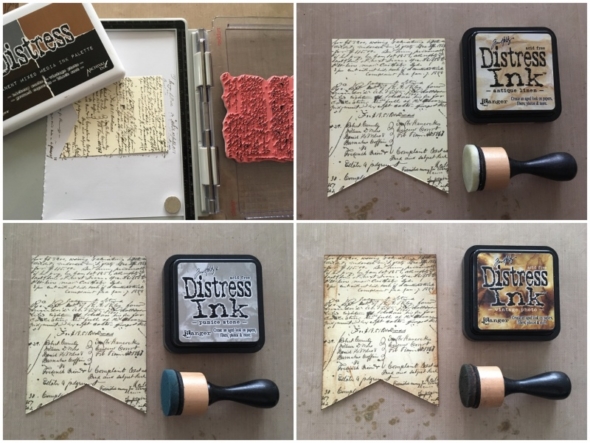
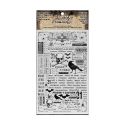
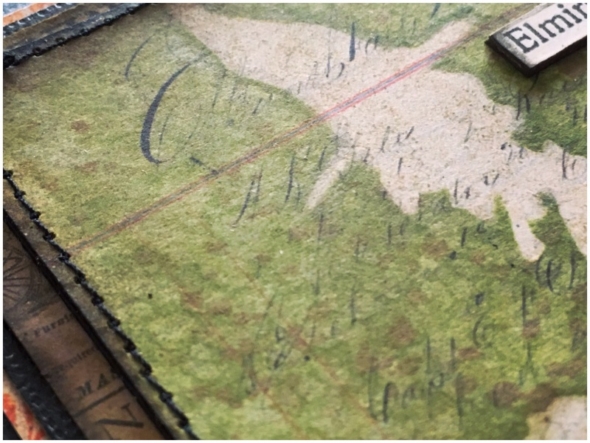
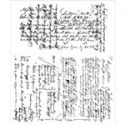
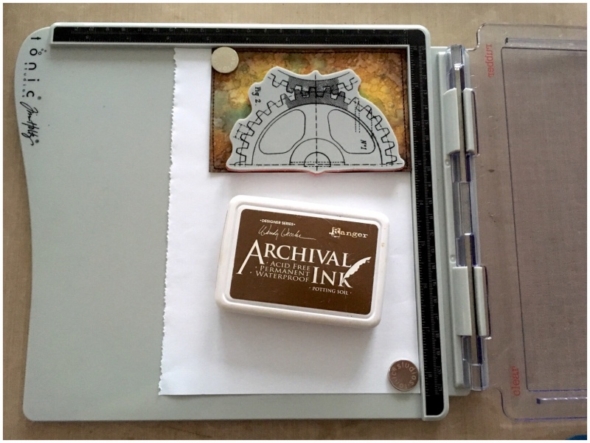
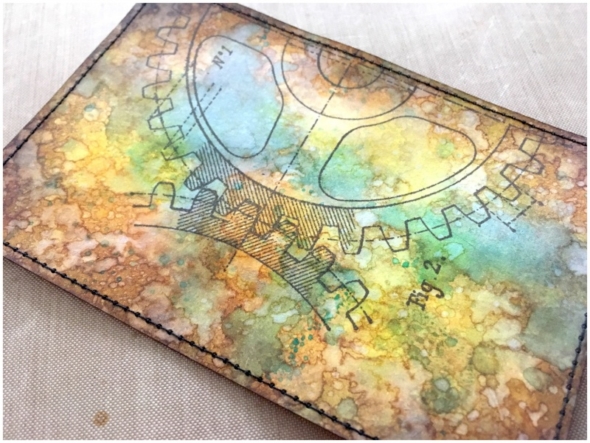
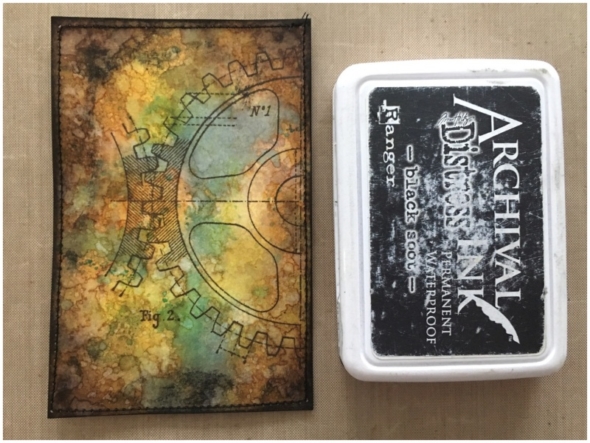
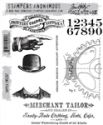
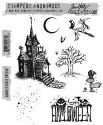
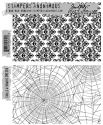
Step 9: Ink up the ledger script stamp with hickory smoke distress archival ink. Stamp onto the heavystock banner using the stamp platform. Stamp a second time using a very light layer of vintage photo distress archival ink.
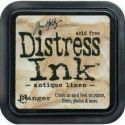
Step 10: Blend in antique linen distress ink.
Step 11: Blend in pumice stone distress ink.
Step 12: Blend vintage photo distress ink into the edges.
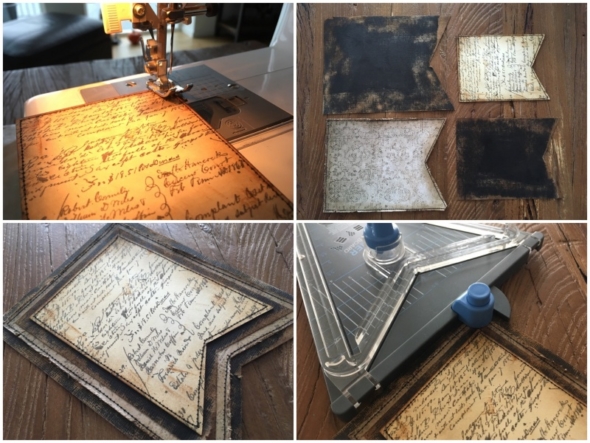
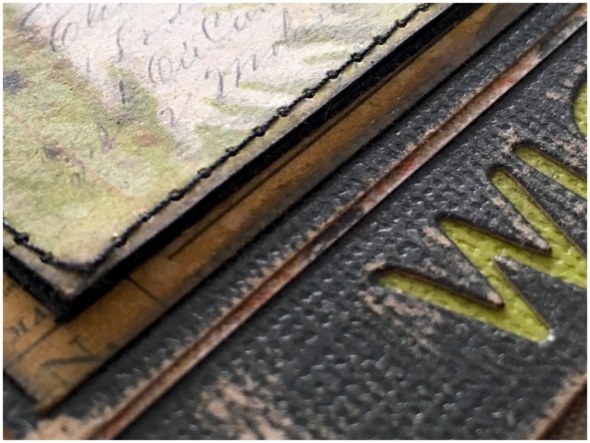
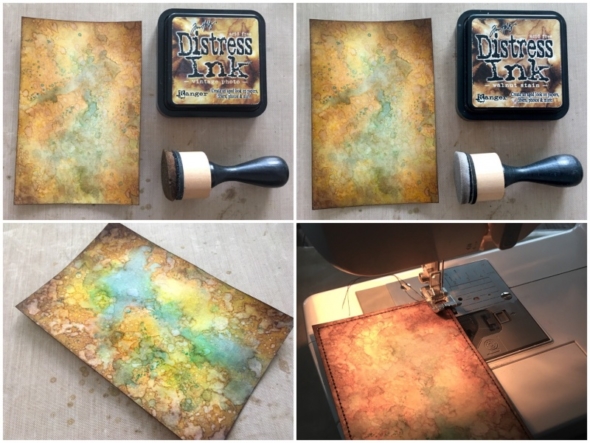
Step 13: Sew the edges of the mini stash and heavystock banners with black thread.
Step 14: Gather the banner pieces ready to assemble.
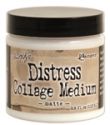
Step 15: Adhere using distress collage medium matte.
Step 16: Punch 2 holes in the top of the assembled banner.
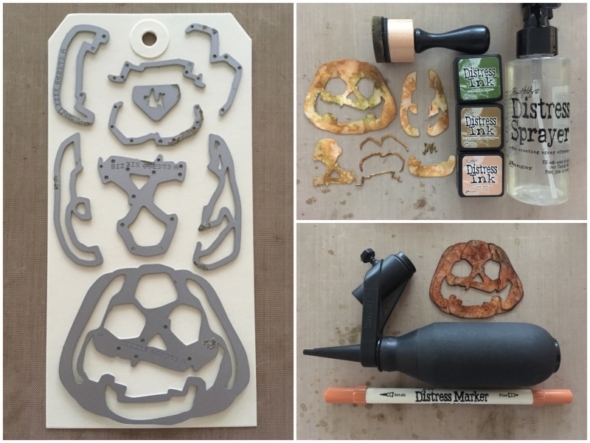
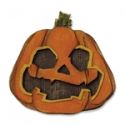
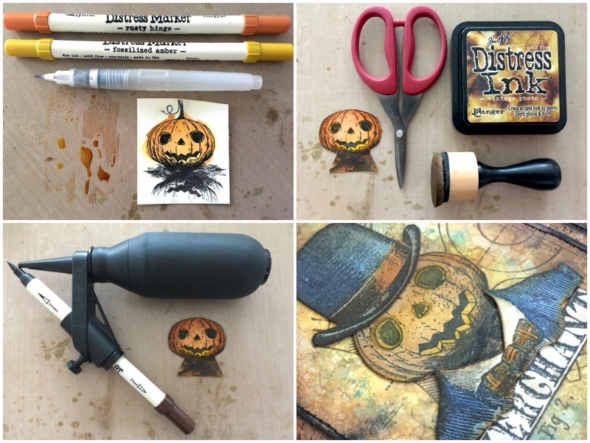
Step 17: Die cut the jack-0-lantern thinlits die from a heavystock tag.
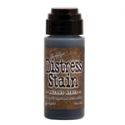
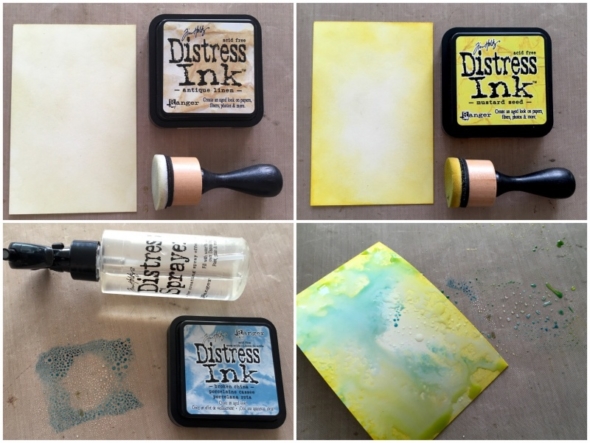
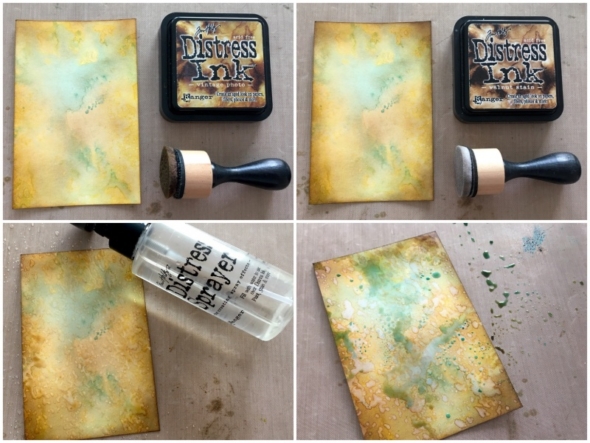
Step 18: Blend tea dye, forest moss and brushed corduroy distress ink and splatter with a distress sprayer.
Step 19: Once dry, spritz rusty hinge distress marker over the die cut with a distress marker spritzer.
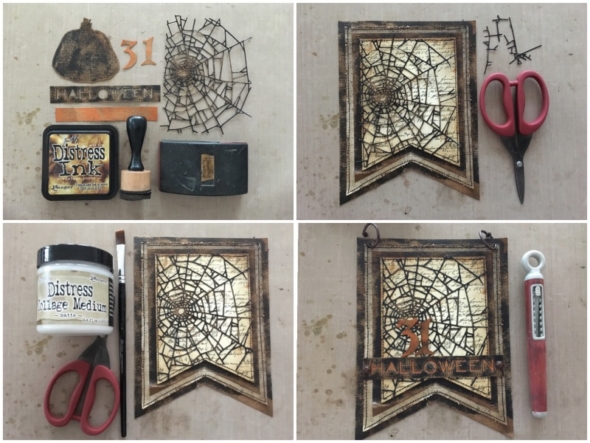
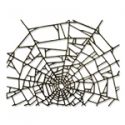
Step 20: Die cut Halloween, jack-o-lantern base and a cobweb from black classic kraft stock. Sand and blend in vintage photo distress ink.
Step 21: Place the cobweb die cut over the banner and trim any overlap with mini scissors.
Step 22: Adhere the cobweb with distress collage medium matte.
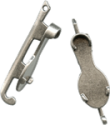
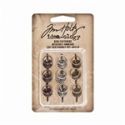
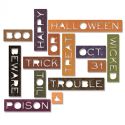
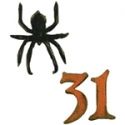
Step 23: Add the halloween die cut with hex fasteners. Adhere the 31 die cut and add mini book rings to the holes at the top of the banner.
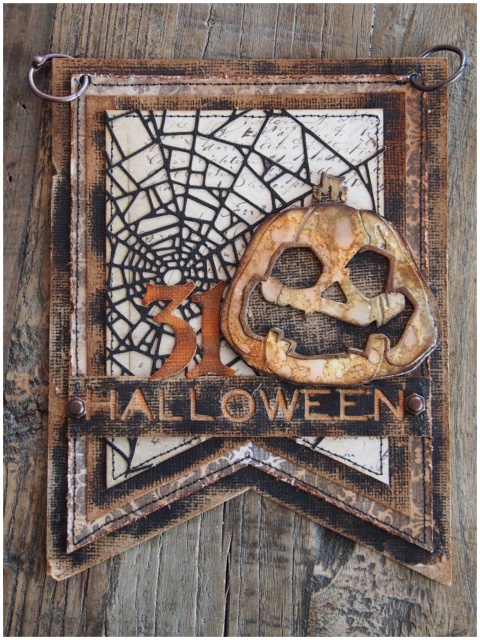
Step 24: Add the jack-o-lantern die cut with adhesive black foam.
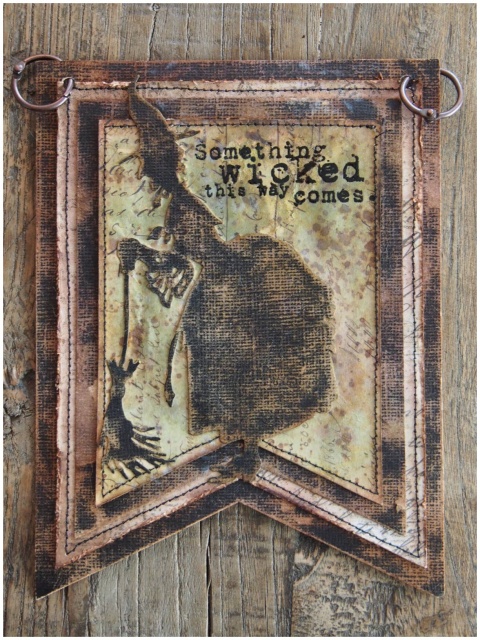
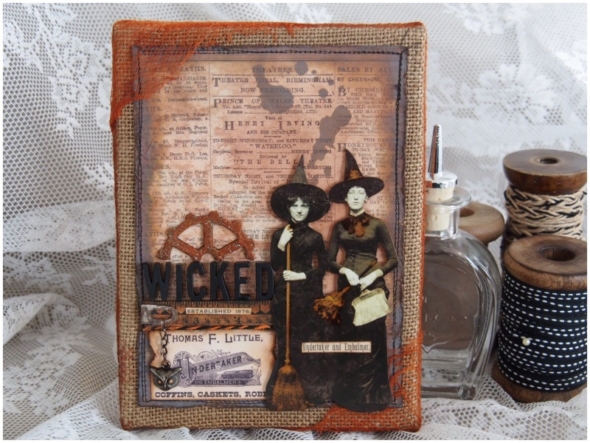
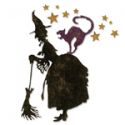
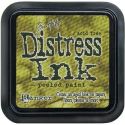
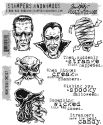
Step 25: Die cut the witchcraft die from black classic kraft stock, sand with a sanding grip and blend in vintage photo distress ink with a mini blending tool. Blend peeled paint distress ink onto the heavystock banner (top one), stamp a sentiment from the monstrous set and adhere the witch with distress collage medium matte.
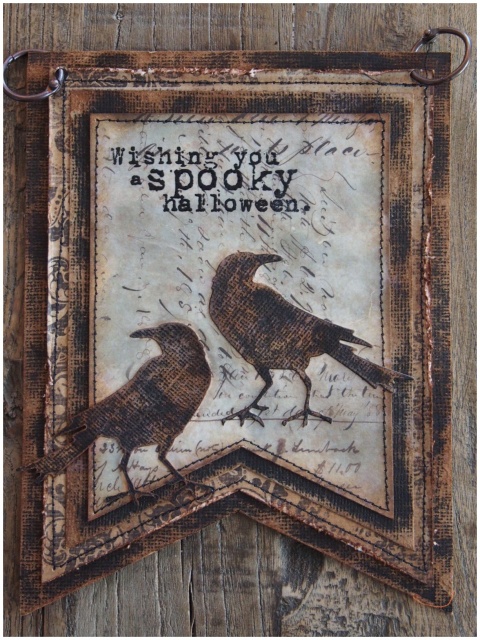
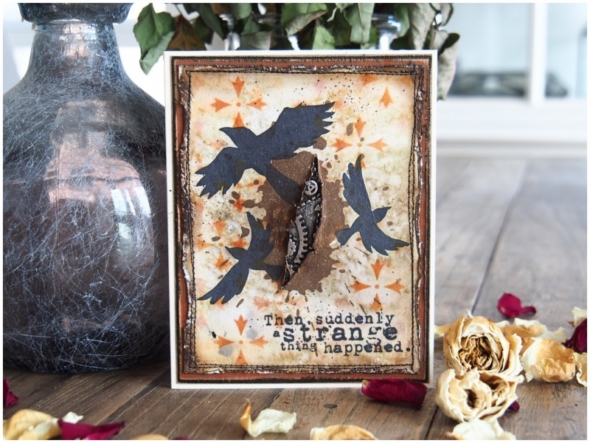
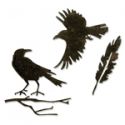
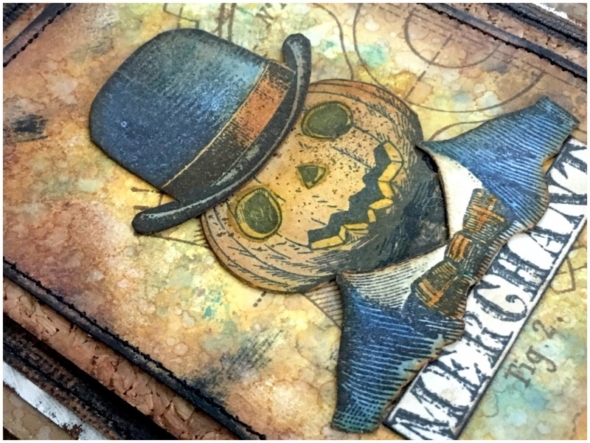
Step 26: Die cut the feather and raven die from black classic kraft stock, sand with a sanding grip and blend in vintage photo distress ink with a mini blending tool. Blend weathered wood distress ink onto the heavystock banner (top one), stamp a sentiment from the monstrous set and adhere the ravens with distress collage medium matte.
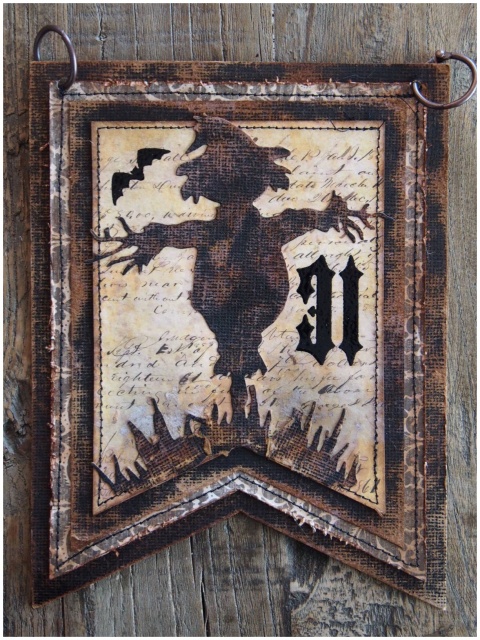
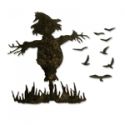
Step 27: Die cut the scarecrow die from black classic kraft stock, sand with a sanding grip and blend in vintage photo distress ink with a mini blending tool. Blend wild honey distress ink onto the heavystock banner (top one), stamp a bat and 31 using the idea-ology cling foam stamps and adhere the scarecrow with distress collage medium matte, bending the base of the scarecrow to mirror the curve of the banner.
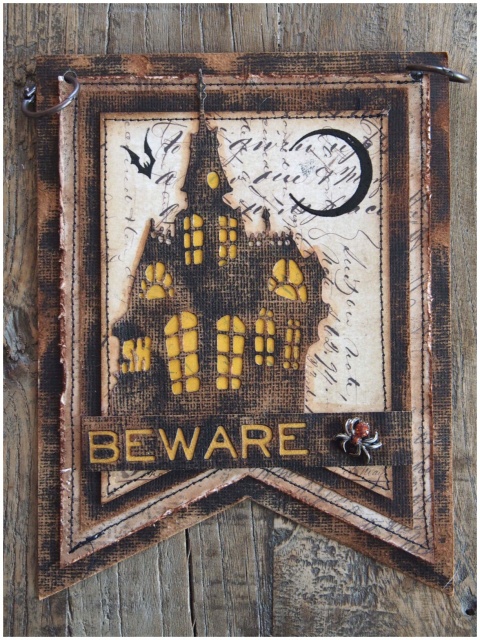
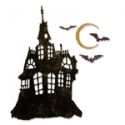
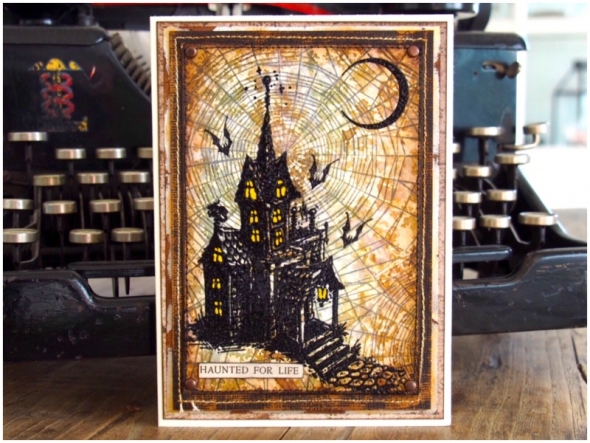
Step 28: Die cut the haunted house and halloween word die from black classic kraft stock, sand with a sanding grip and blend in vintage photo distress ink with a mini blending tool. Blend tea dye distress ink lightly onto the heavystock banner (top one), stamp a bat and the crescent moon from the haunted house set and adhere the haunted house and beware banner, plus an adornment spider with distress collage medium matte. Paint fossilized amber distress paint inside the haunted house’s windows.
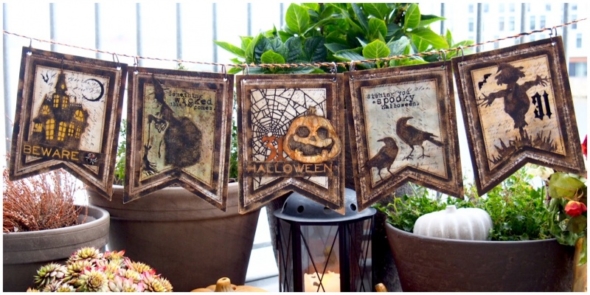
Run string, twine, burlap, ribbon or chain through the mini book rings attached to the top of the banner and hang. Why not make one each year and write the year on the back or make a feature of it on your banner. A great way to practice techniques and track your creative progression.
I hope you enjoyed this step by step and have been enjoying the inspiration series so far. Don’t forget to check out the other designers projects from the series. I will be back next week sharing some walk throughs and close ups of the other projects I have made for the inspiration series.
Cheers
Zoe x

