‘Tim Holtz’ Category

  1. Dapper Arthur

    13th August, 2020 by iGirlZoe

    igirlzoe: tim holtz halloween sizzix chapter 3 arthur 2020

    Hello everyone. I’m still buzzing with creative inspiration from Saturday’s Tim Holtz halloween idea-ology facebook LIVE. It was so nice having Tim and Mario back on our screens after being spoiled with 16 weeks of demos.
    igirlzoe: tim holtz halloween sizzix chapter 3 arthur 2020
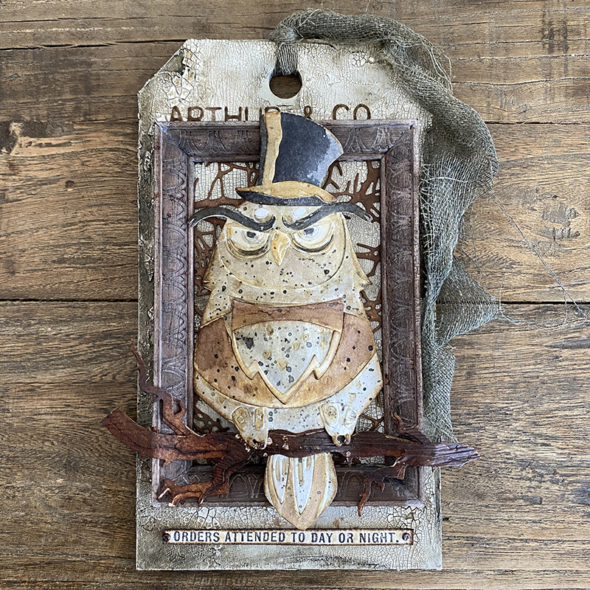
    Even though it’s too hot for hats here, I’m sharing a sample I made for the Tim Holtz Sizzix Chapter 3 Halloween release. If you missed this LIVE, you can catch up and see all the samples on Tim’s blog.
    igirlzoe: tim holtz halloween sizzix chapter 3 arthur 2020
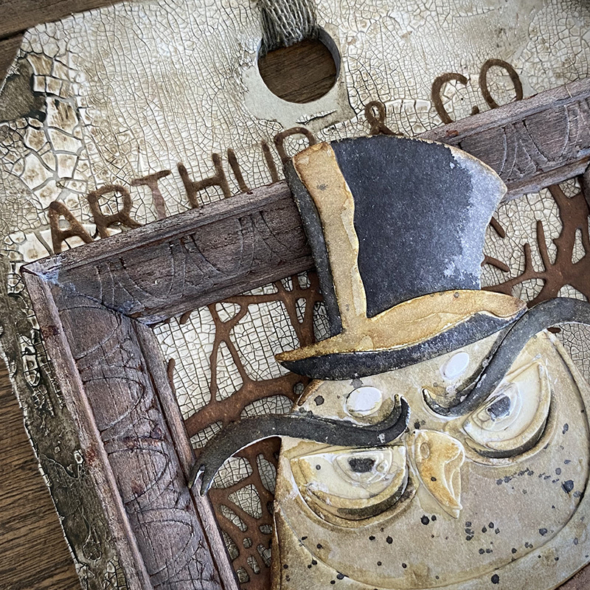
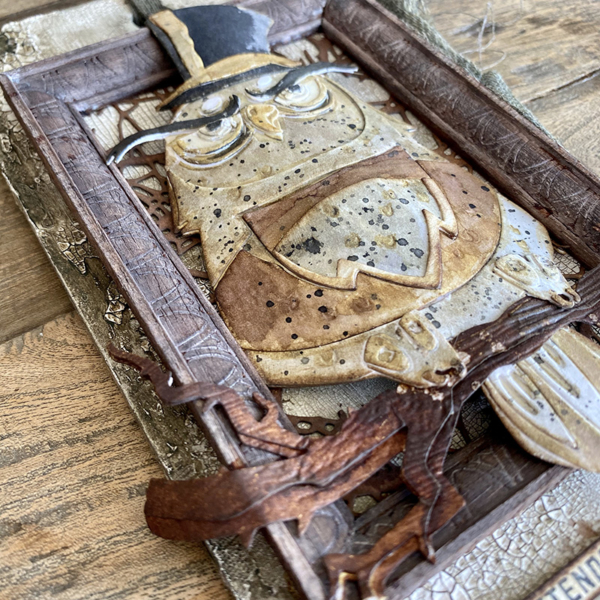
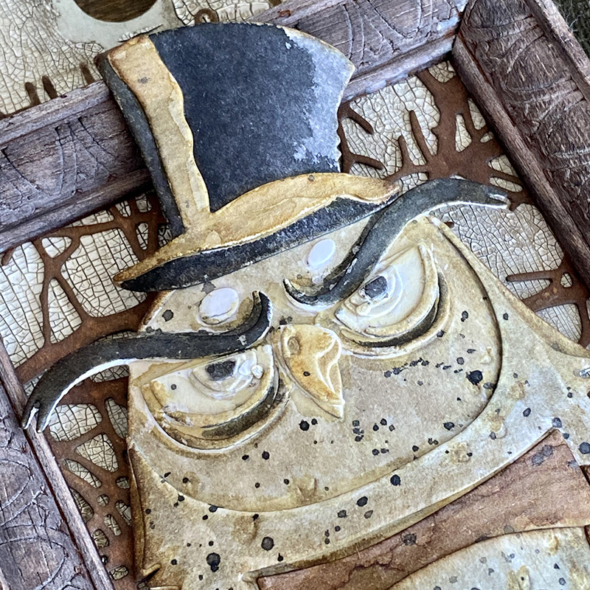
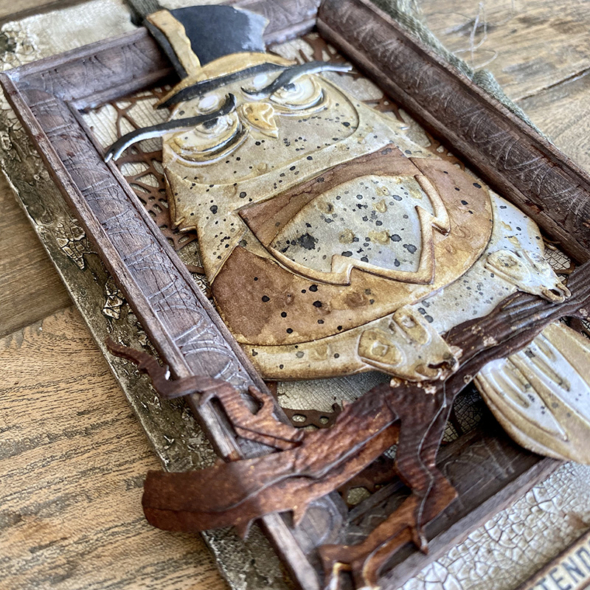
    Meet Arthur, the grumpiest owl you never hope to meet and he’s definitely reached the edge of his branch, so to speak! He’s not really an owls owl and if you do see him, it’s probably better if you don’t make eye contact!
    igirlzoe: tim holtz halloween sizzix chapter 3 arthur 2020
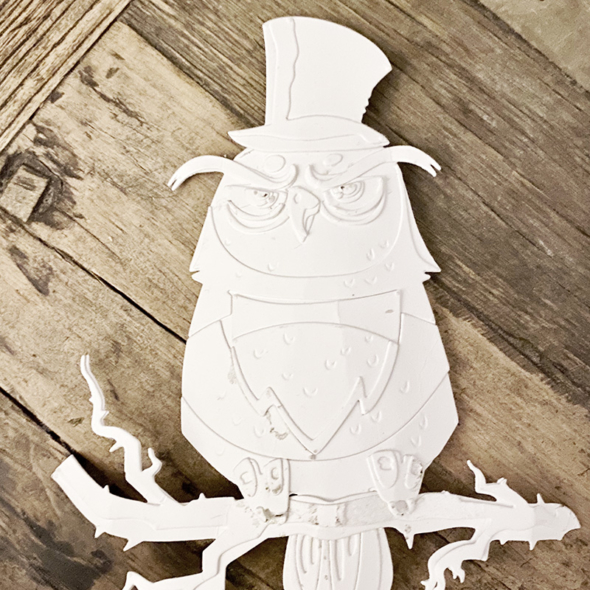
    If you know me, you know that hats are my jam and as soon as my dies arrived I grabbed Arthur and the Winter Wardrobe die and cut the hat. The winter wardrobe dies are part of the Tim Holtz Sizzix Chapter 3 holiday release, and perfectly sized for the colorize dies, including Arthur. Mixy matchy for the win. This hat will be used all year for me. It’s a hat thing! <3

    I like to make a prototype of the dies using scrap paper first. It helps me to have a visual and decide if there are some bits I don’t want to include, you can do that you know, it’s totally allowed. 😉
    igirlzoe: tim holtz halloween sizzix chapter 3 arthur 2020
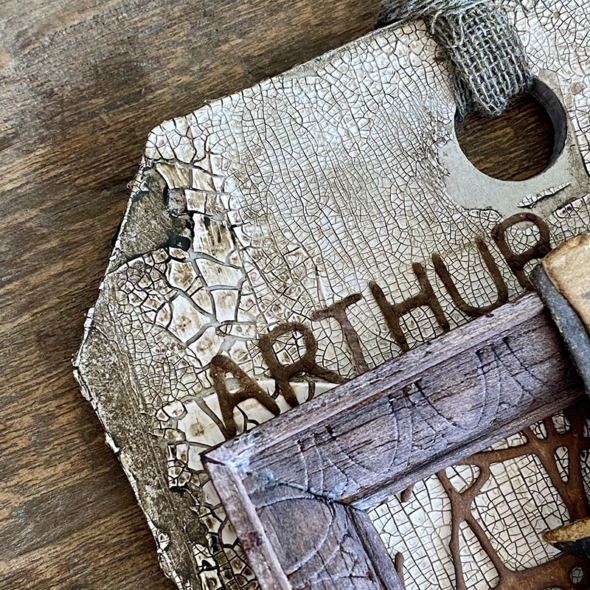
    I covered a mini etcetera thickboard tag with distress texture crackle paste and set aside to dry. I rubbed walnut stain distress crayon into the crackle and wiped some of the surface crayon away with a baby wipe. The ‘Arthur & Co’ is cut using the alphanumeric labels thinlits dies. These are probably one of my favourite alpha sets.
    igirlzoe: tim holtz halloween sizzix chapter 3 arthur 2020
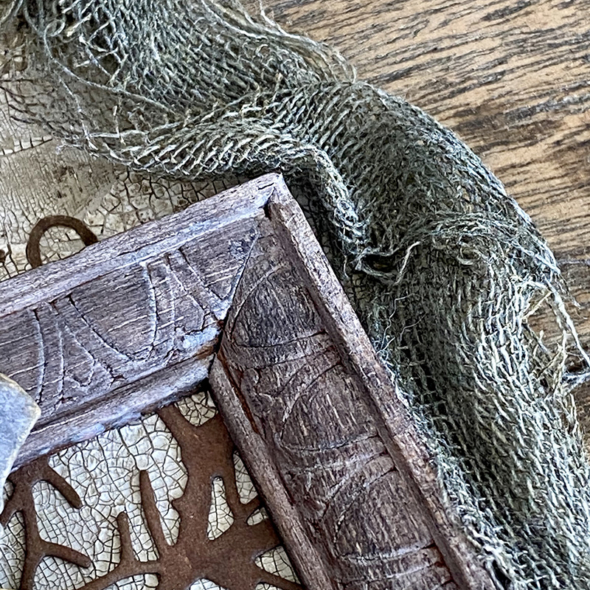
    I added an idea-ology vignette frame sprayed with walnut stain distress spray, over the top of the tangled twigs die cut also dyed with walnut stain distress. Mixy matchy again, it’s so fun to use old dies with new ones as you add to your collection.
    igirlzoe: tim holtz halloween sizzix chapter 3 arthur 2020
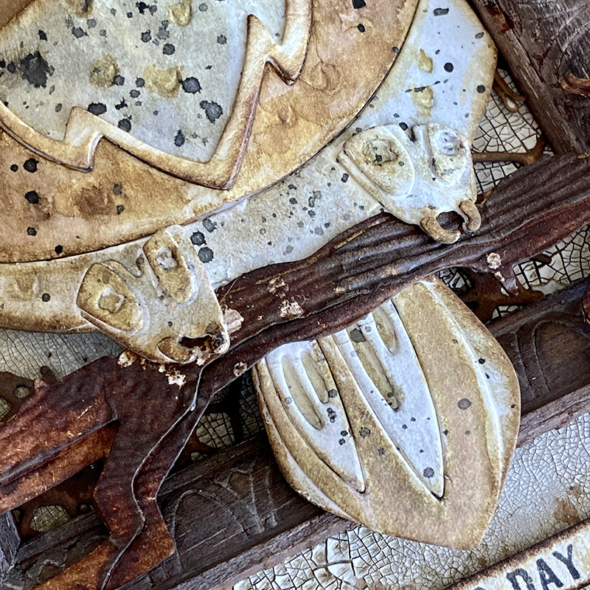
    Arthur’s tree branch was die cut and run through my machine in the lumbar 3D folder to give a nice wood effect. When I mounted Arthur, I tucked his tail behind the branch as I thought he looked properly perched and he is a dapper owl after all, being proper is of the upmost importance.
    igirlzoe: tim holtz halloween sizzix chapter 3 arthur 2020
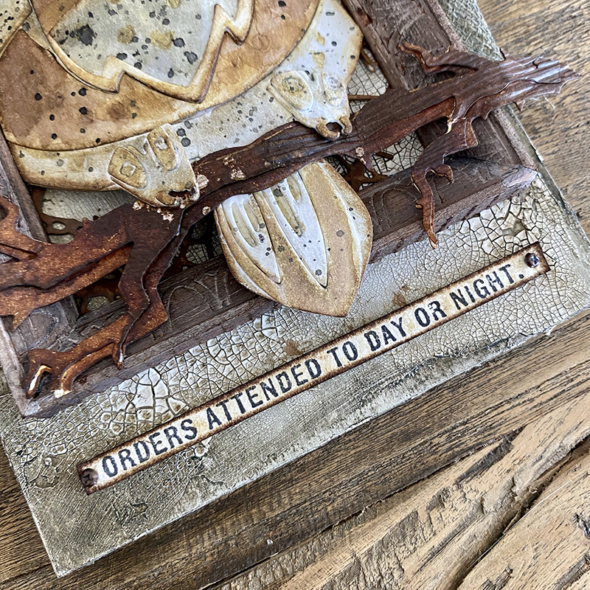
    I added a stamped sentiment from the stamper anonymous field notes stamp set CMS396, which I attached using mini fasteners.
    igirlzoe: tim holtz halloween sizzix chapter 3 arthur 2020
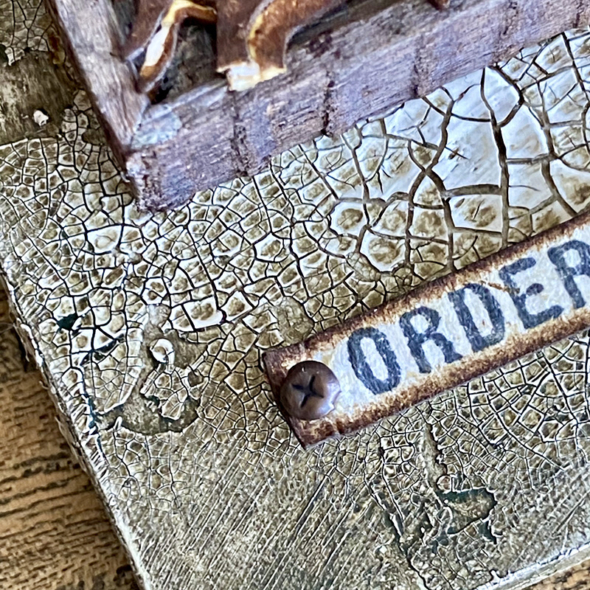
    I love the idea-ology mini fasteners because they have tiny screw heads on top and they’re just so tiny! And the distress texture crackle paste is the boss! Look at that crackley goodness!! If you love the crackle look but don’t want to play with the paste, check out my previous post, I used paper from the new idea-ology Halloween departed paper stash. If you love it, grab a pad before it departs forever *inserts SOBBING
    igirlzoe: tim holtz halloween sizzix chapter 3 arthur 2020
    Once I had fully assembled Arthur, I carefully curled him and then glued the edges to the vignette frame which gave him some extra depth… and he needed it, he’s pretty shallow to be honest! 😉

    Thanks for stopping by.
    Zoe


  2. An Uninvited Guest

    8th August, 2020 by iGirlZoe

    igirlzoe: tim holtz halloween idea-ology 2020

    Hello friends, it’s been a minute! Did you just catch the spooktacular Tim Holtz seasonal idea-ology LIVE on facebook? Holy Halloween, the products and samples were frightfully good.

    igirlzoe: tim holtz halloween idea-ology 2020
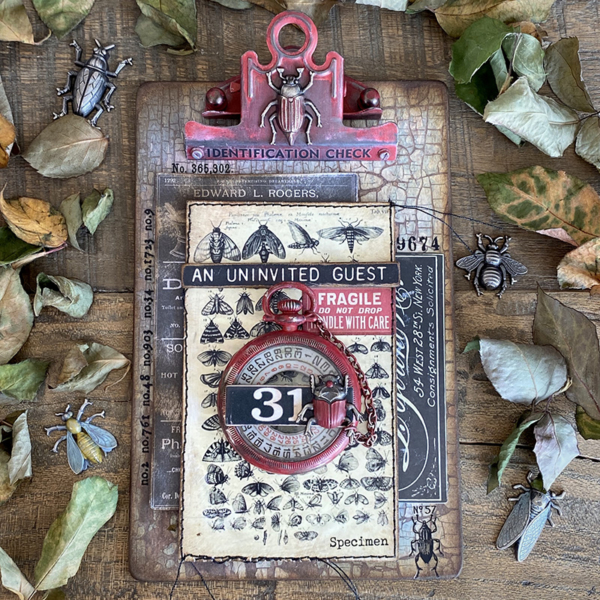
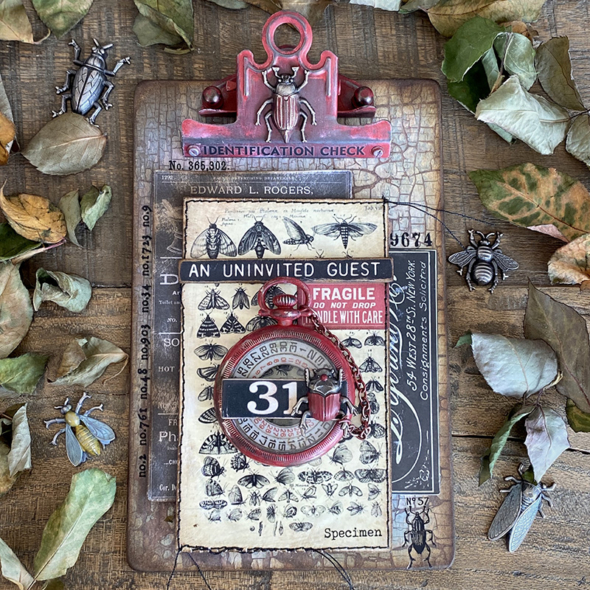
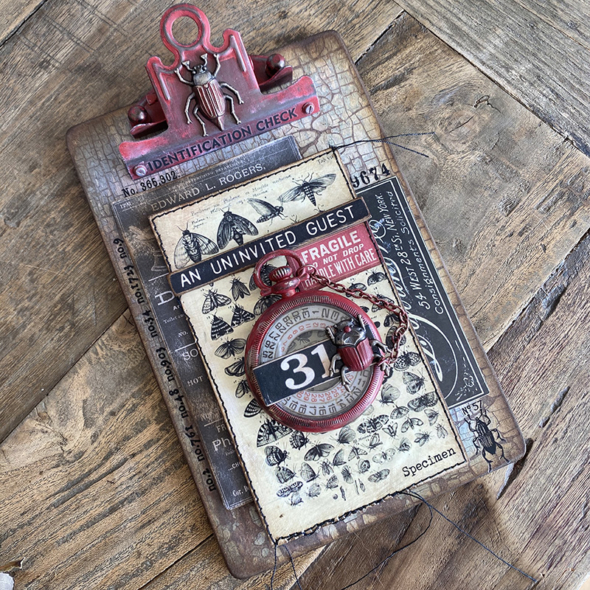
    Even though I haven’t been posting like crazy, I’ve been making like mad and wanted to share this creepy clipboard using the new idea-ology entomology.

    igirlzoe: tim holtz halloween idea-ology 2020
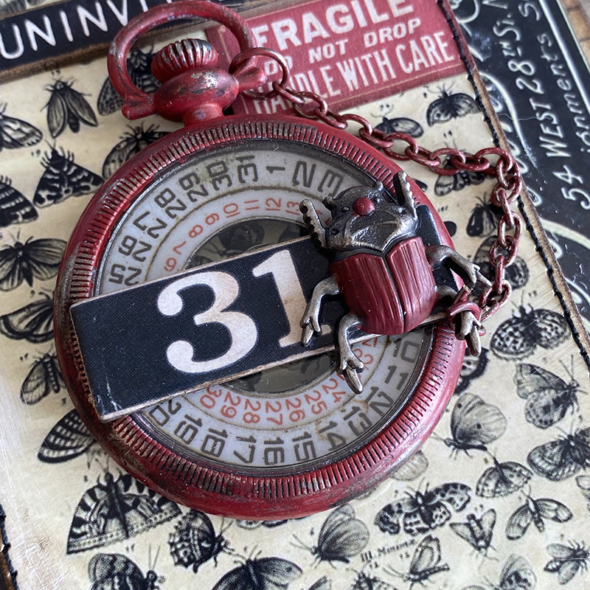
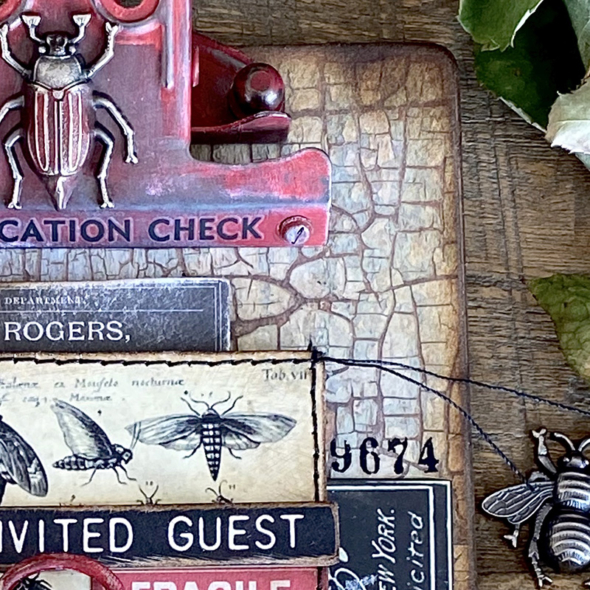
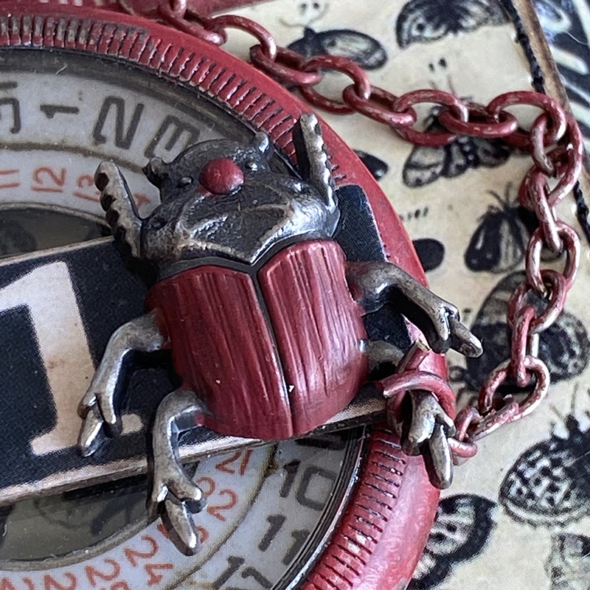
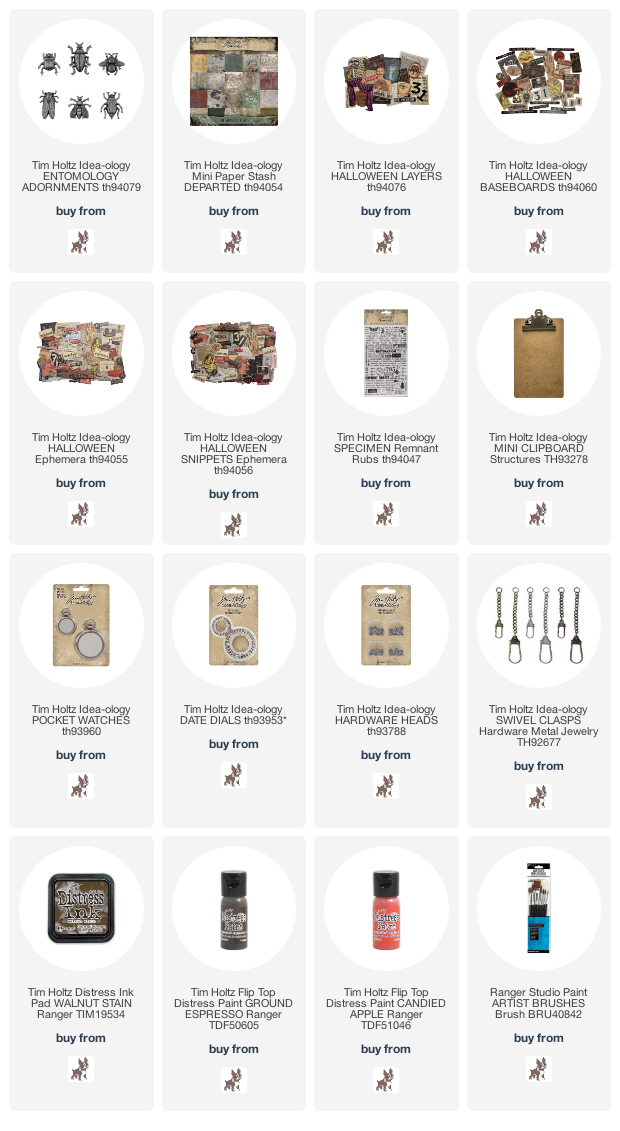
    The detail on these entomology bugs is phenomenal! There’s some great techniques on Tim’s blog using distress embossing glaze and distress crayons on metal adornments. Here I used distress paints to alter my bugs. I wanted a nice deep red so I mixed candied apple with ground espresso distress paints and added it to the beetles back with a detail paint brush and set aside to dry.

    igirlzoe: tim holtz halloween idea-ology 2020
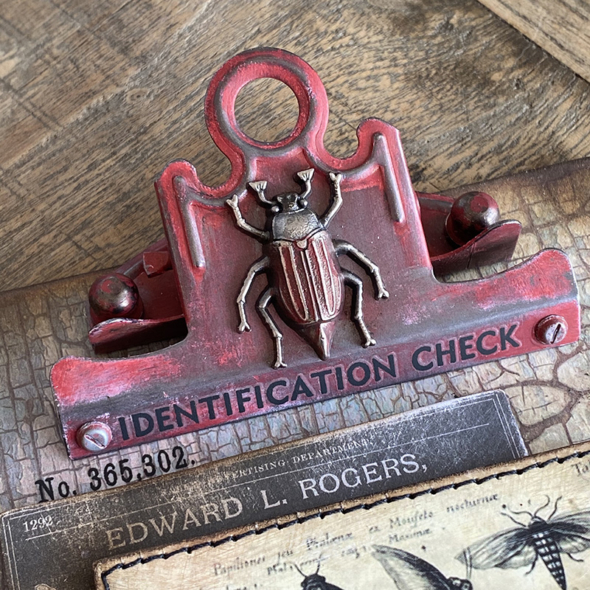
    I used the same paint for the clipboard clip and idea-ology hardware heads, (still my favourite in the idea-ology range). I added “identification check” with remnant rubs from the specimen set to the clip. I painted the bug and this time, rubbed the paint off the raised detail to expose the metal and leave the paint only in the recessed areas.

    igirlzoe: tim holtz halloween idea-ology 2020
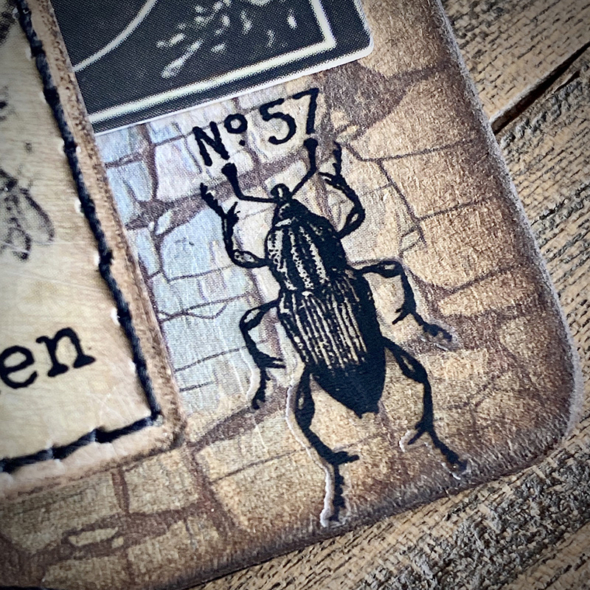
    I covered the clipboard base in the new departed paper. I’m so head over heels for this paper pad and will be stocking up like crazy because it’s limited and it’s amazing!! That crackle is just… YUM! I added walnut stain distress ink to the edges.

    igirlzoe: tim holtz halloween idea-ology 2020
    I have been obsessed with the idea-ology pocket watches and date dials since they were launched and I never use them, because they’re too precious! Yes really, I know it’s nuts but I had to force myself to use this one. So far I’ve only ever used one in a special handmade gift. I added the distress paint I mixed to the pocket watch and the chain from a swivel clasp. The beetle had to be shackled to stop him crawling away… naughty bugs!!

    igirlzoe: tim holtz halloween idea-ology 2020
    I rubbed more of the remnant rubs from the specimen set onto the clipboard. They are perfectly matched for the entomology bugs and work so well with Halloween, they are part of the non seasonal line.

    igirlzoe: tim holtz halloween idea-ology 2020
    I used pieces from the idea-ology halloween baseboards, ephemera, layers and snippets packs under the pocket watch. I added the “specimen” remnant rub to the bug chart from the halloween layers pack. I’m going to stock up on these for sure. I love this years ephemera and a lot of it is perfect even if you’re not into halloween. There’s an apothecary themed project in my future for certain!

    Thanks for stopping by. If you missed the facebook LIVE you can catch the replay on Tim’s facebook page and blog.

    I will be back next week with more Halloween makes.
    Enjoy the rest of your weekend.

    Zoe


  3. Focus On The Good

    20th July, 2020 by iGirlZoe

    igirlzoe: Tim Holtz ranger ink distress crayons distress embossing glaze stamps mixed media

    Hello friends

    A few months ago I shared a tag on social media that I made using one of my favourite techniques from the incredible 16 weeks of demos Tim Holtz shared. If you missed any of these, you can find them all on Tim’s blog. Hands up who misses the Saturday party at Tim and Mario’s?!

    igirlzoe: Tim Holtz ranger ink distress crayons distress embossing glaze stamps mixed media
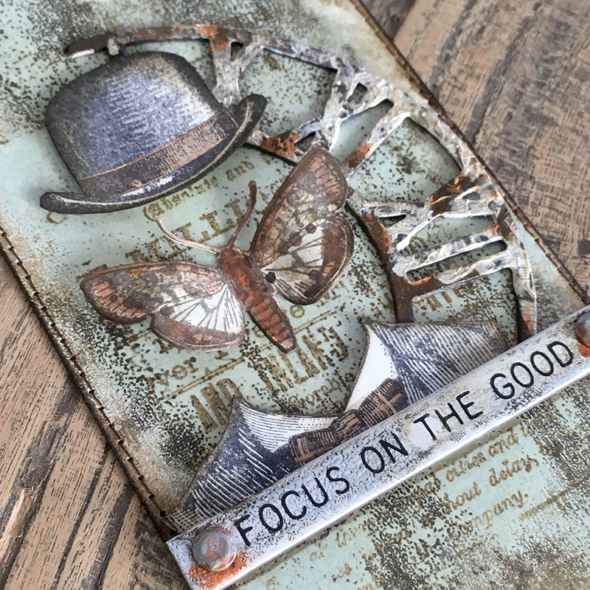
    Now more than ever I think it’s so important to focus on the good and I thought it would be nice to share the tag in a little more detail, so here we go.

    igirlzoe: Tim Holtz ranger ink distress crayons distress embossing glaze stamps mixed media
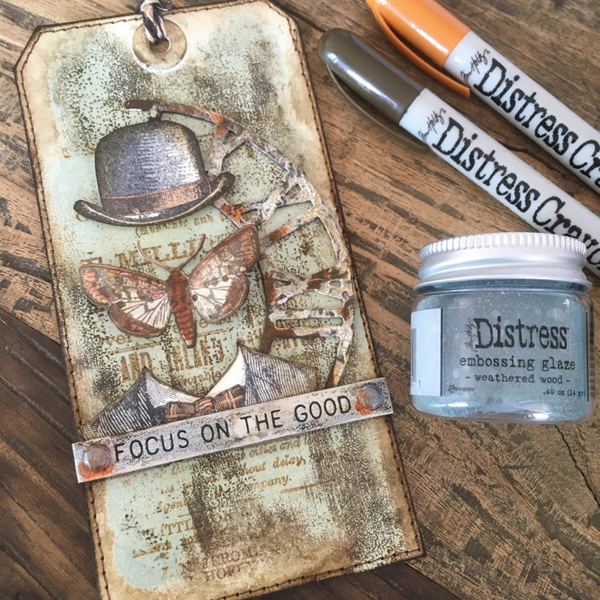
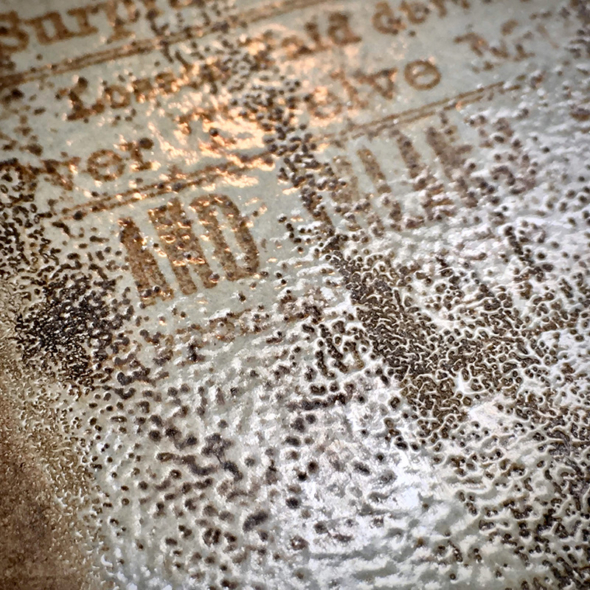
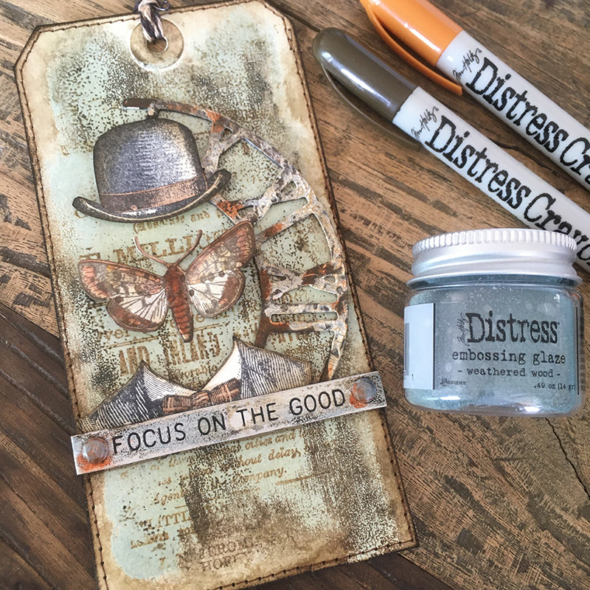
    I followed Tim’s distress crayon and distress embossing glaze technique, which you can see here. I have been a long time fan of distress crayons and used with the new distress embossing glaze, WOW!! This grungy weathered effect is completely up my street and it’s so easy to do.

    igirlzoe: Tim Holtz ranger ink distress crayons distress embossing glaze stamps mixed media
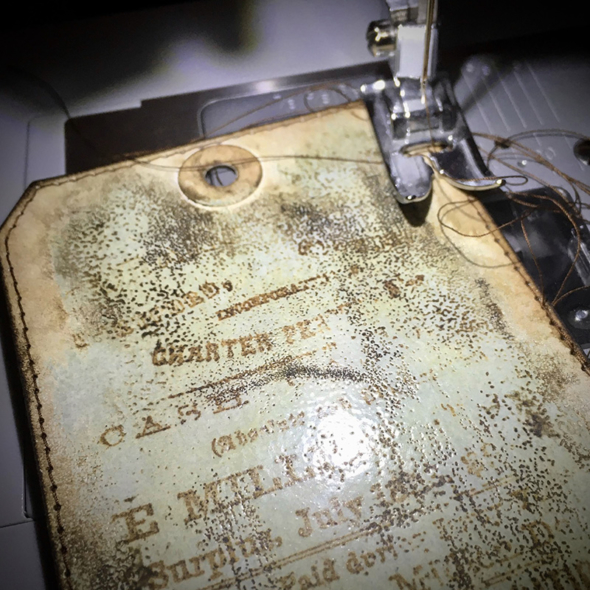
    I stitched the edges of my tag with my Singer heavyduty sewing machine. Practice makes perfect with stitching and mine is definitely getting better! Tip, if you miss a stitch, (which happens to me all the time), draw it on after with a marker. The background stamp is from the professor 2 CMS395 stamp set.

    igirlzoe: Tim Holtz ranger ink distress crayons distress embossing glaze stamps mixed media
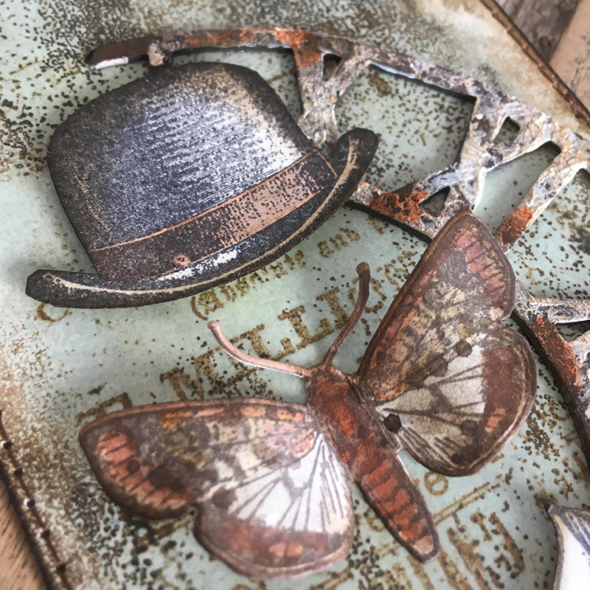
    I had to add a hat, I think dapper CMS267 and distinguished CMS371 stamp sets will always have my heart, it doesn’t matter how stuck I get creatively, I break out these sets and it inspires me. Stampers Anonymous never retire Tim’s stamps so you can pick up them up from set 001 to set 406! I added a bug from the entomology CMS328 stamp set, the matching thinlits dies makes it really easy and they fit in the Sizzix sidekick.

    igirlzoe: Tim Holtz ranger ink distress crayons distress embossing glaze stamps mixed media
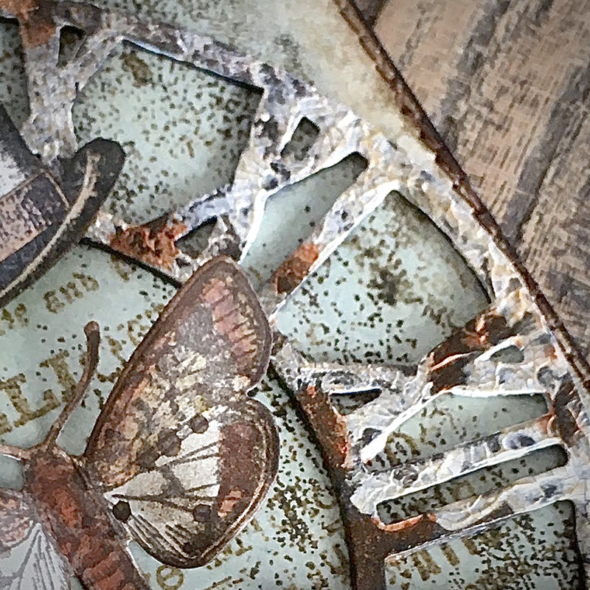
    I used part of the weathered clock (664173) bigz die cut with texture paste and distress crayon added to weather.

    igirlzoe: Tim Holtz ranger ink distress crayons distress embossing glaze stamps mixed media
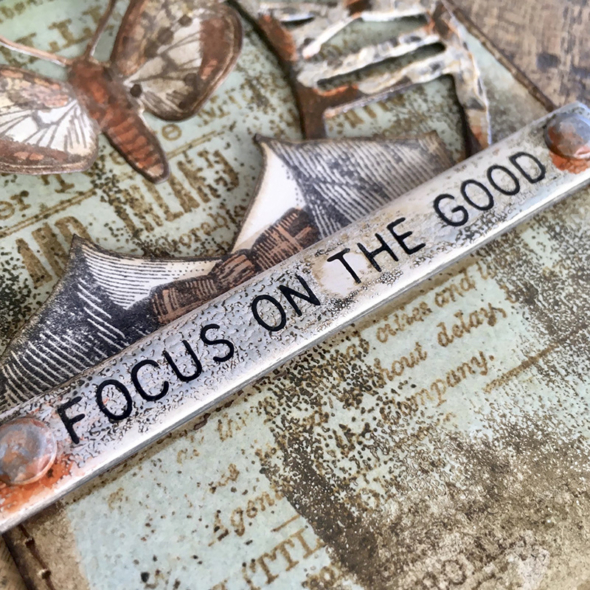
    Using the same technique as linked to above, I altered this quote chip. I always remove several layers of the cardboard to make the quote lower profile. The layers separate really easily, you can do it with your finger nail. They are now longer so you can add hardware to the end. I used idea-ology hardware heads with distress crayon and a waterbrush to add a little rust effect.

    igirlzoe: Tim Holtz ranger ink distress crayons distress embossing glaze stamps mixed media
    Hope you have a creative week and focus on the good.

    Zoe x


  4. Tim Holtz Sizzix Chapter 3

    1st July, 2020 by iGirlZoe

    igirlzoe: Tim Holtz sizzix chapter 3 dies halloween

    Hello friends! Happy Holtz Halloween!! Did you just see Tim Holtz Sizzix chapter 3 Halloween reveal on facebook?! Oh my skulls it was SO GOOD!!

    igirlzoe: Tim Holtz sizzix chapter 3 dies halloween

    Halloween is my absolute favourite season and I was lucky enough to be asked to make some samples which I will be sharing throughout the season, including the serious looking dapper Arthur below.

    igirlzoe: Tim Holtz sizzix chapter 3 dies halloween
    Don’t forget to join Tim for the Sizzix chapter 3 holiday release tomorrow on his facebook page at 10AM PT.

    Thanks for stopping by.
    Zoe

  5. The Professor 2

    1st May, 2020 by iGirlZoe

    igirlzoe: Tim Holtz stampers anonymous professor 2 mini glitch digits stencil collage paper

    Hello friends. Anyone know what day it is? It’s Sunday right?! Speaking of days, who’s been counting down until Saturday? I know I have! Whilst we wait, I wanted to share a card shown during the first Tim Holtz Saturday facebook LIVE, which by the way was 7 weeks ago! Wowzer that’s a lot of techniques and inspiration. I’m so grateful to Tim and Mario for all the time they dedicate and work they put in to bring us this weekly treat.

    igirlzoe: Tim Holtz stampers anonymous professor 2 mini glitch digits stencil collage paper
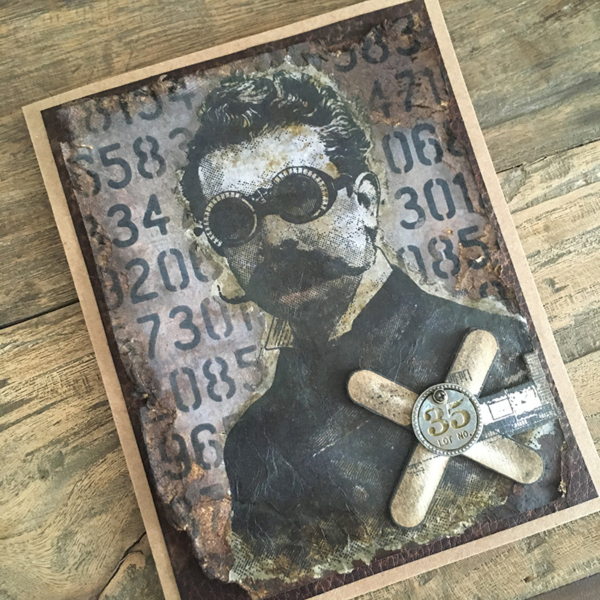
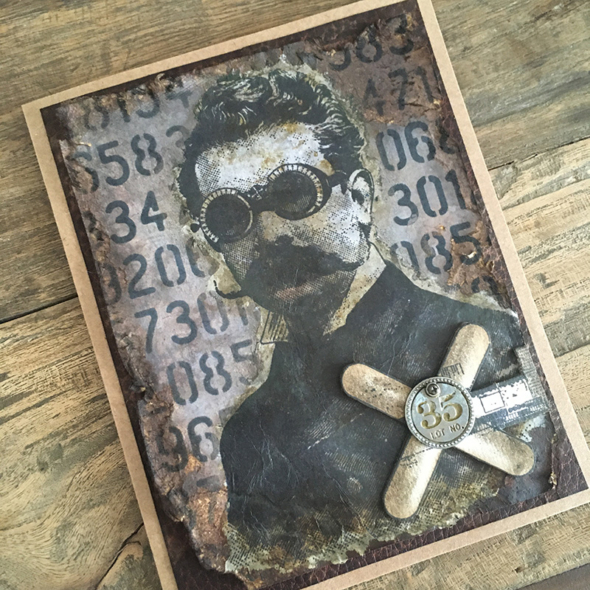
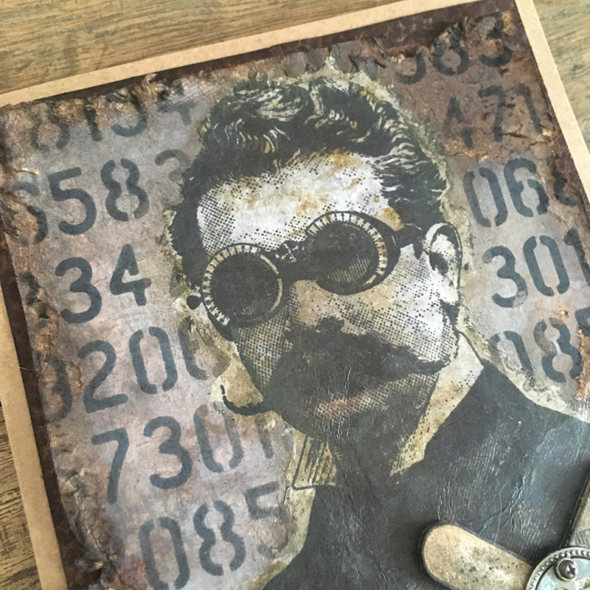
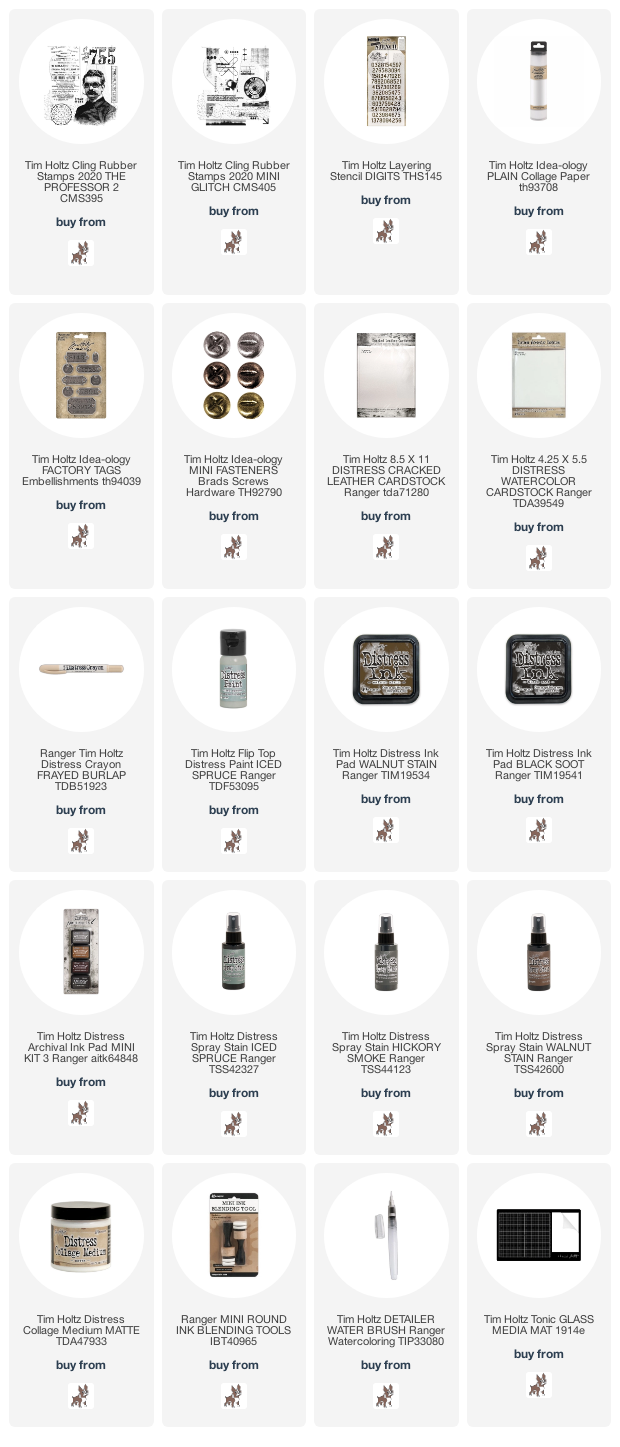
    This year at Creativation Tim Holtz released a new bigger Professor stamp – Professor 2 (CMS395) and he both stole our hearts and the show! I stamped him onto plain collage paper with distress archival ink. Using a detailer waterbrush, I painted a line of water around the edge of the professor and gently tore away the excess paper. I then burnished it to the background with distress collage medium.

    igirlzoe: Tim Holtz stampers anonymous professor 2 mini glitch digits stencil collage paper
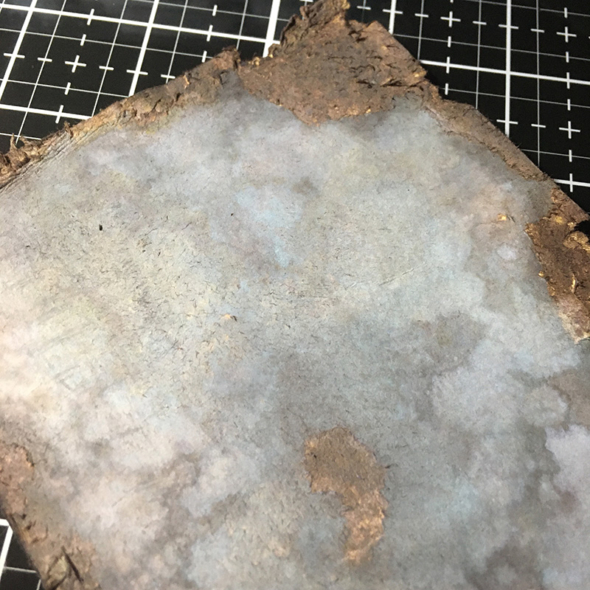
    This grungy background was created using distress spray stains, lots of water and rubbing until the paper pilled away. As a side note, because the distress surfaces are designed to take water so well, it took some doing! I dried it so it was really crispy and added walnut stain distress ink to the edges and worn portions.

    igirlzoe: Tim Holtz stampers anonymous professor 2 mini glitch digits stencil collage paper
    I used the new digits stencil (THS145) with black soot distress ink blended through. This stencil is so awesome!

    igirlzoe: Tim Holtz stampers anonymous professor 2 mini glitch digits stencil collage paper
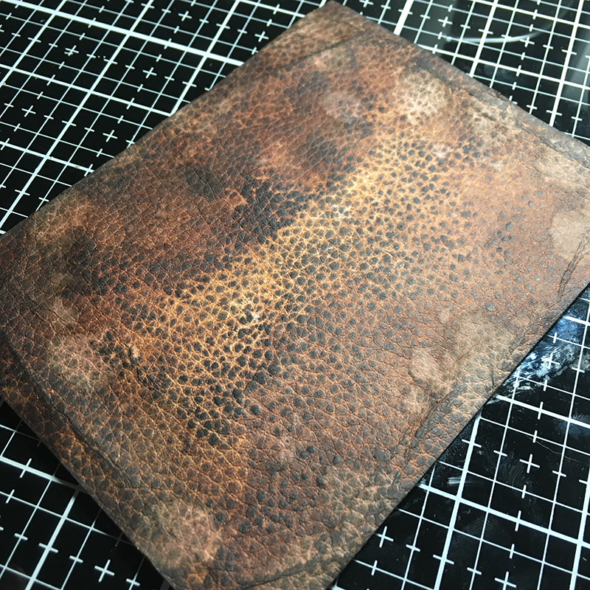
    I also had a chance to briefly play with the new distress cracked leather cardstock. I swiped the surface through a walnut stain distress ink wash on my glass media mat, drying between layers. I added a little black soot distress ink over the top to make it look weathered, worn and water damaged. Really looking forward to trying out some of the techniques shown by Tim Holtz that were inspired by Ann Sullivan Barnes using the distress cracked leather cardstock.

    igirlzoe: Tim Holtz stampers anonymous professor 2 mini glitch digits stencil collage paper
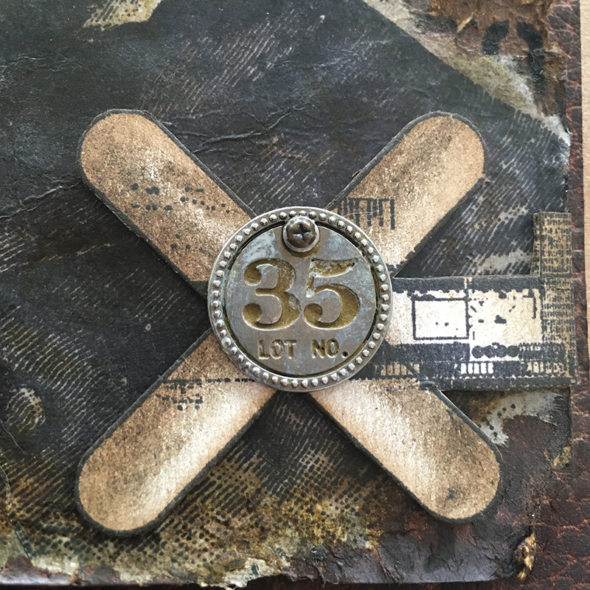
    I love love love the new idea-ology factory tags. I distressed with a little iced spruce distress paint and frayed burlap distress crayon. I attached it with an idea-ology mini fastener over a fussy cut stamped image from the mini glitch (CMS405) stamp set.

    Thanks for stopping by and see you at the facebook LIVE party tomorrow…
    Zoe


  6. Gears Up

    26th April, 2020 by iGirlZoe

    igirlzoe: Tim Holtz stampers anonymous dapper sizzix 3D mechanics texture fades impresslits ranger ink distress embossing glaze

    Hello everyone and happy Sunday. Like many people I am still spinning after yesterdays epic 3 hour facebook LIVE demo with Tim Holtz. Saturday has become my favourite day of the week, getting together with everyone and watching the professor work his magic inspiring us all to create. And Mario Rossi totally upped his sound effect game yesterday! I’m still laughing…

    igirlzoe: Tim Holtz stampers anonymous dapper sizzix 3D mechanics texture fades impresslits ranger ink distress embossing glaze
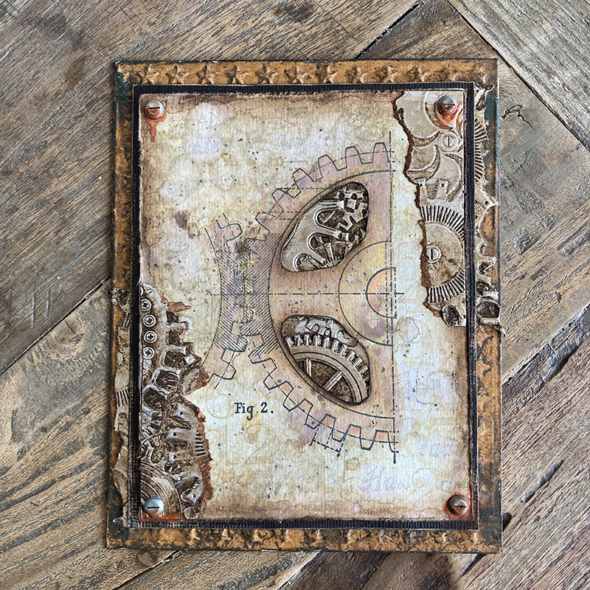
    The card that I’m sharing today uses techniques from the previous Saturday’s demo. Tim revisited an old technique that I learned from his 12 tags years ago and I simply love. I hadn’t tried the technique with the idea-ology metallic kraft-stock before and wanted to see how it looked! You can see the technique on Tim Holtz Blog.

    igirlzoe: Tim Holtz stampers anonymous dapper sizzix 3D mechanics texture fades impresslits ranger ink distress embossing glaze
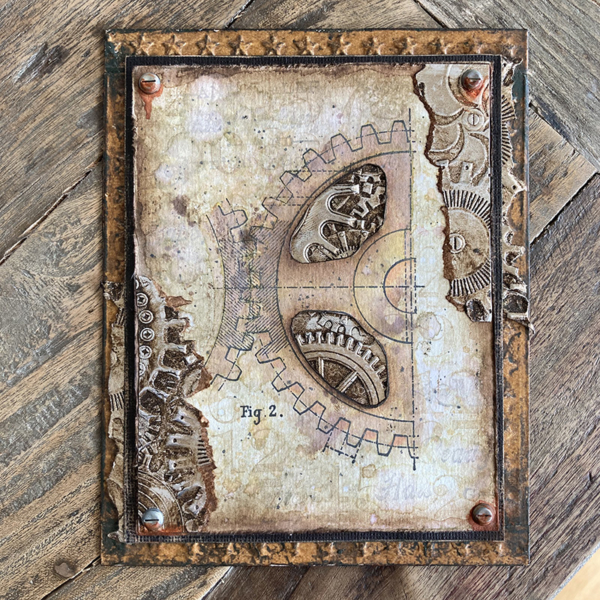
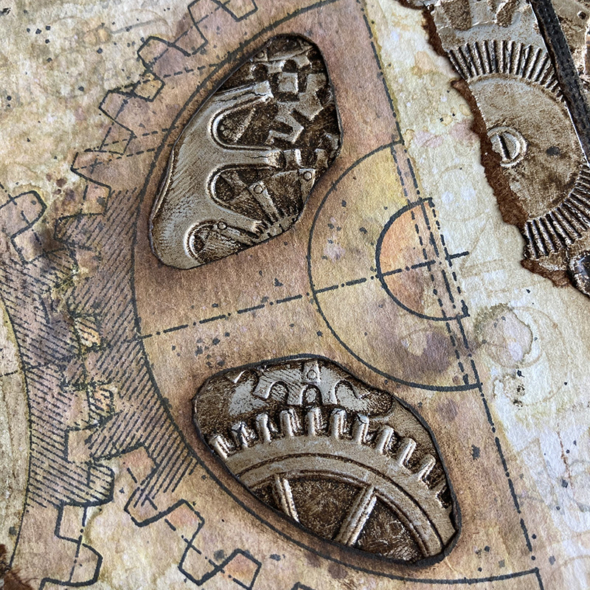
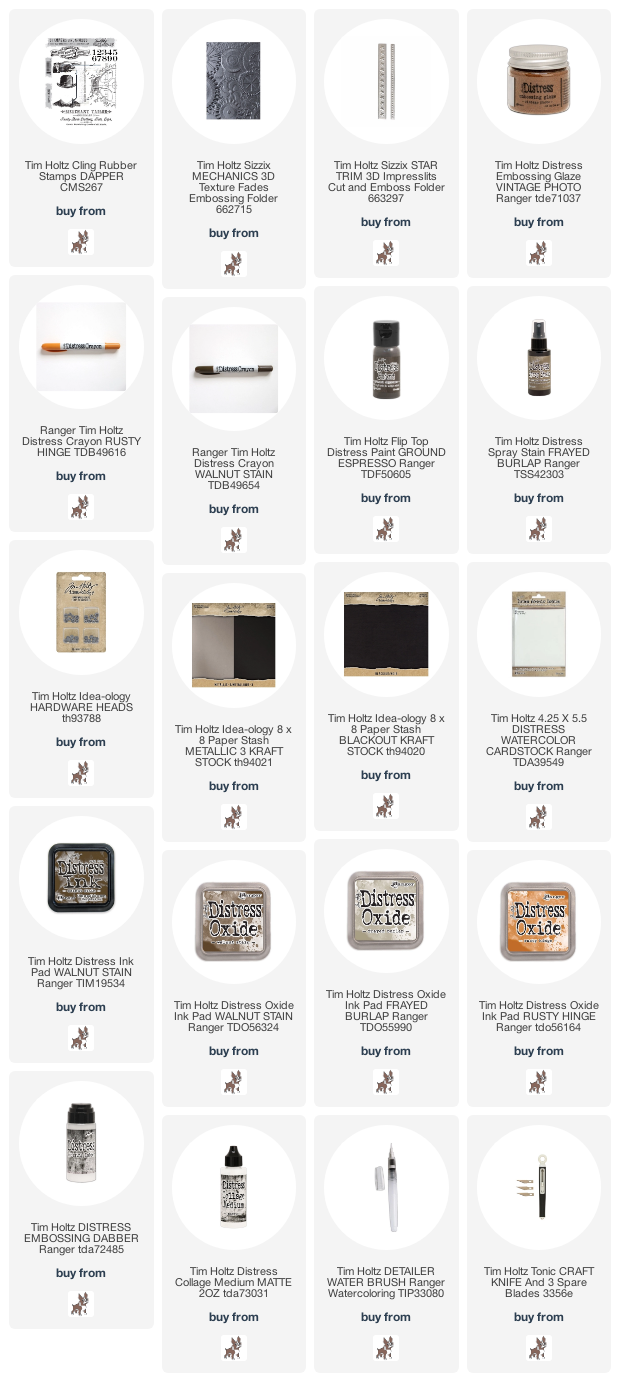
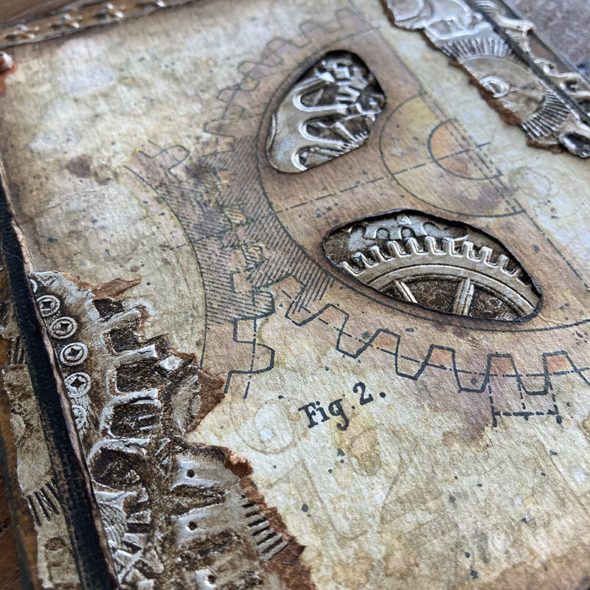
    I stamped the gear stamp from the dapper (CMS267) stamp set and watercolored with oxides as per Tim’s demo. I used the new Tim Holtz Tonic craft knife to cut away 2 sections of the stamped image and mounted over a small piece of metallic kraft-stock, embossed with the 3D mechanic folder and following Tim’s demo again.

    igirlzoe: Tim Holtz tonic studios retractable craft knife
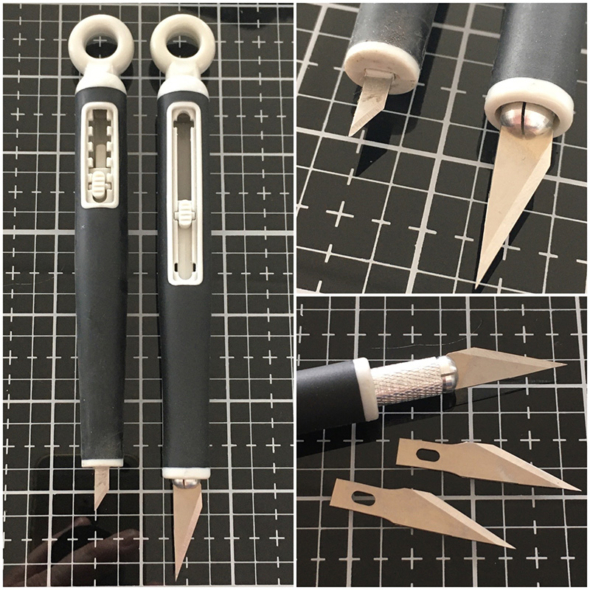
    I have been asked a few times what the difference is between Tim’s craft knives. The new retractable craft knife comes with 3 blades. The blades are bigger and more heavy duty for a more precision cut. I’m really impressed with the new craft knife. You can see from the photo that the blade on the older knife is tiny (how tiny) 😉

    igirlzoe: Tim Holtz stampers anonymous dapper sizzix 3D mechanics texture fades impresslits ranger ink distress embossing glaze
    The foil technique is so easy and works perfectly on the metallic kraft-stock and cutting the hole with the new craft knife was really easy. It cut away the piece first time. The blade is sharp, so please be careful.

    igirlzoe: Tim Holtz stampers anonymous dapper sizzix 3D mechanics texture fades impresslits ranger ink distress embossing glaze
    I took pieces of the leftover foil embossed background and added over the top of the card and underneath the blackout kraft-stock which I use on almost every card I make. Love having an entire pad of black!

    igirlzoe: Tim Holtz stampers anonymous dapper sizzix 3D mechanics texture fades impresslits ranger ink distress embossing glaze
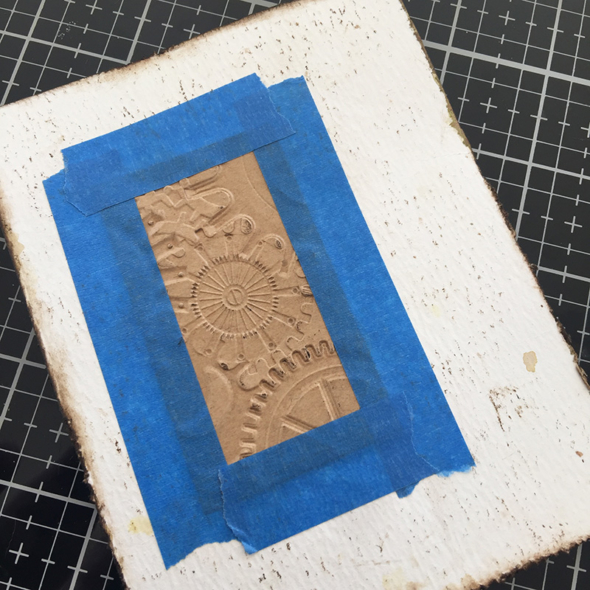
    This is what the back of the top layer of my card looks like. I only used a small piece of embossed metallic kraft-stock behind the cut out sections and secured with tape.

    igirlzoe: Tim Holtz stampers anonymous dapper sizzix 3D mechanics texture fades impresslits ranger ink distress embossing glaze
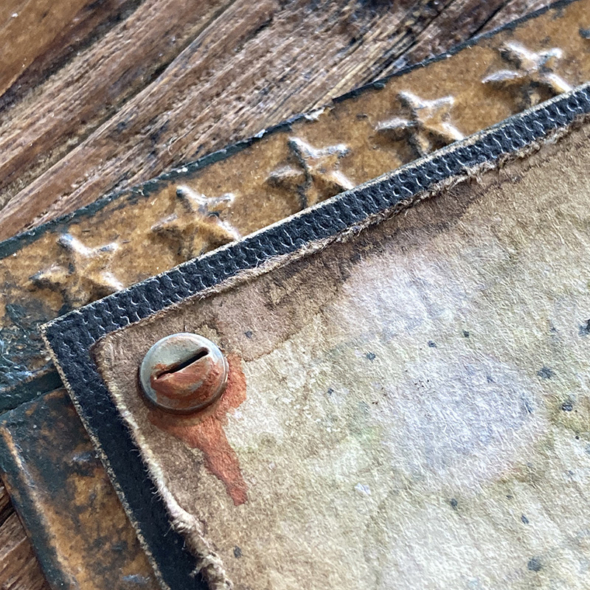
    I used another of the awesome techniques Tim shared during the demo. This was a new one, using impresslits, distress embossing glaze and distress crayons. Check out Tim Holtz blog for details. I used the star trim impresslit folder and created a frame layer for my card. I added my favourite idea-ology hardware heads with some rusty hinge distress crayon to create a simple rust effect.

    igirlzoe: Tim Holtz stampers anonymous dapper sizzix 3D mechanics texture fades impresslits ranger ink distress embossing glaze
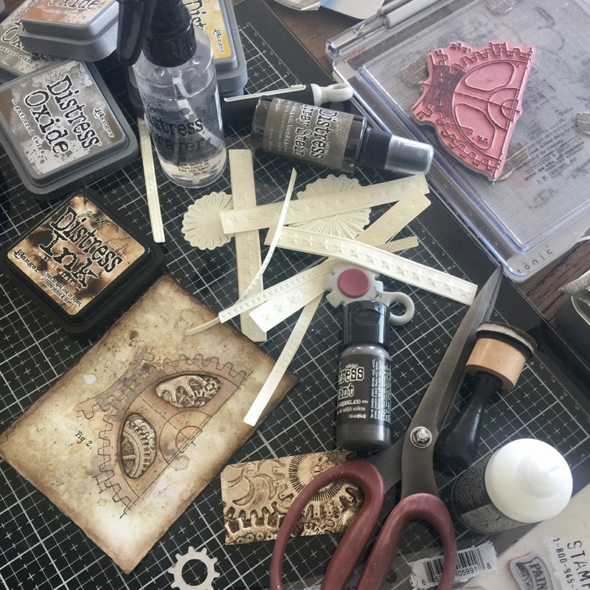
    I shared this photo on my instagram-stories and thought I would share here too. This is my work in progress shot.

    igirlzoe: Tim Holtz stampers anonymous dapper sizzix 3D mechanics texture fades impresslits ranger ink distress embossing glaze
    Thanks for stopping by and I hope you’re having a relaxing Sunday crafting. I want to say a great big thank you to Tim and Mario for all the work they put in to bringing us these weekly demos, it’s created a new normal for me and a sense of comfort in the familiar during this time. I am very thankful for them both.

    Enjoy the rest of your Sunday.

    Zoe


  7. Agent B15

    24th April, 2020 by iGirlZoe

    igirlzoe: Tim Holtz ideaology display dome flair apothecary bottles gears skulls

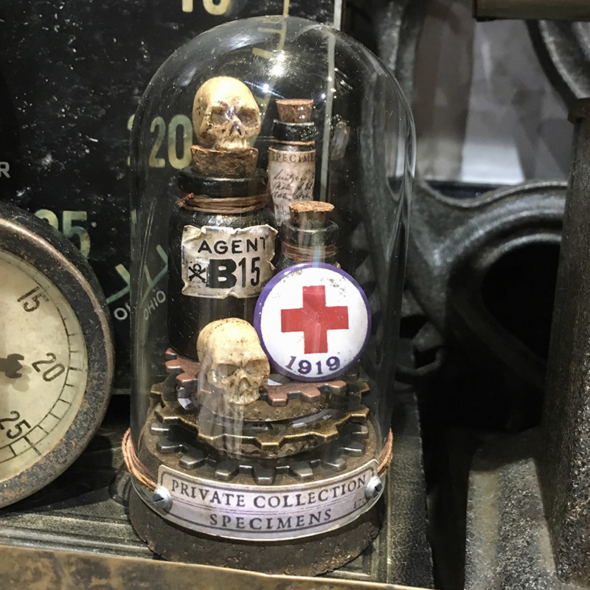
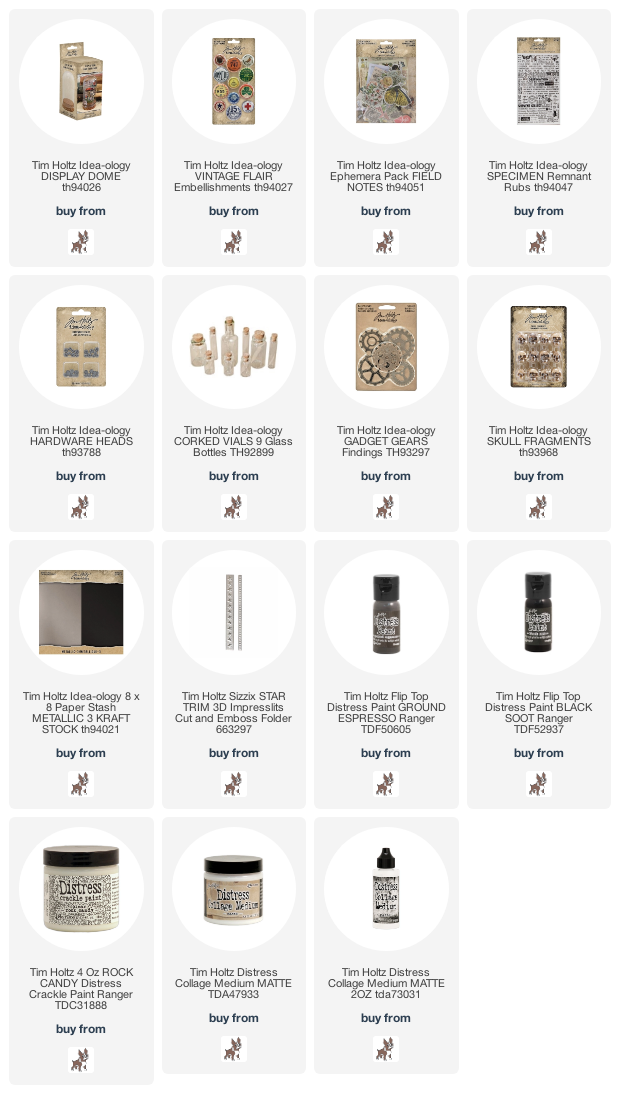
    Hello there. I wanted to share another of the samples that I made for this years Creativation for the Tim Holtz idea-ology booth using the new display dome.

    Creativation 2020 Tim Holtz
    For my sample, I snuck in some skulls from the last Halloween release, any excuse to make Halloween a year long season! One of the (many) things that I love about idea-ology is how well the old and new products mix. I know you Holtz Halloweeners have hoarded some skulls in your stash for just such a project! 😉

    igirlzoe: Tim Holtz ideaology display dome flair apothecary bottles gears skulls
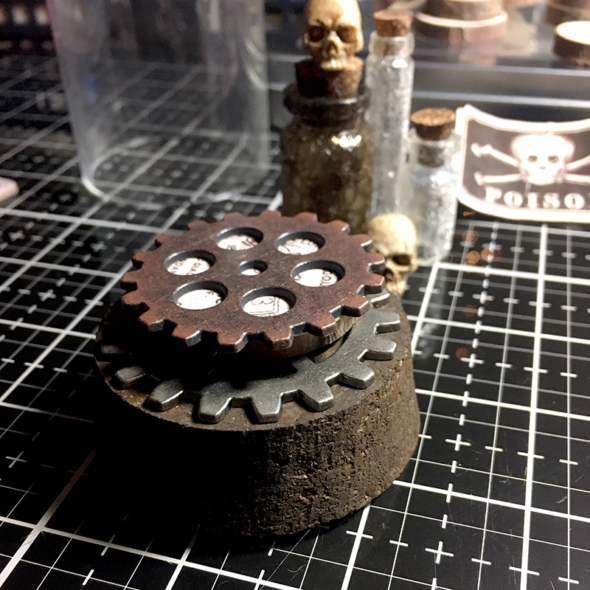
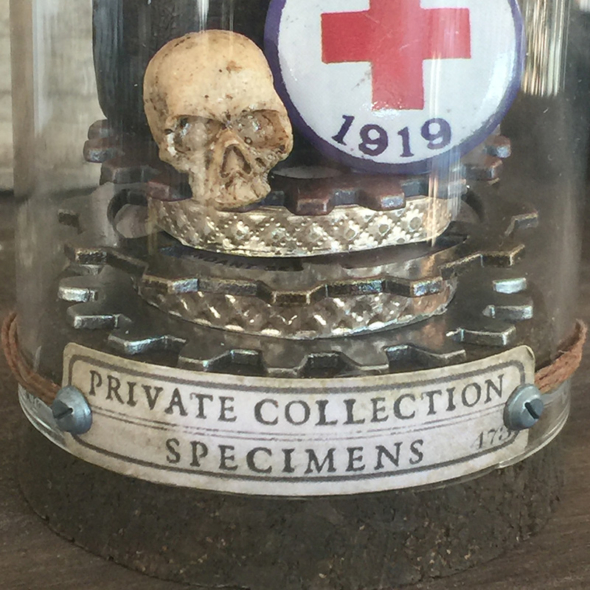
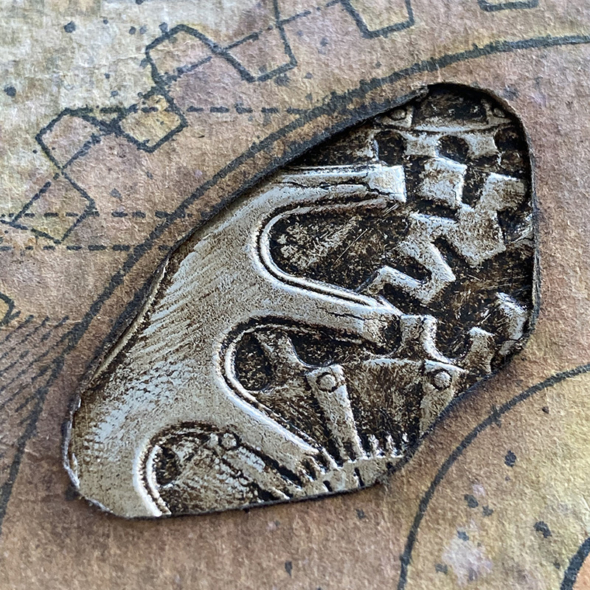
    The gears from the idea-ology range are my jam and the large ones made a perfect base for the interior of my display dome. I stained the cork base with distress paint and glued the first gear to the base, laying some ephemera in between.

    igirlzoe: Tim Holtz ideaology display dome flair apothecary bottles gears skulls
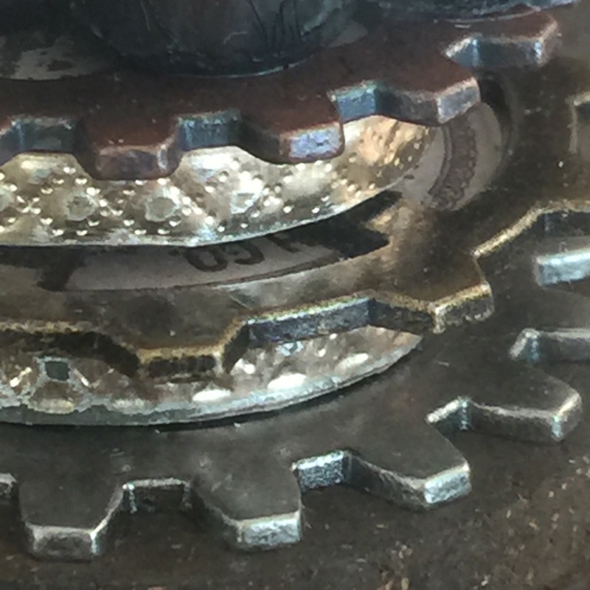
    I used some of the wood slices from the Christmas idea-ology release as spacers between the gears. I die cut idea-ology metallic kraft-stock with an impresslits folder and glued it around the edge of the wood slices to give an industrial look. Check out Tim’s demo from last Saturday to see the coolest ever technique using distress glazes, distress crayons and impresslits folders!

    igirlzoe: Tim Holtz ideaology display dome flair apothecary bottles gears skulls
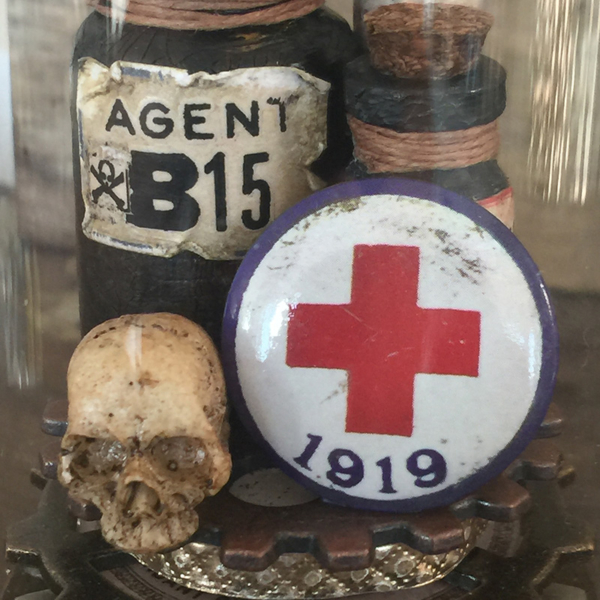
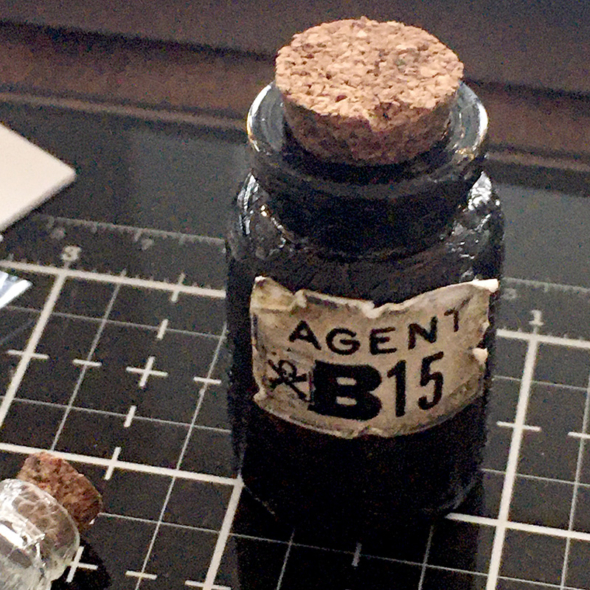
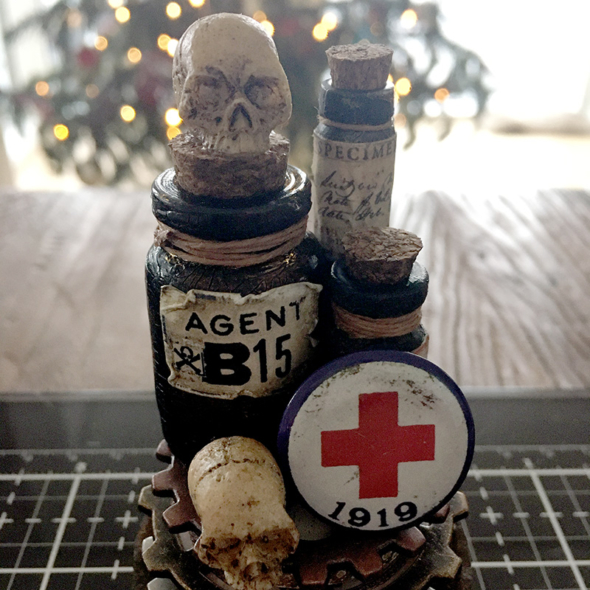
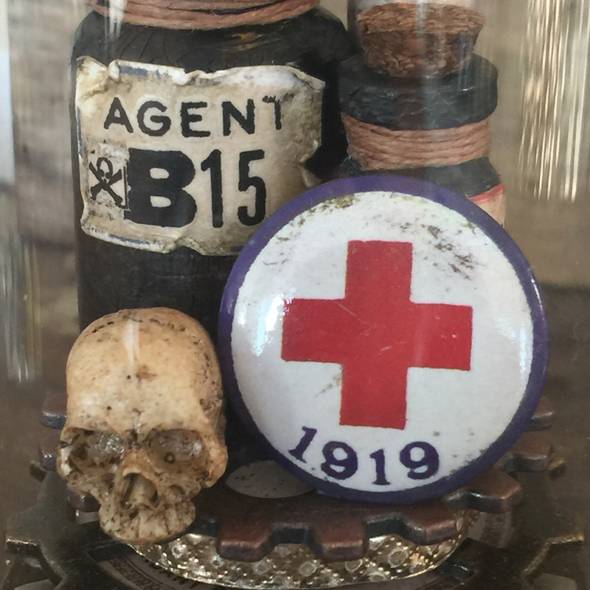
    Another of my favourites from the idea-ology line is the bottles. I painted on distress collage medium, rock candy distress crackle paint and finally black soot distress paint, allowing to dry between coats. It gives a really cool gnarly texture to the bottle. I love making bespoke labels for the bottles using the ephemera and remnant rubs. Agent B15 sounds like something you may want to avoid!

    igirlzoe: Tim Holtz ideaology display dome flair apothecary bottles gears skulls
    I glued one piece down at a time, checking that the dome would still slide over the top. I finally mastered distress collage medium!! You have to glue it down and WALK AWAY! NOT, I repeat, NOT, check if what you just glued down wobbles 10 seconds later… by wobbling it!! #ohzoe #craftworldproblems

    igirlzoe: Tim Holtz ideaology display dome flair apothecary bottles gears skulls
    I pushed the glass dome onto the cork base and added jute string and a piece of ephemera, not forgetting the idea-ology hardware heads… 😉

    igirlzoe: Tim Holtz ideaology display dome flair apothecary bottles gears skulls
    Finally, can we please talk about the new idea-ology flair?! It’s awesome and all based on real vintage flair that Tim has collected. Cool right?!

    Thanks for stopping by and hope you are safe and well.

    Zoe


  8. Curio Box

    22nd April, 2020 by iGirlZoe

    igirlzoe: Tim Holtz sizzix curio box bigz xl heartbeat thinlits gearheads thinlits 3D foundry distress foil distress crayons

    Hello there. After the Tim Holtz Sizzix facebook LIVE last week and his demo on Saturday, I thought I would share a project that I made for the Sizzix booth using the new Tim Holtz dies for this years Creativation. It feels like a long time ago…

    igirlzoe: Tim Holtz sizzix curio box bigz xl heartbeat thinlits gearheads thinlits 3D foundry distress foil distress crayons
    I love love love the foil embossed technique that Tim showed during last Saturdays demo. It has been a favorite of mine for many years, since seeing Tim demo it during the 12 tags series. Using the new 3D foundry embossing folder takes it to the next level. The deep embossed detail on the 3D dies is mind blowing.

    igirlzoe: Tim Holtz sizzix curio box bigz xl heartbeat thinlits gearheads thinlits 3D foundry distress foil distress crayons
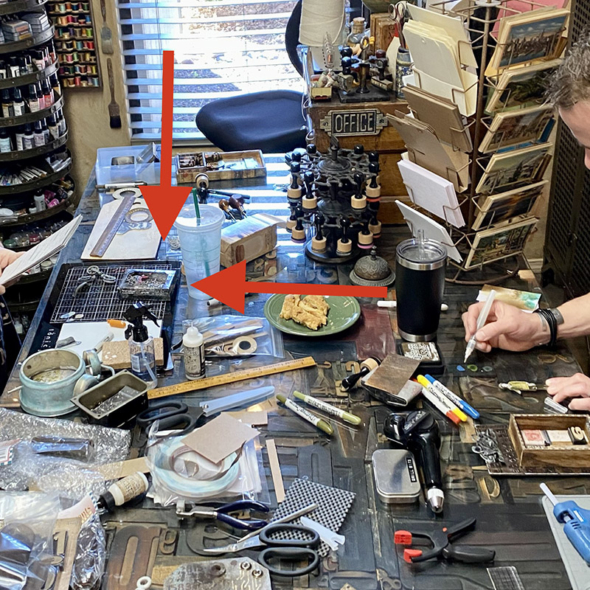
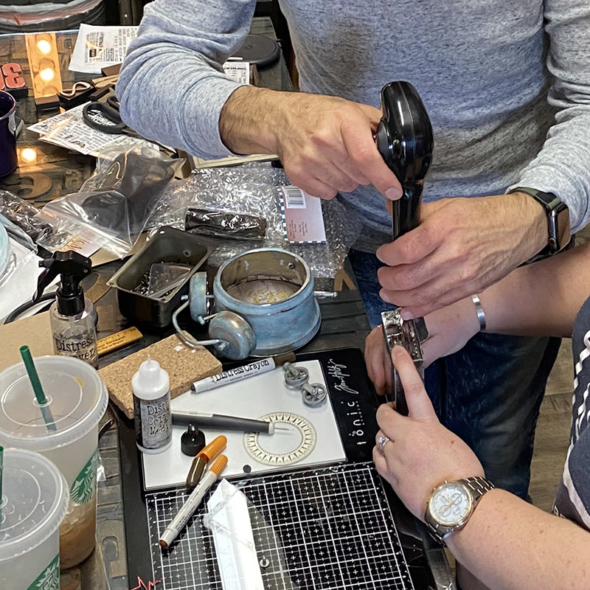
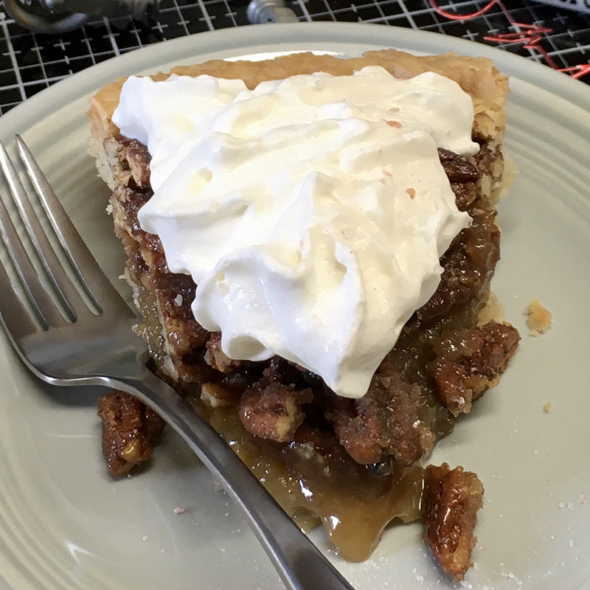
    I don’t have a tutorial for this project because, in truth, I finished it in Tim’s studio with the help of Tim “what do ya need” Holtz, Mario “MacGyver” Rossi and the best piece of pecan pie I’ve ever had. I KNOW you’re not looking at my project in this photo! LOL 😉

    igirlzoe: Tim Holtz sizzix curio box bigz xl heartbeat thinlits gearheads thinlits 3D foundry distress foil distress crayons
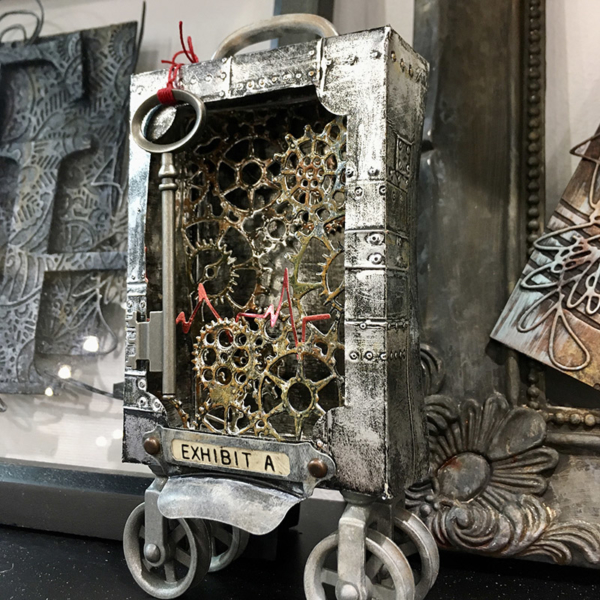
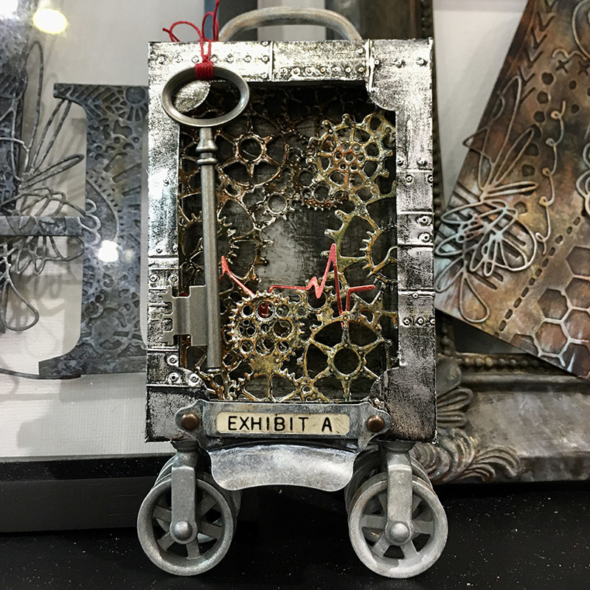
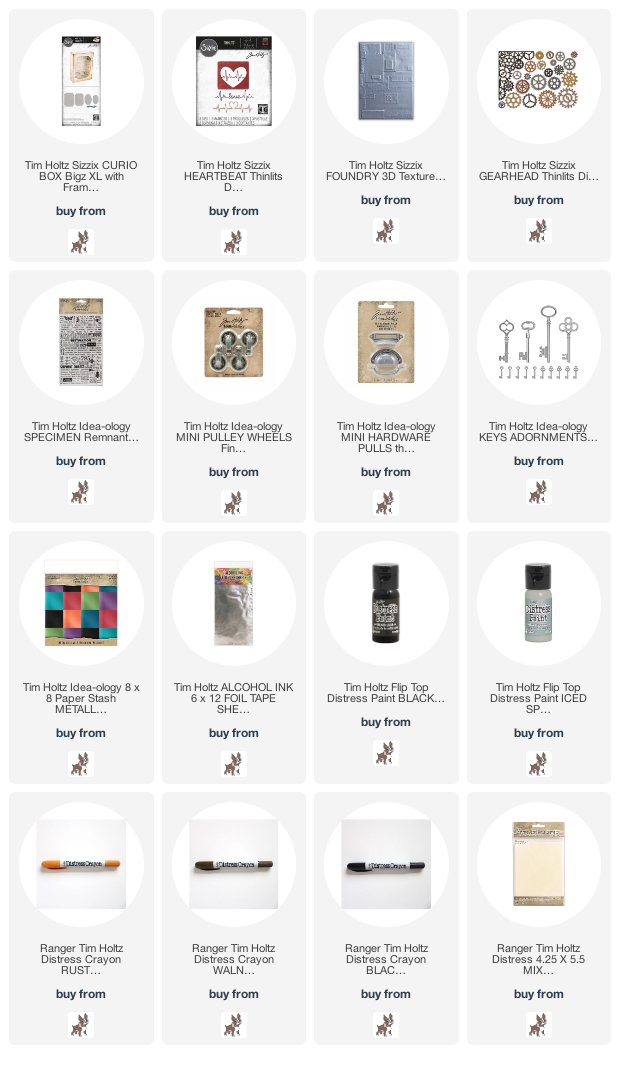
    I have to say that the new die cut the curio box bigz xl die blew my socks off. I die cut it from heavystock covered with metal foil tape. I used the now retired larger sheets of heavystock from Ranger Ink and I beg you to all email Ranger ink and ask them to continue making it. You will NEED the larger sheets of heavystock for projects like this and I know my friend Tami B is mounting a campaign to bring this back to market. If you don’t want to see this disappear forever, please please email Ranger Ink and ask for this. #peoplepower

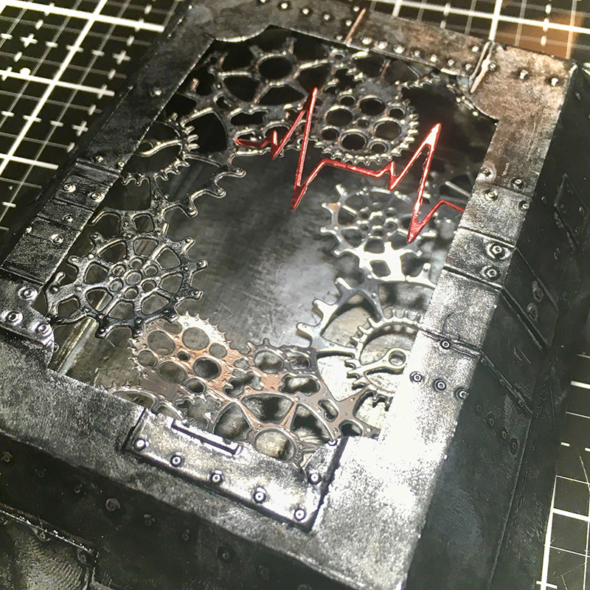
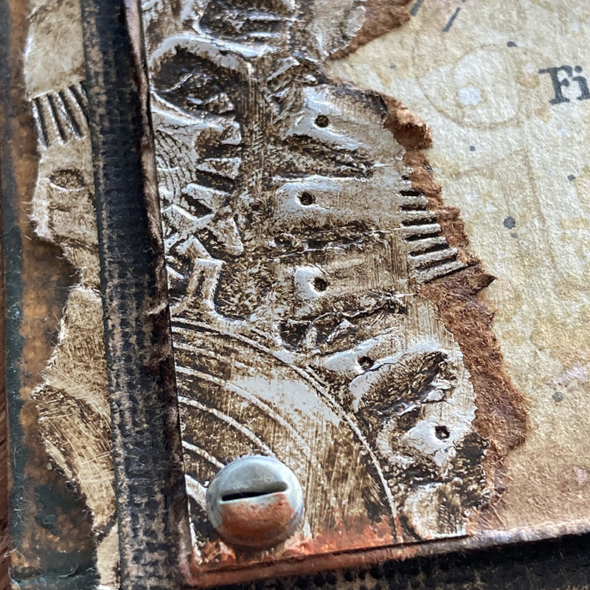
    Ok, so back to the project… once cut I ran the top of the box through my die cutting machine again to cut the frame. You can choose between 2 frames that come with the die, or you could leave the box solid. I then ran it through inside the 3D foundry texture folder. I used distress paint and distress crayons to colour the box and highlight the cool foundry pattern. Check out Tim’s demo to see how.

    igirlzoe: Tim Holtz sizzix curio box bigz xl heartbeat thinlits gearheads thinlits 3D foundry distress foil distress crayons
    I added idea-ology pulley wheels, and when I say “I” I mean Mario drilled the holes and Tim took on the uber fiddly task of getting the screws in between the die cut gearheads that I had already glued into the box. He persevered and “we” got it done. Crafting is team sport… it literally takes a village (or studio)! 😉

    igirlzoe: Tim Holtz sizzix curio box bigz xl heartbeat thinlits gearheads thinlits 3D foundry distress foil distress crayons
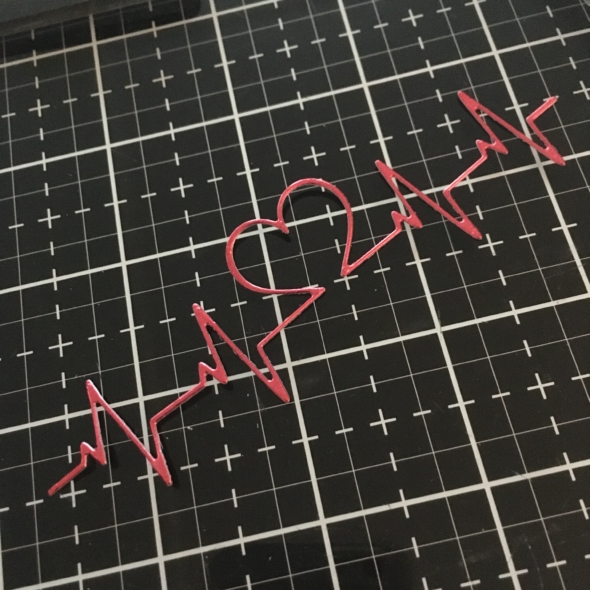
    I used the new heartbeat thinlits die. This die is very close to my heart and was something I knew I wanted to use. I die cut it from a sheet of red idea-ology metallic kraft-stock and added it across the gearhead thinlits die.

    igirlzoe: Tim Holtz sizzix curio box bigz xl heartbeat thinlits gearheads thinlits 3D foundry distress foil distress crayons
    With some idea-ology hardware pulls and remnant rubs added, it was done. I really love the curio box die, it’s one that I will use a lot.


    This is the pie I mentioned and is THE BEST PIE I HAVE EVER HAD! EVER! EVER EVER EVER!

    Hope you’re having a great Wednesday, I’m off to find myself a sweet treat to go with my afternoon coffee as this has made me hungry!

    Zoe


  9. Field Notes

    13th April, 2020 by iGirlZoe
    igirlzoe: Tim Holtz stampers anonymous field notes distinguished distress archival ink

    Hello friends. Hope you are well and still enjoying your Easter candy! 😉
    I’m sharing a card today that was shown during the first Tim Holtz facebook LIVE demo. If you’ve missed any of the awesome demos you can catch up with them all on the Tim Holtz blog. It’s the perfect creative distraction and there are so many techniques to try and revisit. Saturdays have never been so much fun!

    igirlzoe: Tim Holtz stampers anonymous field notes distinguished distress archival ink
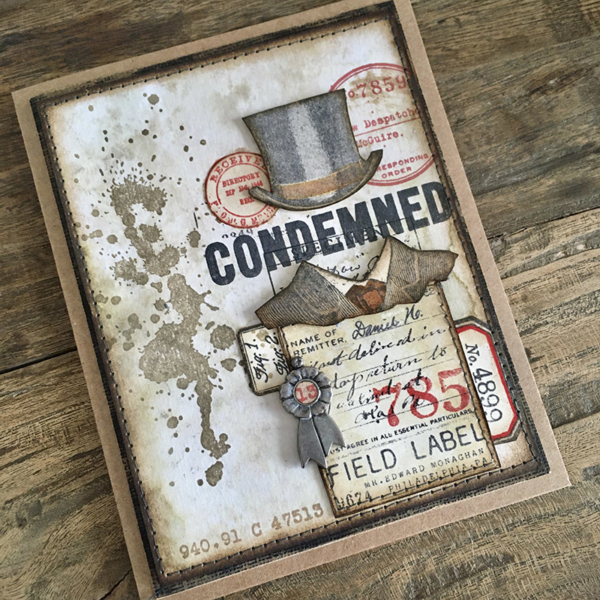
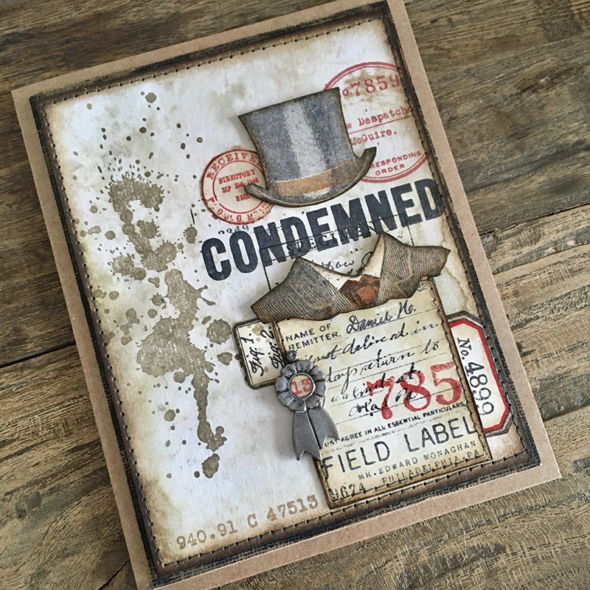
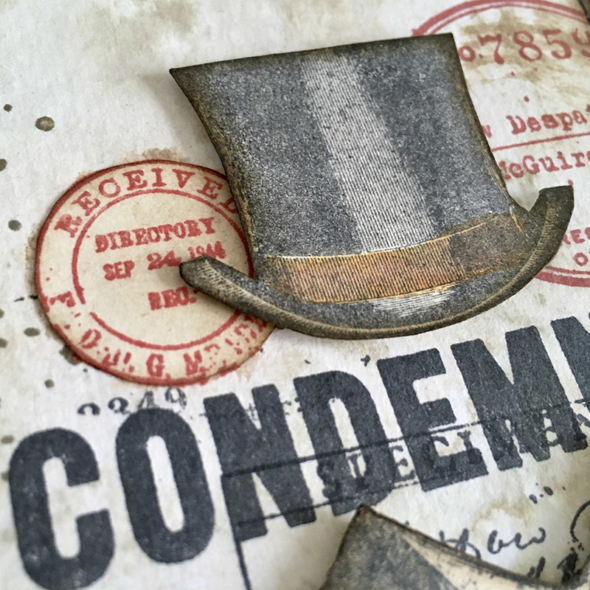
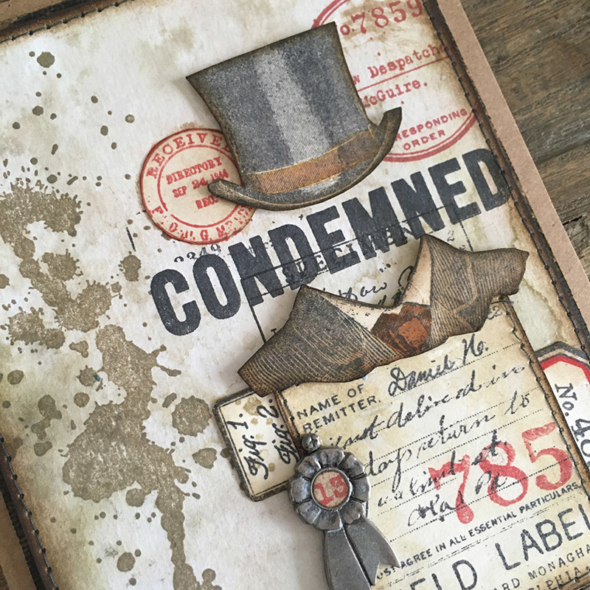
    I made this card prior to the global pandemic and had no idea how impactful the words on this card would be! Whilst some may view our current situation of being quarantined as being “condemned” or stuck at home, I don’t see it that way. I am thankful to be safe at home and I choose to live each day with purpose and choosing to see the good, like this rather distinguished gentleman who is dressed up ready for a video chat… he may or may not be wearing pants! 😉

    igirlzoe: Tim Holtz stampers anonymous field notes distinguished distress archival ink
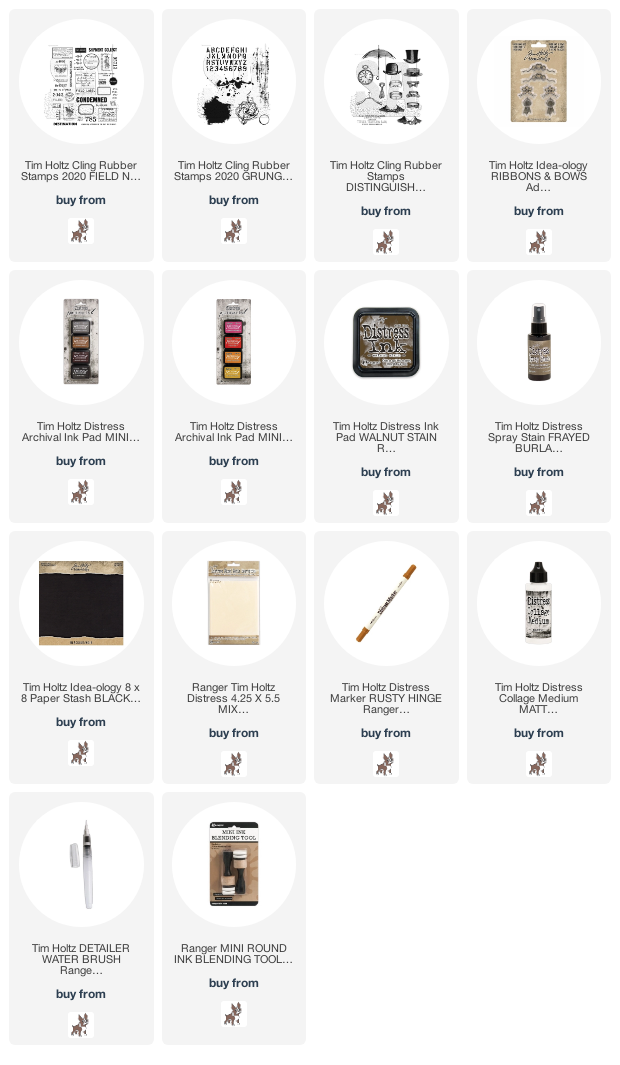
    The new field notes stamp set (CMS396) has been a firm favourite of mine since it’s release. It works perfectly with the entomology set, but I wanted to take it in a slightly different direction and make it a little more steampunk, so I added a hat (of course) using the distinguished stamps (CMS371) which is my all time favourite, but please don’t tell the other stamp sets!

    igirlzoe: Tim Holtz stampers anonymous field notes distinguished distress archival ink
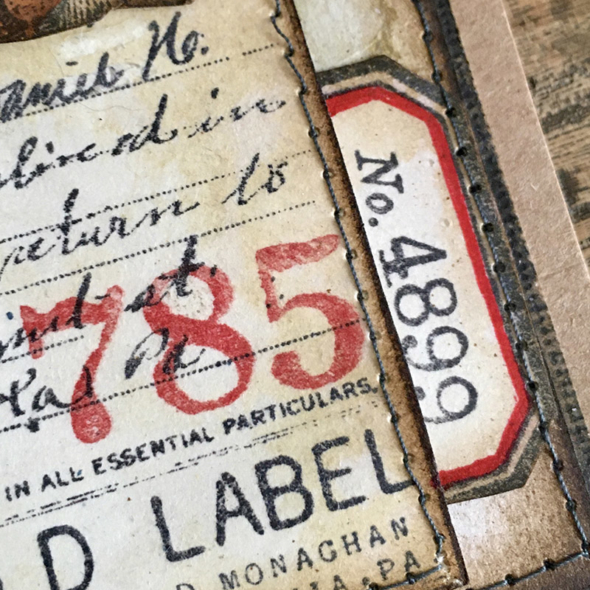
    There are so many gorgeous stamps in the field notes set (CMS396) and it’s perfect for layering. I used the distress archival inks and created some vintage labels, which I stitched before layering them onto my card.

    igirlzoe: Tim Holtz stampers anonymous field notes distinguished distress archival ink
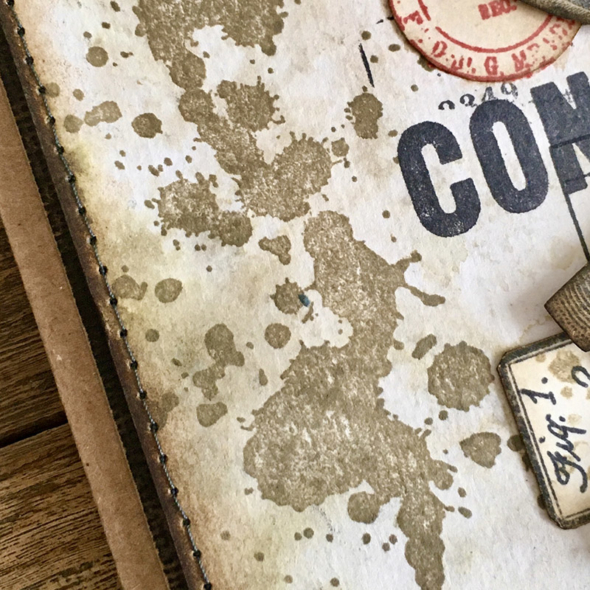
    I used a stamp from the new grunged stamp set (CMS402), which worked perfectly down the side of the card. I inked the stamp and stamped once lightly onto scrap paper and a second time onto my card to give a more faded image.

    igirlzoe: Tim Holtz stampers anonymous field notes distinguished distress archival ink
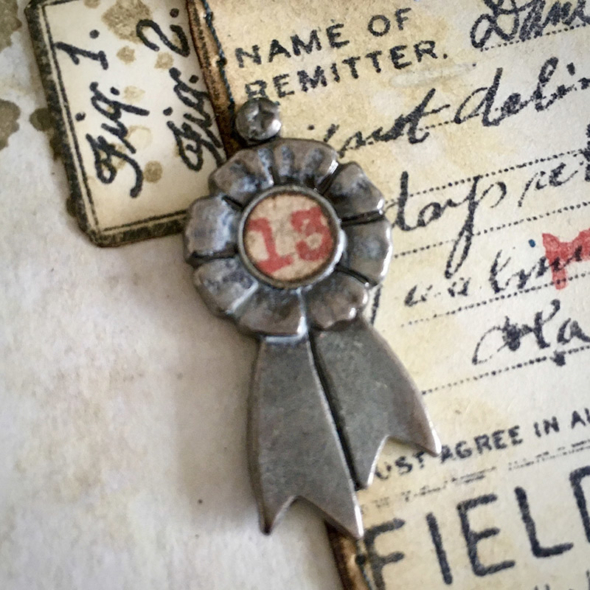
    I added a prize ribbon from the idea-ology adornment ribbons set, with a stamped image from the field notes set (CMS396), cut to the right size with a circle punch.

    igirlzoe: Tim Holtz stampers anonymous field notes distinguished distress archival ink
    Thanks for stopping by, please take good care and have a great Monday.

    Zoe


  10. Circuit

    12th April, 2020 by iGirlZoe
    igirlzoe: Tim Holtz circuit stencil inventor stamps distress grit-paste distress texture paste distress crayons

    Happy Easter to you all. If this is a holiday weekend for you, I hope you have planned to do some nice things at home. I’ve been doing some cooking this week, I know, who am I?! It’s been a fun and positive learning experience. I’ve also been following Tim Holtz demos on facebook LIVE each Saturday and trying out some techniques. It’s been another fun learning experience and don’t even get me started on the distress crayon and distress embossing glaze technique or we’ll never get to today’s post…

    igirlzoe: Tim Holtz circuit stencil inventor stamps distress grit-paste distress texture paste distress crayons
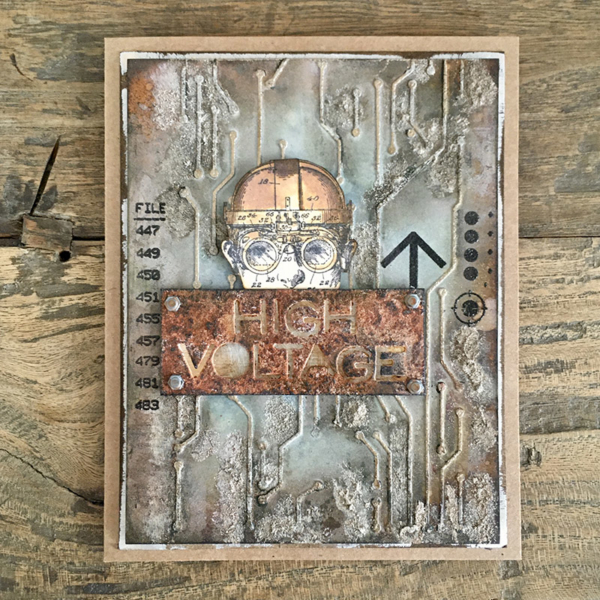
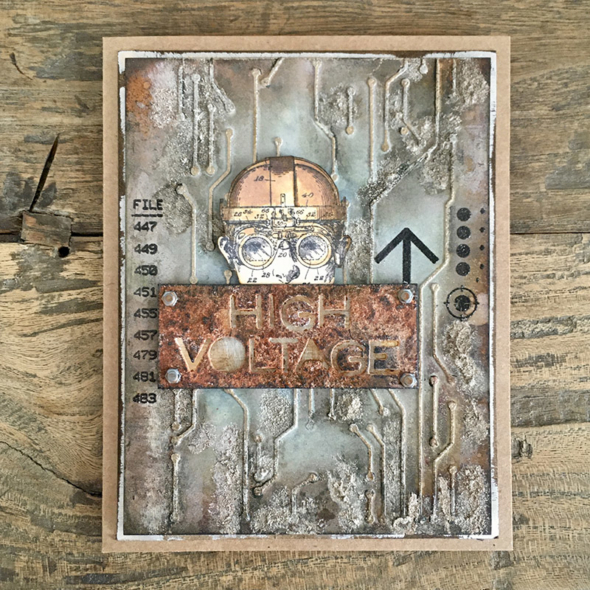
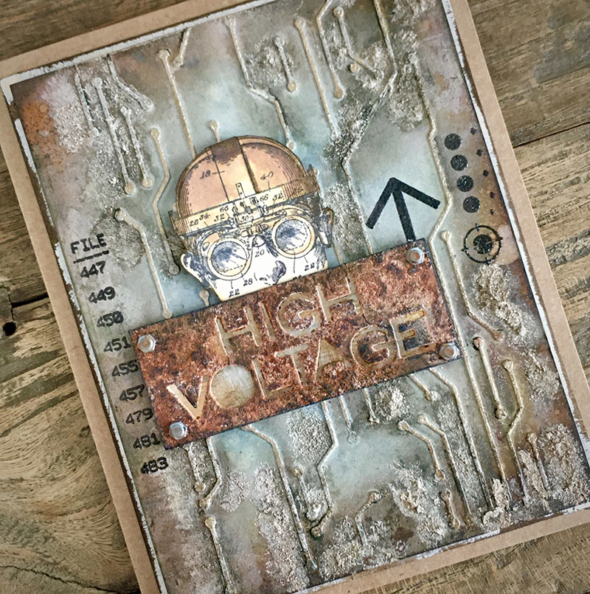
    Today I’m sharing a card that I made using the new Tim Holtz circuit stencil (THS146) from Stampers Anonymous. When I first laid eyes on this stencil it spoke to my Star Wars loving heart. Apologies, it’s not Easter themed, I’m actually making an Easter themed project today.

    igirlzoe: Tim Holtz circuit stencil inventor stamps distress grit-paste distress texture paste distress crayons
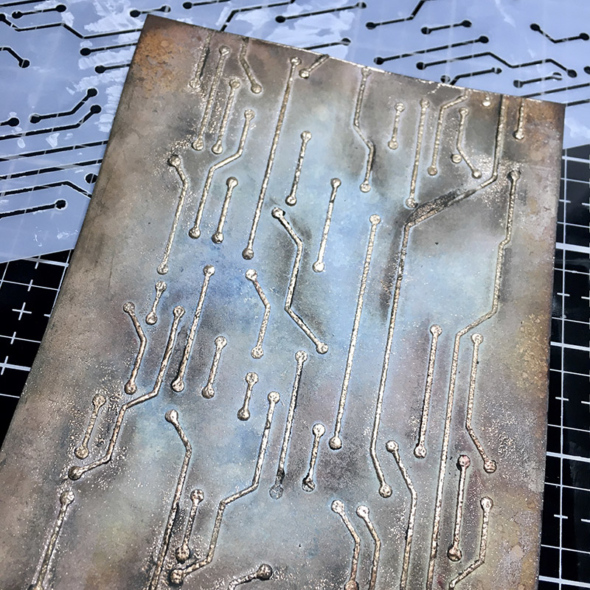
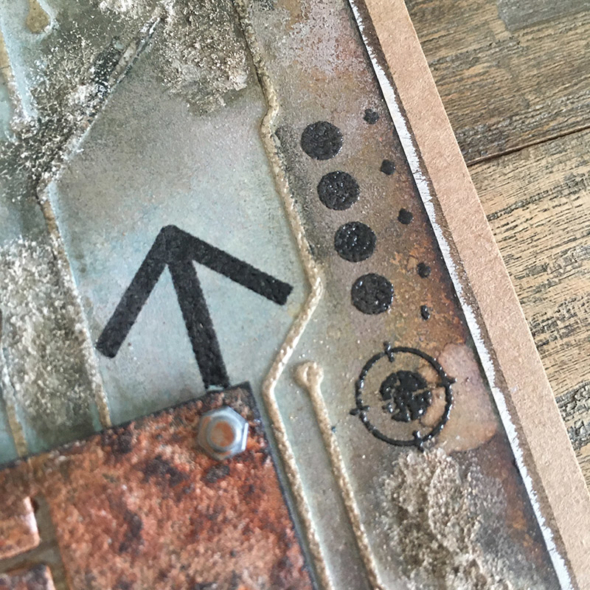
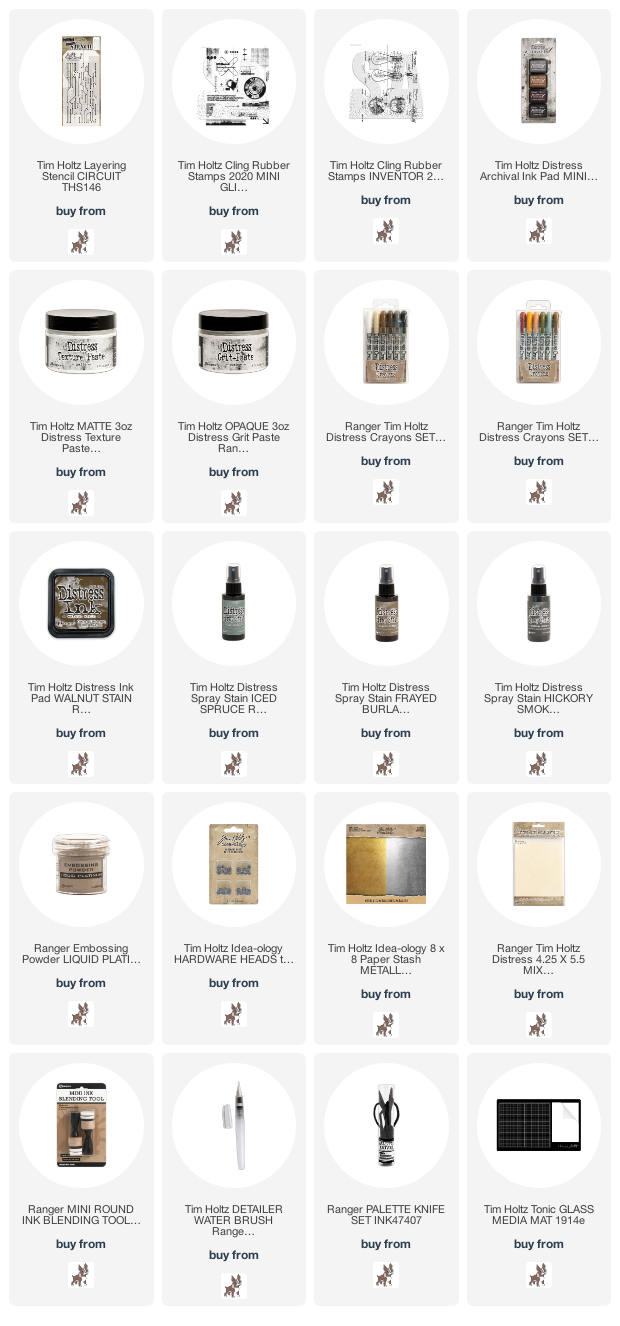
    To create the background, I spread distress texture paste through the circuit stencil (THS146) with a palette knife, removed the stencil and immediately poured over liquid platinum embossing powder. Like many of you, I am obsessed with the new distress embossing glazes, but for this card I wanted a more metallic look so used liquid platinum embossing powder.

    igirlzoe: Tim Holtz circuit stencil inventor stamps distress grit-paste distress texture paste distress crayons
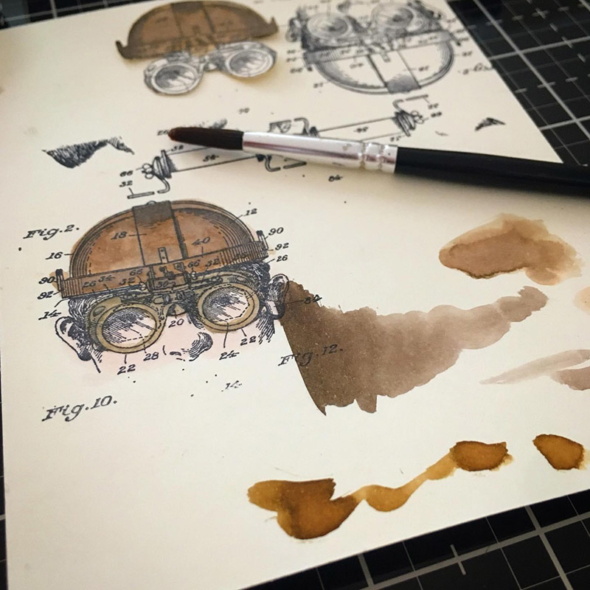
    To continue the Star Wars inspired vibe, this stencil screamed out for the inventor 2 stamp (CMS341) which I painted with distress crayons. The crayons are so versatile, right?! This stamp reminds me of the pod racers from Star Wars. Anyone else?

    igirlzoe: Tim Holtz circuit stencil inventor stamps distress grit-paste distress texture paste distress crayons
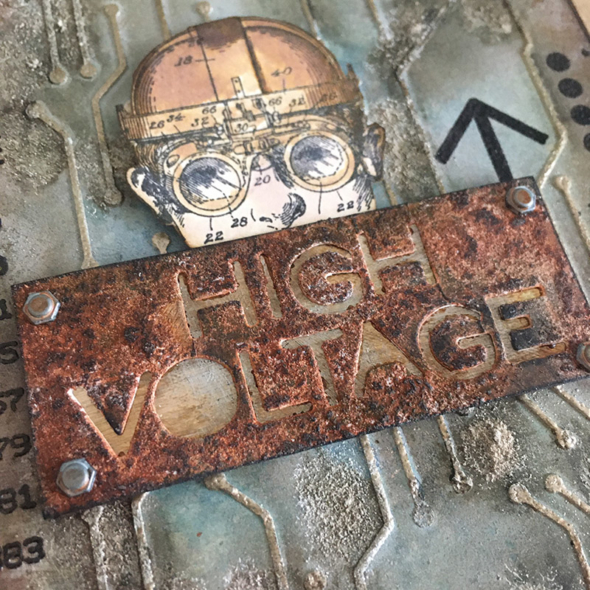
    I dug this high voltage die leftover from a previous making session out of my bit box and it was just perfect for this card. I used thinlits alphanumeric thin dies to die cut “High Voltage” and covered the top of the plaque with distress grit-paste and coloured with distress crayons. Adding idea-0logy hardware heads (as always), these are one of my favourite ever idea-ology lines.

    igirlzoe: Tim Holtz circuit stencil inventor stamps distress grit-paste distress texture paste distress crayons
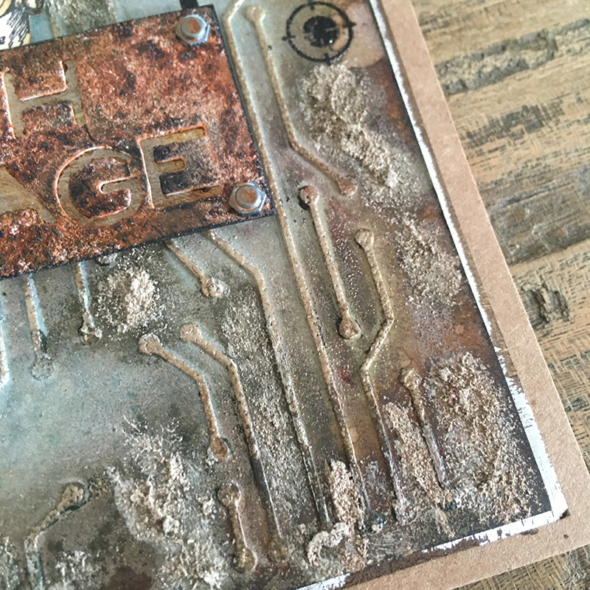
    I added more distress grit-paste to the background of the card between the stenciled detail. Just to keep it real, the reason I did this was because I was trying to hide embossing powder spackle. I think the background was still not fully dry when I poured the embossing powder over the texture paste and there was embossing powder where I didn’t want there to be. I loved the crusty look of the grit-paste so I added more where there wasn’t spackle. We’ll file this one under “happy accident” 😉

    igirlzoe: Tim Holtz circuit stencil inventor stamps distress grit-paste distress texture paste distress crayons
    I used the new mini glitch stamps (CMS405) to add some more cool “Star Wars esq” detail. These stamps really remind me of the markings found on the junk dealers scrap metal on Tatooine from the Star Wars movies, I love love love them!

    igirlzoe: Tim Holtz circuit stencil inventor stamps distress grit-paste distress texture paste distress crayons
    Thanks for stopping by, I hope you have a very Happy Easter and may the force be with you, always!

    Zoe