‘Stampers Anonymous’ Category

  1. Frilly & Funkie : Out of the Cold

    22nd February, 2017 by iGirlZoe

    It’s Wednesday and time for another challenge over at Frilly and Funkie Challenge Blog!

    This challenge is hosted by Cec (CW Card Creations), who has chosen the theme OUT OF THE COLD …CEC says, “It is winter and that means snow and cold in so many places so let’s head to the tropics. Create any vintage or shabby chic project that will make us feel warm – think lots of sunshine, bright colours, flora and fauna and even animals hiding in the rain forest.”
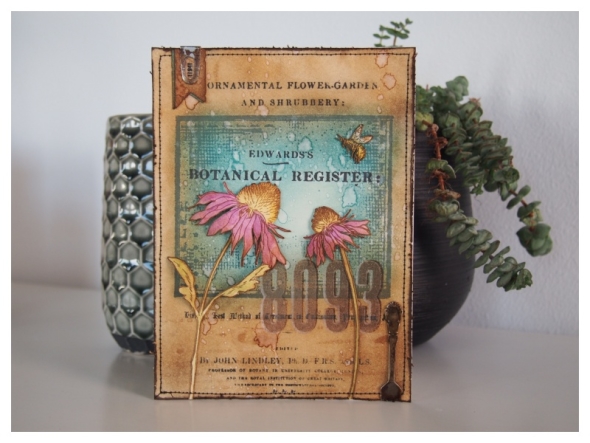
    iGirlZoe : Out of the ColdBright colours are always a bit of a challenge for me as it’s just not really my jam, but I love a challenge…
    iGirlZoe : Out of the Cold
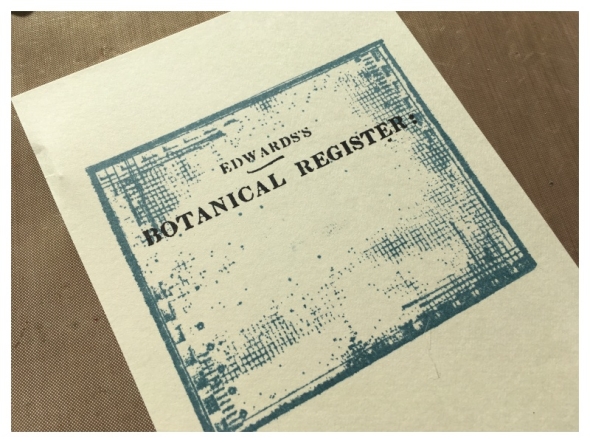
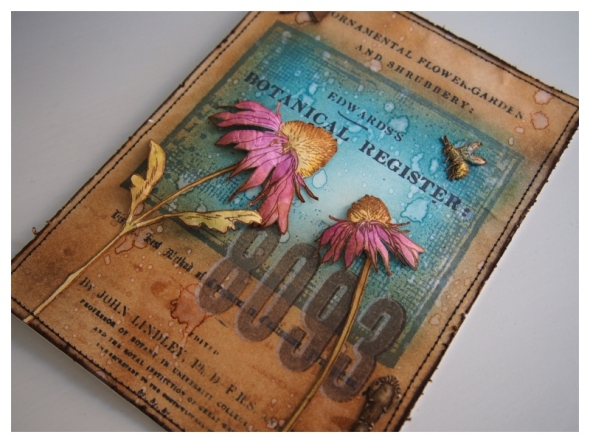
    Cut a piece of mixed media cardstock 7 x 5.25 inches. I stamped the new rectangle collage background stamp by Wendy Vecchi in cornflower blue archival ink. Overstamp in jet black archival ink with the botanical register background stamp, also by Wendy Vecchi. I LOVE this stamp!!
    iGirlZoe : Out of the Cold
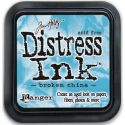
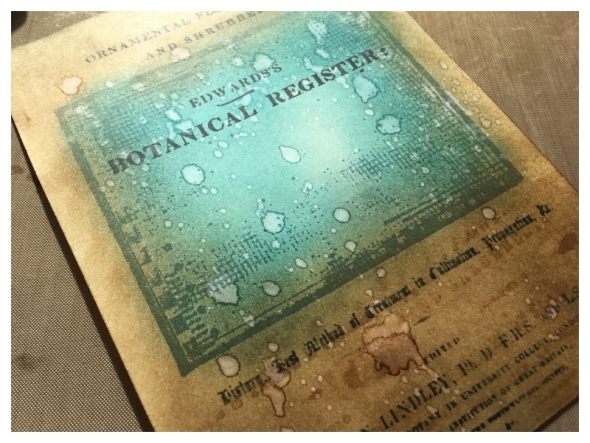
    Blend pumice stone and broken china distress ink inside the rectangle collage stamped area. Then blend vintage photo distress ink over the outer area. Spritz with water and set aside to dry.
    iGirlZoe : Out of the Cold
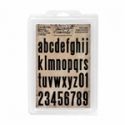
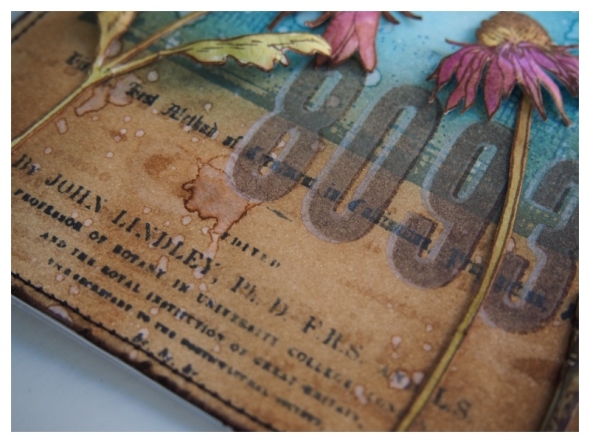
    I used the new idea-ology block lower cling foam stamps by Tim Holtz with picket fence distress paint to stamp a series of numbers over my background. Once dry, ink up the cling foam stamps with potting soil archival ink and stamp onto scrap paper twice and then stamp, slightly offset over the original stamped image.
    iGirlZoe : Out of the Cold
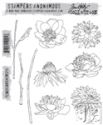
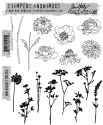
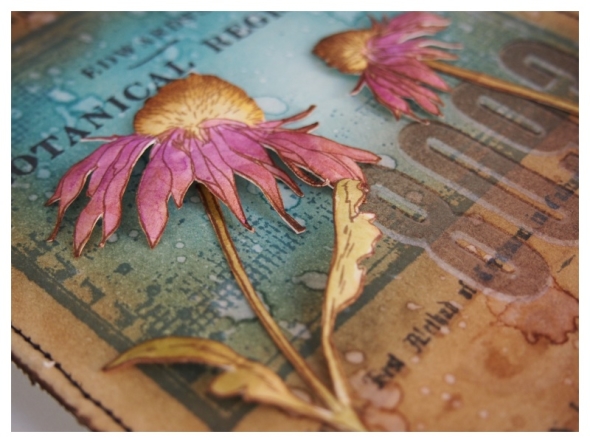
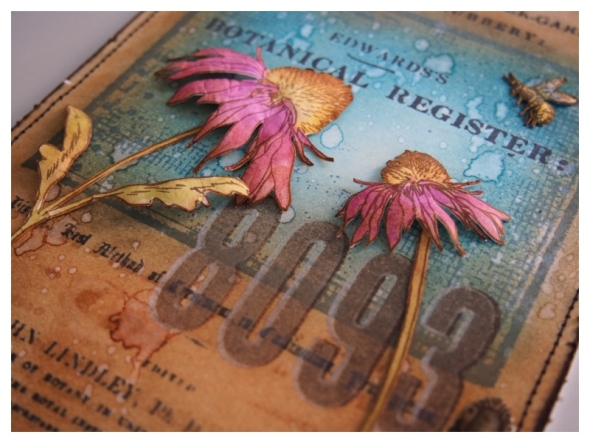
    Stamp flowers from the flower garden and mini bouquet sets onto distress watercolor cardstock. Scribble distress crayons onto a non stick craft mat, (I used seedless preserve, fossilized amber and peeled paint). Using a water brush, pick up the distress crayon and watercolour the stamped images and fussy cut. I love the depth of colour you get when watercolouring with distress crayons.
    iGirlZoe : Out of the Cold
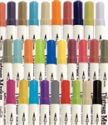
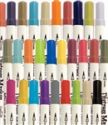
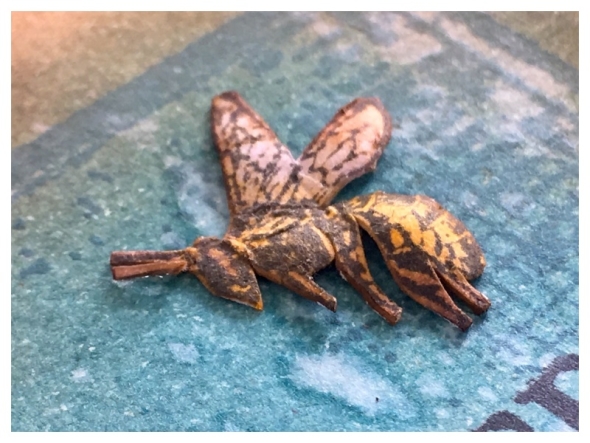
    Stamp a bee from the tiny things stamp set and watercolour distress markers, (I used wild honey for the body and tumbled glass for the wings). Once dry fussy cut.
    iGirlZoe : Out of the Cold
    Use this dry embossing technique by Tim Holtz to give the bee and the flowers a cool dimensional effect. Attach with glossy accents and 3D foam.
    iGirlZoe : Out of the Cold
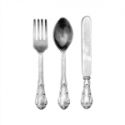
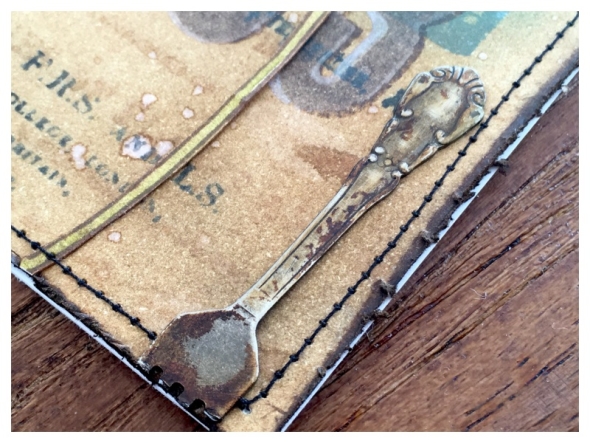
    Bend the prongs off a fork from the idea-ology silverware set. To age, dab mushroom alcohol ink on with a cotton bud and allow to dry. Using the other end of the cotton bud, roll over potting soil archival ink and dab onto the fork. Attach with glossy accents.
    iGirlZoe : Out of the Cold
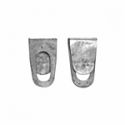
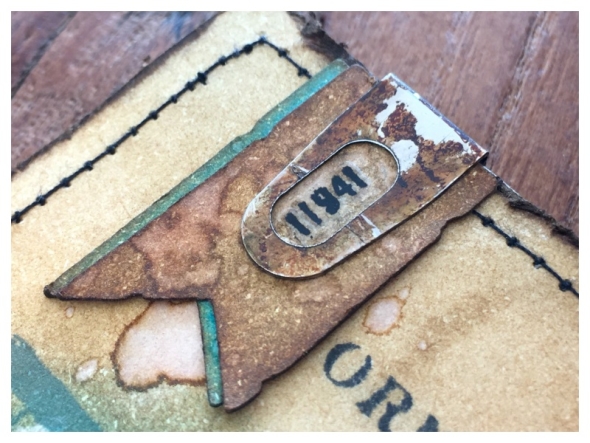
    Punch 2 banners with the Tim Holtz Large banner paper punch. Blend vintage photo distress ink into one and broken china distress ink into the other, spritz with water and once dry mount one over the other, slightly offsetting. Age an idea-ology adornment index clip, using the same technique as the fork, and clip over the banner. Add some remnant rubs inside the index clip window.
    iGirlZoe : Out of the Cold
    I hope you will find time to join in the challenge and pop over to Frilly and Funkie challenge blog to see the rest of the DT’s projects. All the products I used are available from The Funkie Junkie Boutique.

    Thanks for stopping by.
    Zoe


    Save

    Save

    Save

    Save

    Save


  2. Scribble Woodland Deer Card

    13th September, 2016 by iGirlZoe

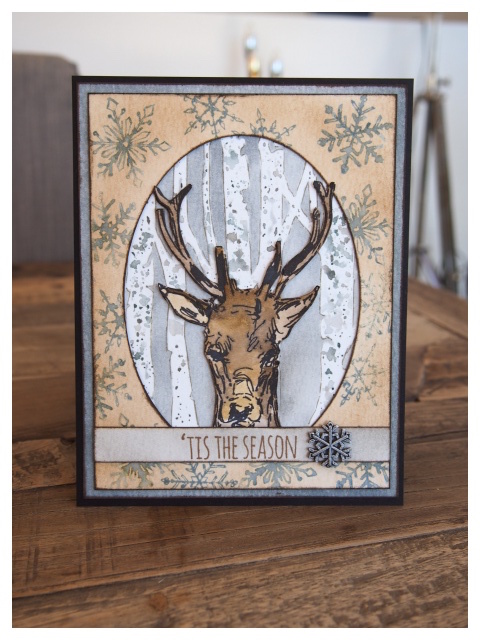
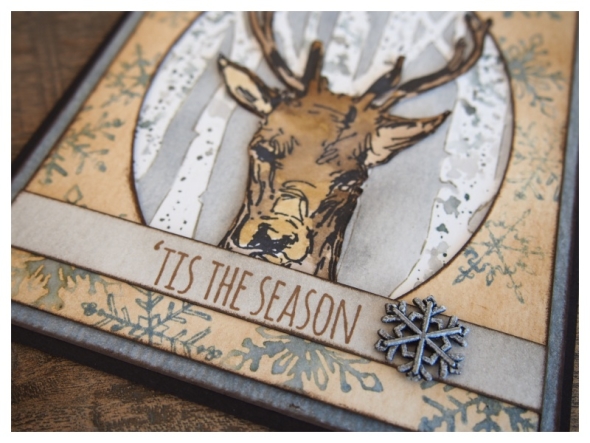
    Hello. I’m back again with another sample card that I made for the Tim Holtz facebook LIVE event on Friday, where he showcased his incredible new Stampers Anonymous holiday stamps and stencils. If you missed the live event, you can still watch it on replay and see the stamps on Tim’s blog.

    iGirlZoe: Scribble Woodland Deer CardYesterday I shared another sample that I made using the gorgeous new Tim Holtz Stampers Anonymous stamps and stencils. Here’s how I created this sample…

    iGirlZoe: Scribble Woodland Deer Card
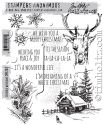
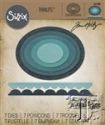
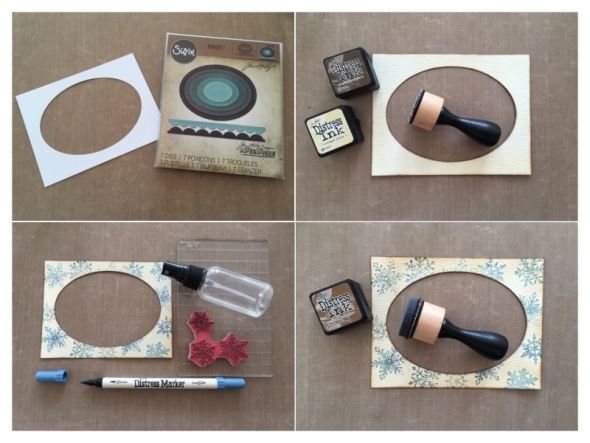
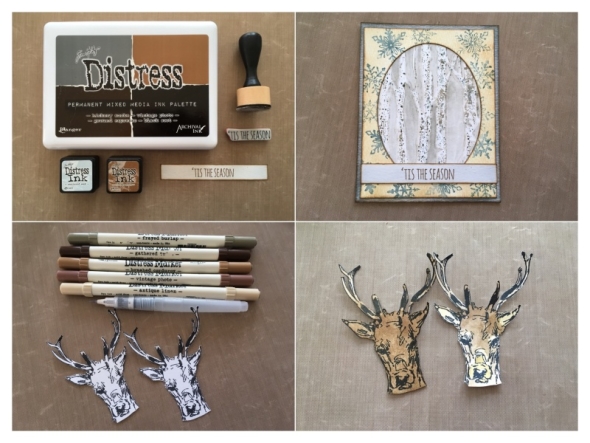
    Die cut an oval. Blend antique linen distress ink into the frame and walnut stain distress ink onto the edges. Colour the snowflake stamp with stormy sky distress marker**, spritz lightly with water and stamp onto the frame. Repeat creating a random pattern, making sure you dry the stamp before adding more distress marker. Once completely dry, blend a VERY LIGHT layer of vintage photo distress ink over the top to give an aged look.

    iGirlZoe: Scribble Woodland Deer Card
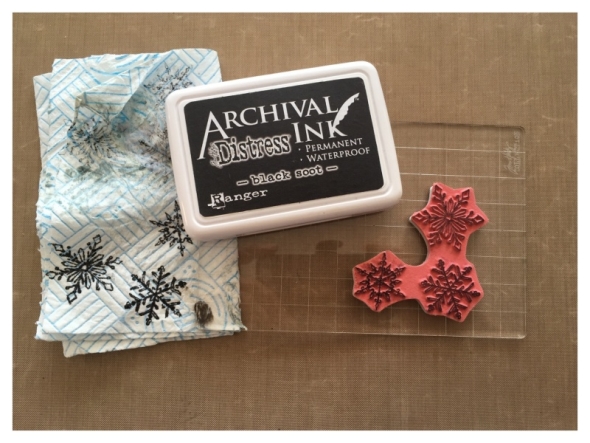
    **TIP* you will need to “season” your stamp first. Ink with archival ink and stamp twice onto kitchen paper and set aside to dry. If you don’t do this, distress ink and distress markers will just bead on the stamp and you won’t get a clear image! Go on! You can do this! You can always clean the stamp afterwards… but I would leave it “seasoned” and spend the time crafting instead. 😉

    iGirlZoe: Scribble Woodland Deer Card
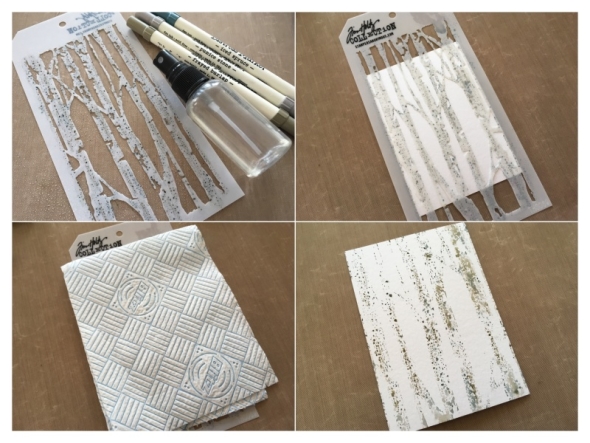
    On the reverse side of the birch stencil scribble on pumice stone, iced spruce and stormy sky distress markers and spritz with water. Turn the stencil over onto the smooth side of distress watercolor cardstock. Place a piece of kitchen paper over the top and smooth out with your hands. Carefully lift the stencil off the cardstock and air dry or with a heat tool.

    iGirlZoe: Scribble Woodland Deer Card
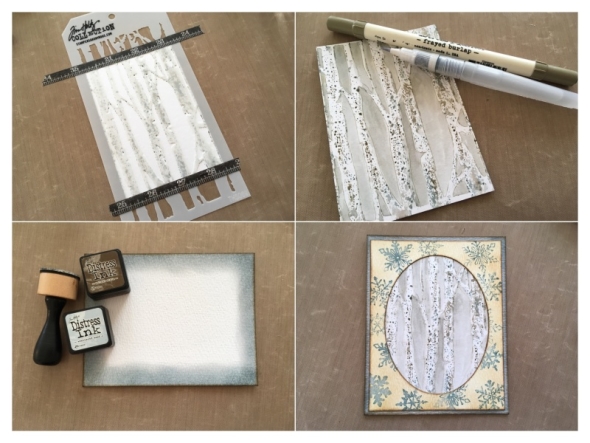
    Position the stencil back over the dried cardstock and secure with tape. Scribble pumice stone and stormy sky distress markers directly onto a non stick craft mat and pick up with a waterbrush and brush through the stencil. Carefully remove the stencil and dry the cardstock. Once completely dry, drawer along the outline of the birch trees with the fine tip of a frayed burlap distress marker and then go over with a waterbrush to soften the lines and create shadow. Blend weathered wood distress ink around the edge of a slightly larder piece of distress watercolor cardstock than the frame and edge with walnut stain distress ink. Mount the frame over the stenciled birch background and on top of the edged watercolor cardstock.

    iGirlZoe: Scribble Woodland Deer Card
    Stamp a sentiment onto a strip of distress watercolor cardstock with vintage photo distress archival ink. Blend in weathered wood distress ink and edge with vintage photo distress ink. Mount the strip over the bottom of the oval part of the frame. Leave the top center part unstuck to slip the deer under slightly. Stamp 2 deers onto distress watercolor cardstock and fussy cut. Cover one with vintage photo distress marker and watercolor the other carefully with a variety of brown tone distress markers. Glue the detailed deer head over the other and adhere to the front of the card just tucking slightly under the sentiment strip.

    iGirlZoe: Scribble Woodland Deer Card
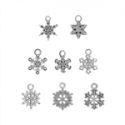
    Cover an adornment snowflake with picket fence distress paint and dab away excess with kitchen paper. Attach the snowflake to the sentiment strip with glossy accents.

    Thanks for stopping by. I’ll be back tomorrow to share my take on this week’s challenge over at Frilly & Funkie. If, like me, you adore this deer stamp, be sure to stop by and checkout Bobbi Smith’s stunning card sample created for the Tim Holtz facebook LIVE event over at Vintage Muse Designs.

    Zoe

    Save

    Save

    Save


  3. Scribble Woodland Christmas Card

    12th September, 2016 by iGirlZoe

    I am delighted to share a card sample that I made for the Tim Holtz facebook LIVE event on Friday, where he showcased his incredible new Stampers Anonymous holiday stamps and stencils. If you missed the live event, you can still watch it on replay and see the stamps on Tim’s blog.

    iGirlZoe: Scribble Woodland Christmas Card
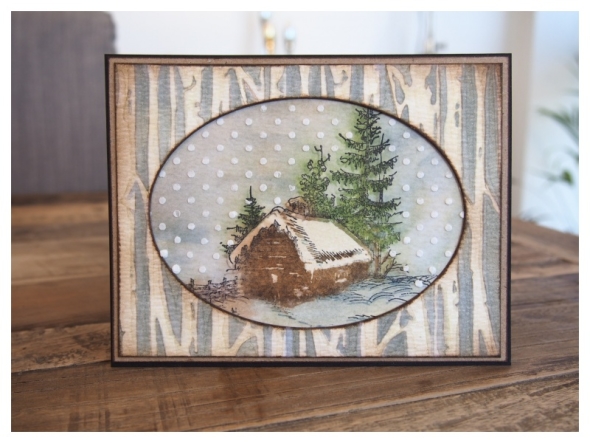
    I absolutely LOVE the new stamps and stencils and I can’t wait to create this years Christmas cards and holiday home decor with them. Here’s how I used some of them to create this sample…

    iGirlZoe: Scribble Woodland Christmas Card
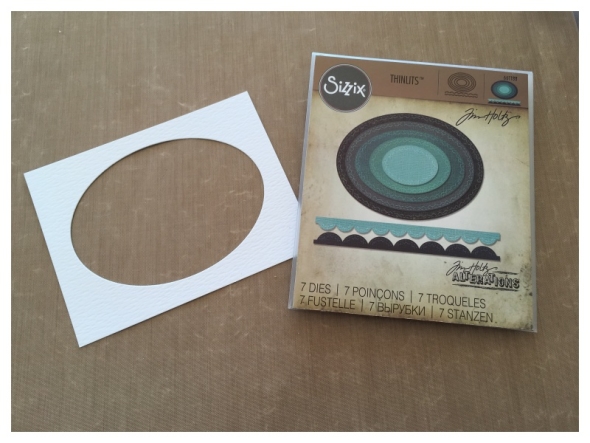
    Step 1: Cut an oval using the sizzix stiched ovals thinlits dies from distress watercolor cardstock.

    iGirlZoe: Scribble Woodland Christmas Card
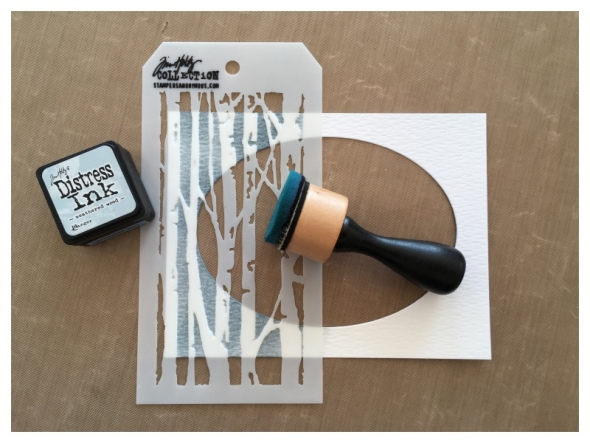
    Step 2: Lightly blend weathered wood distress ink through the birch stencil from mini stencils set 21 using a mini blending tool.

    iGirlZoe: Scribble Woodland Christmas Card
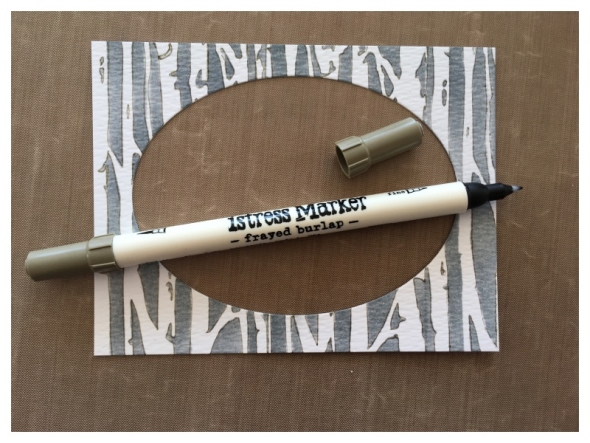
    Step 3: Draw lightly along the outline of the birch trees with the fine tip end of a frayed burlap distress marker. TIP* you could trace the outline using the stencil, but the imperfections of freehand make it look more natural and less “stenciled”

    iGirlZoe: Scribble Woodland Christmas Card
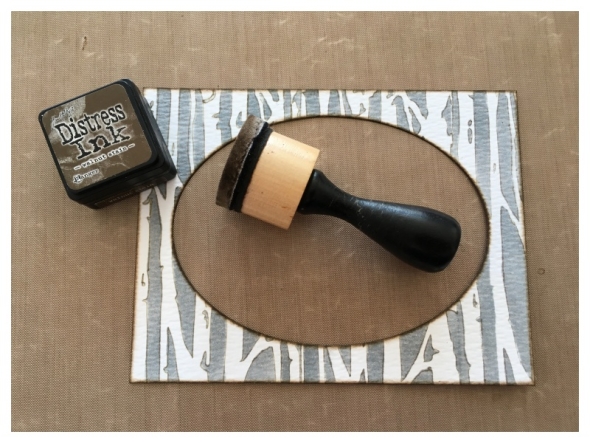
    Step 4: Edge the card and oval with walnut stain distress ink using a mini blending tool.

    iGirlZoe: Scribble Woodland Christmas Card
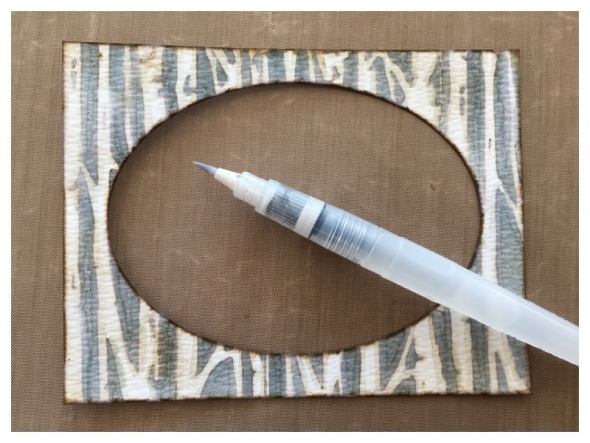
    Step 5: Go over the frayed burlap marker lines with a water brush to soften the lines and create shadow.

    iGirlZoe: Scribble Woodland Christmas Card
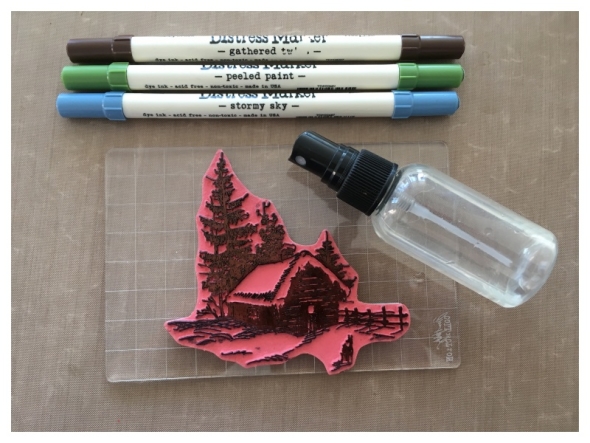
    Step 6: Colour the back of this stamp from the scribbled woodlands CMS282 stamp set with gathererd twiggs, peeled paint and stormy sky distress markers. Spritz with water and stamp onto distress watercolor cardstock.

    iGirlZoe: Scribble Woodland Christmas Card
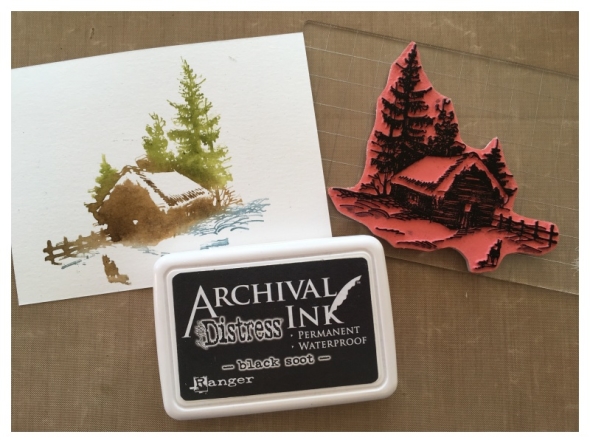
    Step 7: Once dry, ink up the stamp with black soot distress archival ink and overstamp the watercolor image.

    iGirlZoe: Scribble Woodland Christmas Card
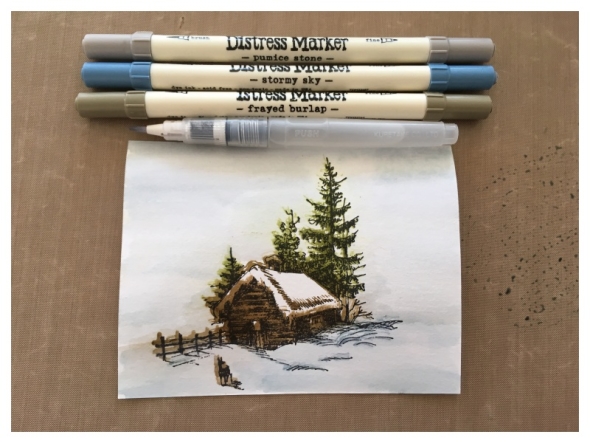
    Step 8: Scribble frayed burlap, pumice stone and stormy sky distress markers onto a non stick craft sheet. Pick up the scribbled marker with a waterbrush and create a background wash onto the distress watercolor cardstock around the stamped image.

    iGirlZoe: Scribble Woodland Christmas Card
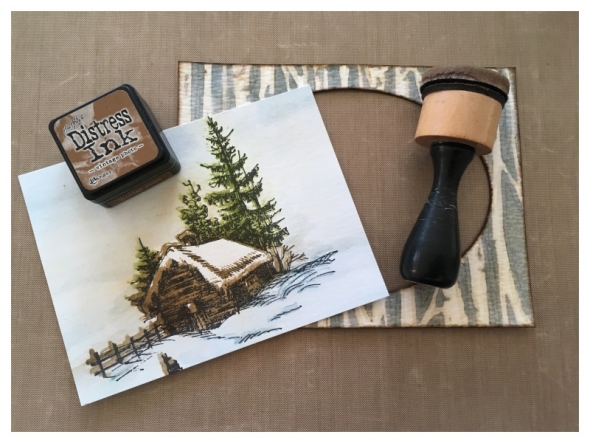
    Step 9: Take a mini blending tool and VERY LIGHTLY blend vintage photo distress ink over the stamped background and birch stencilled frame to give a vintage hue. TIP* if your vintage photo distress ink pad is “juicy” blend away some of the excess onto scrap paper before blending over the top of the background and frame.

    iGirlZoe: Scribble Woodland Christmas Card
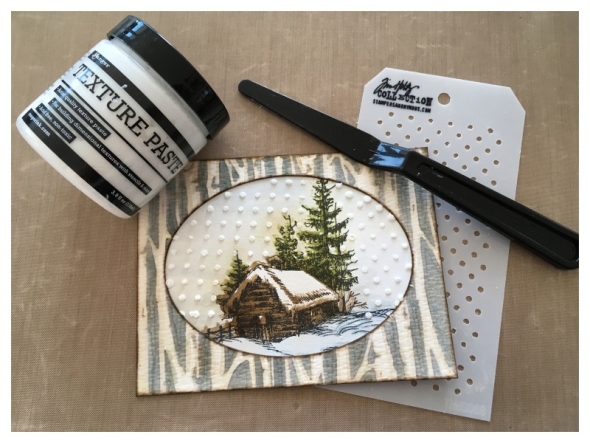
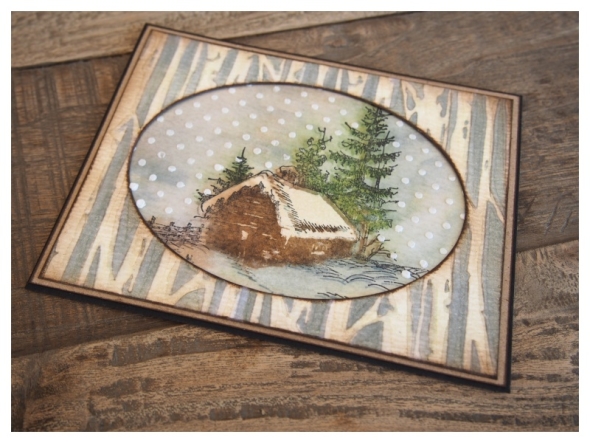
    Step 10: Lay the polka dot stencil from mini stencil set 20 over the card. Spread texture paste through the stencil with a palette knife and once completely dry, adhere the frame over the background. TIP* To get a more natural looking snowfall (card below), use the stencil vertically or horizontally, NOT at an angle (card above).

    iGirlZoe: Scribble Woodland Christmas Card
    Thanks for stopping by, I hope that you enjoyed this tutorial. I’ll be back tomorrow with a tutorial for another card sample that I made for Tim’s facebook LIVE post.

    Zoe


    Save
    Save