‘Stampers Anonymous’ Category

  1. Tim Holtz Stamp Platform

    4th February, 2018 by iGirlZoe

    Hello friends. DO NOT ADJUST YOUR SCREENS… I USED PINK! I hope you’re having a nice weekend and finding some time to be creative. I’ve got a SATURDAY SHOWCASE (on a Sunday) over at Frilly and Funky, showcasing the Tim Holtz Stamp Platform. If you’re a stamper, this tool is a total game changer!

    iGirlZoe: Saturday Showcase Tim Holtz Stamp Platform
    If you would like to see the step by step in full, pop over to Frilly & Funkie.

    Have a great Sunday.
    Zoe


  2. Creativations 2018 – Tim Holtz Blog Hop

    2nd February, 2018 by iGirlZoe

    Welcome to the Creativations 2018 – Tim Holtz Blog Hop and Give Away! …and welcome to my blog! I’m delighted to have been invited to join such a talented group of designers on this exciting blog hop hosted by Richele Christensen. If you’ve just come across from the lovely and talented Chelle Fowler’s blog, you’re right on track.

    iGirlZoe: Creativations 2018 - Tim Holtz Blog Hop and Give Away
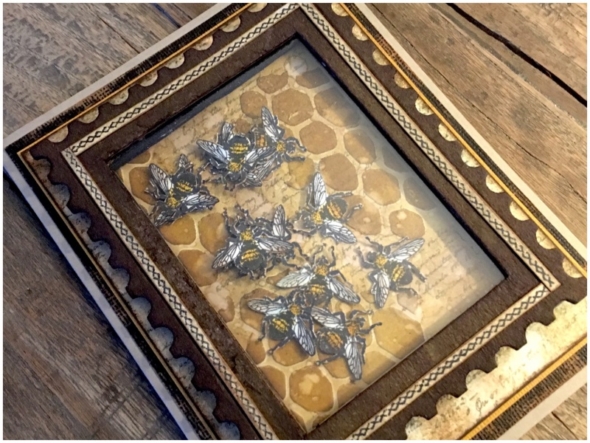
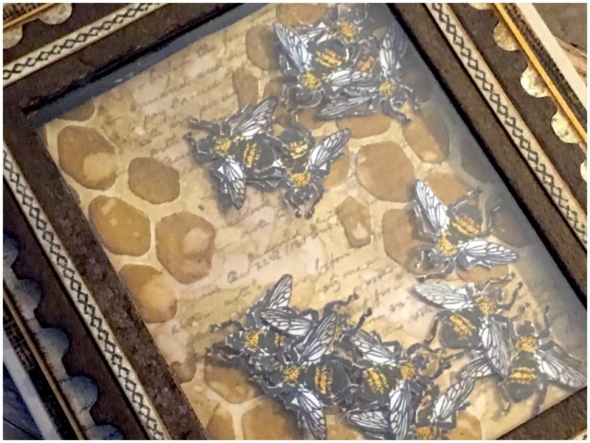
    I was lucky enough to make a few samples for the Stampers Anonymous booth at this years Creativation with Tim Holtz wonderful new stamps and stencils. Today I want to share a close-up look at the shaker card that I made.

    iGirlZoe: Creativations 2018 - Tim Holtz Blog Hop and Give Away
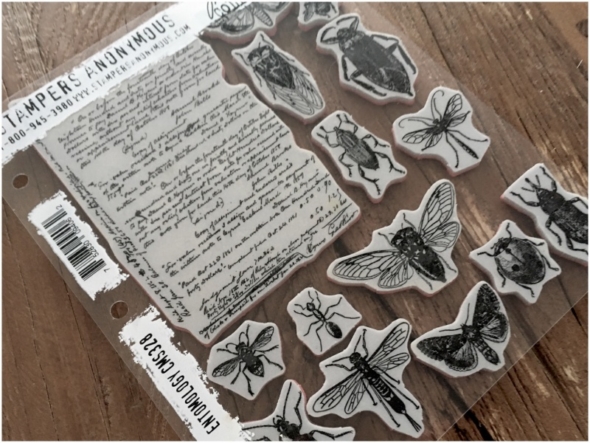
    I used the new entomology stamp set (CMS328), one of my favourites from the new release, not least of all because of that background stamp! Can you believe how many stamps Stampers Anonymous crammed onto one stamp sheet?!

    iGirlZoe: Creativations 2018 - Tim Holtz Blog Hop and Give Away
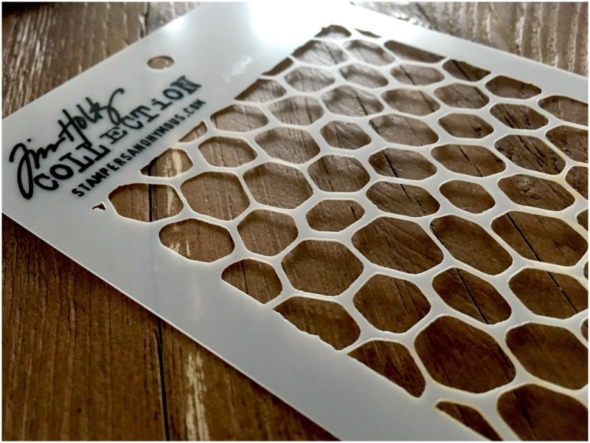
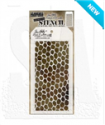
    I also used the new hive stencil (THS105)! I love the total lack of symmetry and organic look to it.

    iGirlZoe: Creativations 2018 - Tim Holtz Blog Hop and Give Away
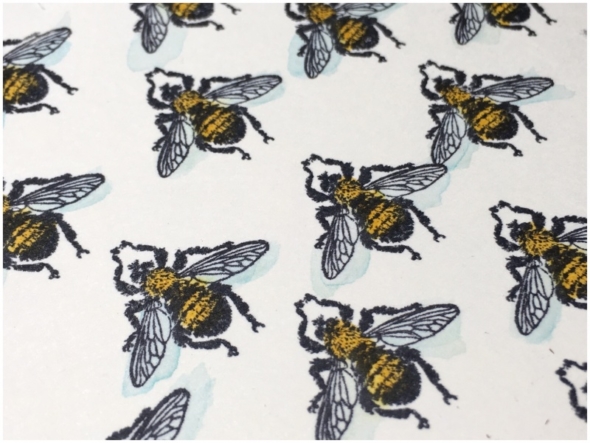
    I stamped the bee a bunch of times onto distress watercolor cardstock with black soot distress archival ink. Watercoloured fossilized amber over the body and a light wash of tumbled glass over the wings, using distress markers scribbled onto a non stick craft sheet and picked up with a water brush.

    iGirlZoe: Creativations 2018 - Tim Holtz Blog Hop and Give Away
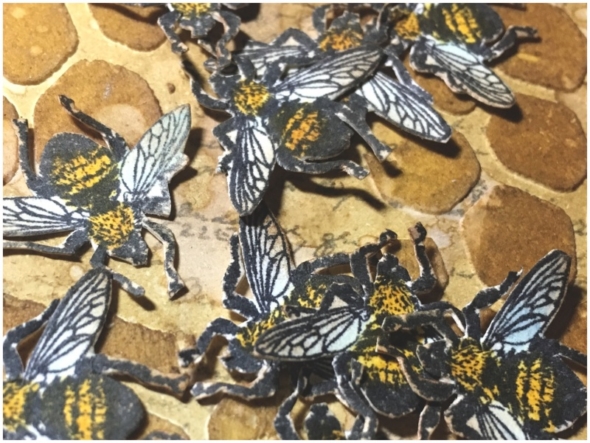
    Yes I fussy cut all these bees! I find fussy cutting so relaxing, it’s my jam (or honey in this case)!

    iGirlZoe: Creativations 2018 - Tim Holtz Blog Hop and Give Away
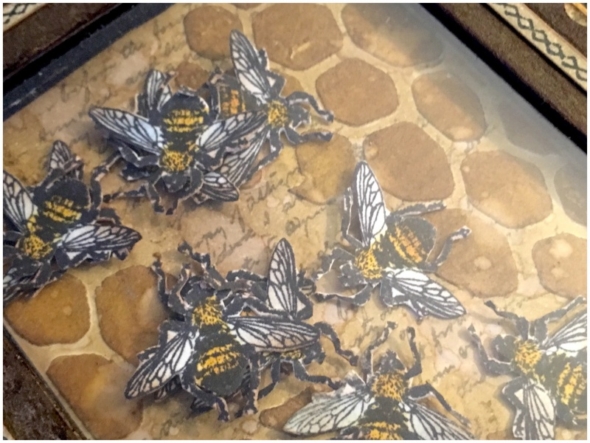
    I created the background by stamping that gorgeous background stamp from the entomology set onto distress heavystock with hickory smoke distress archival ink and covering with a frayed burlap distress wash. Spread texture paste through the hive stencil, and once dry, blended in fossilized amber and brushed corduroy distress inks.

    iGirlZoe: Creativations 2018 - Tim Holtz Blog Hop and Give Away
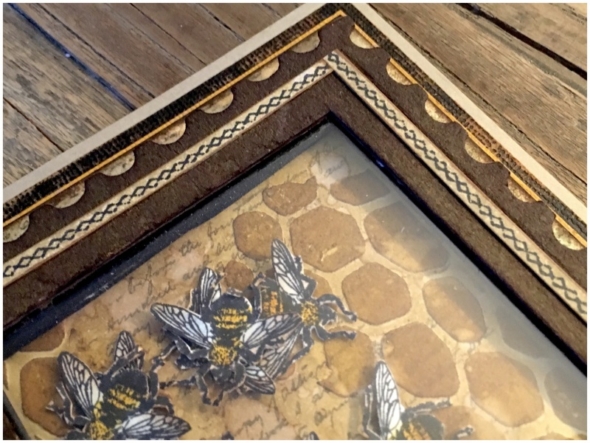
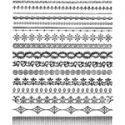
    I die cut a postage frame from idea-ology substrate sheet, adhered acetate to the underside with distress collage medium and mounted over strips of black adhesive foam. Using the new ornate trims stamps set (CMS326) to create a cute vintage border.

    iGirlZoe: Creativations 2018 - Tim Holtz Blog Hop and Give Away
    Finally I mounted the shaker card over metallic and classic kraft stock (sanded of course). You can see the shaker card “shake it” over on my instagram.

    Next on this blog hop is the very lovely and talented Joy Kennedy.

    Hope you’ve enjoyed my shaker card and that this blog hop inspires you to create.
    Zoe x


    PRIZES, PRIZES, PRIZES!

    iGirlZoe: Creativations 2018 - Tim Holtz Blog Hop and Give Away
    There are a few prizes to give away. Just leave a comment on all the different blog hop posts for a chance to win! The more blogs you leave comments on, the better your chances of winning.

    Comments must be posted by midnight PST on Tuesday, February 6th.

    Winners will be announced on Wednesday, February 7th on Richele’s blog

    BLOG HOP PARTICIPANTS…

    IDEA-OLOGY
    Paula Cheney
    Vicki Evans
    Emma Williams
    Cathie Parreco
    Kaz Hall
    Jan Hobbins
    Jenny Marples

    SIZZIX
    Tami Bastians
    Audrey Pettit
    Mou Saha
    Richele Christensen

    STAMPERS ANONYMOUS
    Kath Stewart
    Cheiron Brandon
    Stacy Hutchinson
    Chelle Fowler
    Zoe Hillman (you are here)
    Joy Kennedy
    Bobbie Smith


  3. Frilly & Funkie: 2018 – The Year of…

    24th January, 2018 by iGirlZoe

    It’s Wednesday and time for the funkie side of the design team to share our projects for the current challenge over at the Frilly and Funkie Challenge Blog!

    The current challenge is hosted by fellow funkie team member Suzz (Suzz’ Stamping Spot), who has chosen the theme 2018 – THE YEAR OF… …SUZZ says, “Welcome to a brand new year! I am not very good at New Year Resolutions but I do like to think about what I want to focus on in the New Year. To help me do this, I pick a word that is my word for the year and try to use that word to keep me focused on what is important. The challenge to you is to pick a word that will be your inspiration for 2018. Create a vintage or shabby chic project that includes your word of 2018. The word can be part of a sentiment, phrase or stand alone on your project as long as it is featured somewhere in your art.”

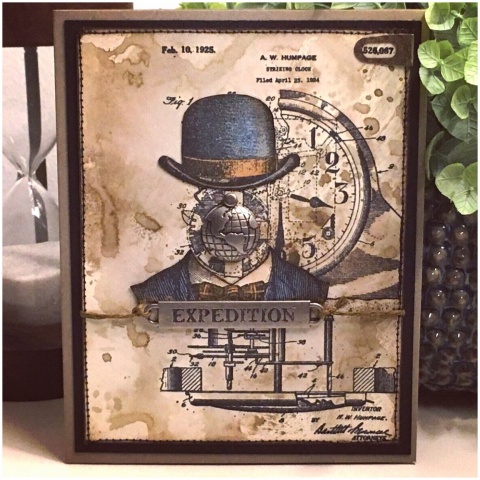
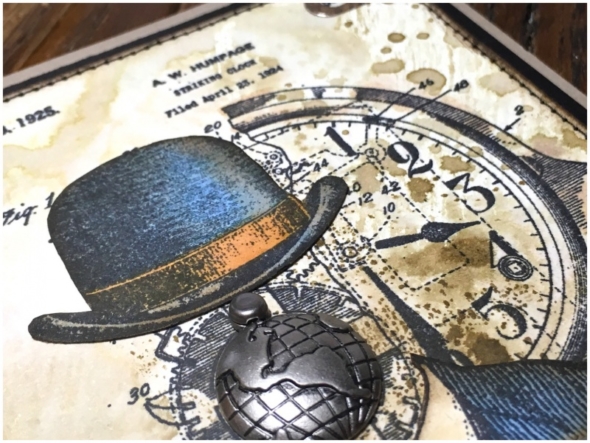
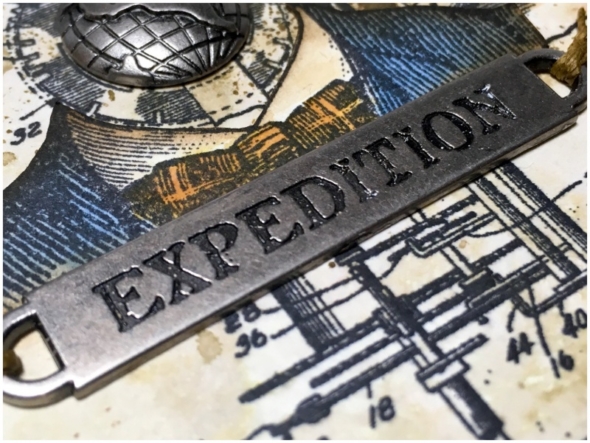
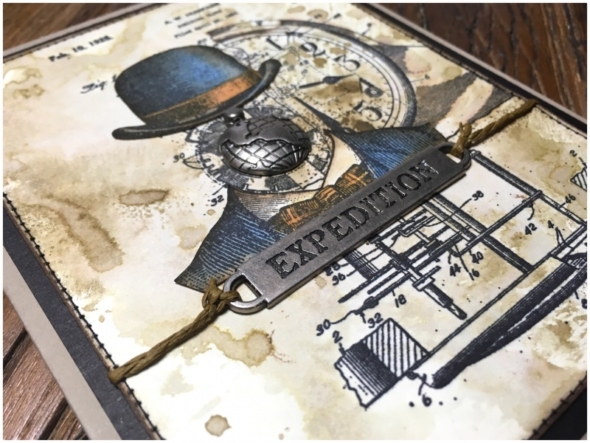
    iGirlZoe: 2018 The Year ofMuch like our lovely host Suzz, I’m not very good at new years resolutions, so it took me a while to find a suitable word. I wanted to combine travel and time, as this year I plan to do more of one and get better at keeping the other. Then I stumbled upon the “expedition” word band and it was a match! Expedition can be a journey undertaken by a group of people with a particular purpose (travel) and it can also mean promptness or speed in doing something – promptitude (time). OMG I love that word! “Promptitude!” I digress, which only adds to my time keeping issues!
    …I’m a work in progress…

    iGirlZoe: 2018 The Year of
    I have been desperate to use the new Tim Holtz inventor stamps and it was perfect for the challenge. I had to use my favourite stamp from the Tim Holtz Dapper set as well (of course)!

    iGirlZoe: 2018 The Year of
    I used faded jeans and brushed corduroy distress inks and a waterbrush to watercolour the hat and suit. I added the expedition word band and globe from the adornment souvenir set.

    iGirlZoe: 2018 The Year of
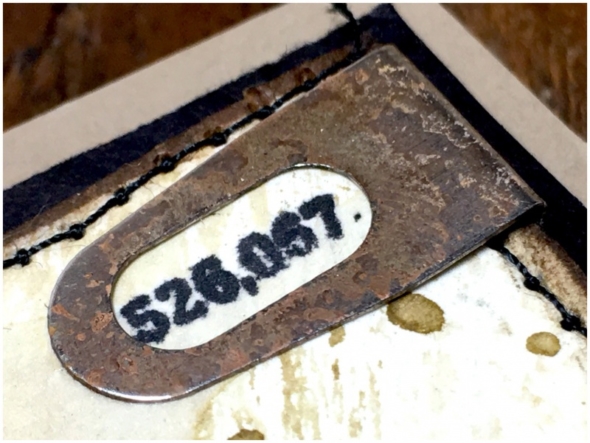
    I confess I am a little addicted to these adornment index clips. I altered it by adding picket fence distress paint and, once dry, adding archival distress ink. Wendy Vecchi has this brilliant technique on her blog.

    iGirlZoe: 2018 The Year of
    I hope you will find time to join in the challenge and pop over to Frilly and Funkie challenge blog to see the rest of the DT’s projects. All the products I used are available from The Funkie Junkie Boutique.

    I will be back to share the samples that I made for this years Creativation (CHA). Thanks for stopping by.
    Zoe


  4. Frilly & Funkie: Three Is Not A Crowd

    10th January, 2018 by iGirlZoe

    Happy New Year! I am delighted to be back with the Frilly and Funkie Design Team.

    This first challenge of the year is hosted by the very lovely Cec (CW Card Creations), who has chosen the theme THREE IS NOT A CROWD …CEC says, “Create a vintage or shabby chic project that includes three of something. Examples of three of something could be three different patterned papers, three colours, three layers, three flowers, three bows – the list goes on. This would be a perfect time to use some of the new supplies you received for Christmas or to make space in your stash by using up old supplies. Just remember to think in multiples of three..”

    iGirlZoe: Three Is Not A Crowd
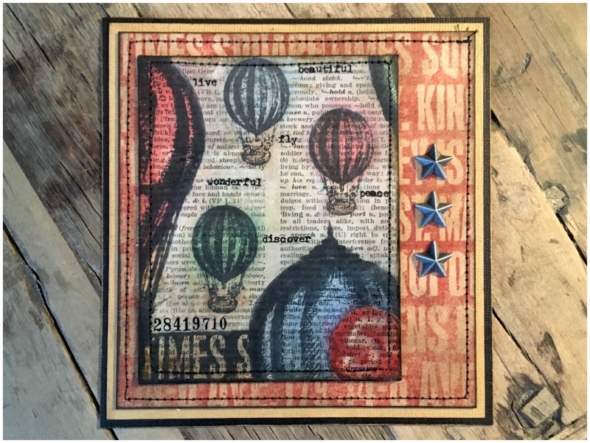
    For many of us, this time of year can be as busy as the holidays. Making samples for creativation (formerly CHA), getting kids back to school, returning to work, taking the decorations down and getting organised for the year ahead. A lot of my friends and family have birthdays in January, so I have plenty of cards to make. I decided to use this challenge to make a masculine birthday card…

    iGirlZoe: Three Is Not A Crowd
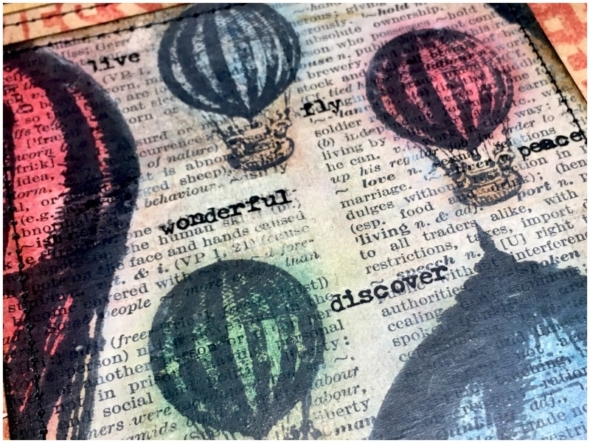
    I adhered a page from an old dictionary over mixed media heavystock with distress collage medium. Using the Tim Holtz stamp platform I stamped the large hot air balloon stamp from Remnants CMS130 stamp set. I stamped the tiny hot air from the tiny things set 3 times. I used distress crayons to colour the balloons and background and added remnant rubs.

    iGirlZoe: Three Is Not A Crowd
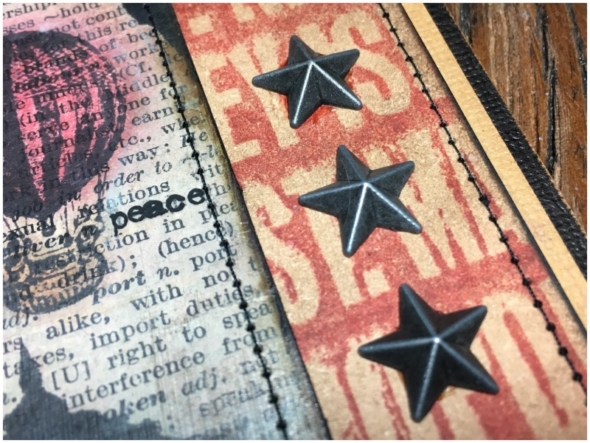
    The background is stamped in fired brick distress ink with walnut stain distress ink blended in and stamped twice using the stamp platform. 3 idea-ology adornment stars were added with distress collage glue.

    iGirlZoe: Three Is Not A Crowd
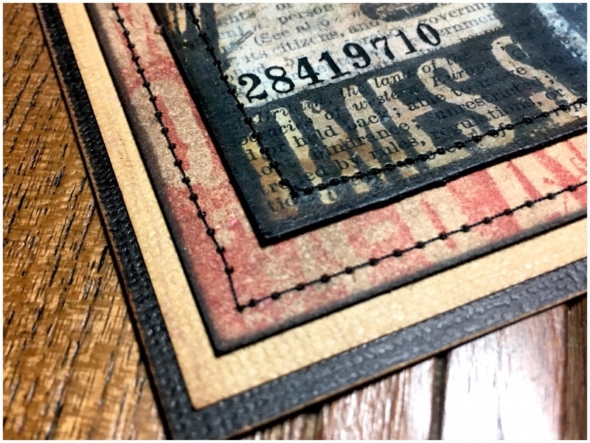
    Finally, I stitched with a sewing machine and mounted onto classic kraft stock.

    I hope you will find time to join in the challenge and pop over to Frilly and Funkie challenge blog to see the rest of the DT’s projects. All the products I used are available from The Funkie Junkie Boutique.

    Thanks for stopping by.
    Zoe


  5. Holiday 2017

    11th December, 2017 by iGirlZoe

    Happy Holidays friends! Whether you celebrate Christmas or just enjoy the magic of the festive season, I hope that you have found some inspiration from Tim Holtz’s holiday inspiration series. Check out all SIX incredible weeks of festive follies over from week 1, week 2, week 3, week 4, week 5 and week 6.

    iGirlZoe: Holiday 2017
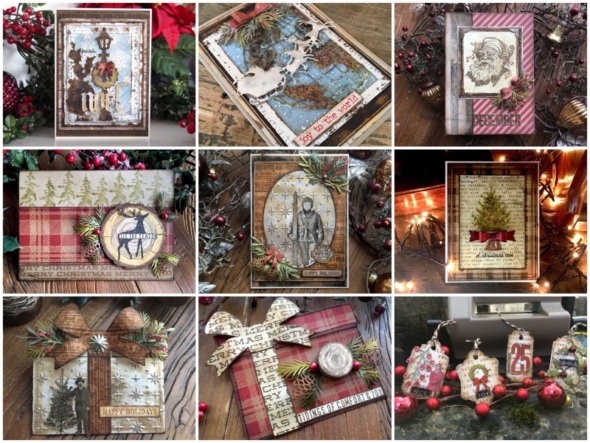
    Here’s the recap of my holiday makes…

    iGirlZoe: Fa La La La
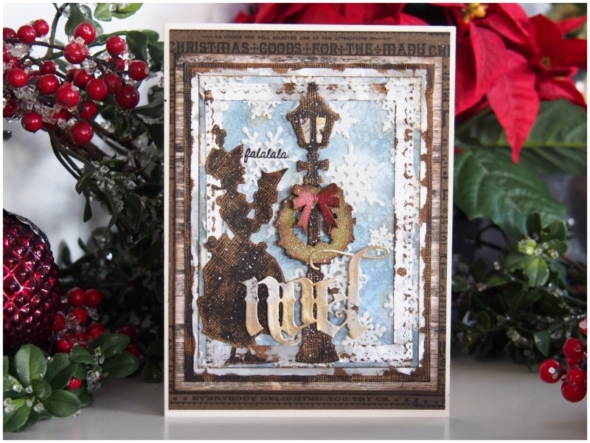
    Fa La La La

    iGirlZoe: Joy to the World
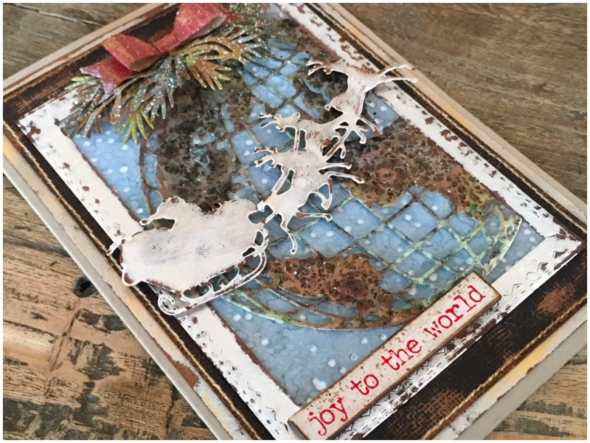
    Joy to the World

    iGirlZoe: Tim Holtz Inspired December Daily
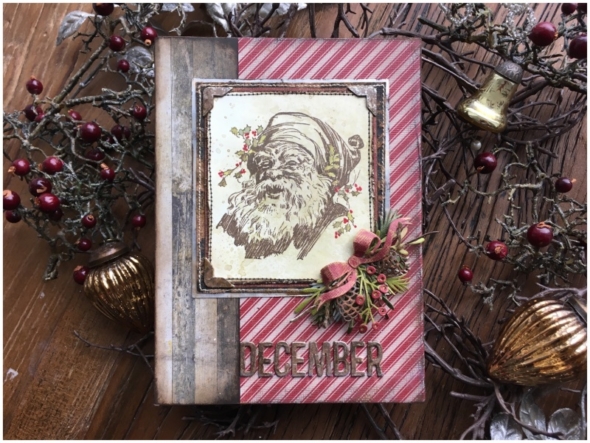
    Tim Holtz Inspired December Daily

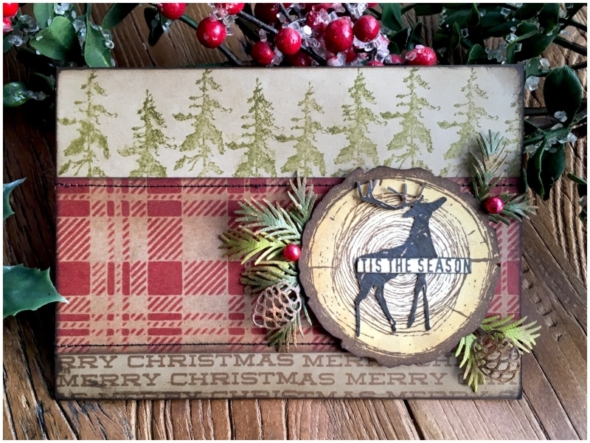
    iGirlZoe: Tis the Season
    Tis the Season

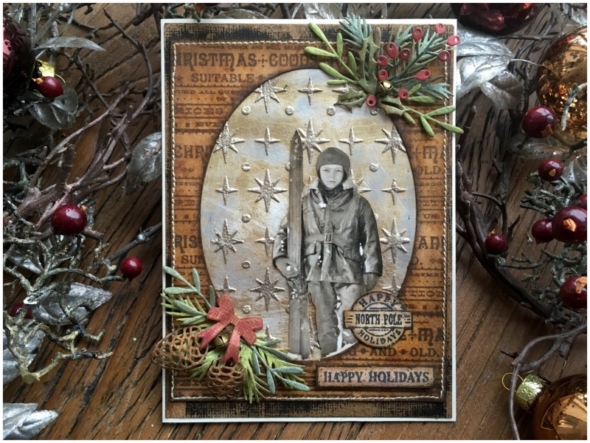
    iGirlZoe: Oh Starry Night
    Oh Starry Night

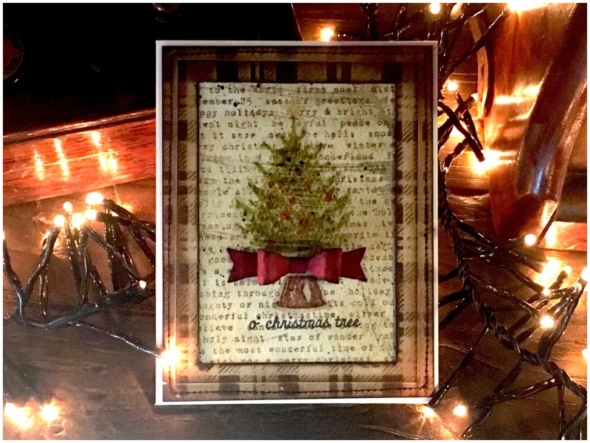
    iGirlZoe: O Christmas Tree
    O Christmas Tree

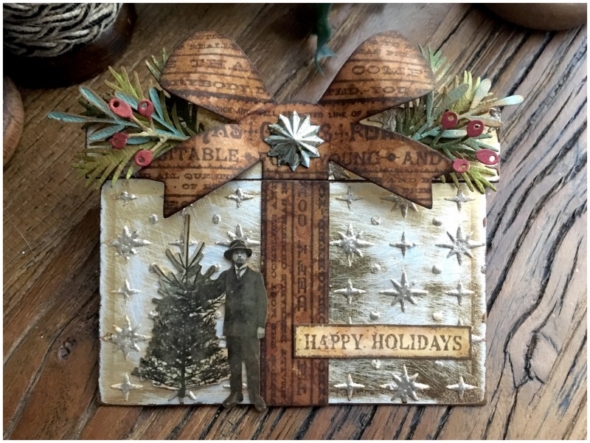
    iGirlZoe: Holiday Gift Card Holder
    Holiday Gift Card Holder

    iGirlZoe: Tidings of Comfort and Joy
    Tidings of Comfort and Joy

    iGirlZoe: It's A Wrap
    It’s a Wrap

    iGirlZoe: It's A Wrap
    Another big thank you to Tim Holtz, Mario Rossi and Paula Cheney. And a big thank you for the lovely comments you have left over the past few weeks, here and on social media. Merry Christmas!

    Zoe


  6. It’s a Wrap!

    8th December, 2017 by iGirlZoe

    I’m bringing you my final piece for the Tim Holtz holiday inspiration series. I hope you’ve been following along with Tim on instagram and facebook throughout November and December. If you’ve missed anything, you can catch up with all the inspiration on Tim’s blog from week 1, week 2, week 3, week 4, week 5 and week 6!

    iGirlZoe: It's A Wrap
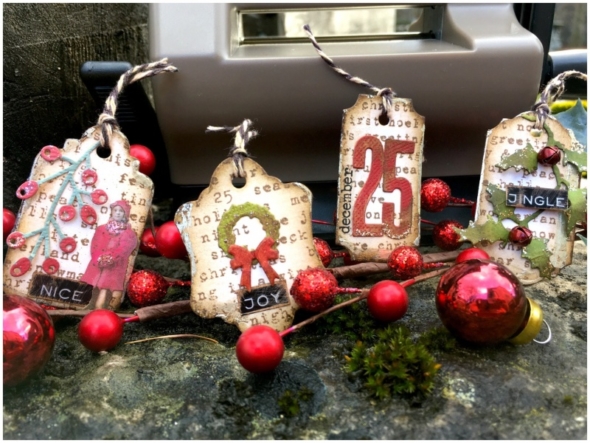
    As there are only 17 sleeps until Christmas, (yes, I’m counting), this is a nice quick and simple way to give your gifts a little personal touch with a gift adornment!

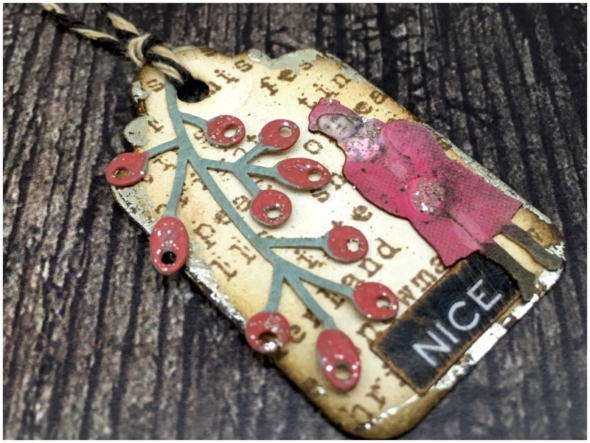
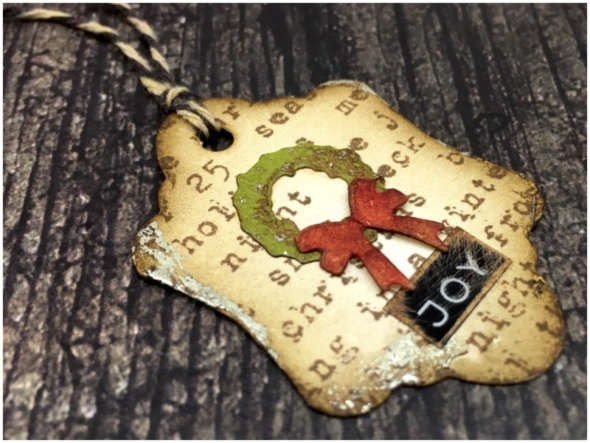
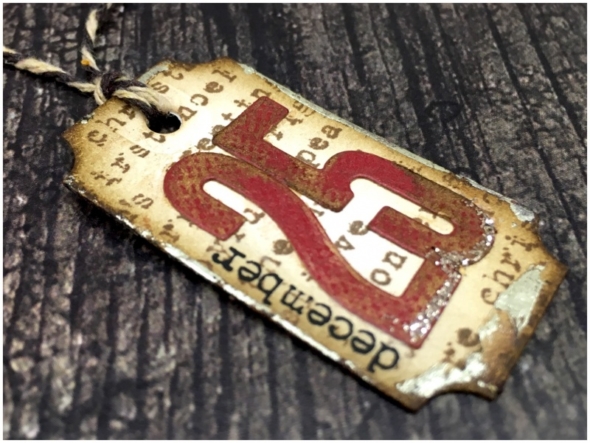
    Using the Sizzix gift tag thinlits die and sidekick, as well as the Stampers Anonymous holiday and stripes stamp set to create the background. I added foil and vintage photo distress ink to the edges and vintage twine to the top. Then decorated…

    iGirlZoe: It's A Wrap
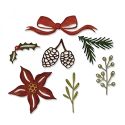
    ..die cut from the festive berries thinlits set, christmas paper doll, metallic holiday sticker and mercury glass stickles.

    iGirlZoe: It's A Wrap
    ..die cut from the christmastime village thinlits set and metallic holiday sticker.

    iGirlZoe: It's A Wrap
    ..die cut numbers that came with the Sizzix sidekick (LOVE THESE), christmas remnant rubs and stickles mercury glass.

    iGirlZoe: It's A Wrap
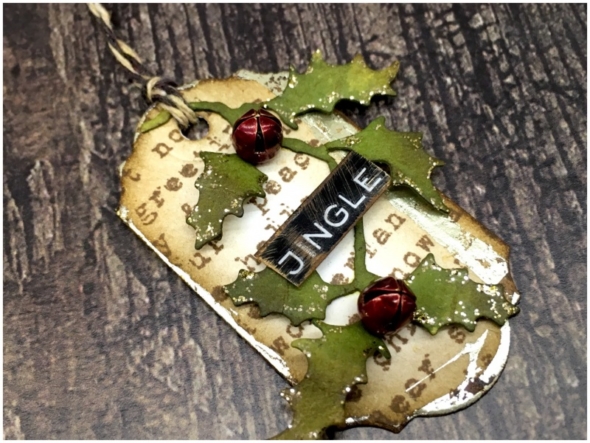
    ..die cut from mini festive greens thinlits set edged with mercury glass stickles, idea-ology bells covered with red pepper alcohol ink and metallic holiday sticker.

    iGirlZoe: It's A Wrap
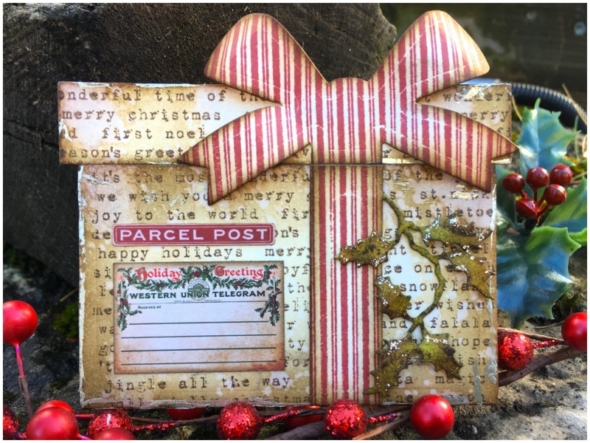
    …Okay, I literally couldn’t stop myself from making another gift card holder, decorated in a similar way as the gift adornments and adding holly form the mini festive greens thinlits set and christmas ephemera.

    Thanks so much to Tim Holtz, Mario Rossi and Paula Cheney for inviting me to be a part of this years seasonal team and for all of their hard work, guidance and support. Thanks to all of you for your kind words of encouragement. I will be back on Monday with a recap of all my holiday inspiration series makes. Hope you have a great weekend.

    Cheers
    Zoe


  7. Tidings of Comfort and Joy

    4th December, 2017 by iGirlZoe

    Hello friends. I’m back today with another gift card holder I made for the Tim Holtz holiday inspiration series. If you’ve been following Tim on instagram and facebook throughout November and December, you will have seen his holiday inspiration series. If you’ve missed anything, you can catch up with all the inspiration on Tim’s blog from week 1, week 2, week 3, week 4 and week 5.
    iGirlZoe: Tidings of Comfort and Joy
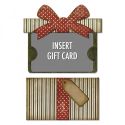
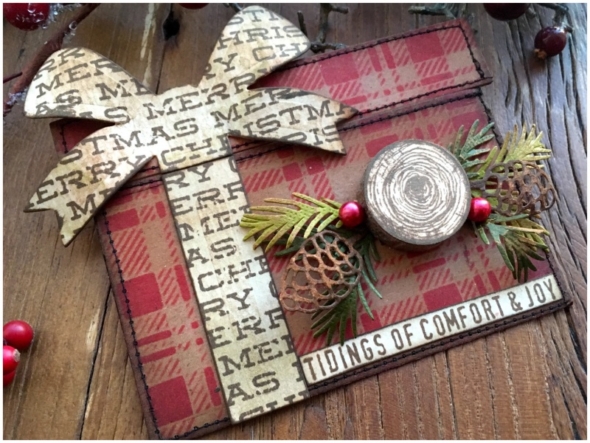
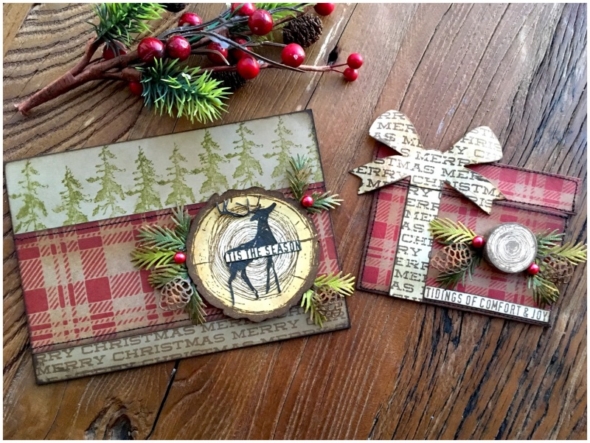
    Part of what I love about the festive season is there’s so many reasons to get creative. I love to use the seasonal products in my stash to make matching stationery. As my current obsession is with the gift card package die, I thought I would make another gift card holder to match a card I made for the holiday inspiration series and uses only 2 additional products, (idea-ology wood slices and the gift card package thinlits die).
    iGirlZoe: Tidings of Comfort and Joy
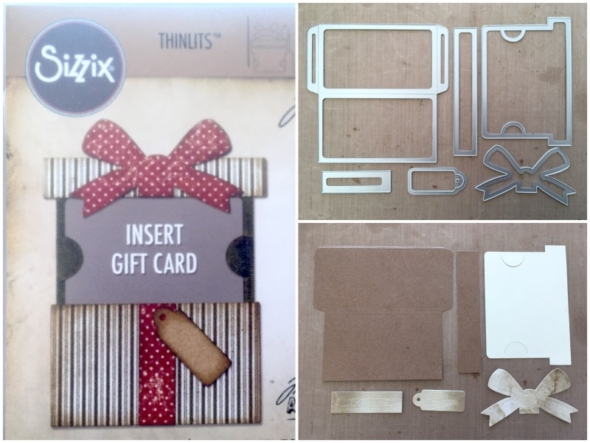
    Step 1: Die cut 2 pieces of kraft cardstock and the rest distress mixed media heavystock using the Tim Holtz Sizzix gift card package thinlits die. The bow and ribbon die cuts were sprayed with frayed burlap distress spray stain and the mini tag I didn’t end up using but put into my december daily stash.
    iGirlZoe: Tidings of Comfort and Joy
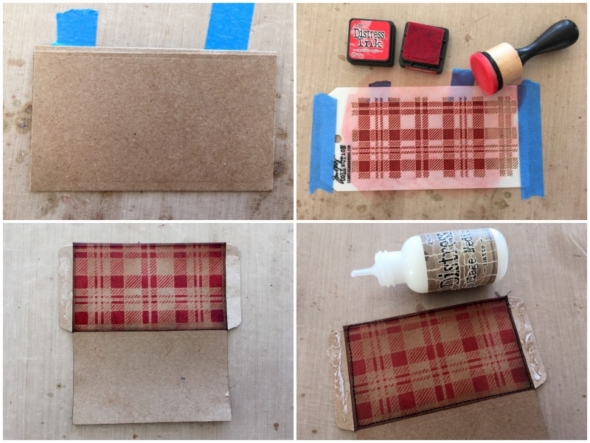
    Step 2: Fold the pocket and secure to a non stick craft mat with tape.
    Step 3: Secure the mini plaid stencil over the top and blend candied apple distress ink through the stencil.
    Step 4: Blend in vintage photo and walnut stain distress ink into the edges and stitch with a sewing machine.
    Step 5: Apply distress collage medium to the side tables, fold and glue into place.
    iGirlZoe: Tidings of Comfort and Joy
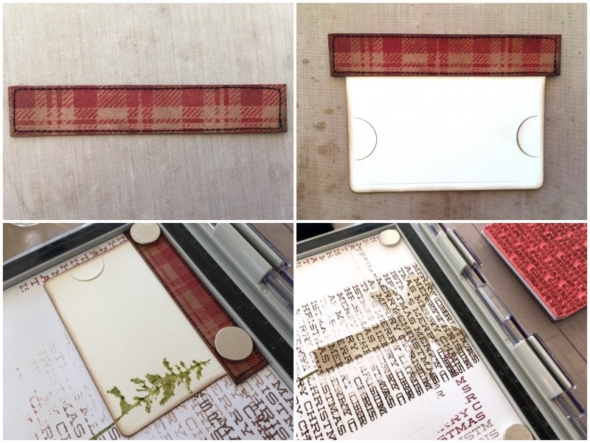
    Step 6: Follow steps 3 and 4 on the package topper, (the long kraft cardstock piece from step 1).
    Step 7: Adhere the package topper to the gift card insert with distress collage medium.
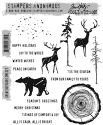
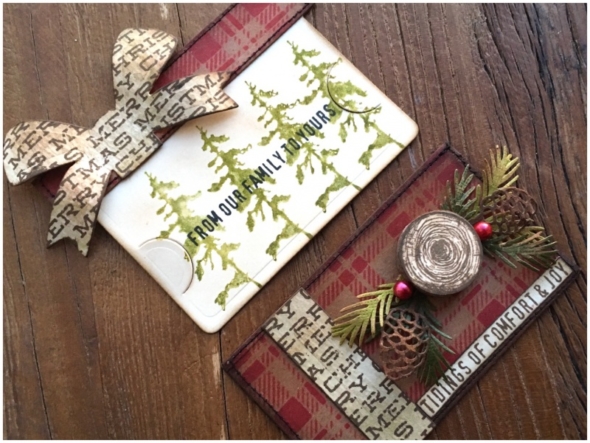
    Step 8: Place the gift card insert onto the Tim Holtz Tonic stamp platform and secure in place with magnets. Stamp the tree stamp from the Tim Holtz Stampers Anonymous great outdoors stamp set with peeled paint distress ink. Slide the insert to the right, keeping it butted up against the top and keep stamping.
    Step 9: Place the bow and ribbon die cuts onto the Tim Holtz Tonic stamp platform and adhere with a pin prick of distress collage medium. It will easily pull away afterwards and the magnets won’t get in the way. Stamp with the background stamp from Tim Holtz Stampers Anonymous sparkles and christmas stamp set.
    iGirlZoe: Tidings of Comfort and Joy
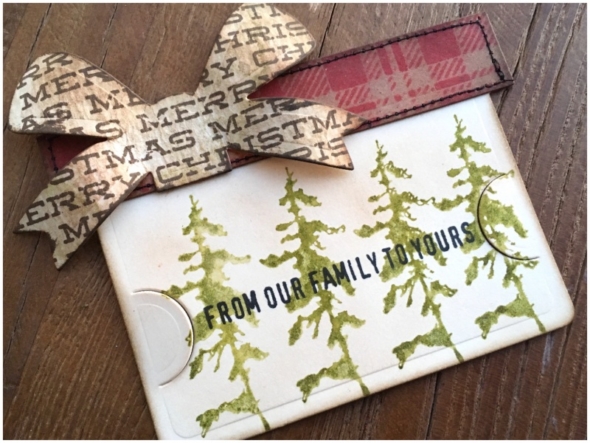
    Step 10: Stamp a sentiment over the trees. This will be hiding under the gift card for the recipient. You could add “congratulations” – “thank you” – “happy birthday” – “happy anniversary” for a non holiday gift card holder.
    iGirlZoe: Tidings of Comfort and Joy
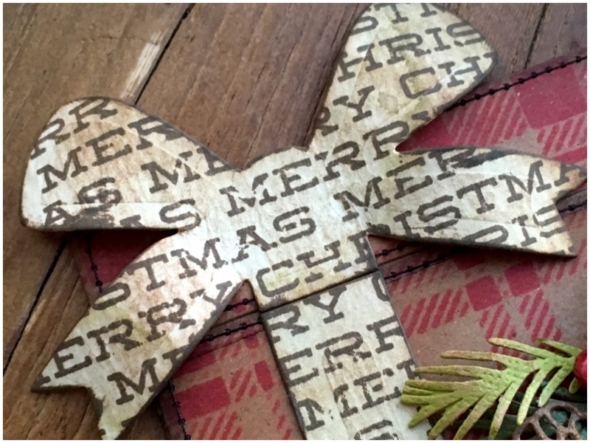
    Step 11: Line up the ribbon with the bow and glue the ribbon onto the pocket with distress collage medium.
    iGirlZoe: Tidings of Comfort and Joy
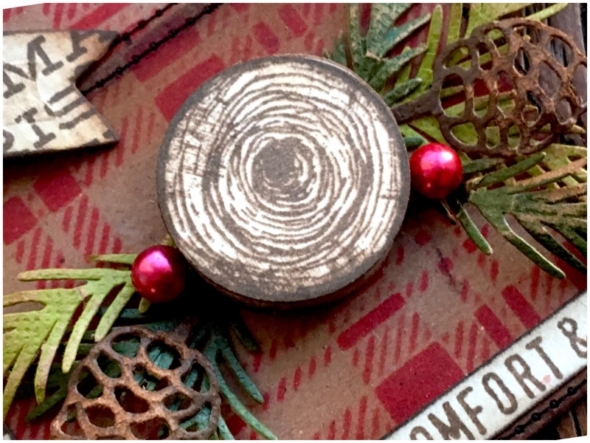
    Step 12: To decorate the pocket, I stamped the wood slice from the great outdoors stamp set and used a 3/4 inch paper punch to punch the center and adhered to a wood slice with distress collage glue. Die cut greens from classic kraft stock with the Tim Holtz Sizzix festive greens thinlits set. Add idea-ology baubles dyed with red pepper alcohol ink.
    iGirlZoe: Tidings of Comfort and Joy
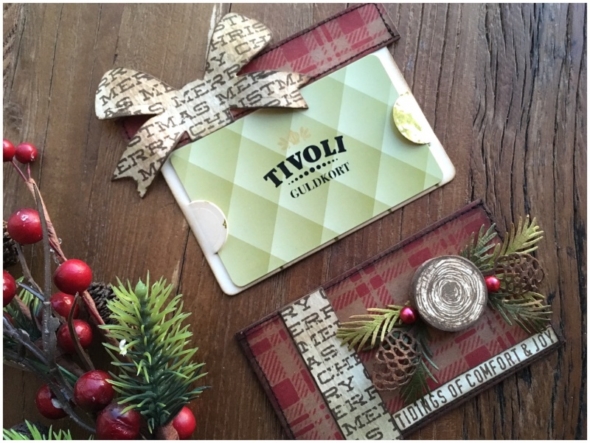
    Step 13: Bend up the tabs on the gift card insert very slightly.
    iGirlZoe: Tidings of Comfort and Joy
    Step 14: Slide your gift card in from the bottom.
    iGirlZoe: Tidings of Comfort and Joy
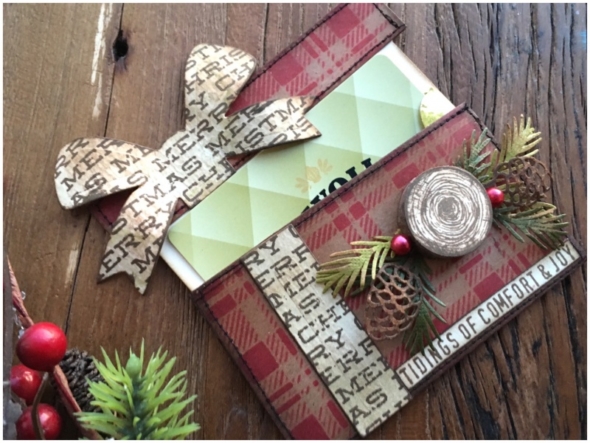
    Step 15: Push the insert into the pocket and you’re done.
    iGirlZoe: Tidings of Comfort and Joy
    Thanks for stopping by. I will be back with my final project for the holiday inspiration series on Friday. Hope you have a great week.

    Cheers
    Zoe x


  8. Holiday Gift Card Holder

    1st December, 2017 by iGirlZoe

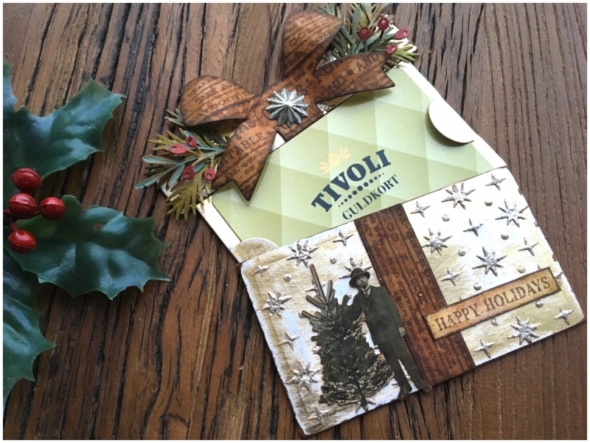
    Hello friends. With December here, like many of you I am getting ready to celebrate Christmas and have been making cards and buying gifts and gift cards. I wanted to share this gift card holder I made for the Tim Holtz holiday inspiration series. Follow Tim on instagram and facebook to see inspiration throughout November and December. You can catch up with all the inspiration so far in week 1, week 2, week 3 and week 4.

    iGirlZoe: Holiday Gift Card Holder
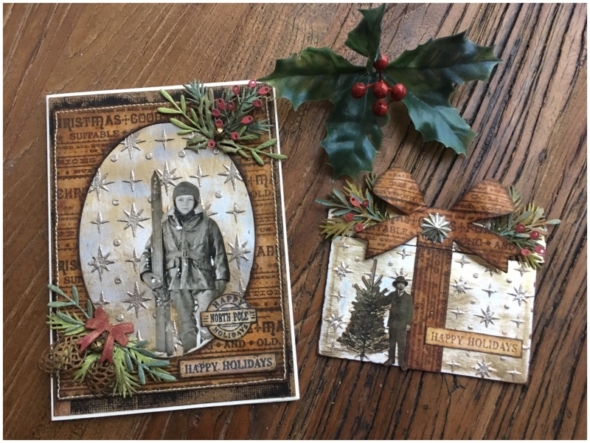
    Giving a gift card can seem less personal than an actual gift, so why not make it personal by making a gift card holder. I created this one using the products and techniques from my oh starry night card, with the addition of the Sizzix gift card package thinlits die.

    iGirlZoe: Holiday Gift Card Holder
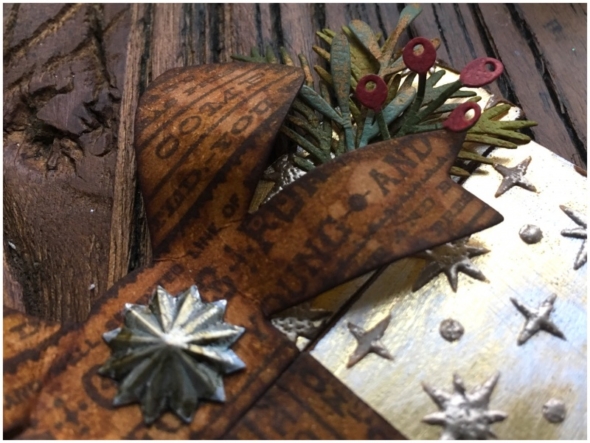
    I die cut the package base from metallic kraft stock and the bow and ribbon from distress mixed media heavystock. You can see how the background was created HERE.

    iGirlZoe: Holiday Gift Card Holder
    I added festive greens under the bow, like on the matching card. I adhered an idea-ology fluted star in the center of the bow which I aged with picket fence distress paint and mushroom alcohol ink.

    iGirlZoe: Holiday Gift Card Holder
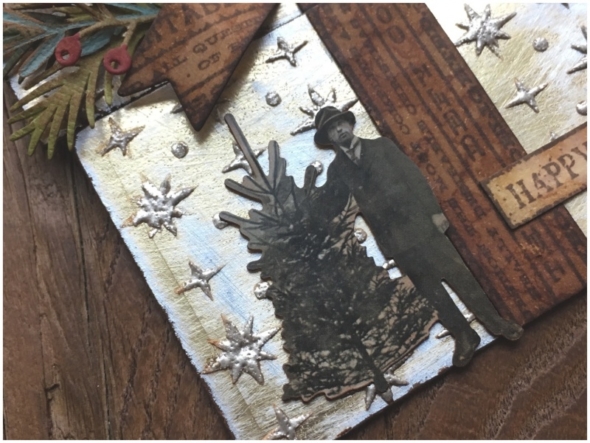
    Again, I wanted to mirror the products and techniques from the card, so I chose one of the smaller Christmas paper dolls. This one just seemed to fit, I blended in some vintage photo distress ink to take away the white edges and adhered with distress collage medium.

    iGirlZoe: Holiday Gift Card Holder
    I added a sentiment from the Stampers Anonymous holiday postmarks stamp set and slid my gift card into place.

    iGirlZoe: Holiday Gift Card Holder
    You could tuck the gift card holder inside the card, but I feel like the gift card holder could do with it’s own box… I will definitely make some more of these, and not just for Christmas!

    Thanks for stopping by. I am excited to be doing December Daily this year for the first time using my handmade album. I’ll be sharing my pages on instagram. Hope you have a great weekend and I’ll back back here on Monday.

    Cheers
    Zoe x


  9. O’ Christmas Tree

    29th November, 2017 by iGirlZoe

    Hello again. I’m back with some more festive fun for the Tim Holtz holiday inspiration series. Follow Tim on instagram and facebook to see inspiration throughout November and December. You can catch up with all the inspiration so far in week 1, week 2, week 3 and week 4.

    iGirlZoe: O Christmas Tree
    Firstly I must apologise for the low quality photo. It was shot in low light because in Scandinavia, it’s pretty much low light until March 2018!

    Dear Santa, please could you bring some studio lights or relocate us to Arizona… 😉

    iGirlZoe: O Christmas Tree
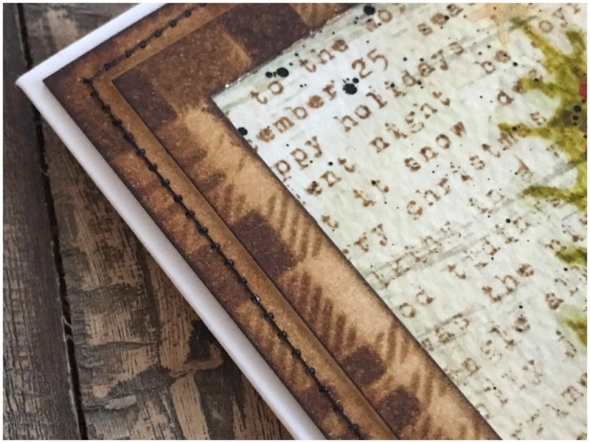
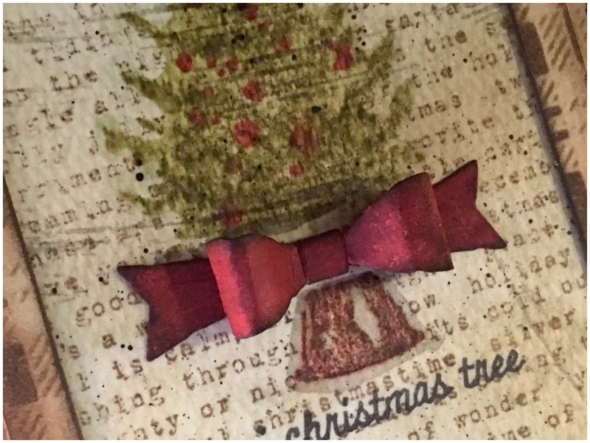
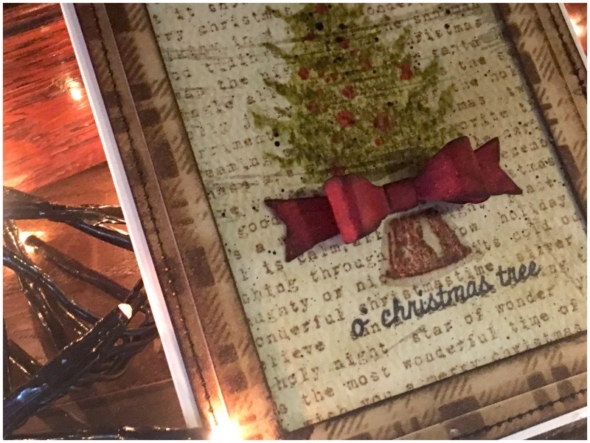
    I wanted to play around with the idea-ology tissue wrap and create a book page style background. I used an older Stampers Anonymous background stamp set (CMS281) ‘stripes and holiday type’ to create the text. The frame is cut twice from heavystock with the Sizzix stitched rectangle thinlits die, which I stenciled with the mini plaid stencil and stitched.

    iGirlZoe: O Christmas Tree
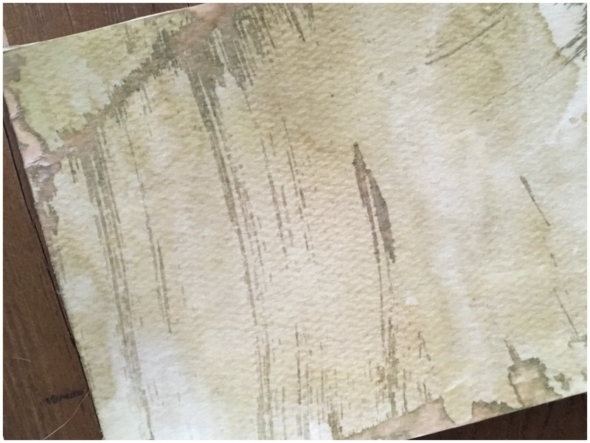
    I covered distress mixed media heavystock with distress collage medium and immediately covered with plain tissue wrap. Once dry, I trimmed the edges and sprayed frayed burlap distress spray stain onto my non stick craft mat and dragged the heavystock through. I spritzed with water and dried with a heat tool. The glue, creased tissue wrap and distress stain created this cool worn/aged effect!

    iGirlZoe: O Christmas Tree
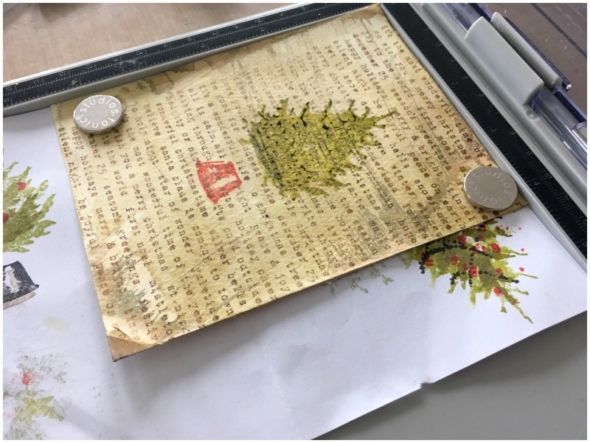
    I used my Tonic stamp platform by Tim Holtz to do all the stamping on this card with the Stampers Anonymous stamp set (CMS31&) ‘watercolor trees’ by Tim Holtz. You will see from the scrap paper that I had a few practice stamps first. As someone who likes straight lines, this stamp platform is a total game changer!!

    iGirlZoe: O Christmas Tree
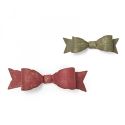
    I added a bow die cut from the Sizzix fold-up bows thinlits set from heavystock and sprayed with fired brick distress spray stain. I edged the bow with walnut stain distress ink and adhered into place with distress collage medium.

    *SIDEKICK TIP: The small bow will just about fit on the sidekick platform from corner to corner. It does need a snip at each end with scissors to release the bow from the cardstock, but in a pinch, you could take the small bow with you on your travels with your sidekick.

    iGirlZoe: O Christmas Tree
    Thanks for taking the time to visit my blog and a special thanks to those of you who have left comments, I really appreciate it. I will be back on Friday, until then…

    Cheers
    Zoe x


  10. Oh Starry Night

    27th November, 2017 by iGirlZoe

    Hello! Is it just me, or is November flying by?! Today I’m sharing a card I made for the Tim Holtz holiday inspiration series. Follow Tim on instagram and facebook to see inspiration throughout November and December. You can catch up with all the inspiration so far in week 1, week 2, week 3 and week 4.

    iGirlZoe: Oh Starry Night
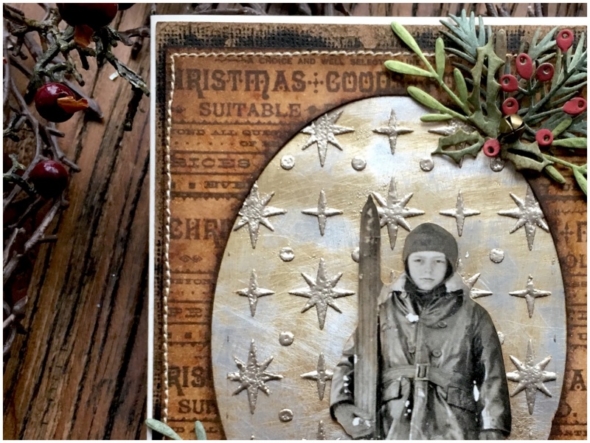
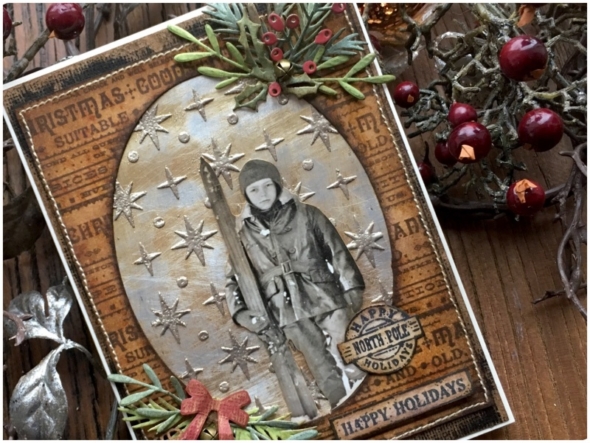
    Now to my card… I am ever so slightly in love with the new Stampers Anonymous starry stencil by Tim Holtz!

    iGirlZoe: Oh Starry Night
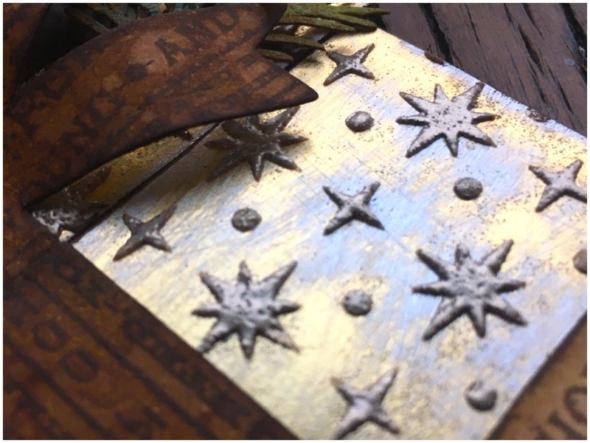
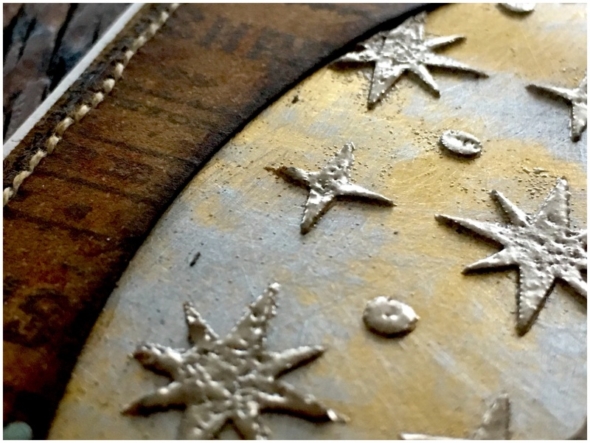
    I sanded a piece of idea-ology metallic kraft stock with a sanding grip. Placed the starry stencil over the top and spread texture paste through it. Removed the stencil, sprinkled embossing powder over the top and set aside to allow the texture paste to air dry, before melting the embossing powder with a heat tool.

    iGirlZoe: Oh Starry Night
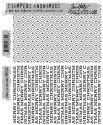
    Using the stitched oval die, die cut distress mixed media heavystock. Stamped with the text stamp from stampers anonymous christmas nostalgia stamp set, (one of my all time favourite Tim Holtz seasonal stamps)! Using the stamp platform it was simple to line up the strip stamp to continue the pattern down the frame.

    iGirlZoe: Oh Starry Night
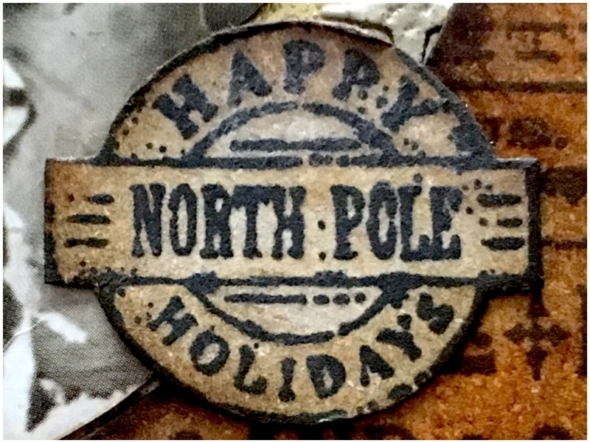
    I trimmed a christmas paper doll, postmark and holiday greeting, stamped from the stampers anonymous holiday postmarks stamp set and adhered it to the card with distress collage medium.

    **The christmas paper dolls are now sold out in most places but there are still some in stock HERE… but hurry!!**

    iGirlZoe: Oh Starry Night
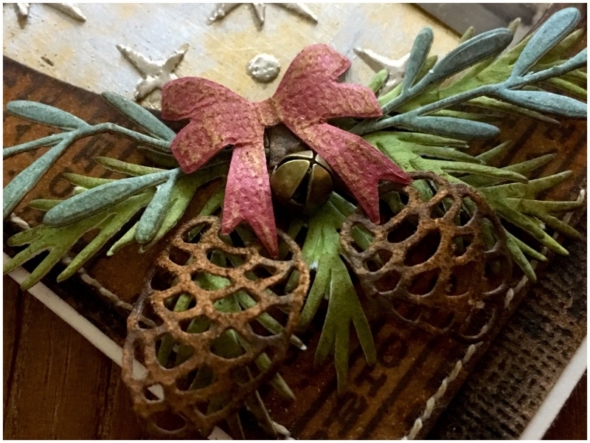
    Using the sidekick I die cut festive greens from distress mixed media heavystock that had been sprayed with distress spray stain. The pinecones were die cut from classic kraft stock, sanded and blended with vintage photo distress ink.

    iGirlZoe: Oh Starry Night
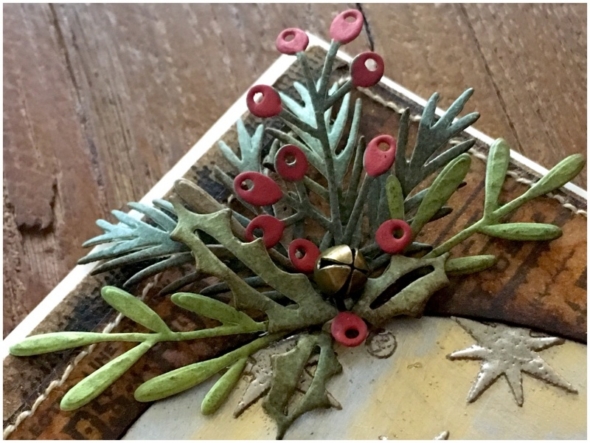
    I painted fired brick distress paint onto one of the die cut pieces to simulate berries and give a pop of colour. I also added bells from the idea-ology tiny bells pack, they even jingle when you move the card, (SWOON)!!

    iGirlZoe: Oh Starry Night
    Thanks for stopping by. I hope you’re taking some time to craft during the festive season and I’ll be back very soon…

    Cheers
    Zoe x