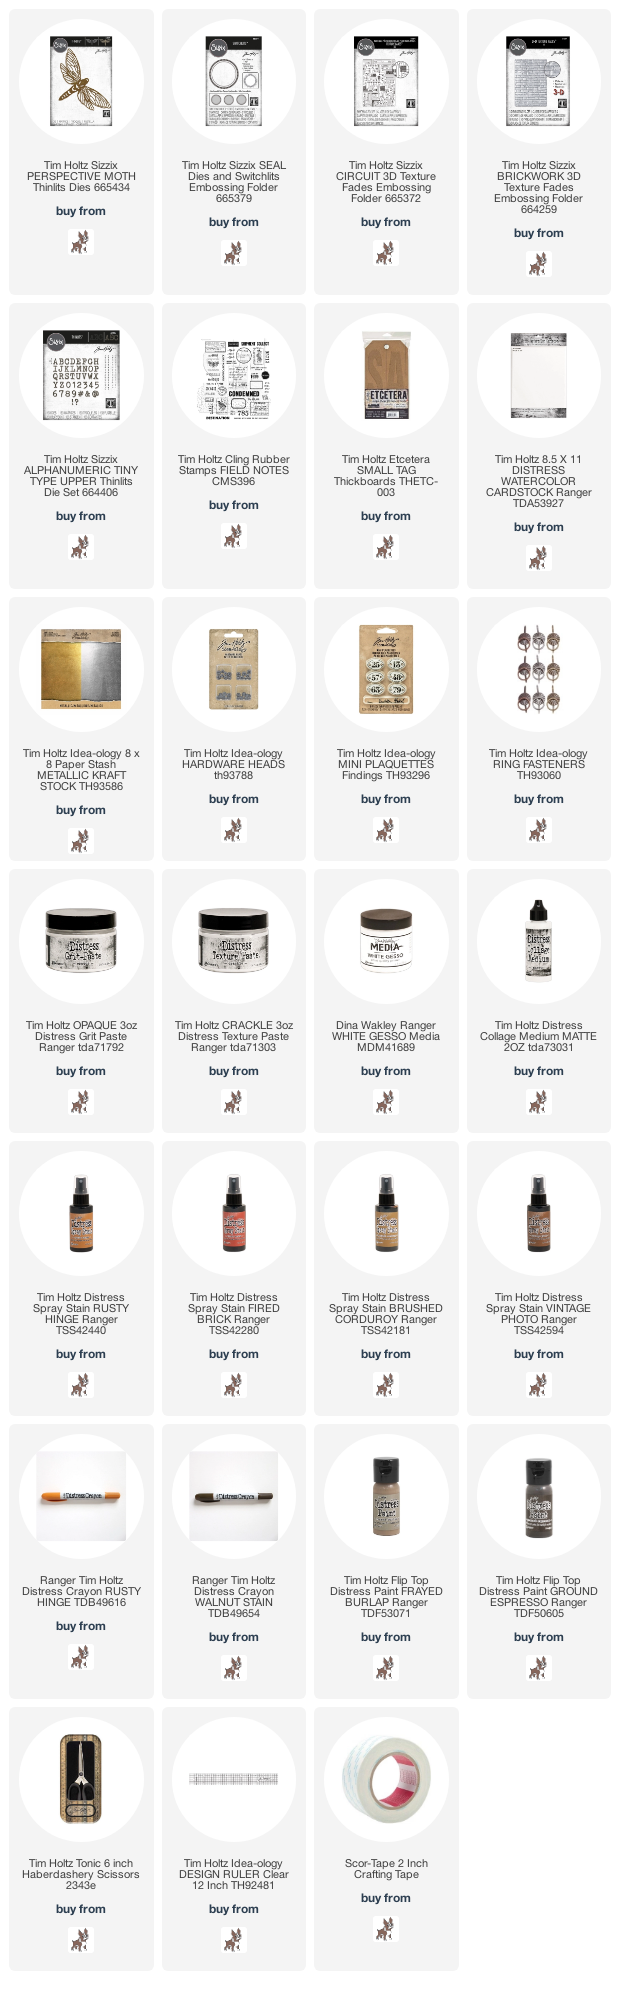
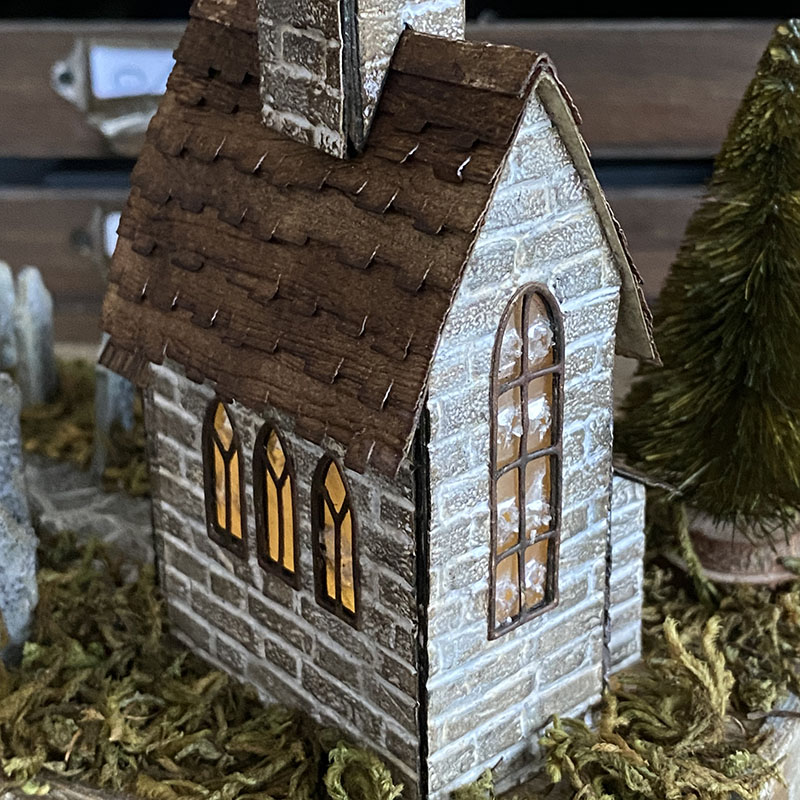
Hello friends! Happy Friday! I’m back today with a sample that I made for the Tim Holtz Sizzix Chapter 3 LIVE launch. If you haven’t seen it yet, you can catch up on all the fun over on Tim’s blog.
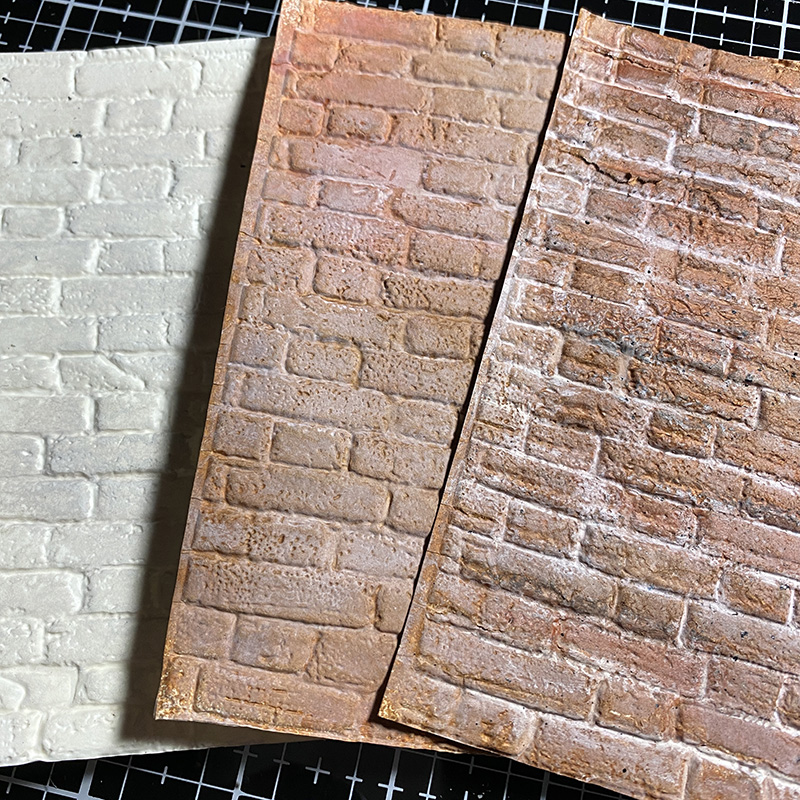
I want to say a big thank you for the amazing response and kind comments on my brickwork post. I hope you’ll try it out and I can’t wait to see all the different combinations you come up with.
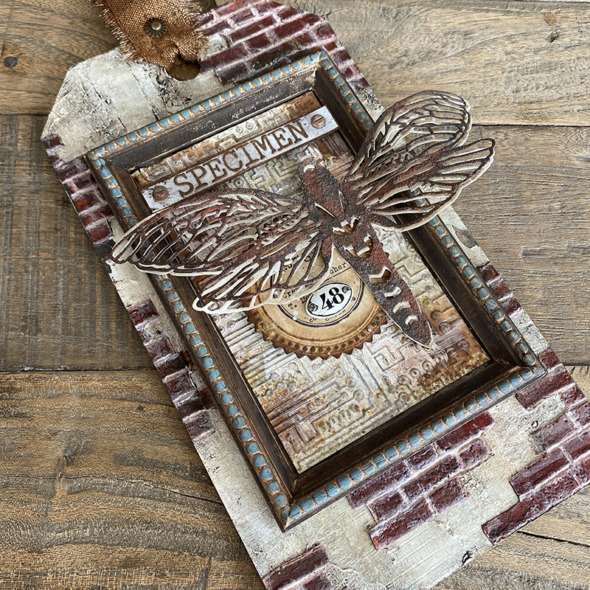
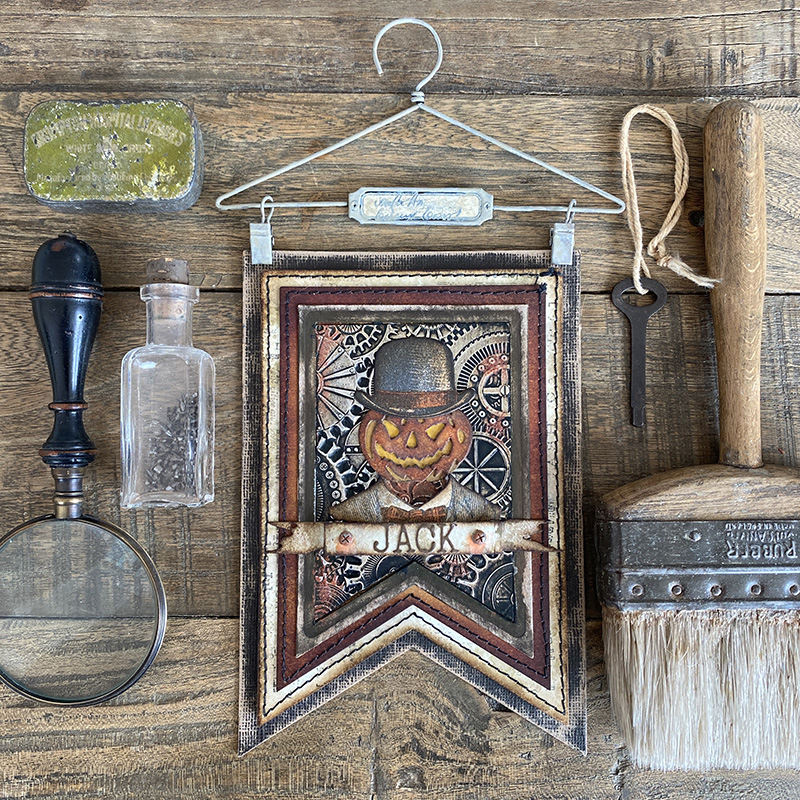
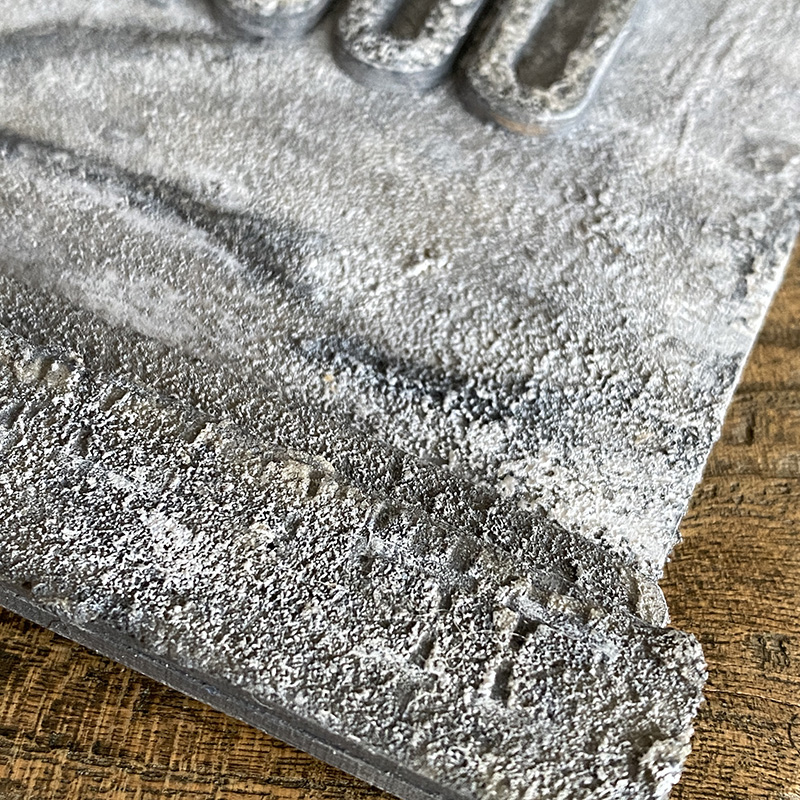
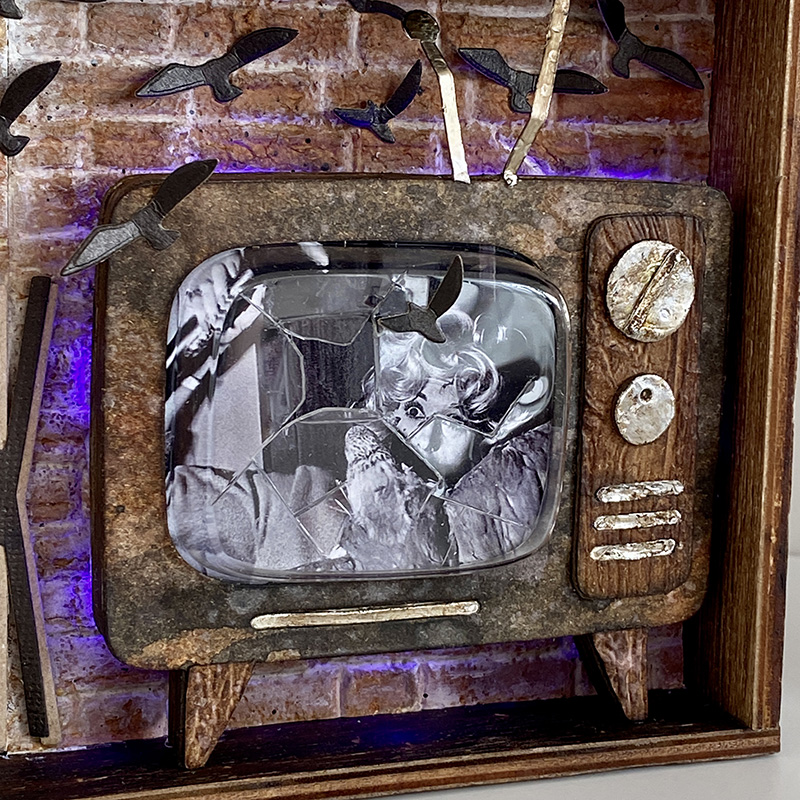
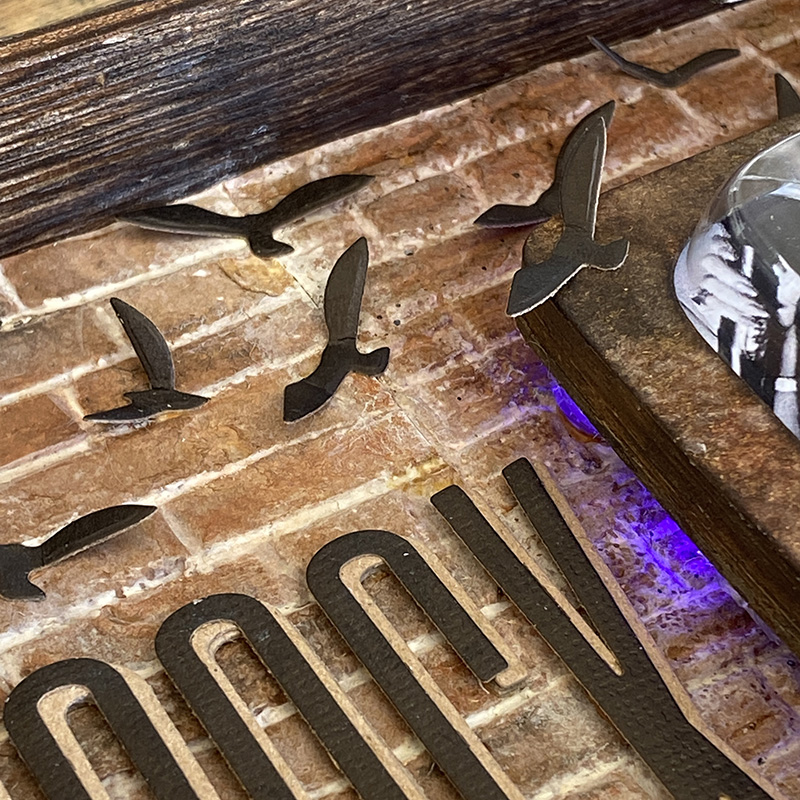
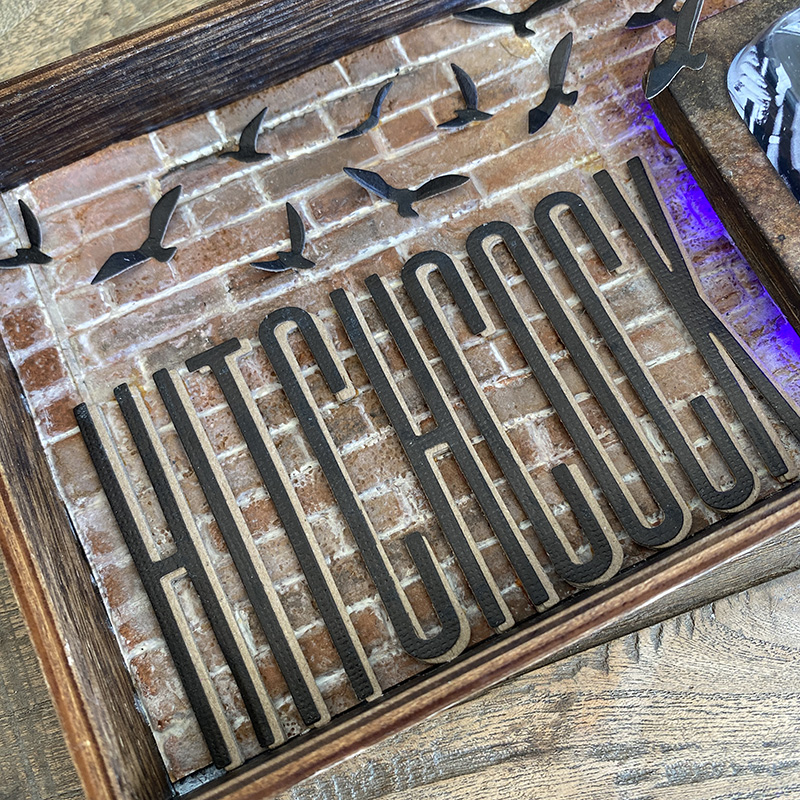
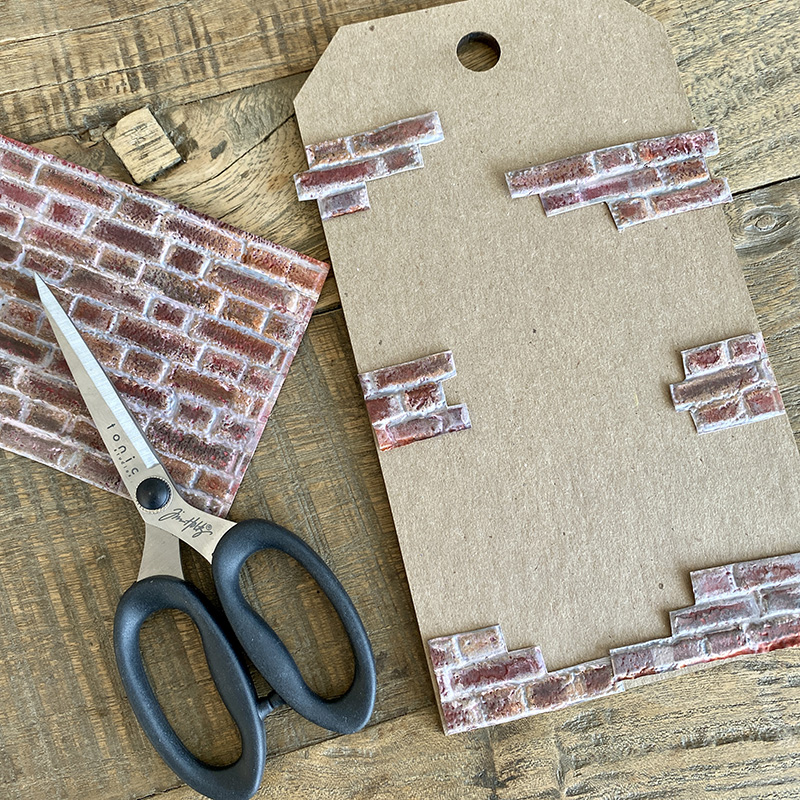
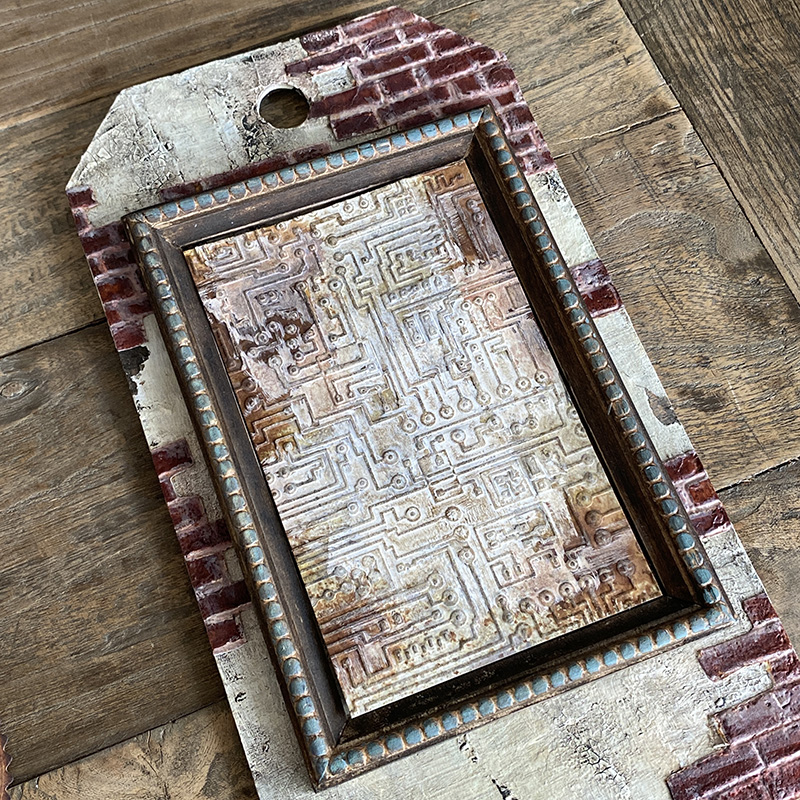
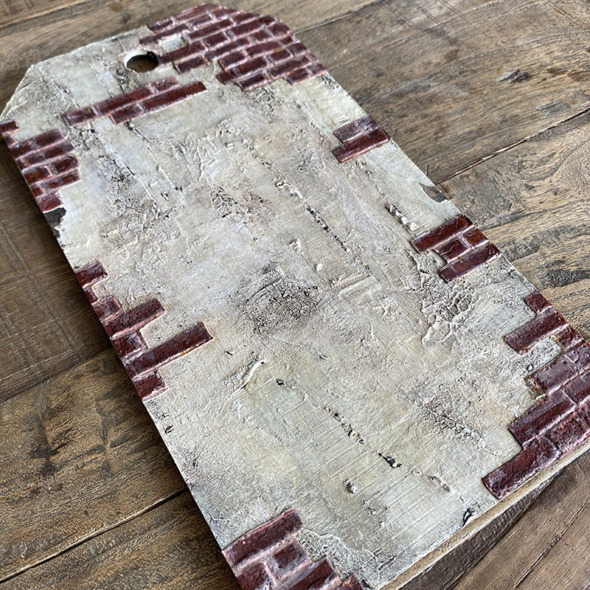
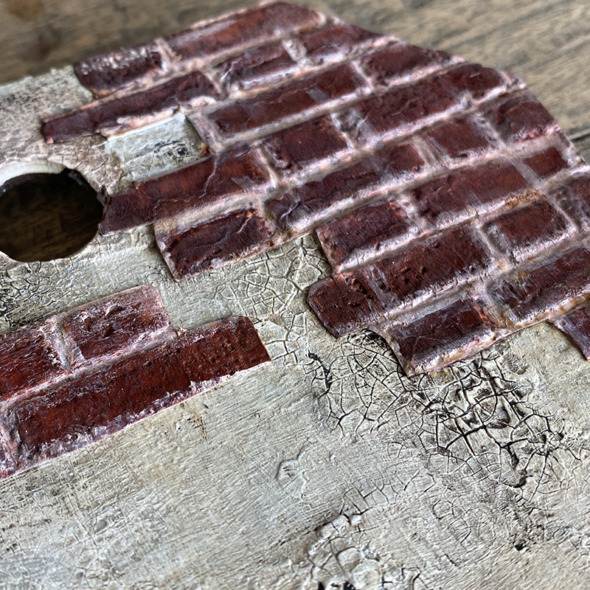
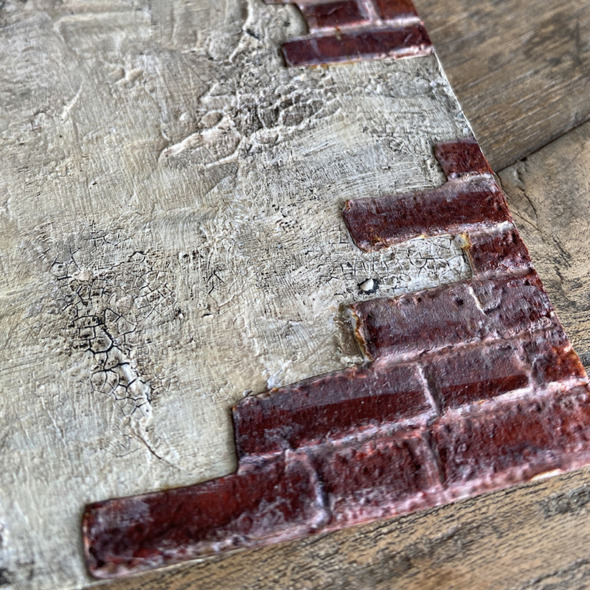
I took a brickwork background and cut it to create this exposed brick effect. I love the industrial look of this. Let’s get into the how to…
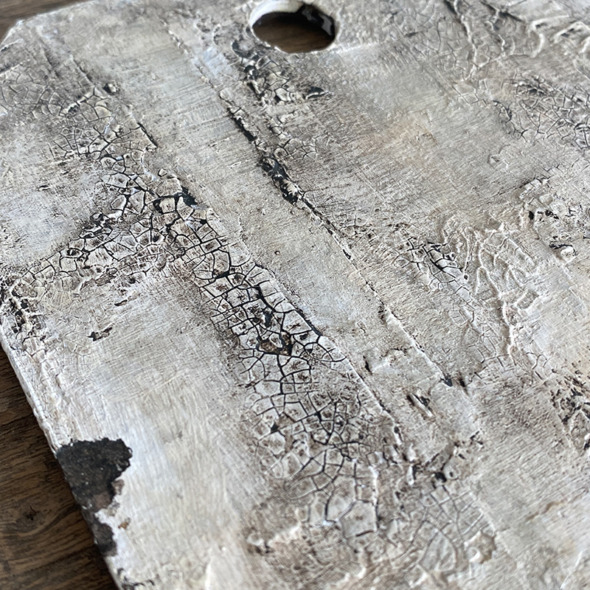
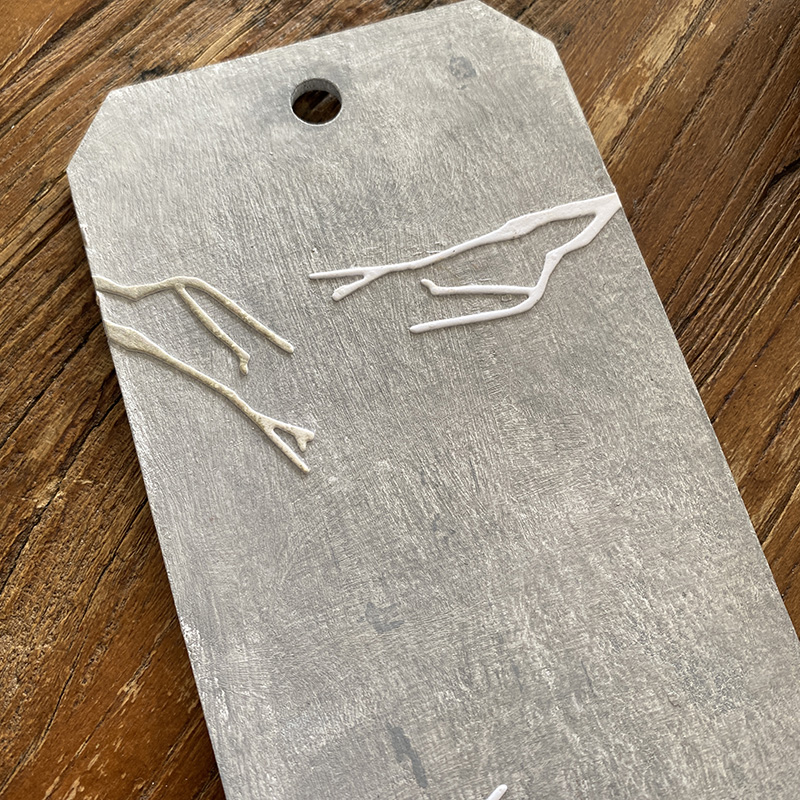
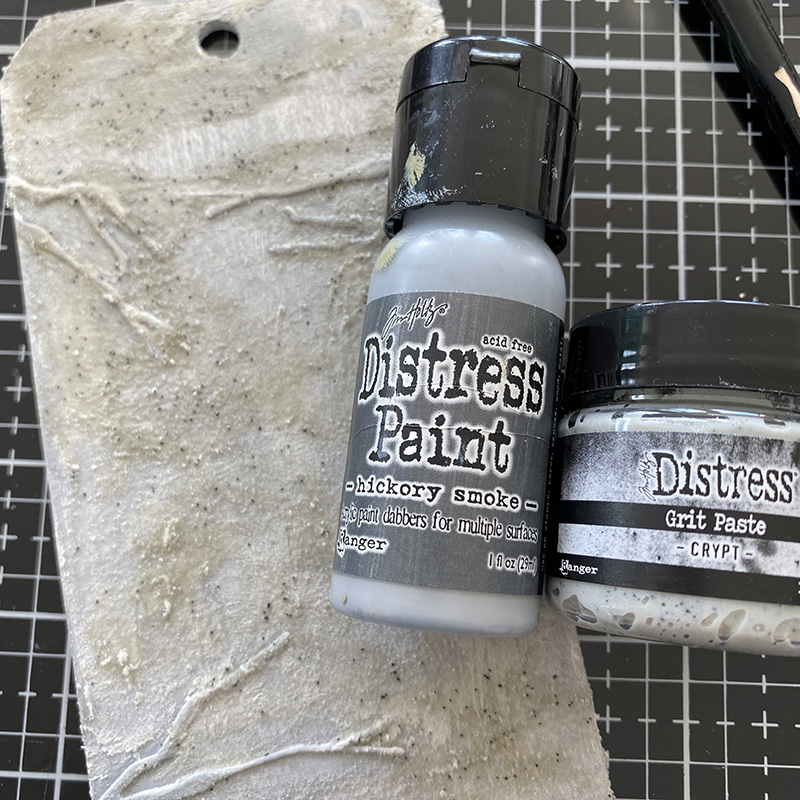
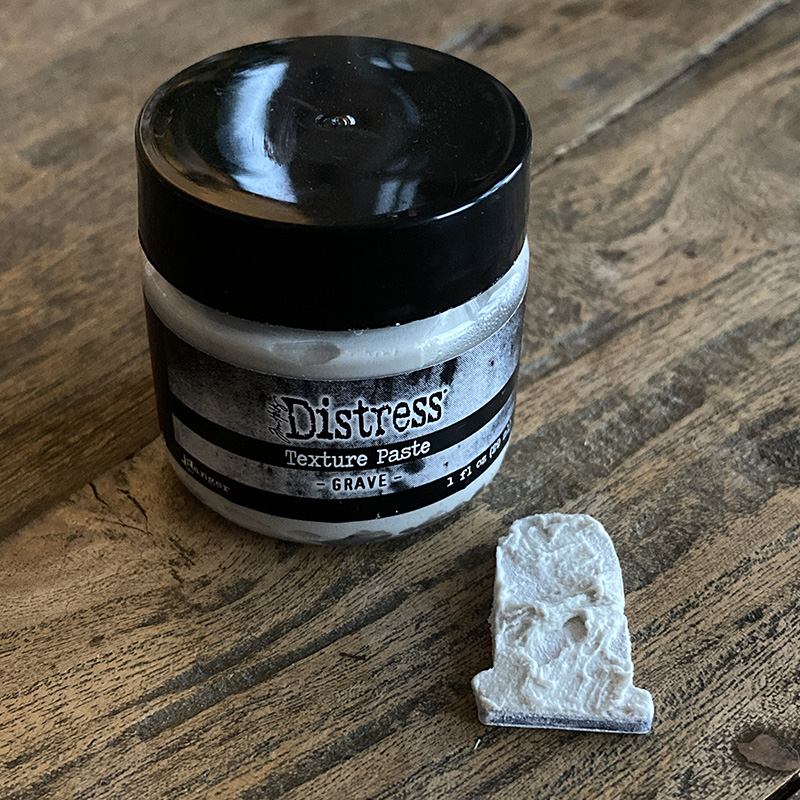
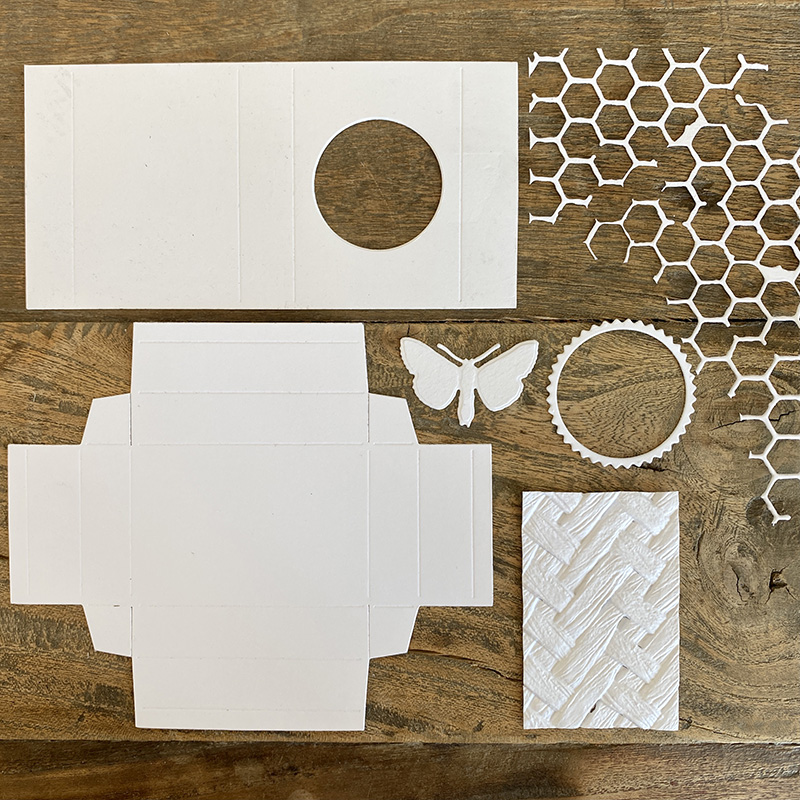
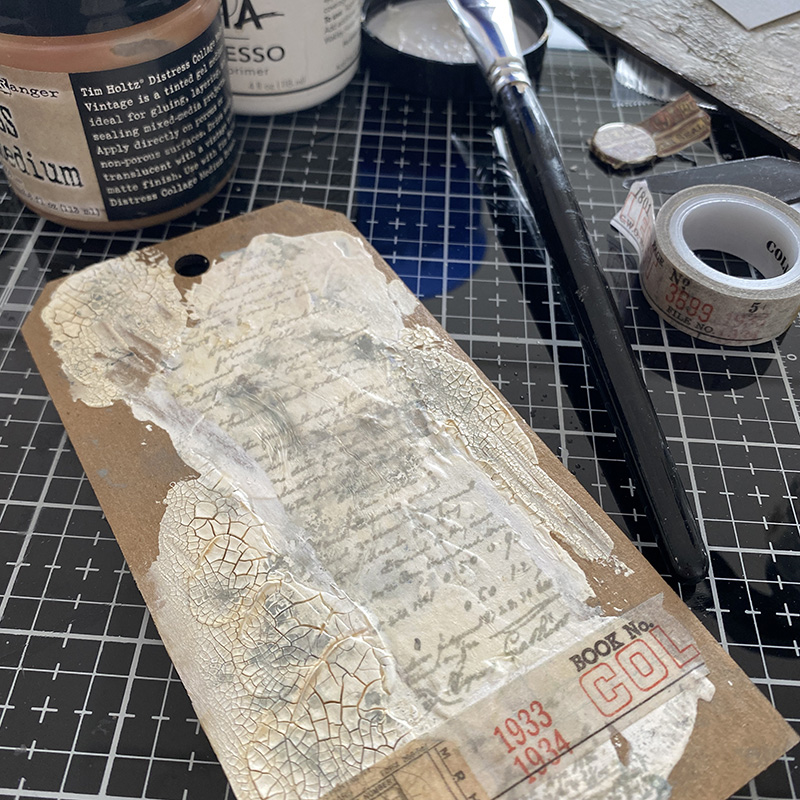
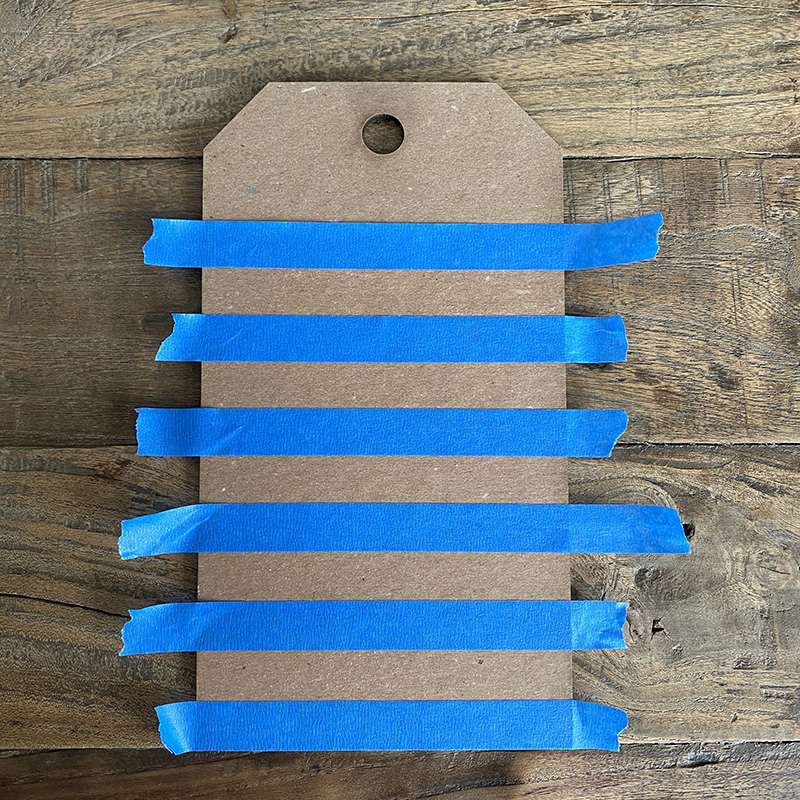
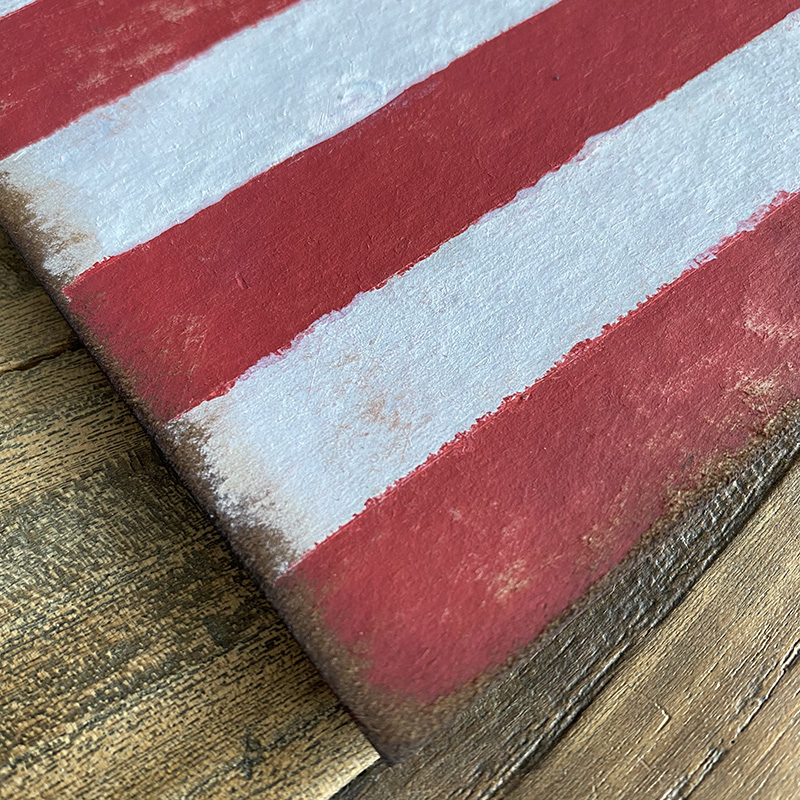
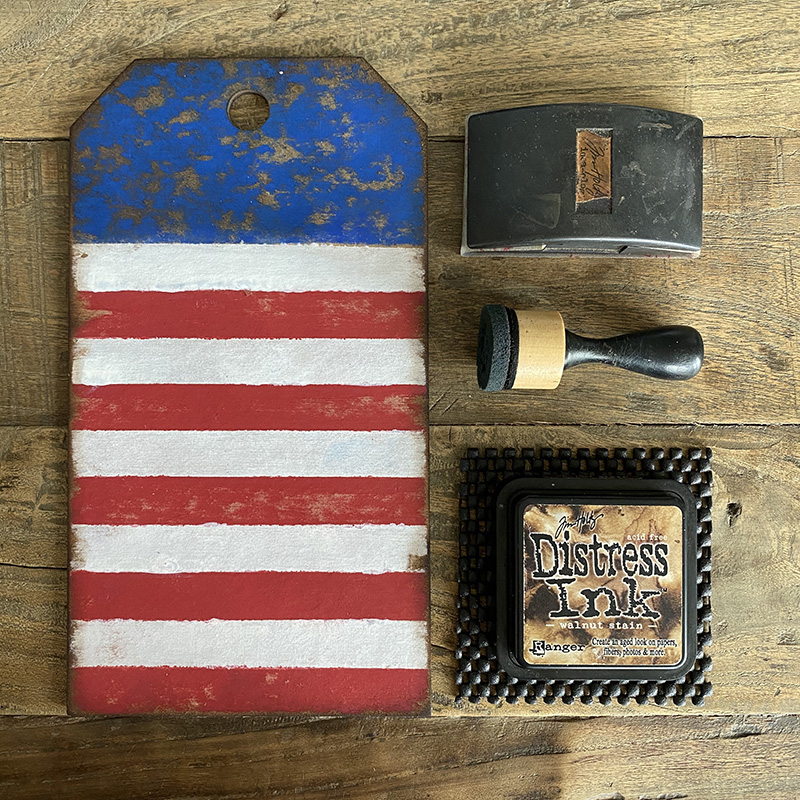
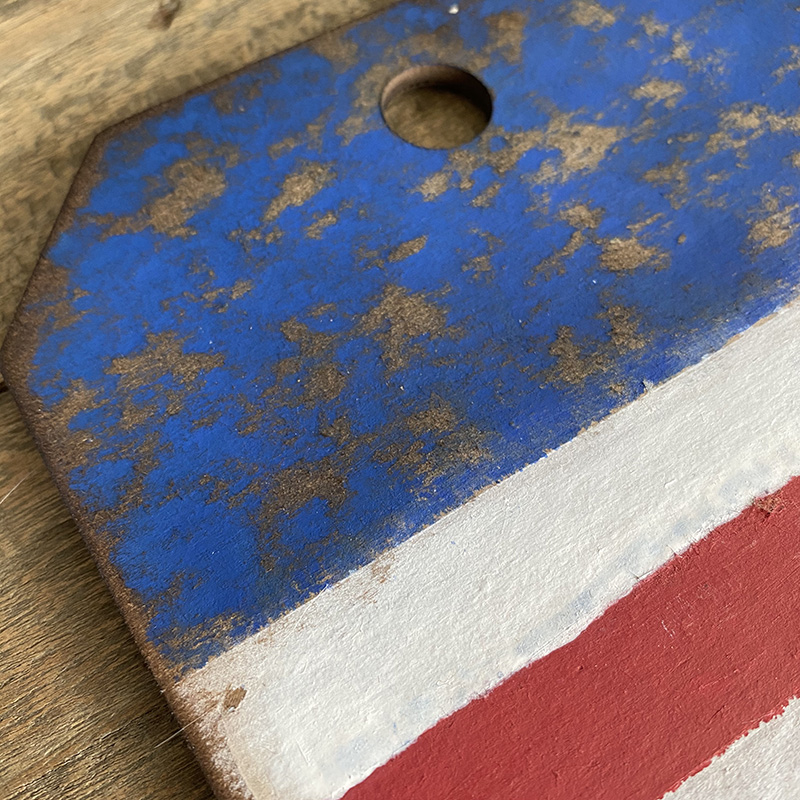
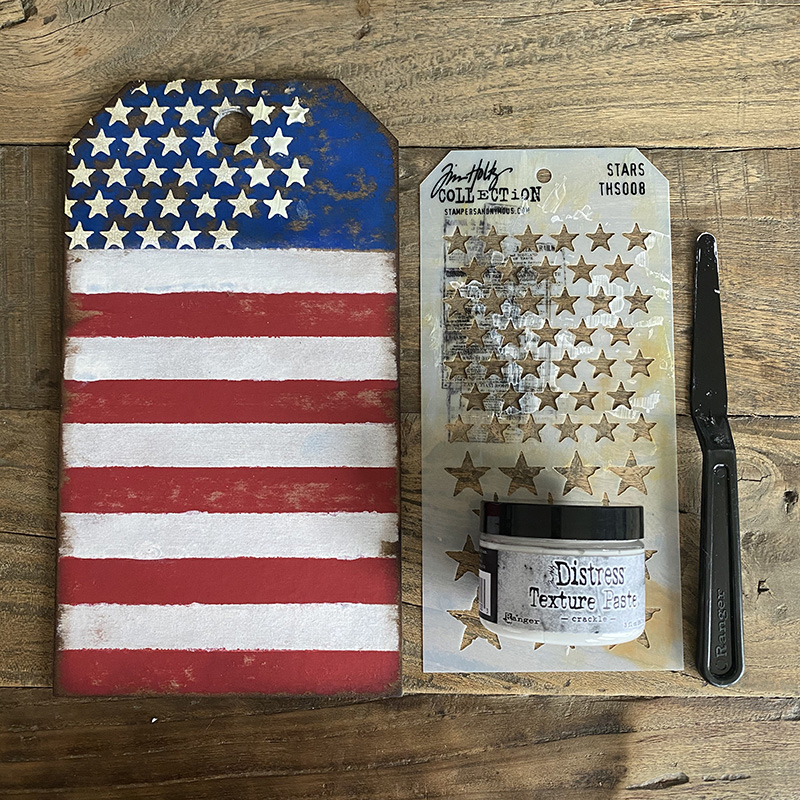
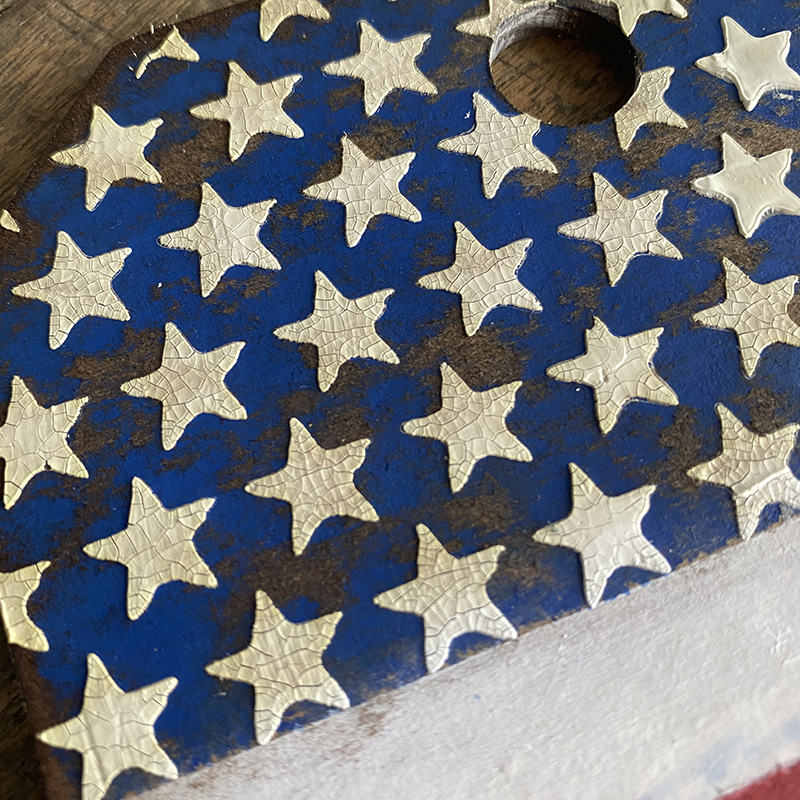
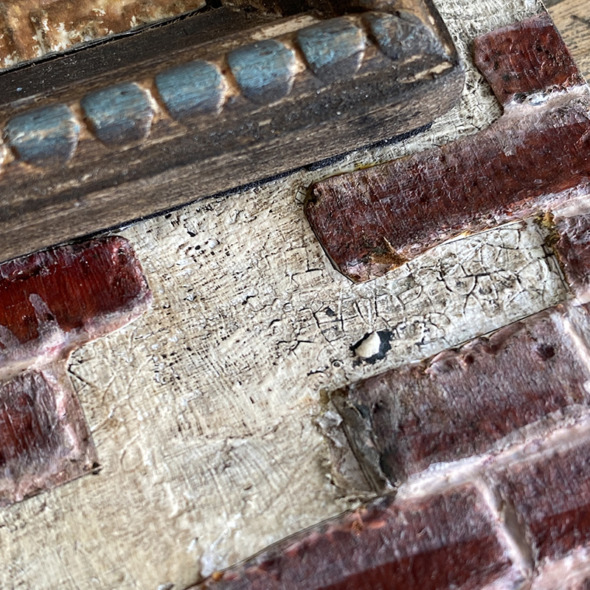
Cover a small thickboard etcetera tag with gesso and distress crackle texture paste and set aside to dry. Sand the edges and rub walnut stain distress crayon into the cracks. I did a “how to” for this on a previous blog post.
Once you are happy with your grunged up background, it’s time to add the brickwork pieces. Tutorial below…

Follow the brickwork post to create a brickwork background. Cut pieces and strips with scissors and glue them onto your tag.
This concludes the cut brickwork tutorial. 😉
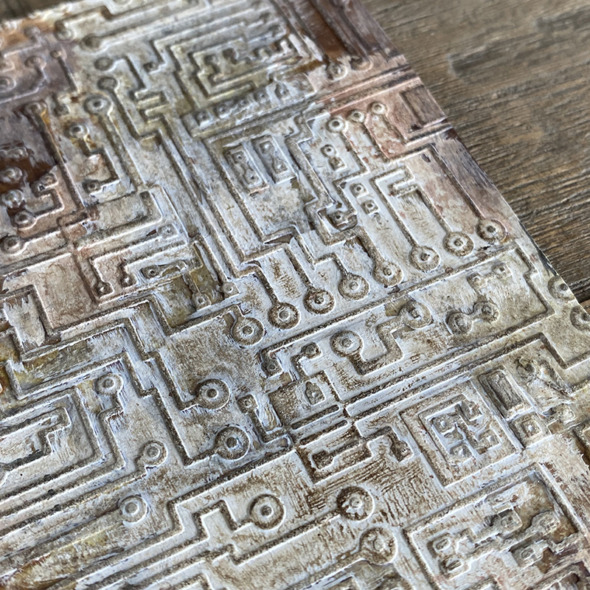
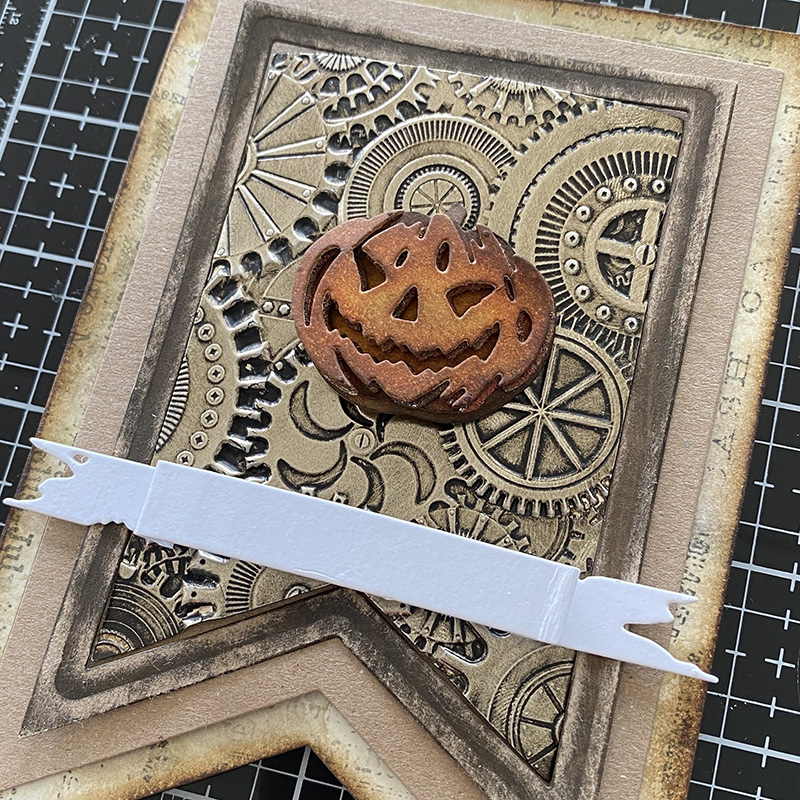
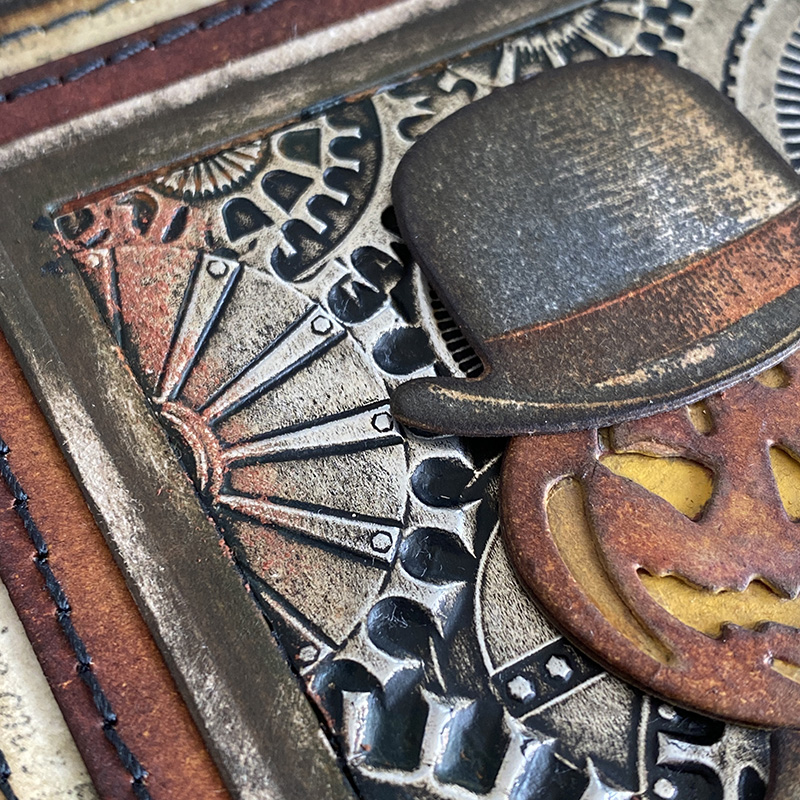
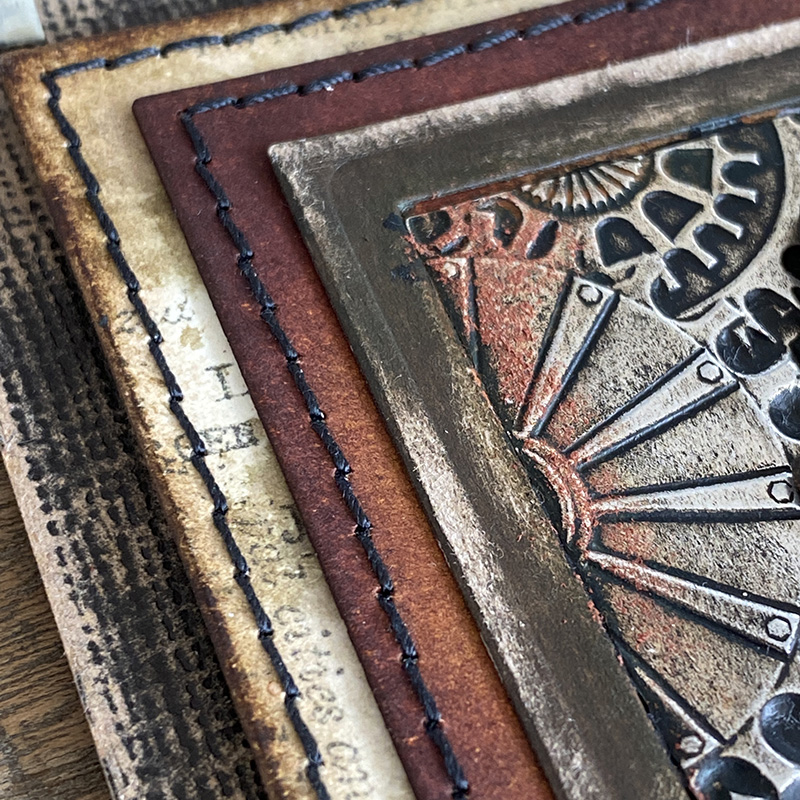
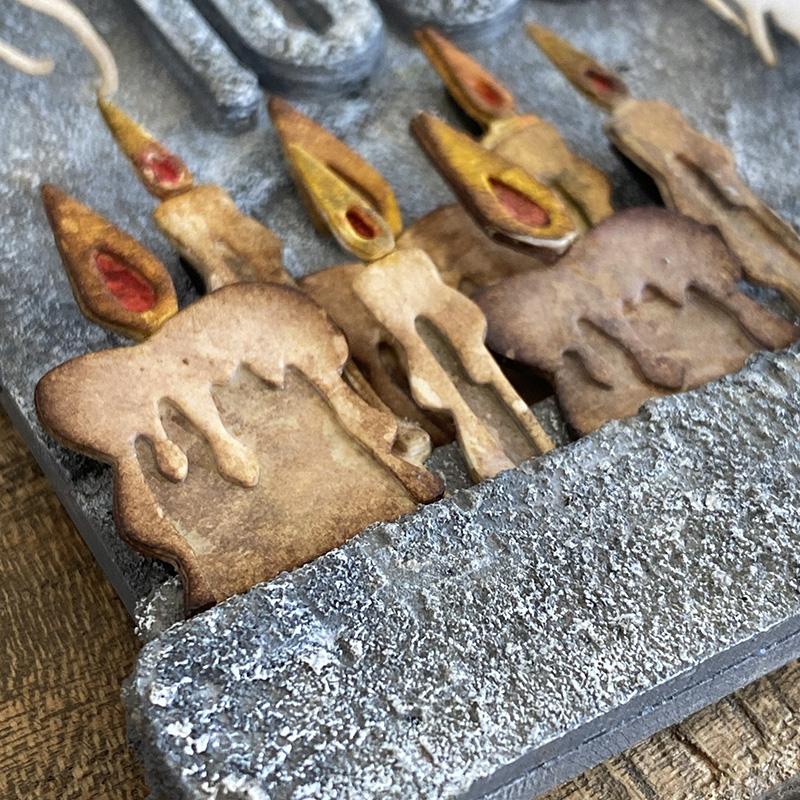
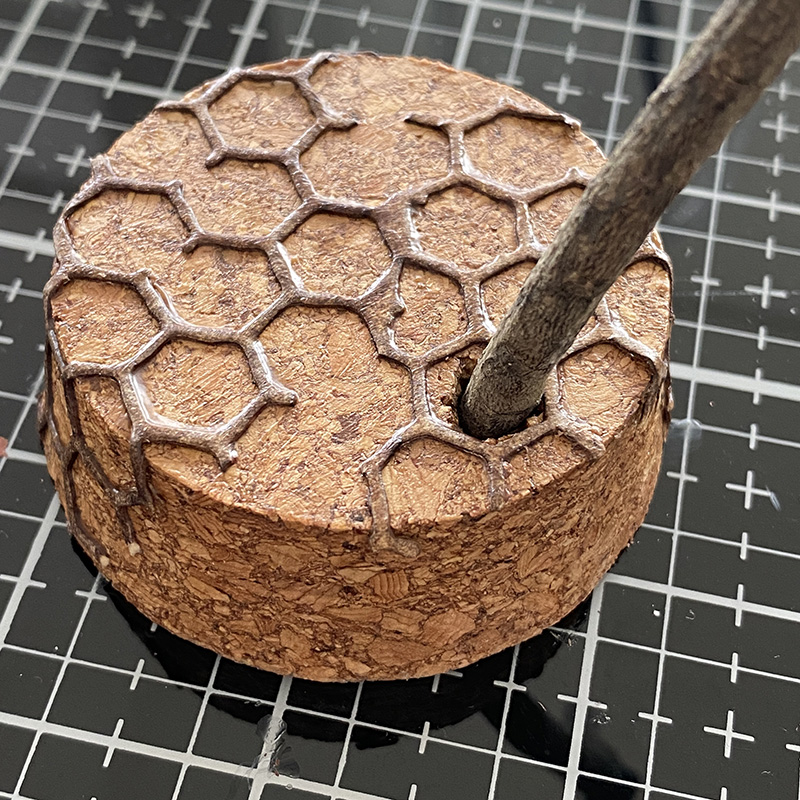
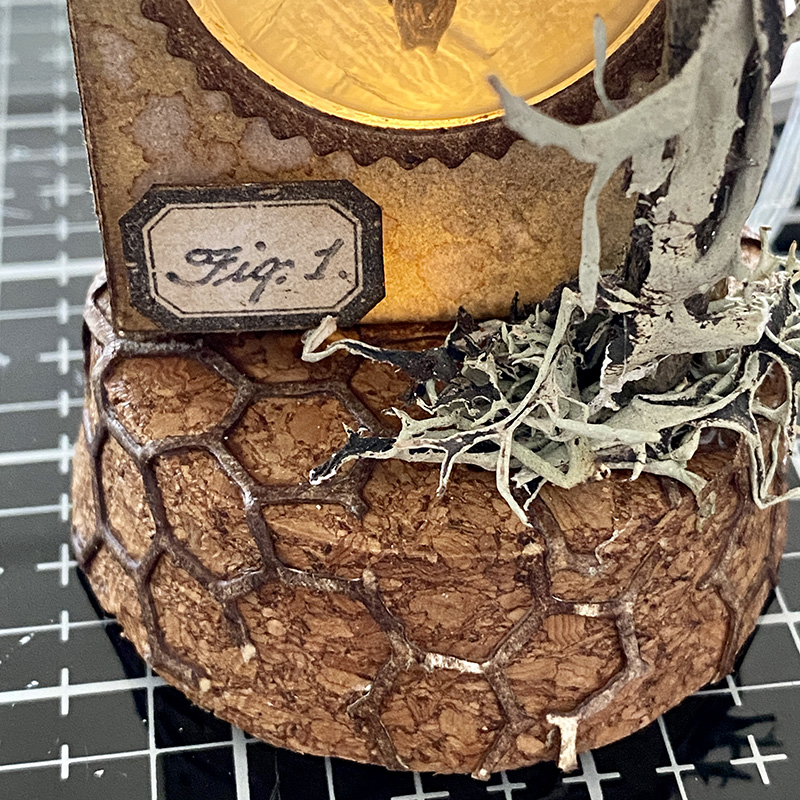
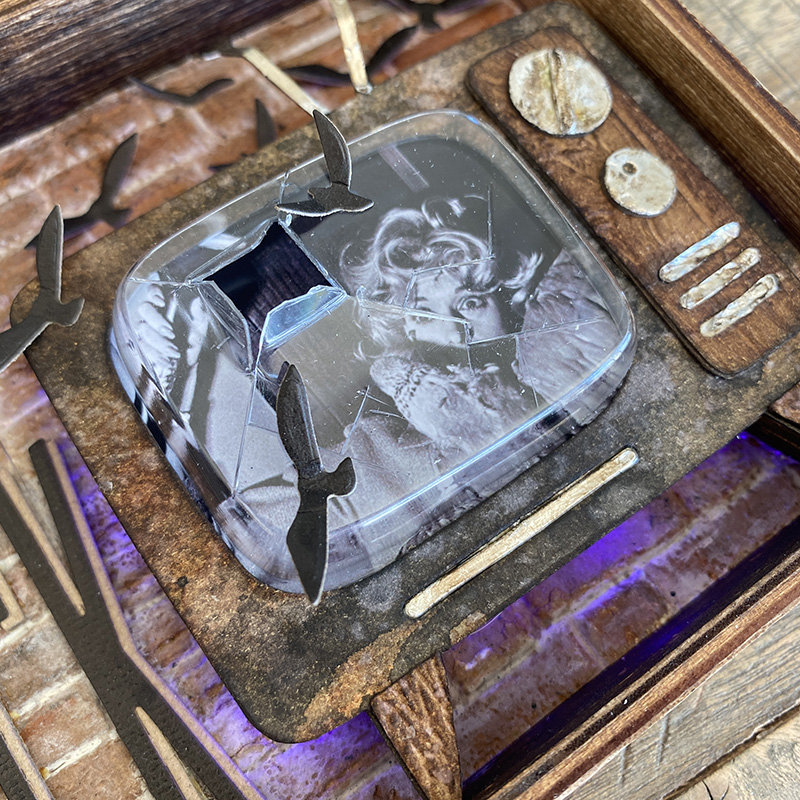
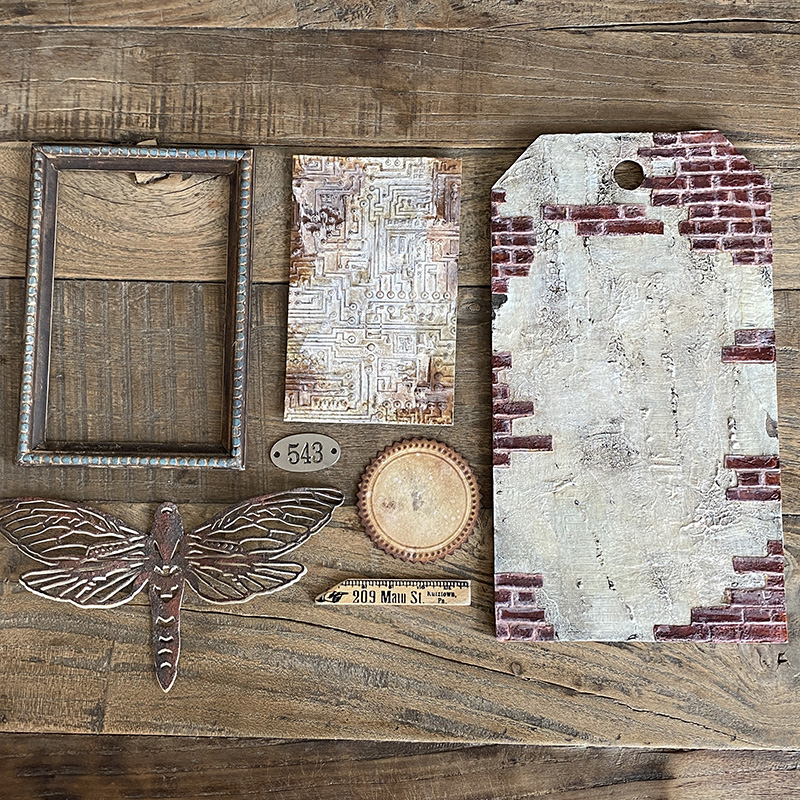
Using the circuit 3D embossing folder I embossed distress watercolor cardstock and covered with a layer of watered down white gesso. I dry brushed ground espresso distress paint over the top and added some distress spray and let it wick through the embossed detail.
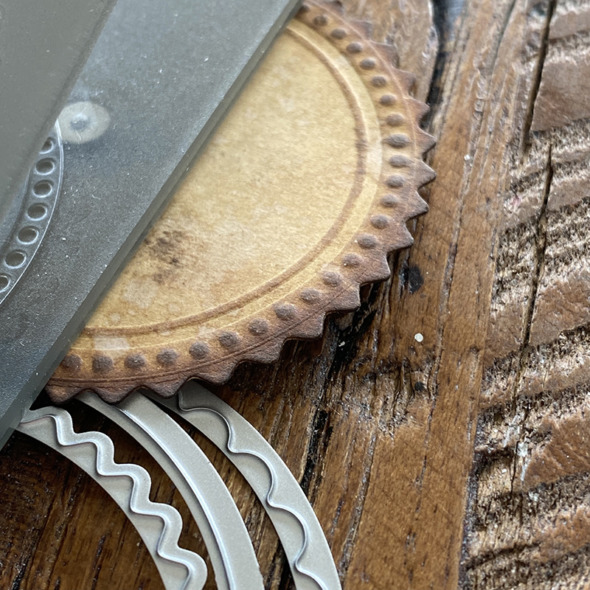
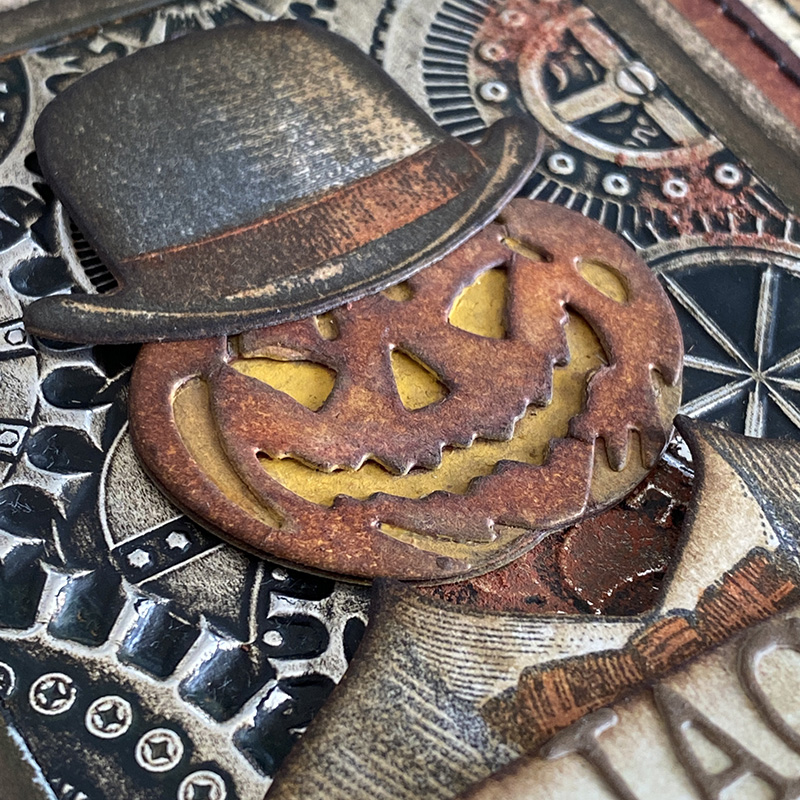
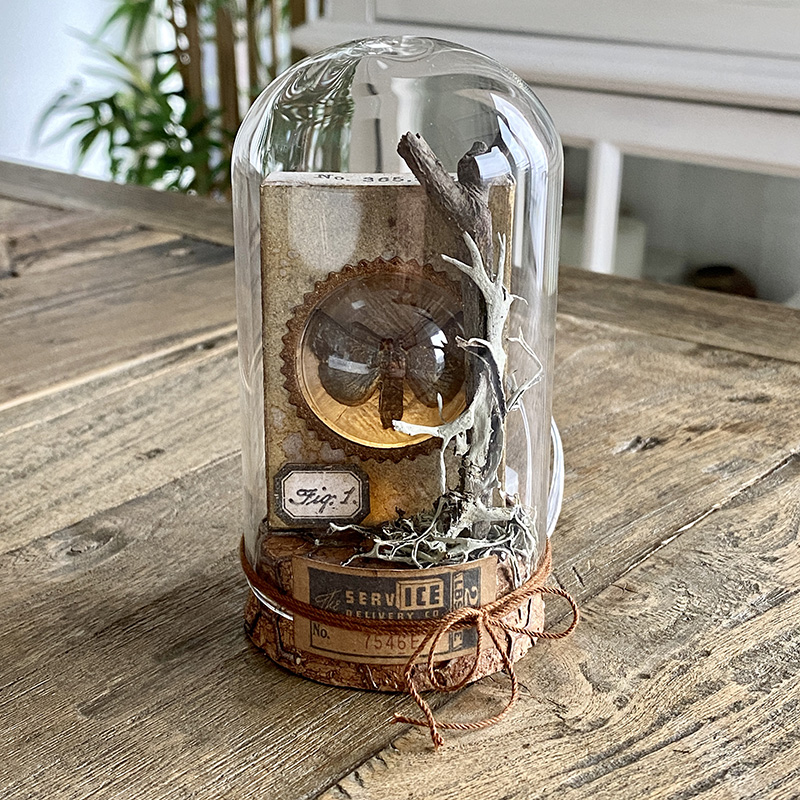
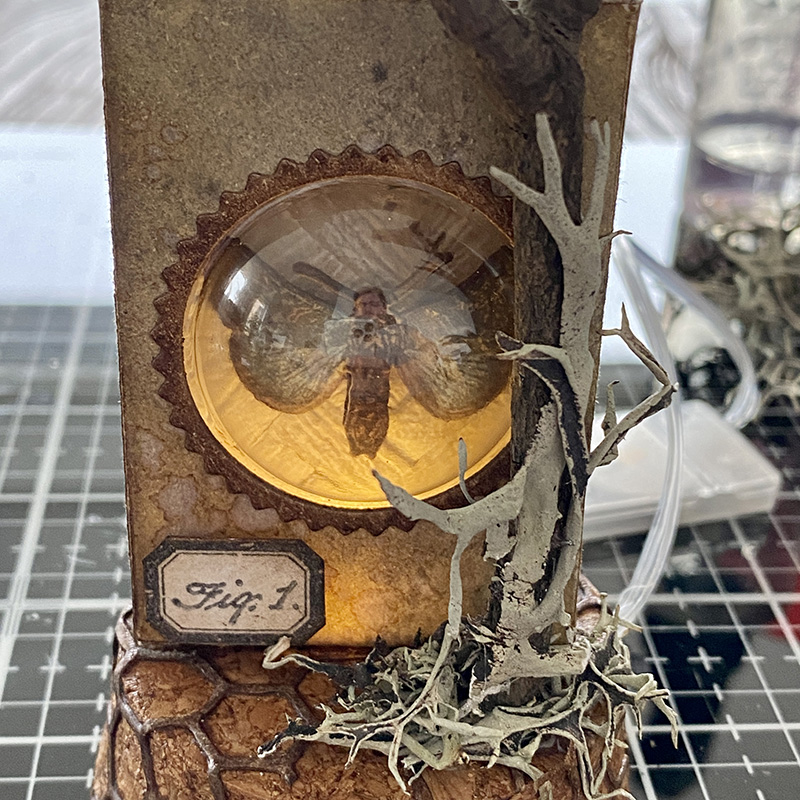
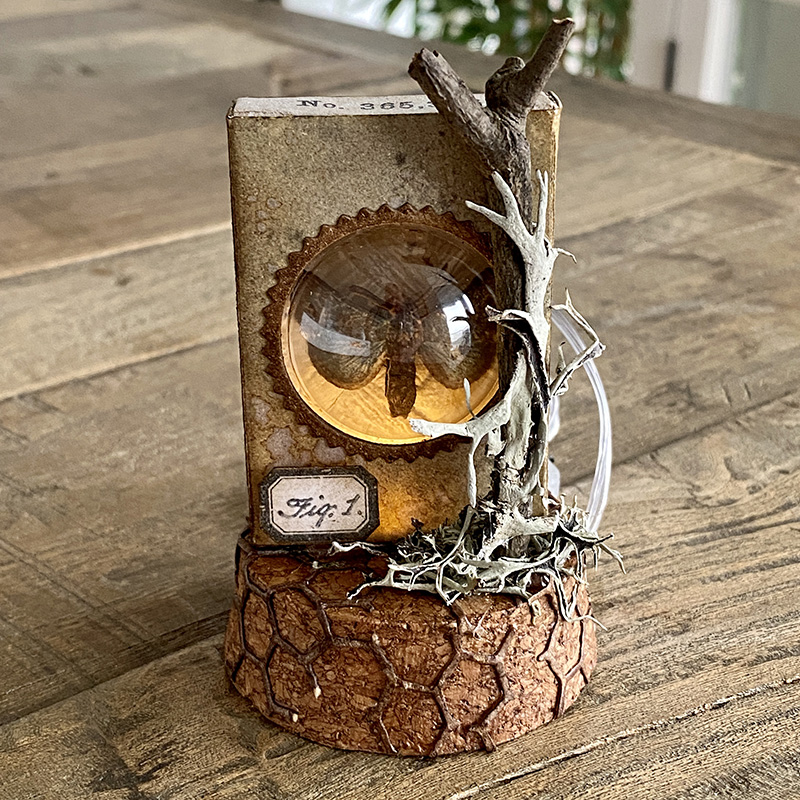
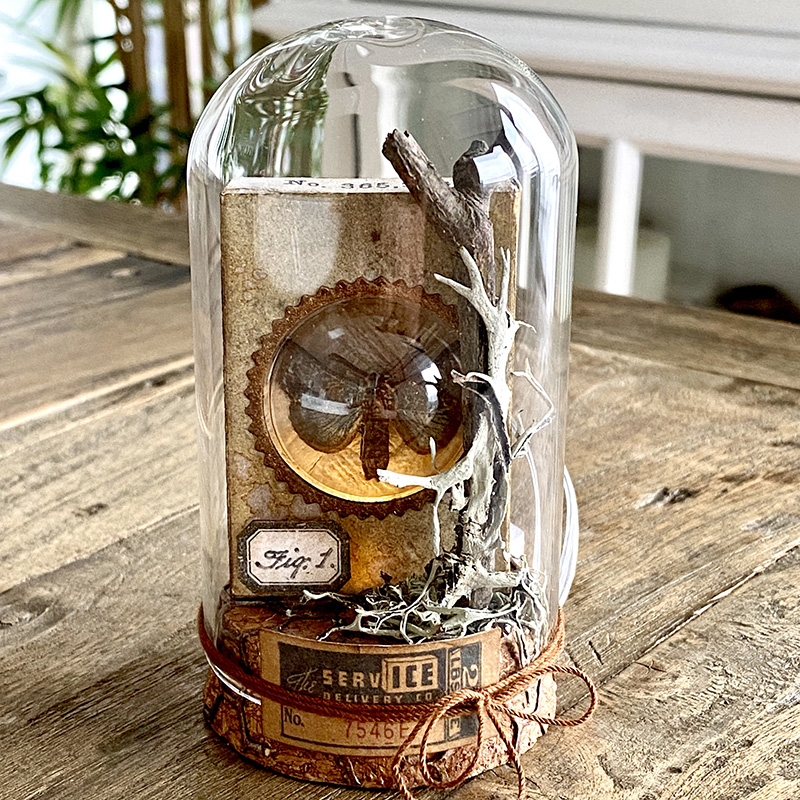
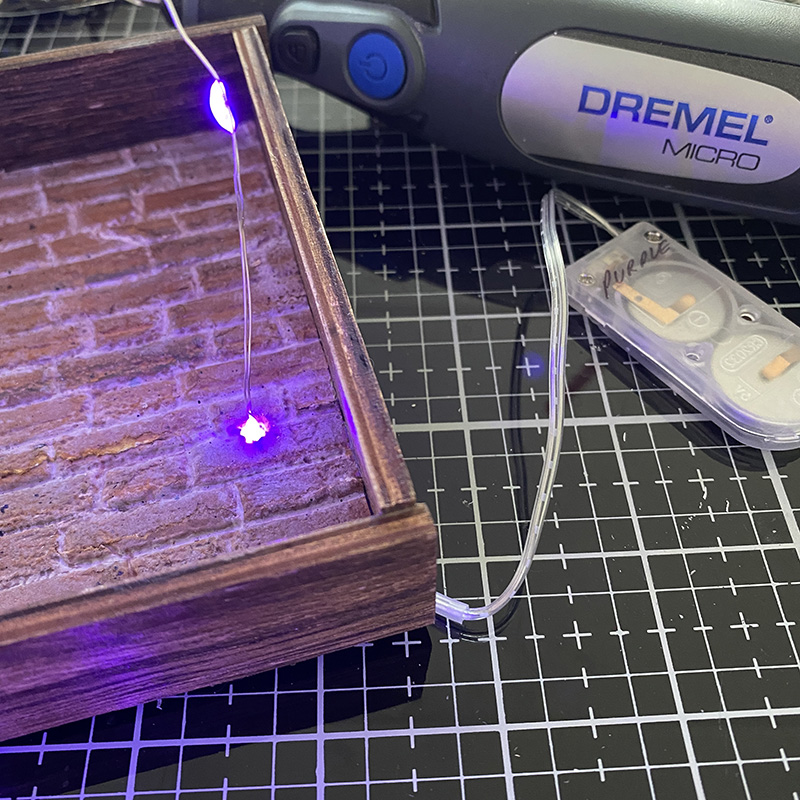
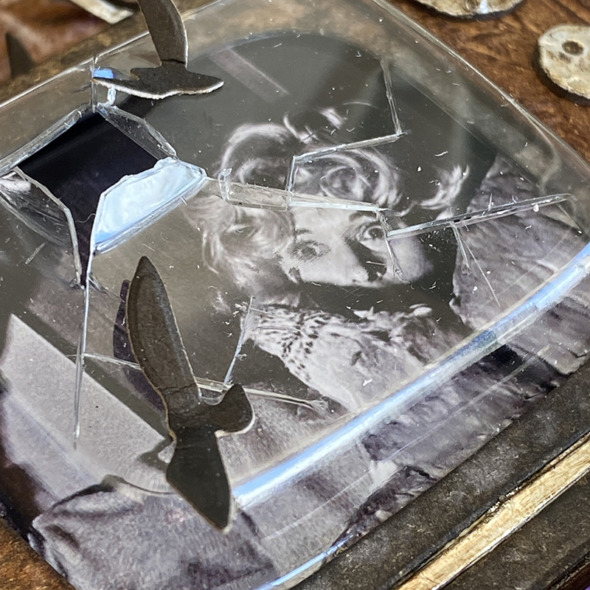
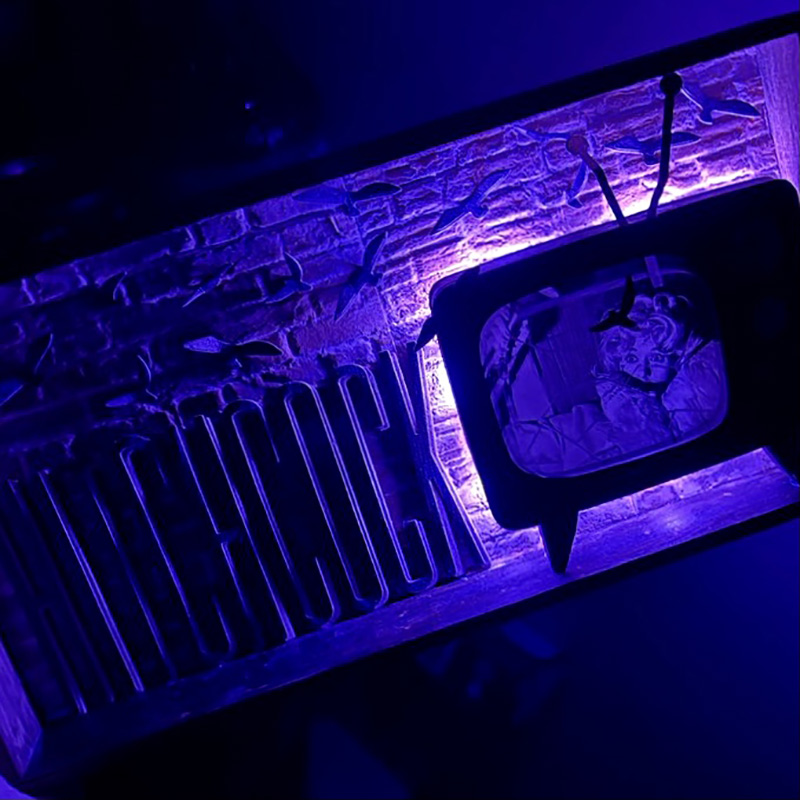
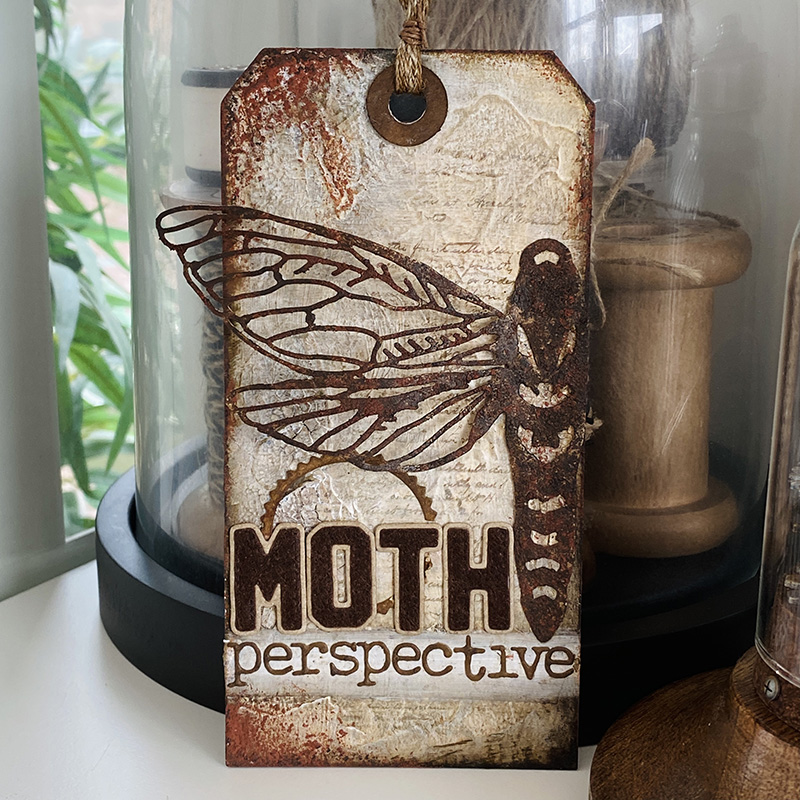
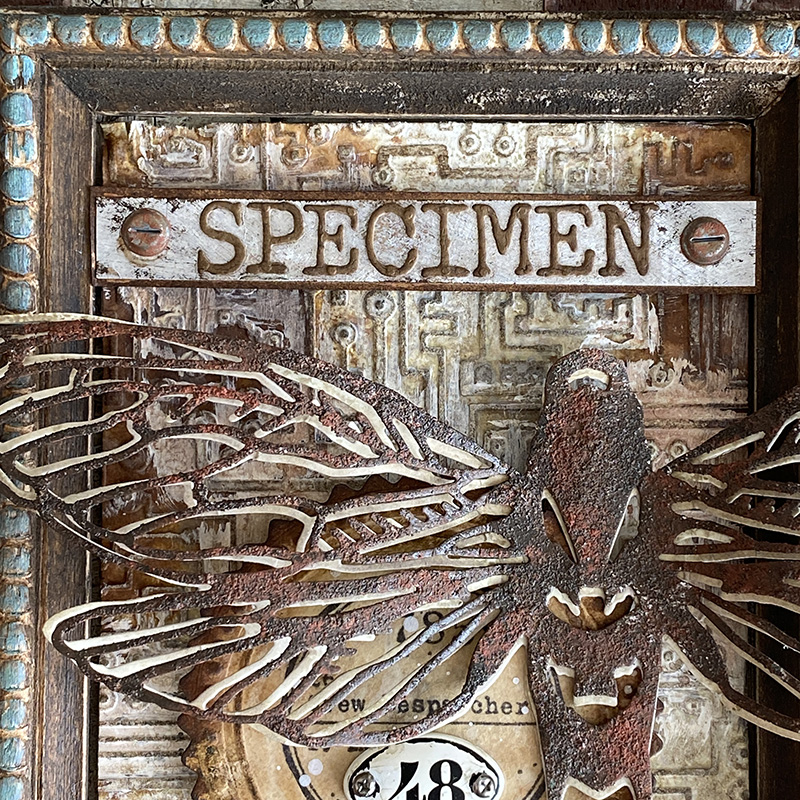
The new switchlits seal is AWESOME! I used it as an anchor point for my moth, to see how the new switchlits work, check out Tim’s LIVE launch.
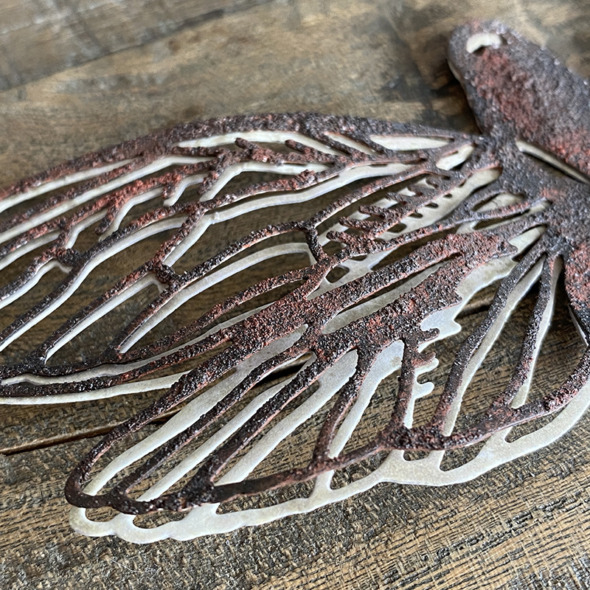
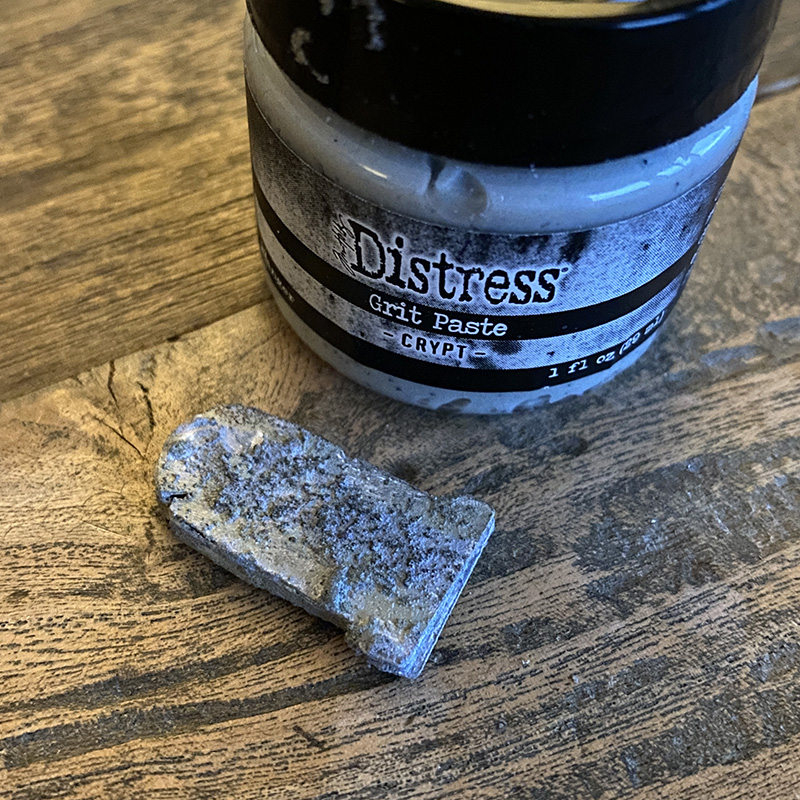
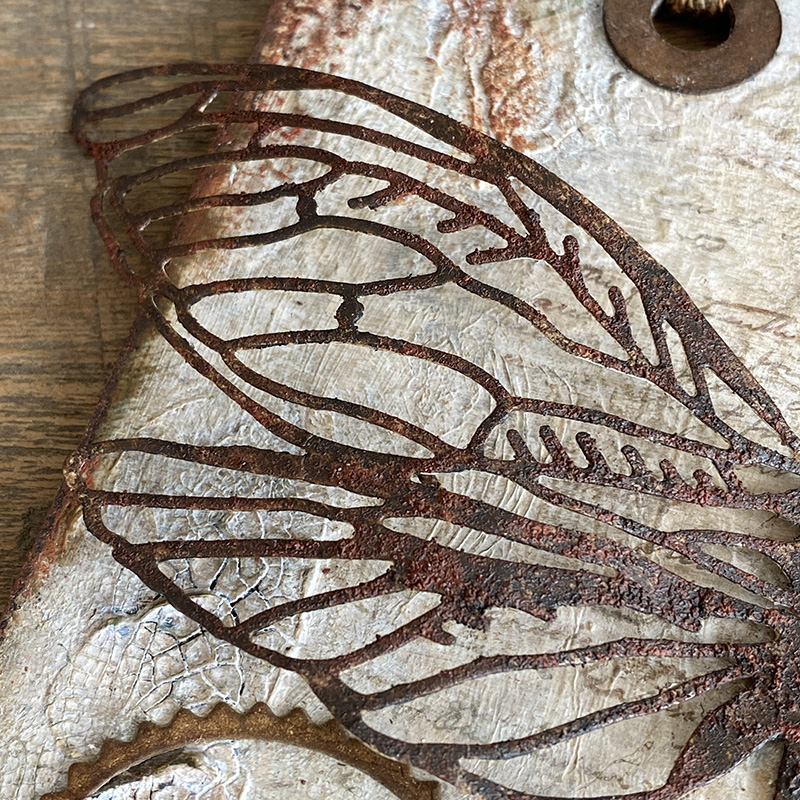
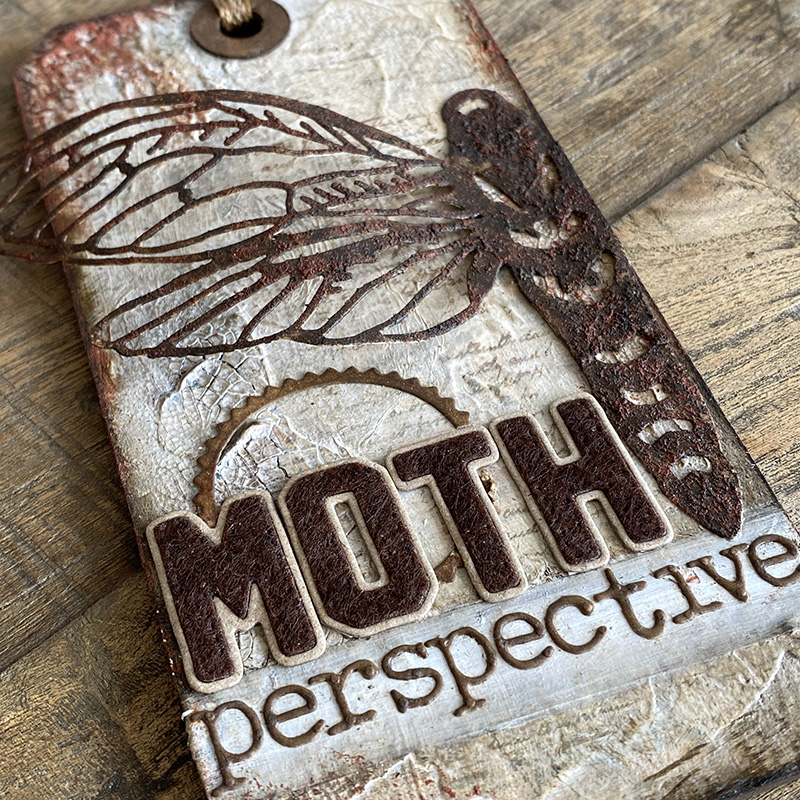
The new perspective moth is stunning! When I received the die and cut it for the first time, I couldn’t believe how intricate the wings are. I cut it twice and covered the top layer with distress grit-paste and then painted with ground espresso distress paint and added rusty hinge distress crayon. The bottom layer I did nothing to and offset slightly from the top layer to create a drop shadow.
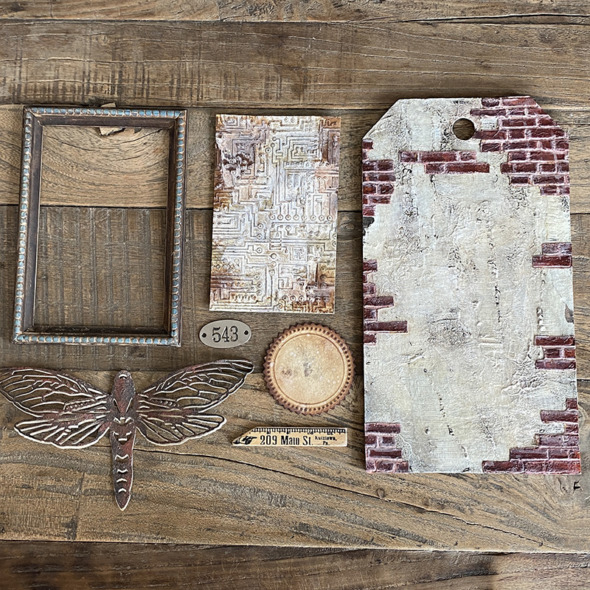
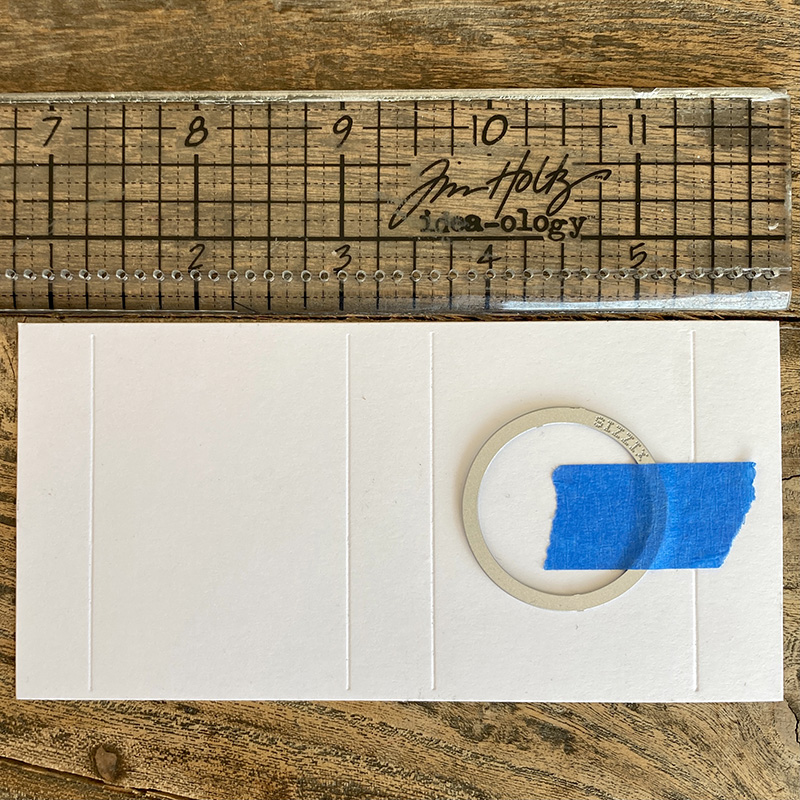
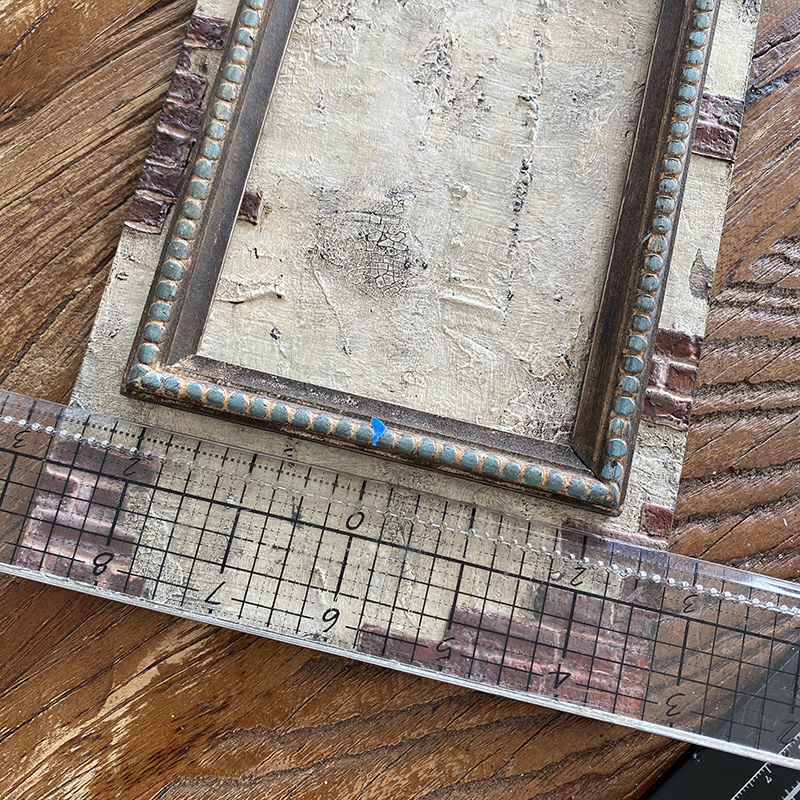
Here is a quick run through of how I assembled the tag in case it’s helpful. The ruler didn’t make the final piece.

I use Tim’s design ruler to find the center of my frame and mark with a tiny piece of tape and then again to find the center of the tag. Not at all necessary, but for me it’s all in the details.
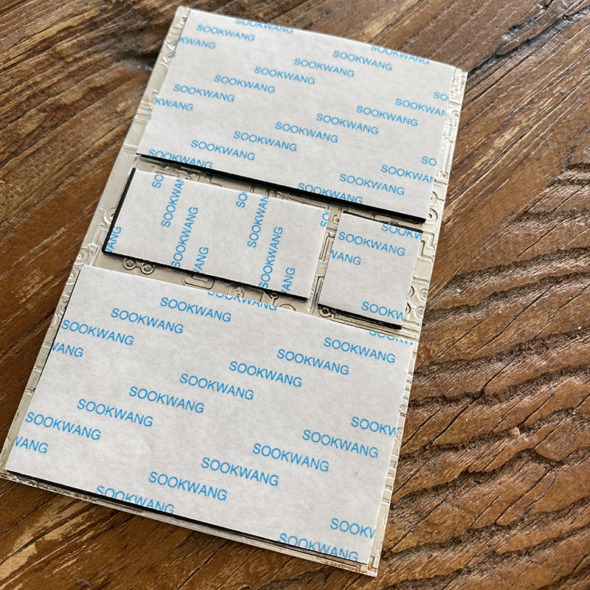
I find adhesive backed foam really expensive and I like to customise the size so I make my own. I buy sheets of kids fun foam and cover each side in 2 inch scor-tape and then cut to size as I need it.

Add the foam adhesive backed circuit background to the center of the frame.
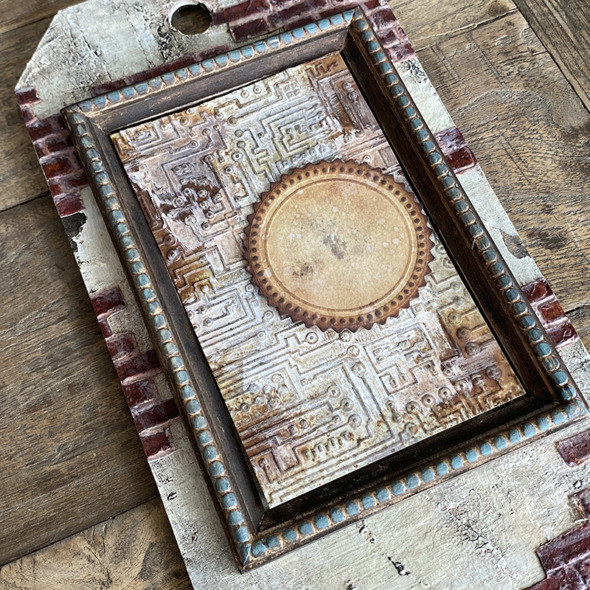
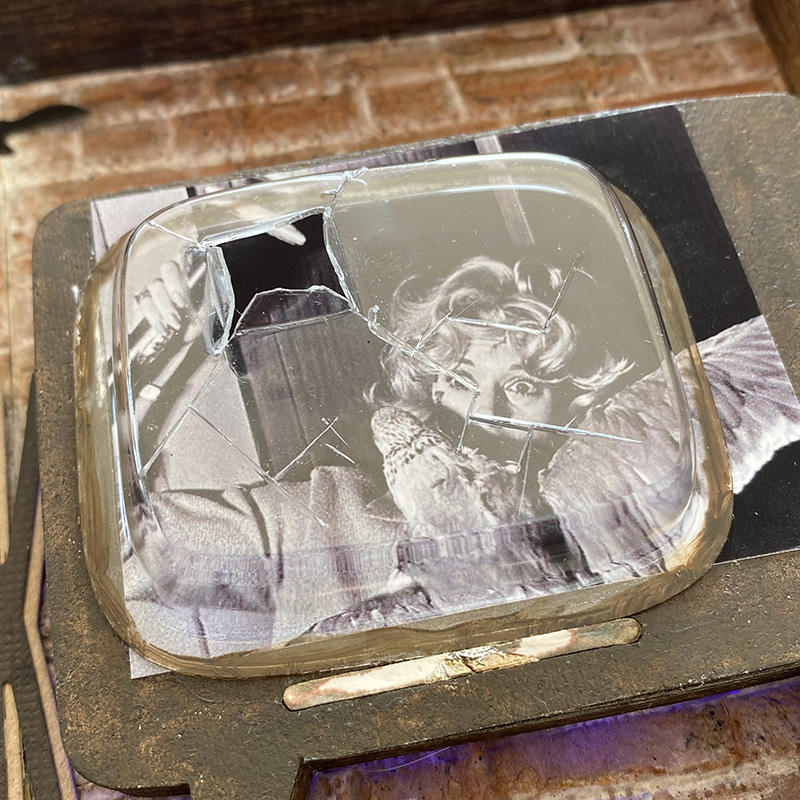
Next add the switchlet seal. I used a little foam backed adhesive again to lift the layer.
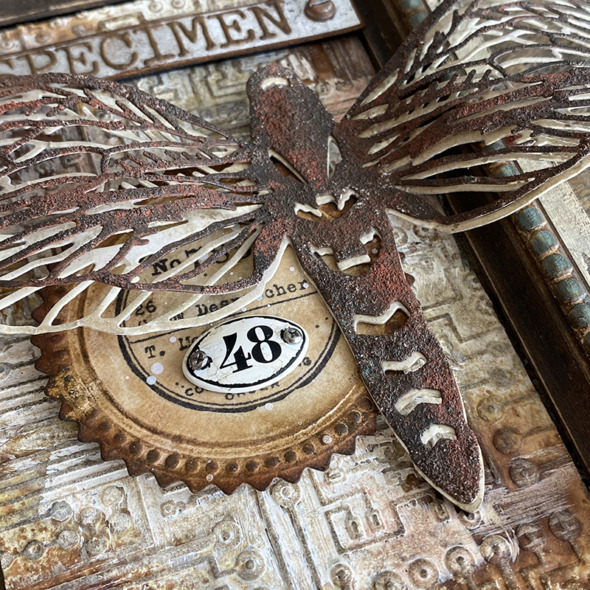
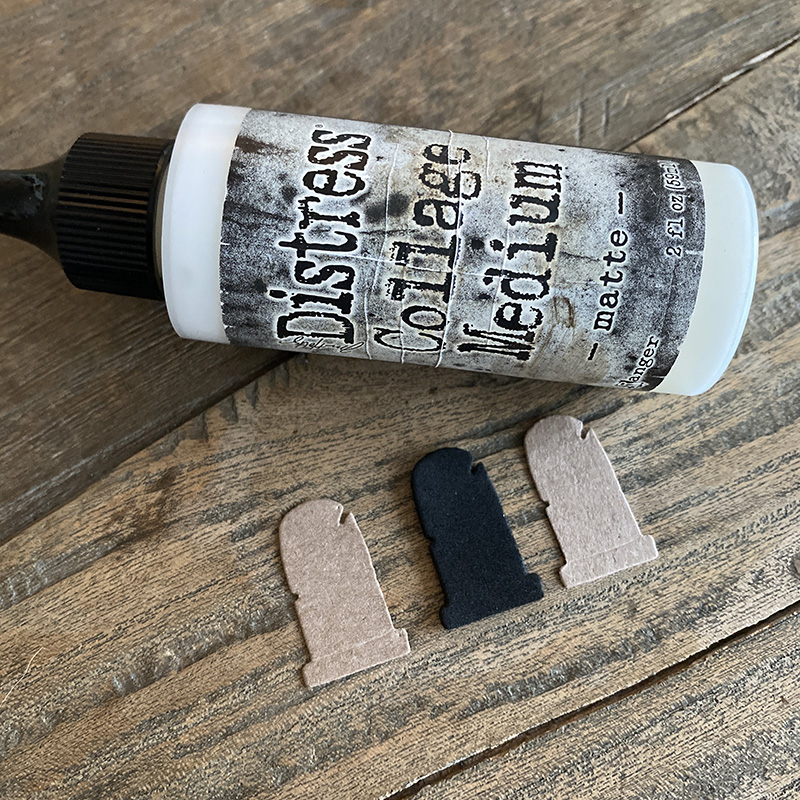
After I had added the seal I wished I’d stamped it but knew if I tried to do it whilst the seal was on my tag it would go wrong, I would try and remove the seal, that would tare the background… house of cards! So I stamped the image onto a piece of plain collage tissue wrap, fussy cut and then glued it on with distress collage medium. The glue makes the collage tissue vanish. I then got a little extra with the paint brush and ripped the bottom piece of the stamp, so added an idea-ology plaquette to cover the mistake. Smoke and mirrors my friends. Nothing I do is ever planned, it’s usually just accidental damage control! LOL

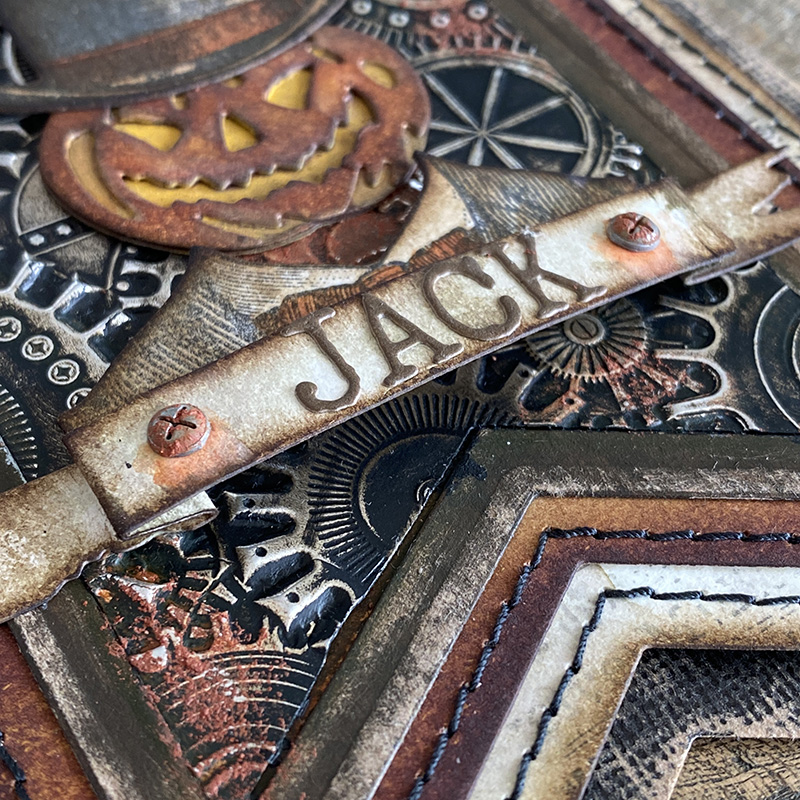
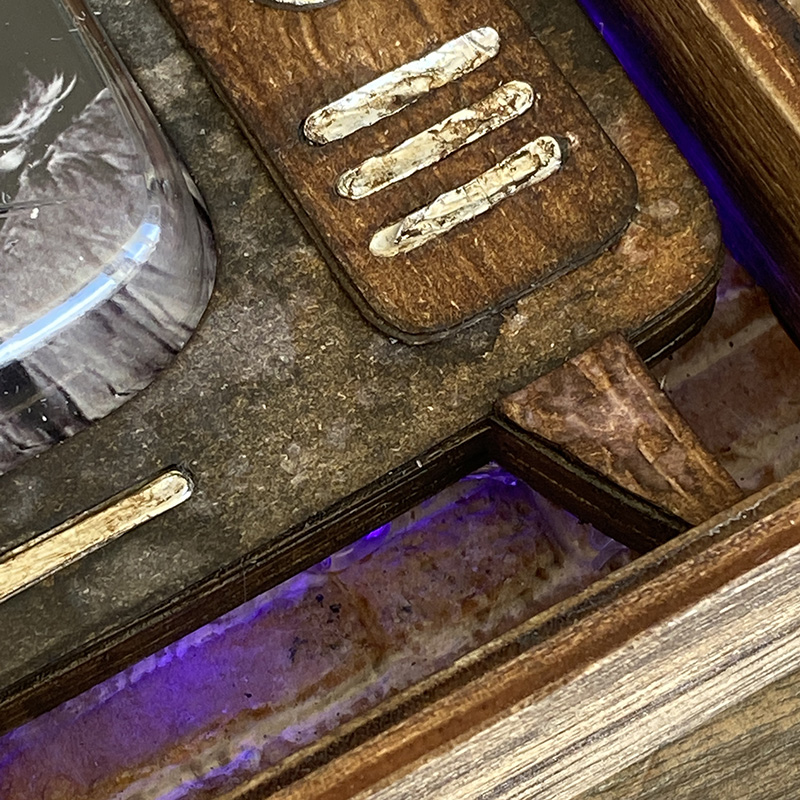
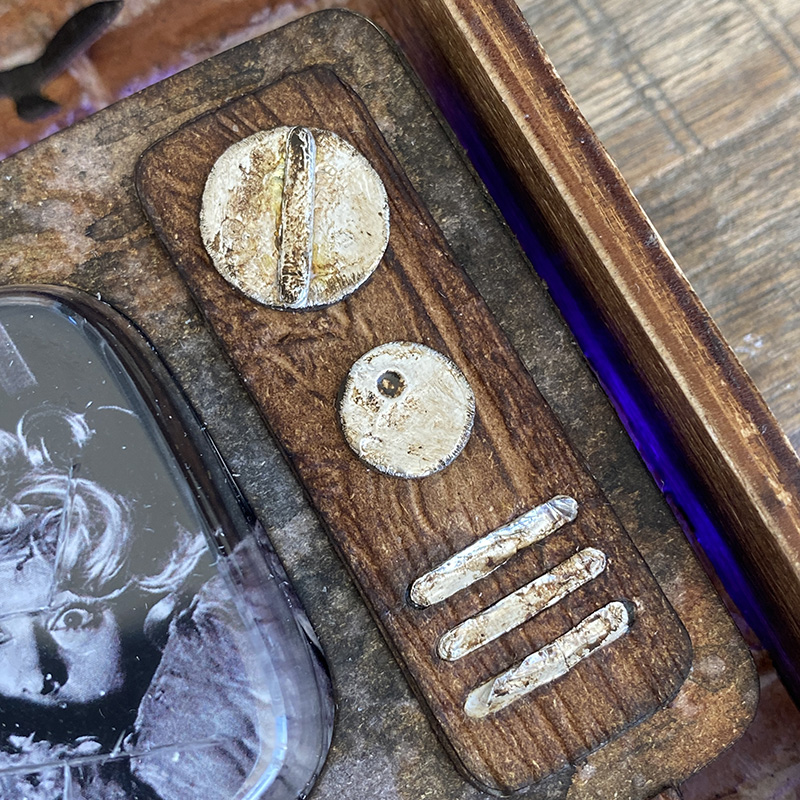
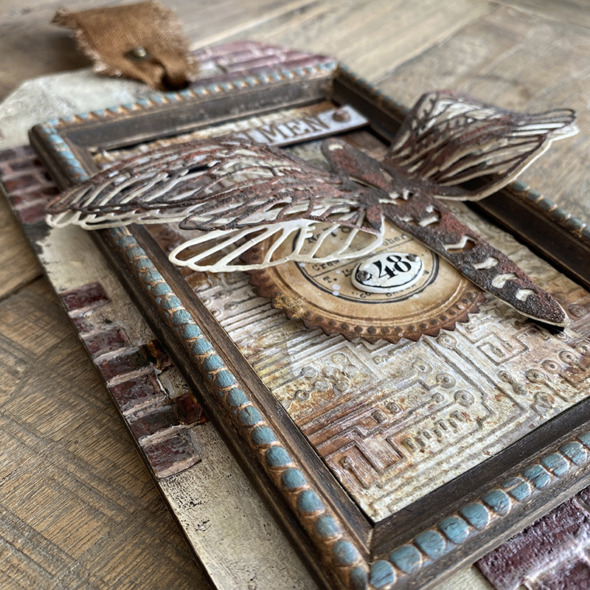
I added the perspective moth, attaching the body but leaving the wings free and shaping them slightly with my fingers. I added a strip of idea-ology metallic kraftstock with alphanumeric tiny type letters and idea-ology hardware heads added. I rubbed my NEW FULL SIZE distress archival ink pad over the top. Sorry for the shouting, I’m still so happy that Tim and Ranger released the OG distress archival palette in full size ink pads.

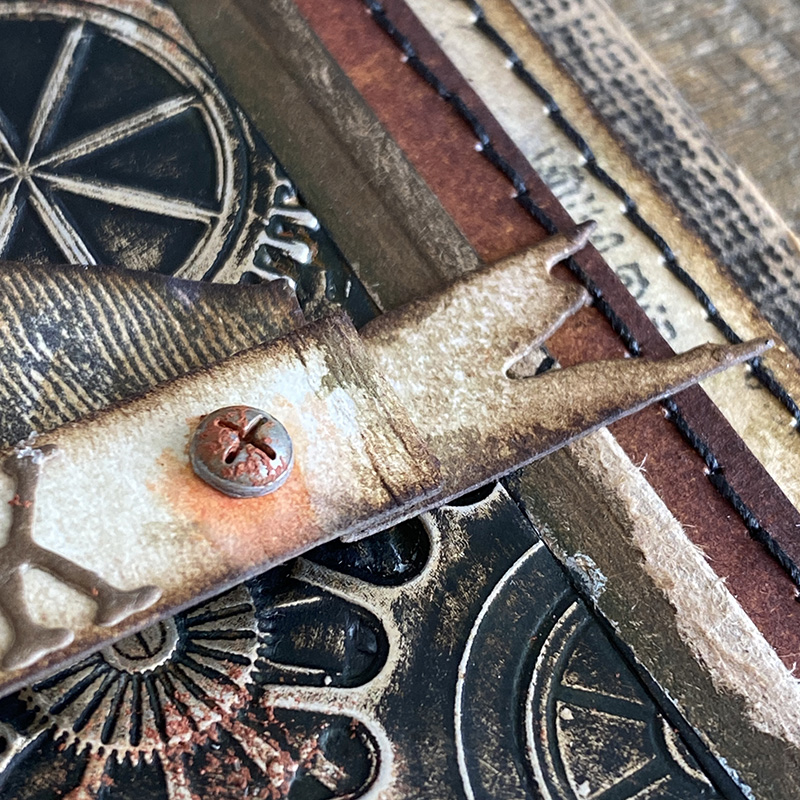
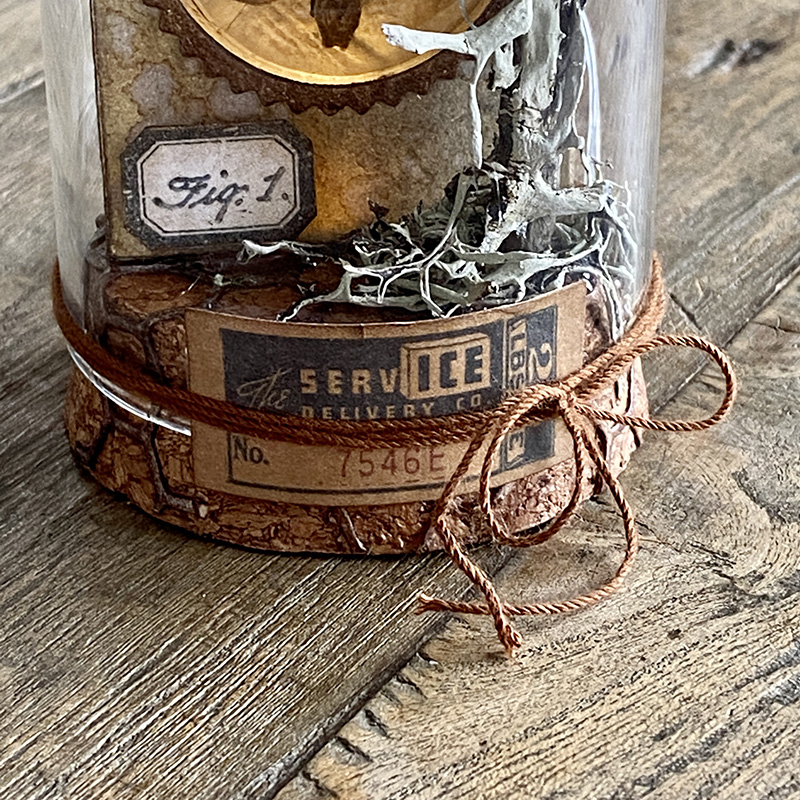
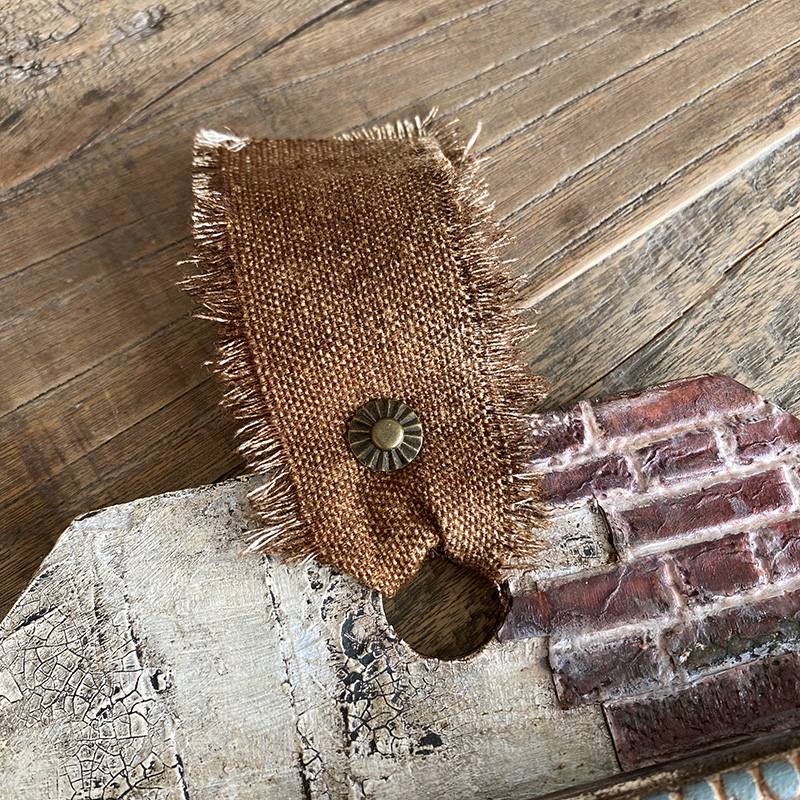
I added a piece of linen that I dyed with distress spray stain and secured in place with an idea-ology fastener.
Thanks for stopping by and let me know if you have any questions and set your alarms for tomorrows new distress color reveal. I’m so excited, you’re going to need snacks.
Zoe