Hello friends and Happy 2022. I took some time away over Christmas to relax with my guy who took some much needed vacay days. We watched some good TV, ate like kings, built a 1000 piece jigsaw puzzle, completed some home projects and celebrated with friends over zoom. I enjoyed taking time out to rest and now that the first crazy busy week back to reality is done, I’m ready and excited to have some making time this weekend. I hope you’re taking some making time for yourself and what better day to make than on Tim Holtz’s Birthday!
HAPPY BIRTHDAY TIM!
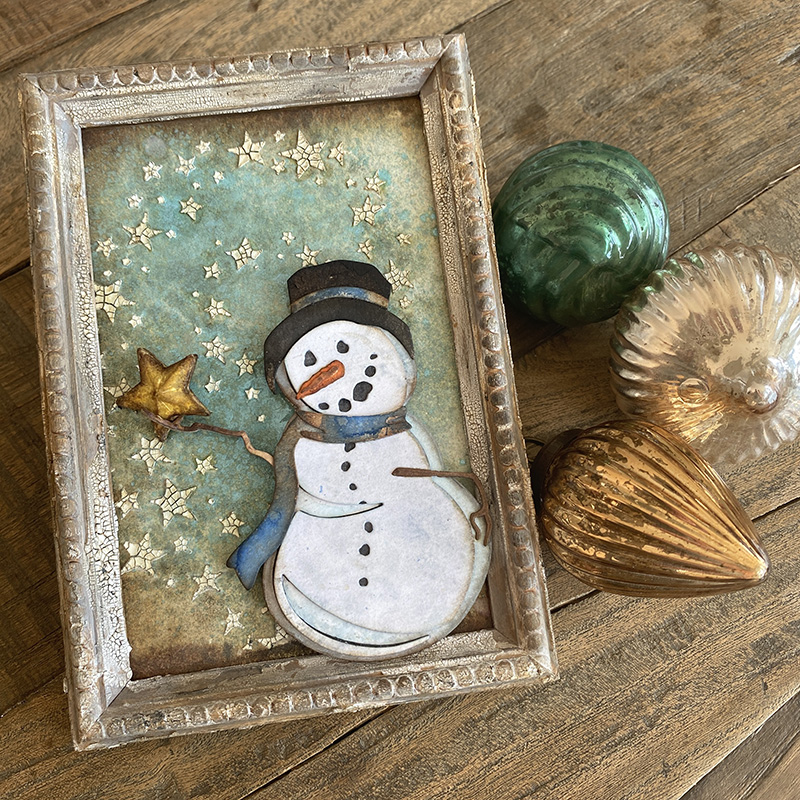
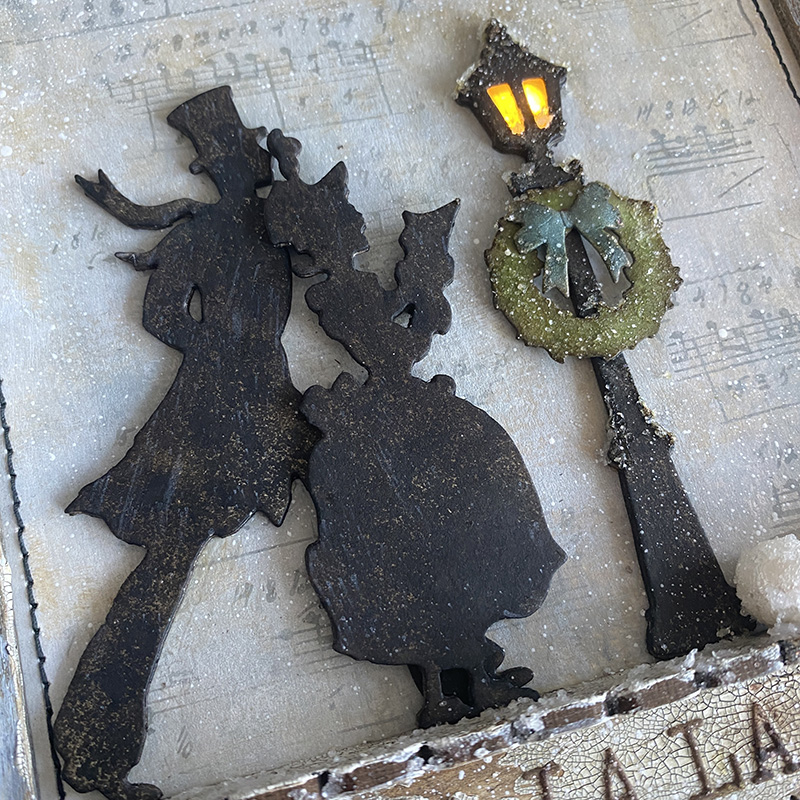
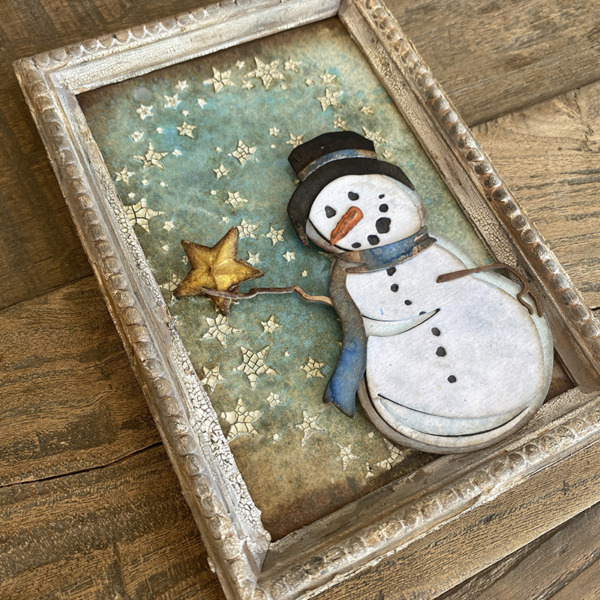
It feels like a long time ago in “maker years” but when I first saw the Tim Holtz Sizzix Christmas dies, I LOVED Mr Frost. He just looks like he’s causing trouble. Like maybe he wouldn’t melt when he was supposed to! Remind you of anyone? LOL
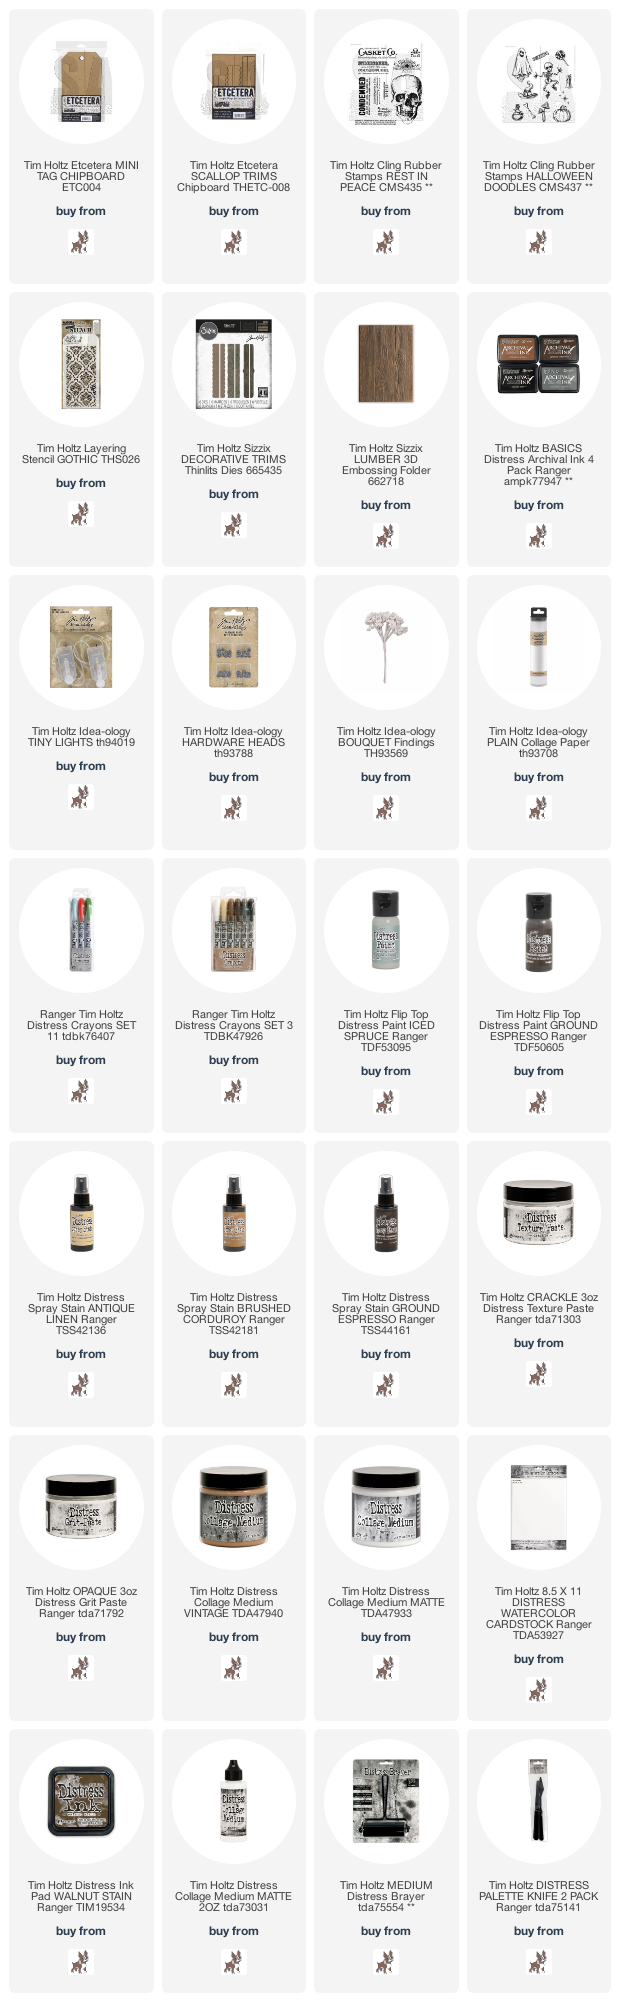
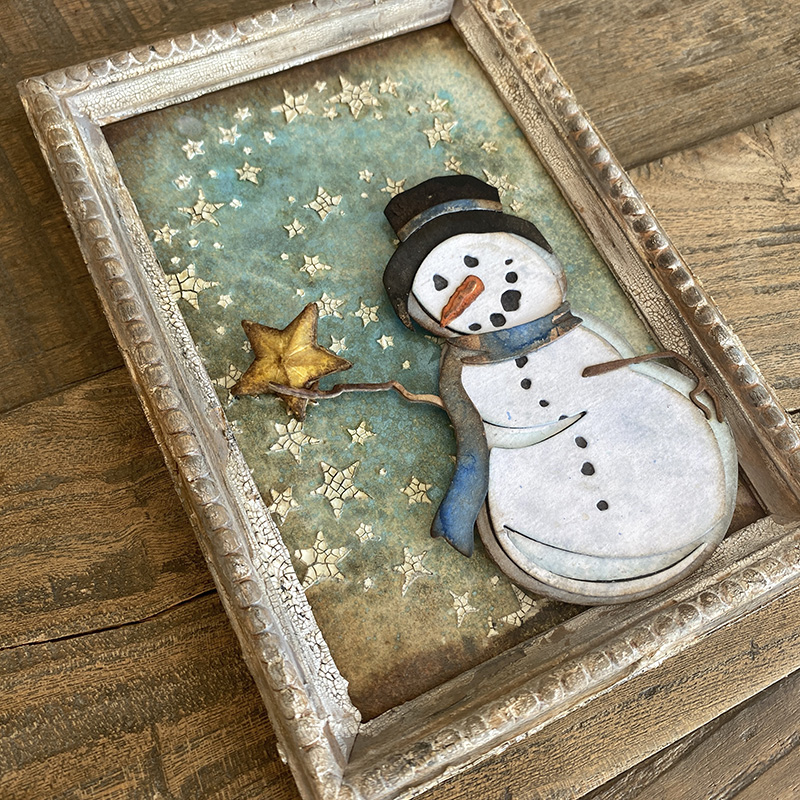
I made this framed panel for the Tim Holtz Sizzix Christmas LIVE launch. You can see the replay and all the makes over on Tim’s Blog. Here’s a few of the details for my make…
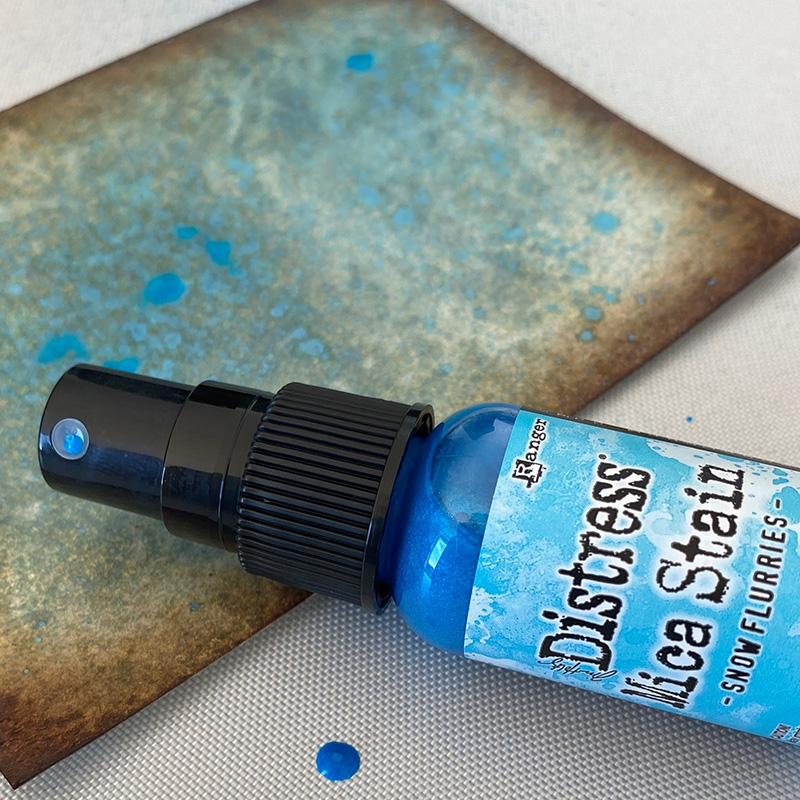
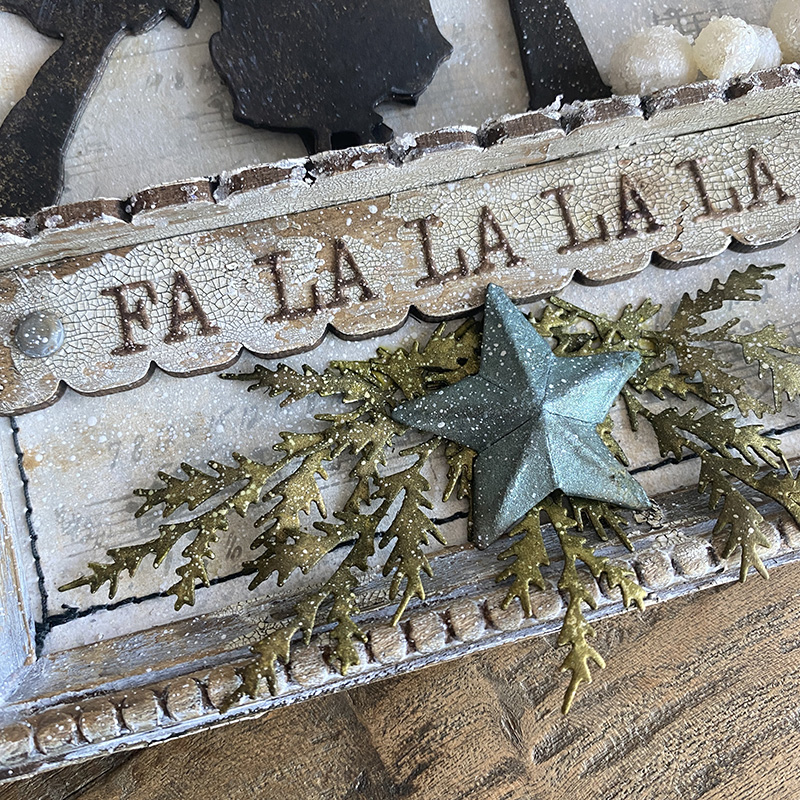
I created a background by spraying antique linen distress spray, edging with walnut stain distress ink and adding drops of snow flurries mica spray.

Using a palette knife, spread distress crackle texture paste through a stencil, I used the hocus pocus stencil, one of my faves.

Soak your stencil right away, I use a “lasagna pan” (thanks Mario). Followers of Tim and Mario’s Saturday LIVES will know exactly what I mean! 😉
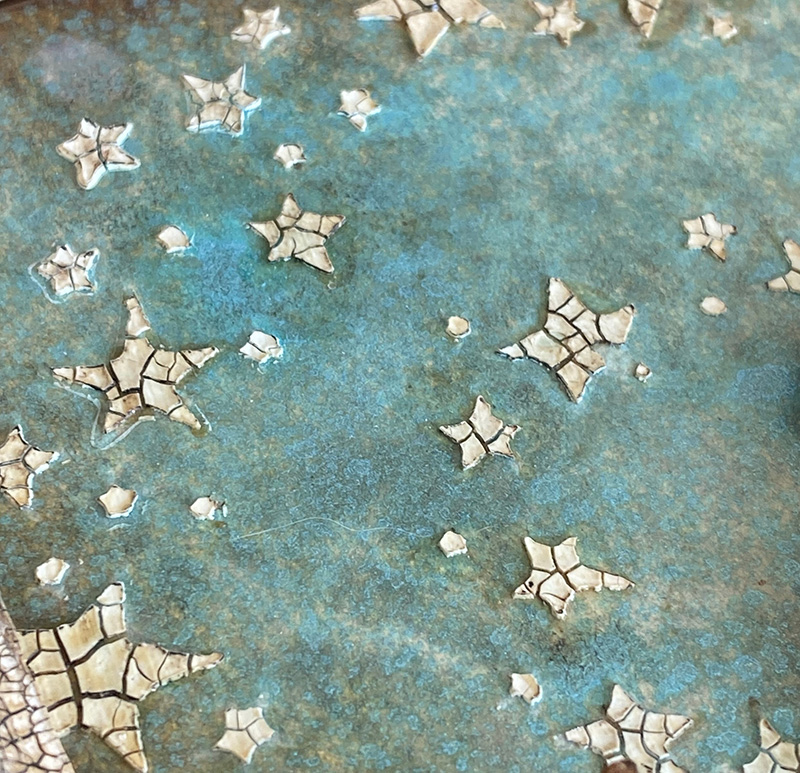
Once dry, place the stencil back over stars and brush a layer of vintage distress collage medium over the top and remove stencil and soak the stencil again. Once the background is dry, place the stencil over once more and rub with distress crayon and blend with your finger. You can do the second and third steps without the stencil but it maybe helpful for beginners and I do this because I find it keeps my background cleaner.
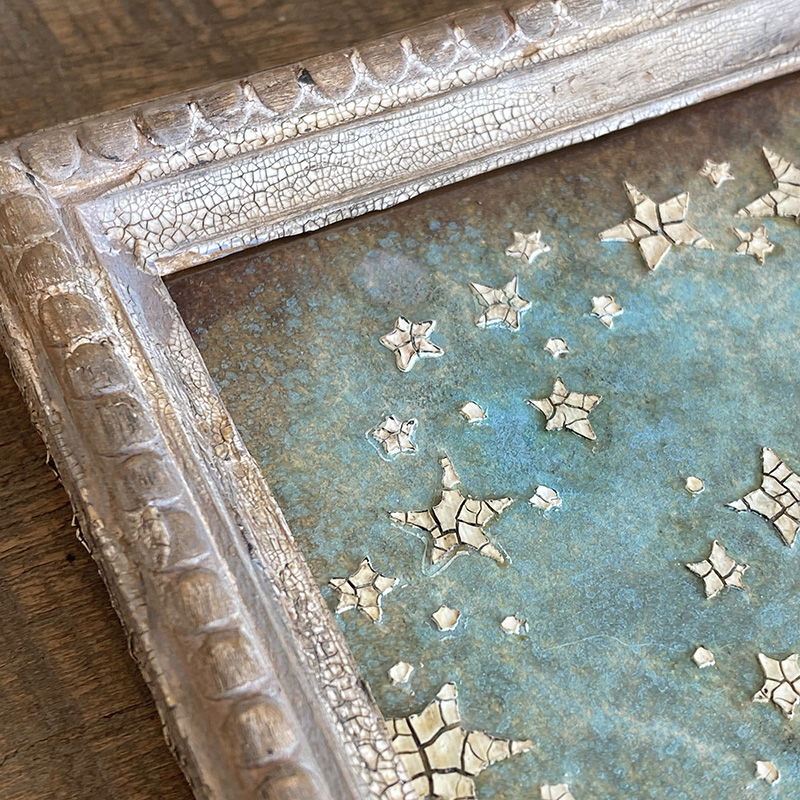
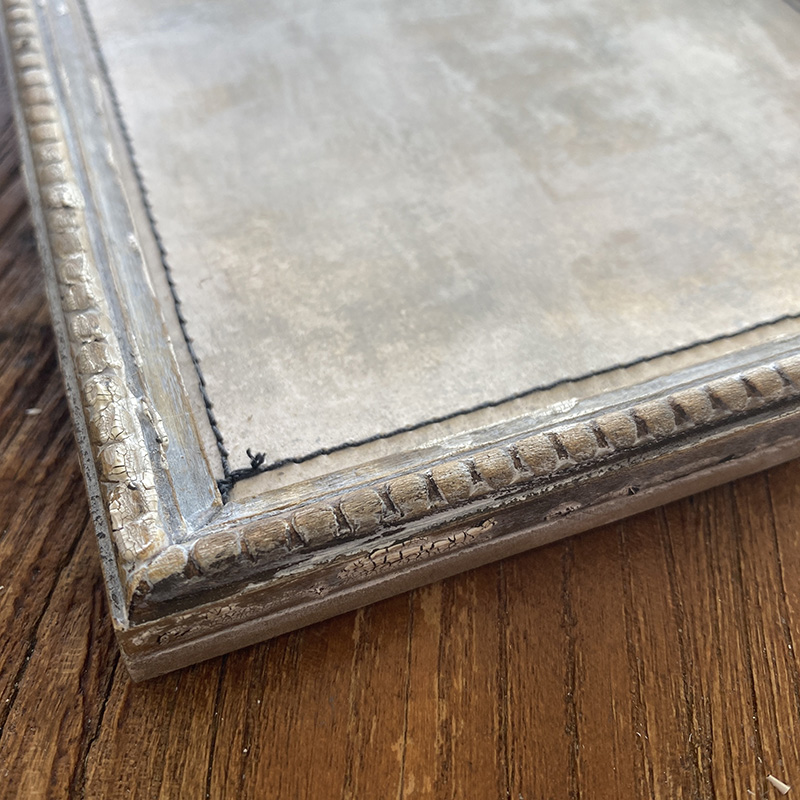
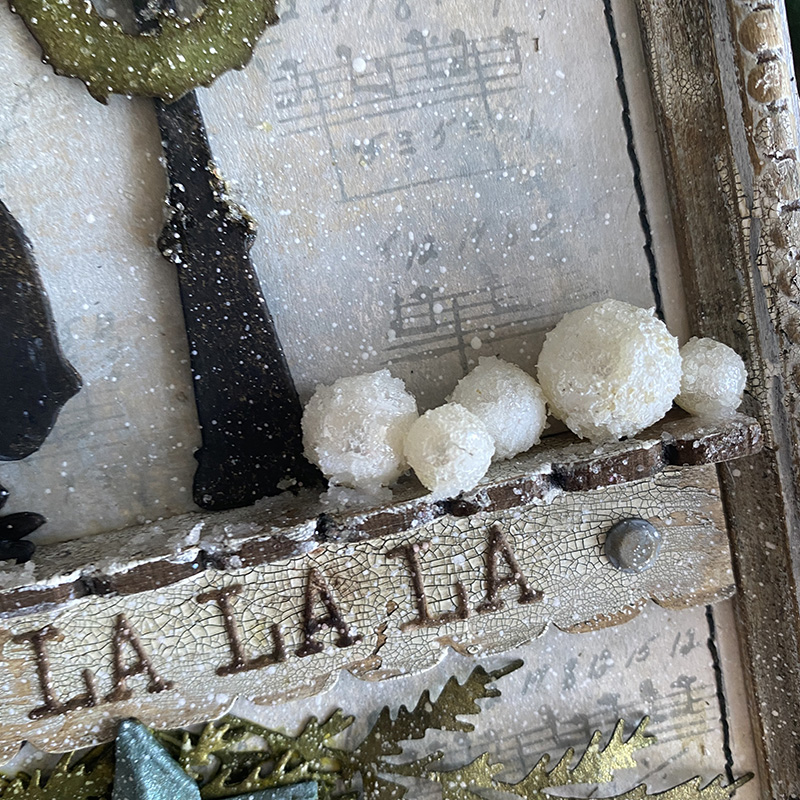
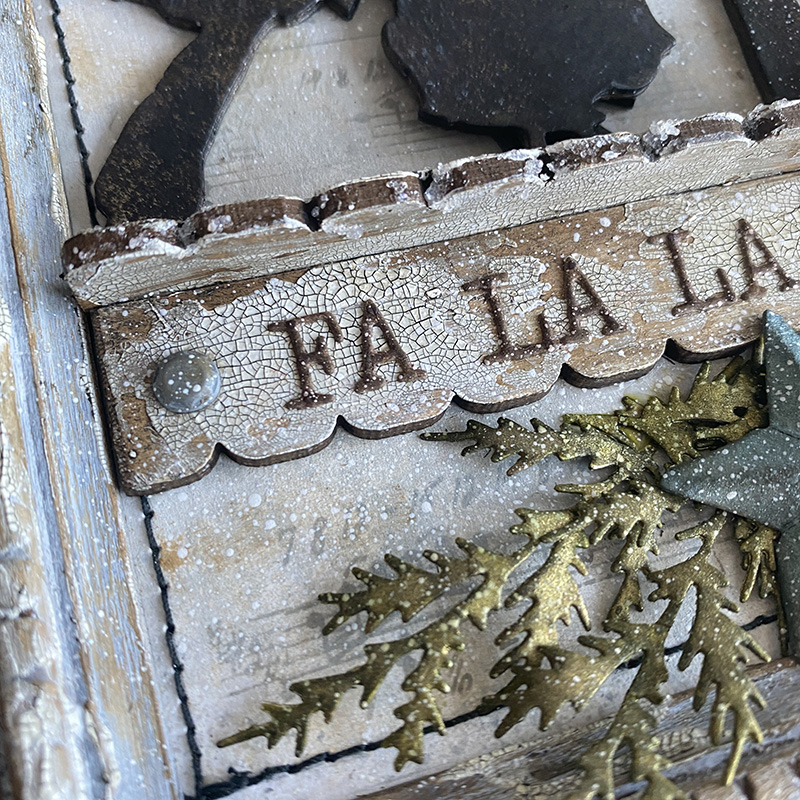
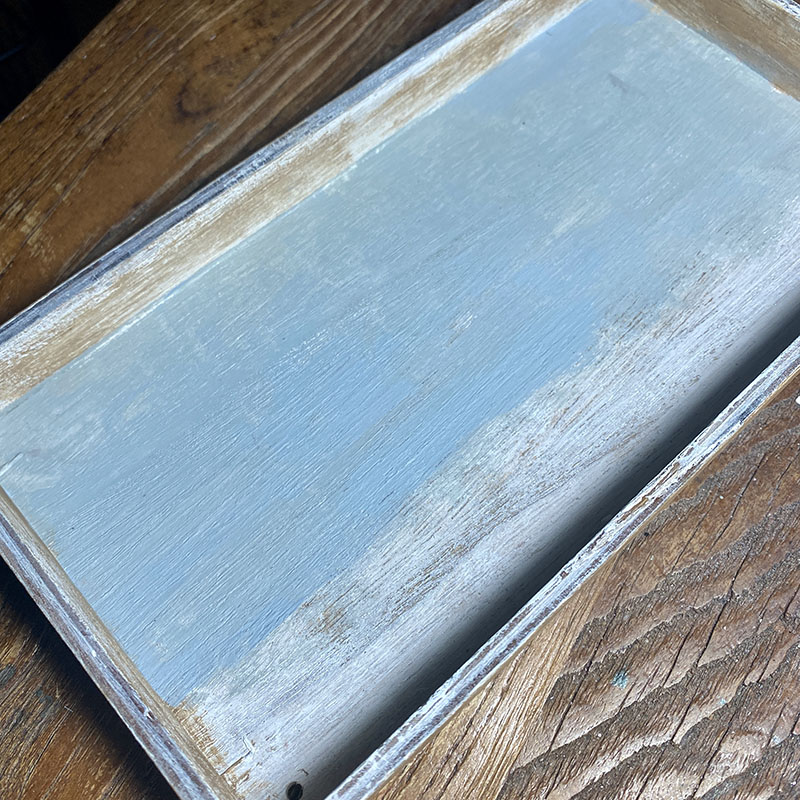
I altered an idea-ology framed panel. Cover the frame with a layer of white gesso. Once dry, dry brush with iced spruce and vintage photo distress paints. Next add distress crackle texture paste and set aside to air dry and crack. Finally rub distress crayon into the cracks and blend with your finger.
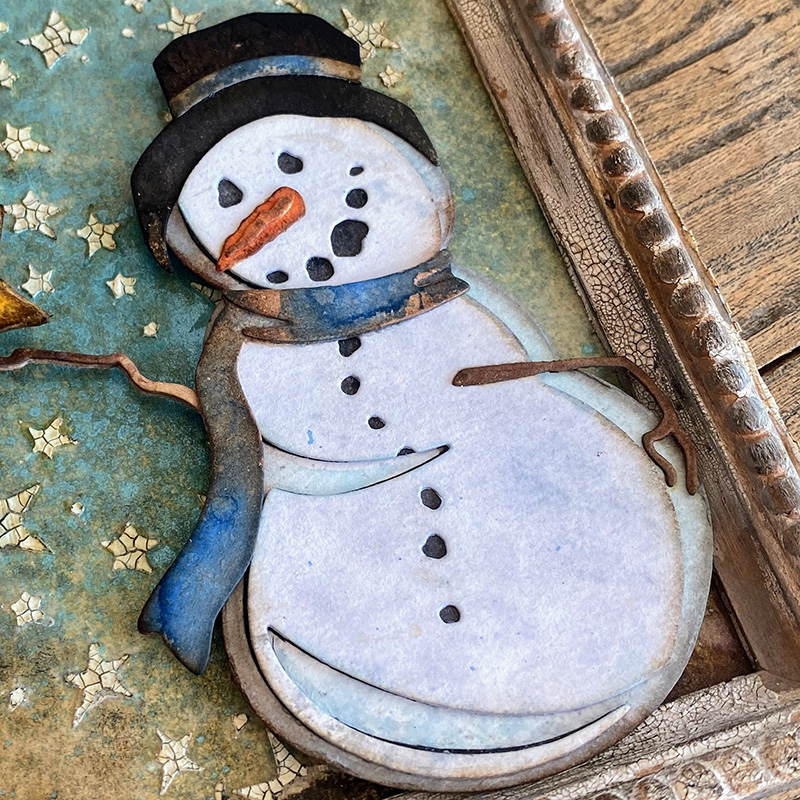
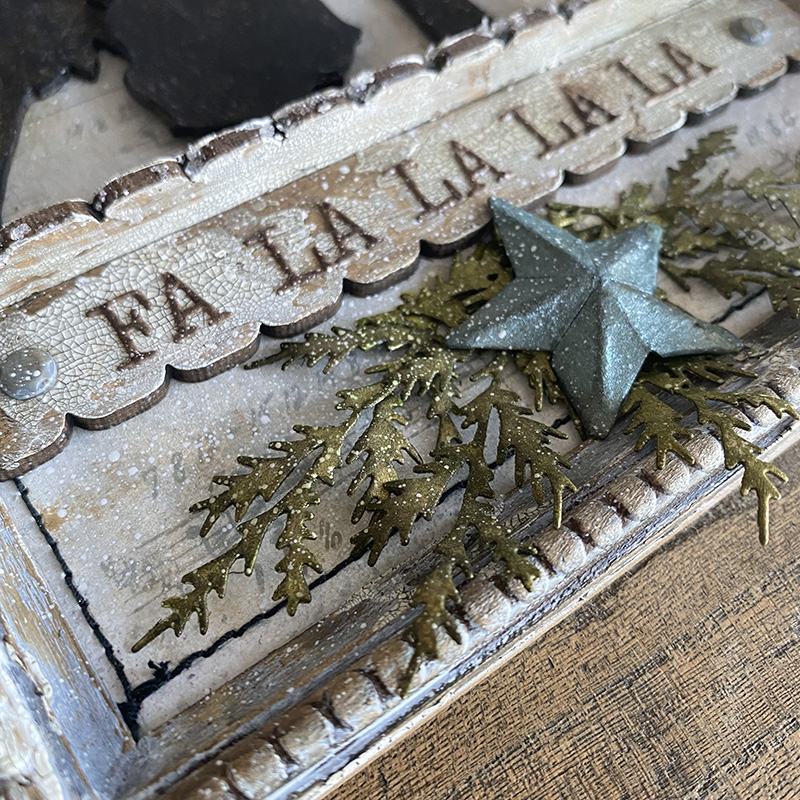
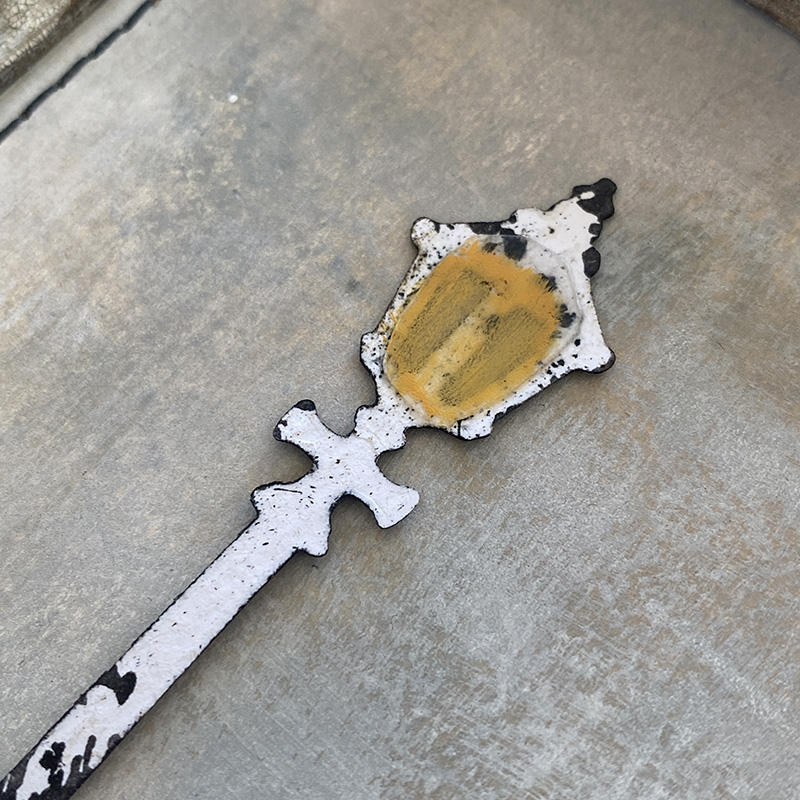
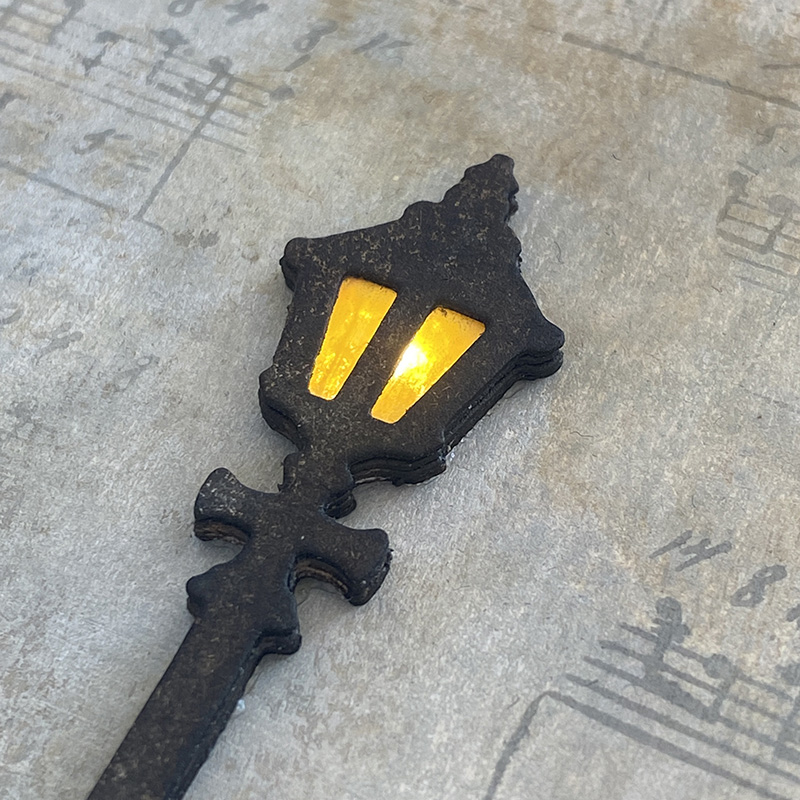
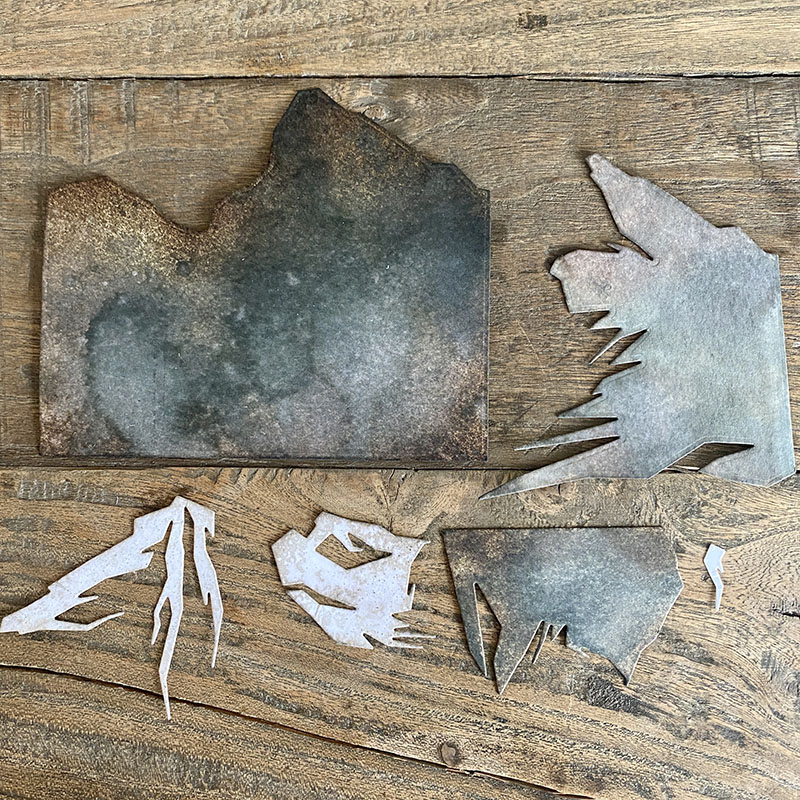
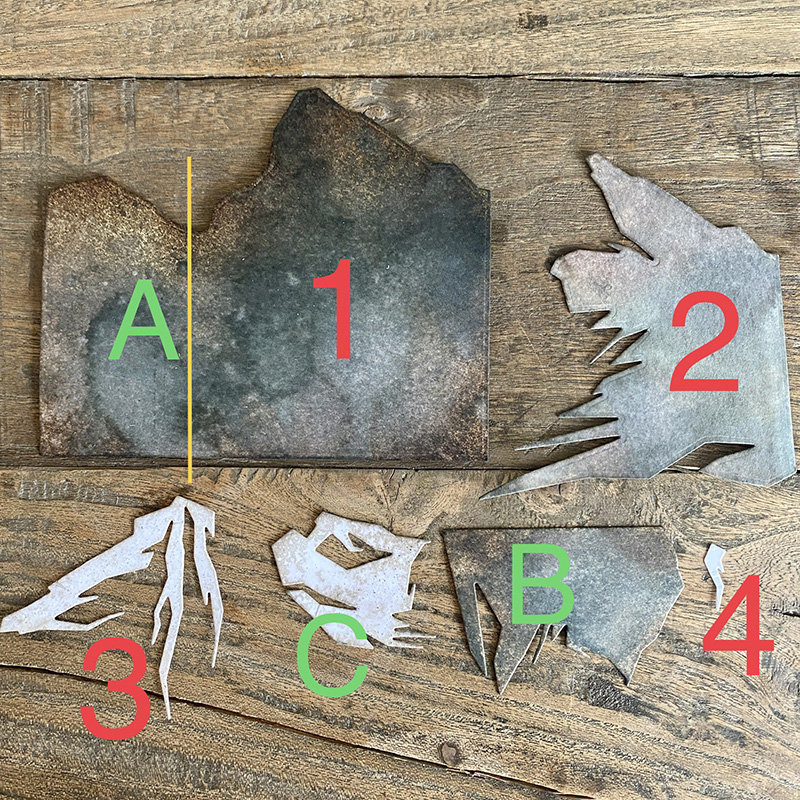
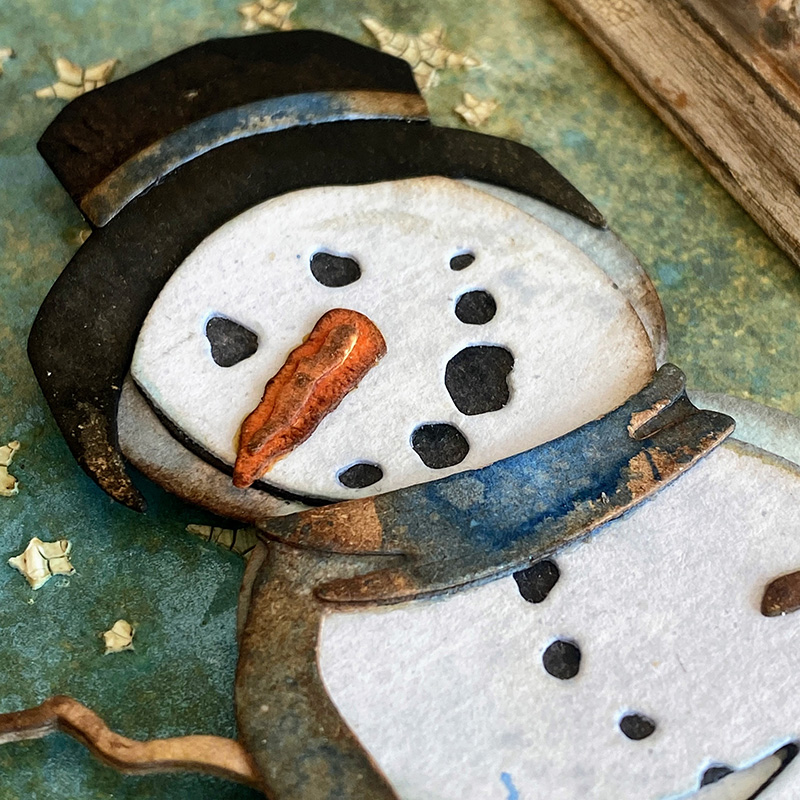
Mr Frost is a mutli-layer die that makes assembly really simple. The black buttons, mouth and nose are simply a layer underneath the top layer which I sprayed with black soot distress spray. It’s much easier than gluing on all those tiny pieces.
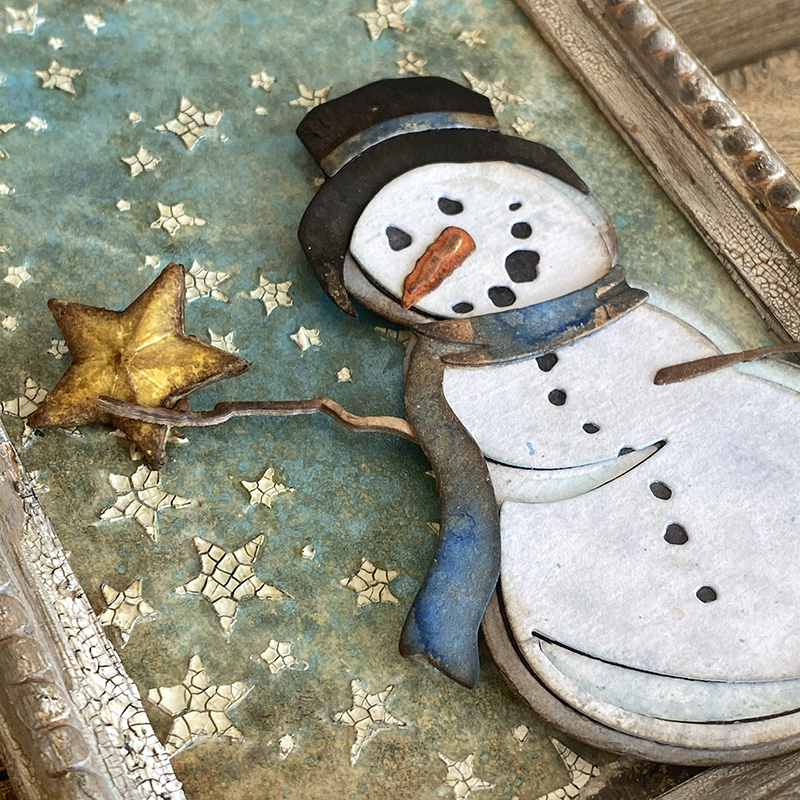
I added Mr Frost with adhesive foam to give some additional dimension and to lift his arm to hold the star…
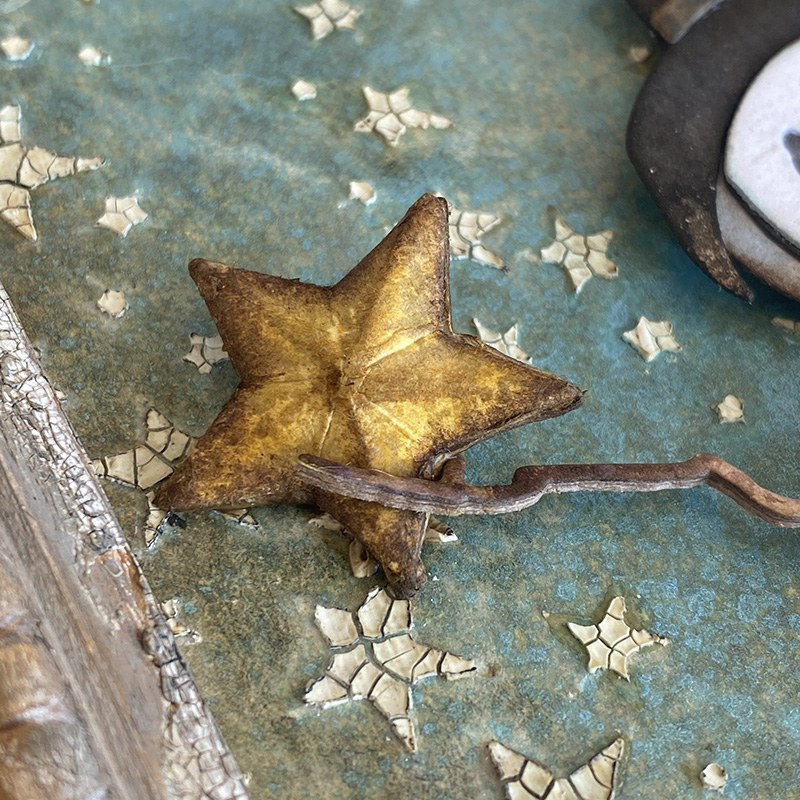
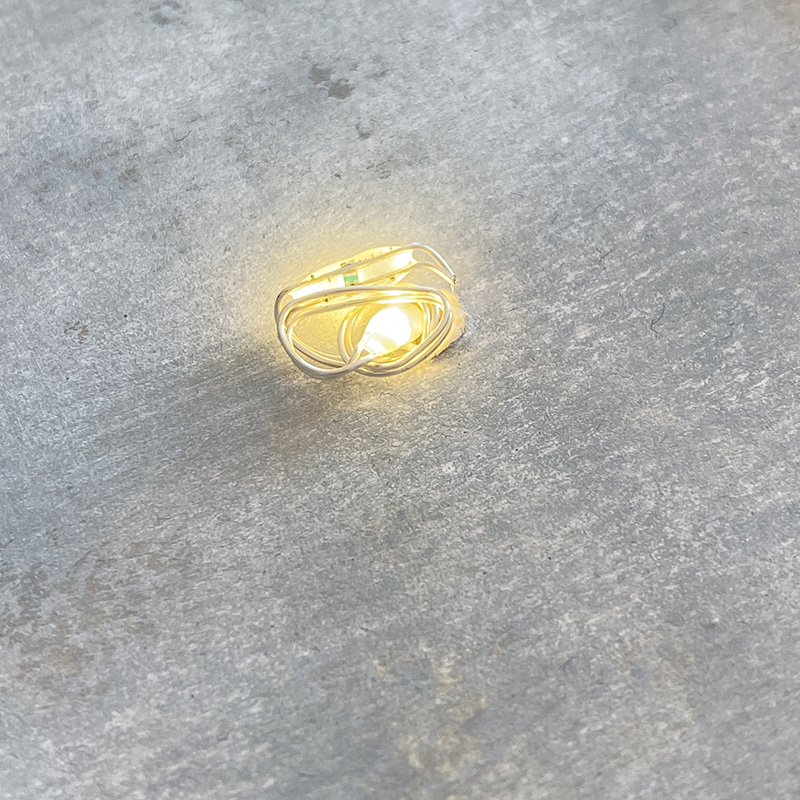
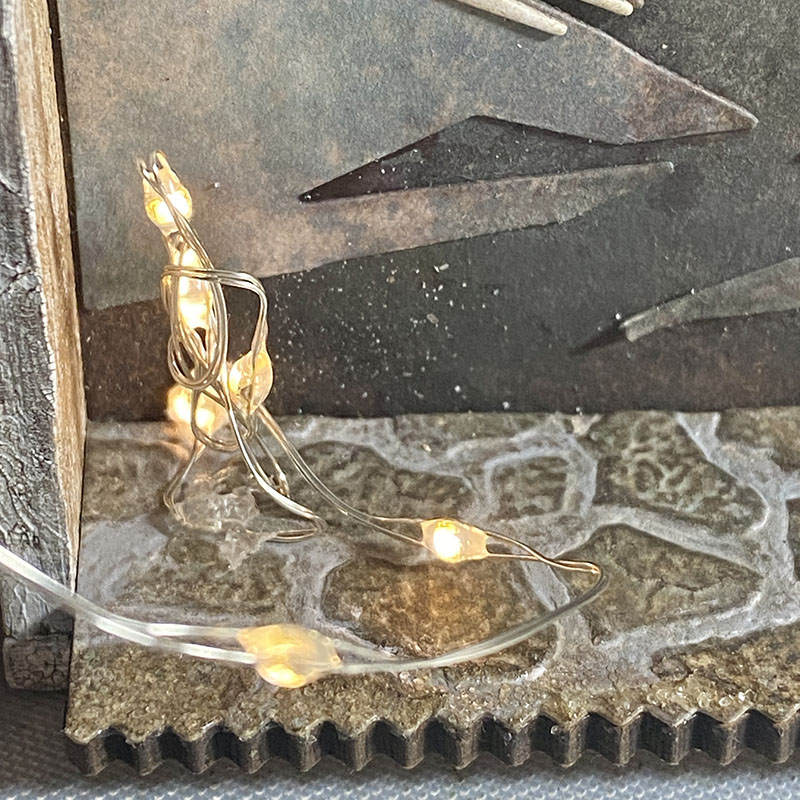
I added a star from the Vault Series Holiday 2021 die set which I glued into Mr Frost’s twig hand! I did try a tiny light inside the star but it didn’t really show up, BUT, you could make one from vellum and add a tiny light or a cluster of tiny lights.
That hat though!
Thanks for stopping by. It’s World Snowman Day on January 18. I hope you’ll join me for a day of fun making and I’ll have some giveaways here on my blog and on instagram.
I wish you a very healthy and happy 2022 and don’t let anyone melt your snowman!
Zoe
…
affiliate links used at no cost to you