22nd March, 2017 by iGirlZoe
It’s Wednesday and time for the funkie side of the design team to share our projects for the current challenge over at the Frilly and Funkie Challenge Blog!
The current challenge is hosted by Kathy (Kathy by design), who has chosen the theme YOU’VE GOT TO KNOW WHEN TO FOLD ‘EM …KATHY says, “I’m a huge fan of folded paper! Whether it’s a fancy fold card, a one sheet wonder, a rosette or other folded embellishment, folds equal fun! This challenge is all about using folded paper in a way that goes beyond just folding it in half. Create a vintage or shabby chic project that uses folded paper in a way that elevates the design. You can make a fancy fold card, or add folded embellishments to a card or layout. So get out those bone folders and start creasing!”
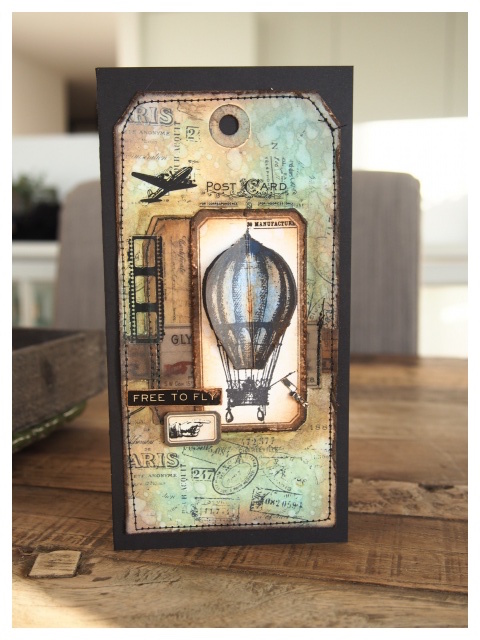 It took me so long to decide what do to for this challenge. My usual creative enthusiasm has been rather lackluster of late. Having just moved to Denmark 10 months ago, we are now having to move out of our apartment completely while they put new floors in. So I’m packing again, and honestly, I feel really tired!
Still, nothing like the lure of some distress oxides and a wink from my growing stash of distress crayons to get me back to my happy place.
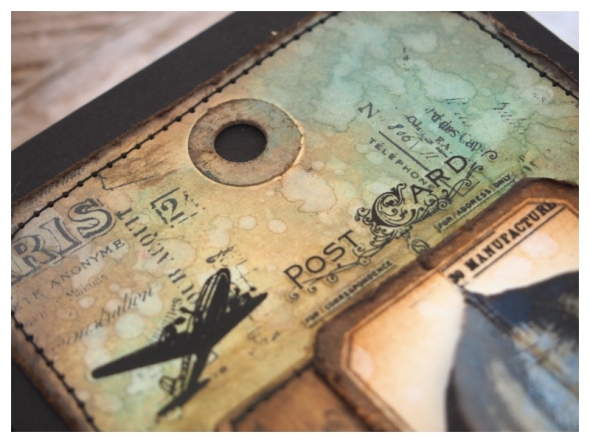
I started with those gorgeous distress oxides. I applied some to a manila tag with a mini blending tool. I spritzed with water and dried with a heat tool. I LOVE LOVE LOVE that you can build layers of colour without creating “MUD!”
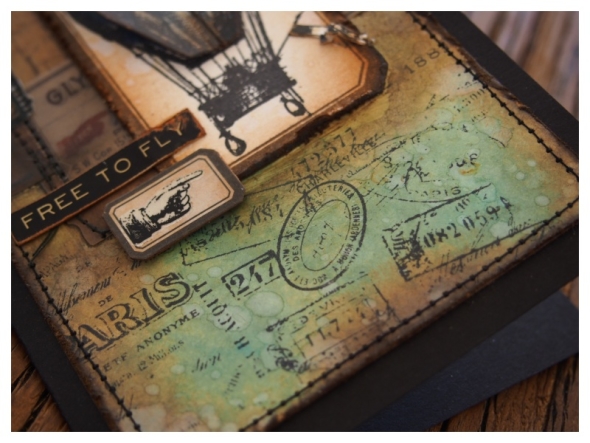
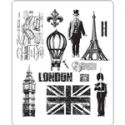
I used the postal marks stamp from the Tim Holtz Paris to London stamp set. Inked it up with black soot archival ink and stamped randomly onto the background without using a grid block.
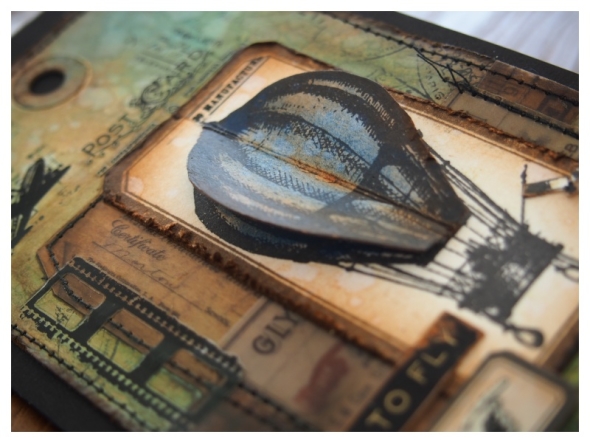
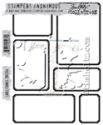
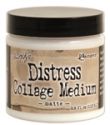
The fold in my card is the hot air balloon. I stamped the image twice, once onto a stamped label frame and the second image I cut the balloon out. I covered with collage medium and used faded jeans distress crayon to colour the balloon. I blended in vintage photo distress ink over the top to age. Using a bone folder, I scored a line down the center of the balloon. I ran a line of glossy accents on the back, just down the line and adhered over the top of the first stamped image. I also added a flag which I concertina folded and then adhered with glossy accents.
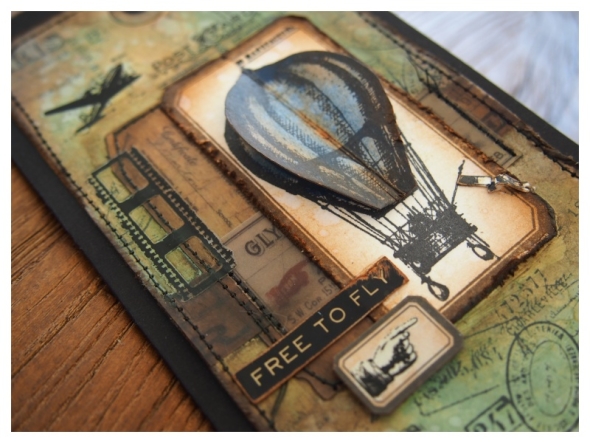
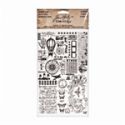
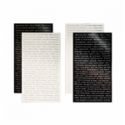
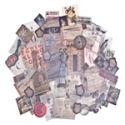
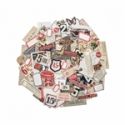
Next it was time to accessorise! I used Tim Holtz vellum ephemera which I attached with a dot of glossy accents and then stitched into place with my sewing machine. I overlaid with remnant rubs and a sticker from the new quotations metallic stickers. Once finished, I mounted onto a black cardstock.
I hope you will find time to join in the challenge and pop over to Frilly and Funkie challenge blog to see the rest of the DT’s projects. All the products I used are available from The Funkie Junkie Boutique.
Thanks for stopping by.
Zoe

Category Craft, Craft Challenges, DT, Frilly & Funkie, Ideaology, Stampers Anonymous, Tim Holtz | Tags: | 9 Comments | Views: 682
8th March, 2017 by iGirlZoe
It’s Wednesday and time for the funkie side of the design team to share our projects for the current challenge over at the Frilly and Funkie Challenge Blog!
This challenge is hosted by Nancy (Tattered Treasures), who has chosen the theme WELCOME SPRING …NANCY says, “Springtime! It’s fresh, soft breezes and fragrant blossoms are just around the corner. Create any vintage or shabby chic project that welcomes the advent of this glorious season. Think budding trees, birds and nests, butterflies, and beautiful blooms!”
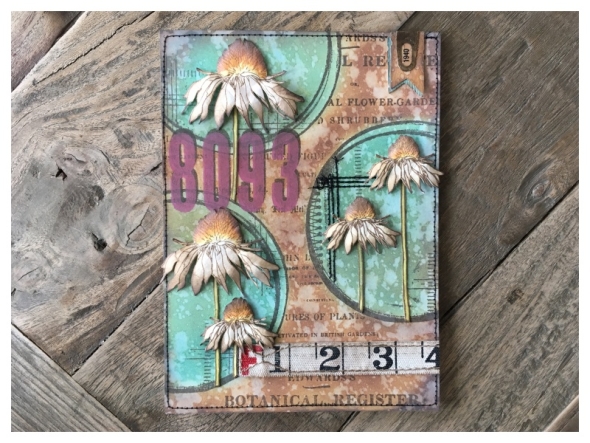
I went for a variation of the last card I made but using a different background stamp and replacing the distress inks for distress oxide inks!
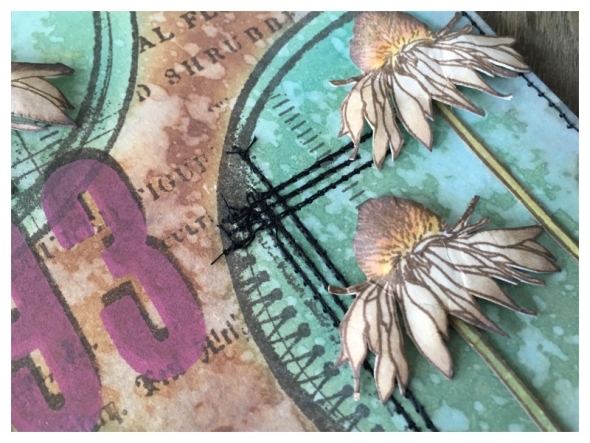
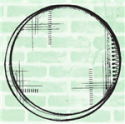
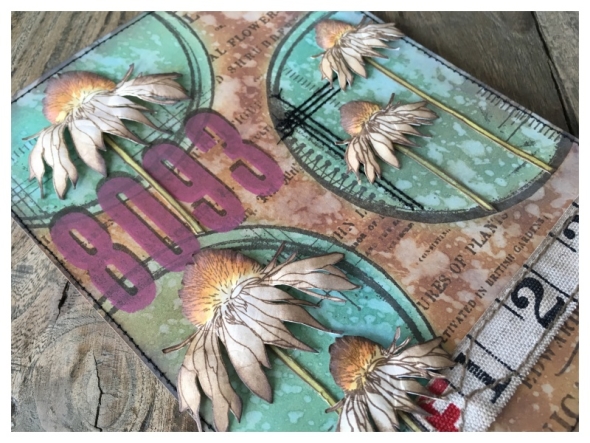
I started by stamping a circle collage background stamp by Wendy Vecchi in several places. I made masks with scrap paper so I could stamp the botanical register stamp (my current favourite) over the background, while keeping the collage circle clear.
I blended the new distress oxide inks in broken china and peeled paint into the inside of the collage circles and then used the masks to cover them while I blended in vintage photo distress oxide into the background. I then spritzed with water from a distress sprayer and dried with a heat tool.
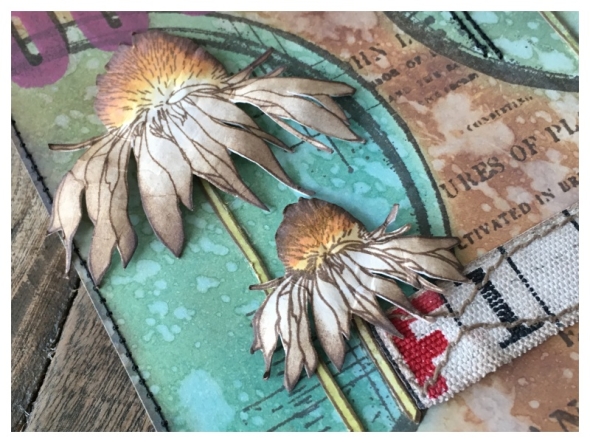
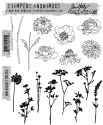
I stamped the daisy flowers from flower garden and mini bouquet stamp sets by Tim Holtz, onto the smooth side of distress watercolor cardstock with potting soil archival ink by Wendy Vecchi. Press distress oxide ink pads onto a non stick craft mat and pick up with a waterbrush and watercolour the stamped daisies. I love the depth of colour and slight chalkiness you get from distress oxide ink.
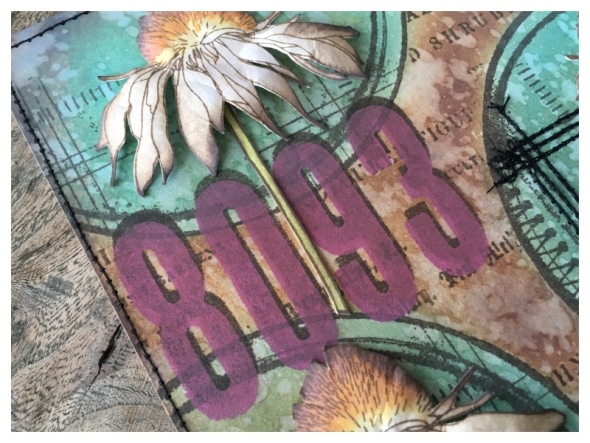
I used the same idea-ology foam stamps as last time. This time I used picked raspberry distress paint to stamp the first layer and then when dry, potting soil archival ink, slightly offset, for the top layer. Once stamped, I quickly rubbed with a piece of kitchen paper. The distress paint acts as a resist to the potting soil archival ink but the drop shadow remains. The potting soil does mute the brightness of the picked raspberry, (which I like).
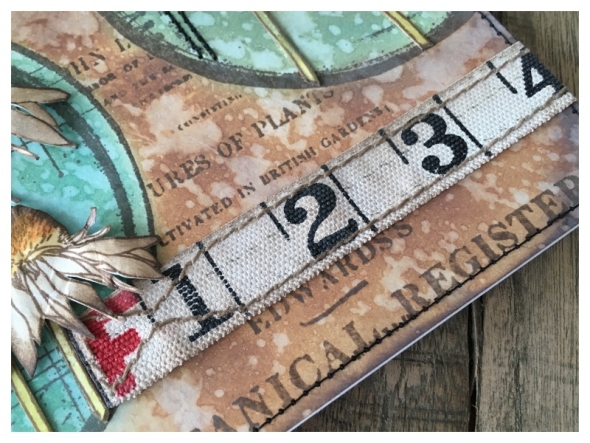
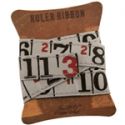
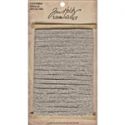
I stitched the edges and over stitched some of the stamped detail inside the collage circle and added an idea-ology ruler ribbon.
I hope you will find time to join in the challenge and pop over to Frilly and Funkie challenge blog to see the rest of the DT’s projects. All the products I used are available from The Funkie Junkie Boutique.
Thanks for stopping by.
Zoe

Save
Category DT, Frilly & Funkie, Ideaology, Ranger Ink, Stampers Anonymous, Tim Holtz, Wendy Vecchi | Tags: | 12 Comments | Views: 1,169
1st February, 2017 by iGirlZoe
Hello everyone. Thank you so much for your kind comments on my last post, I really appreciate it. Today I am back with part 2 of my samples for the Tim Holtz Idea-ology Booth.
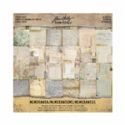
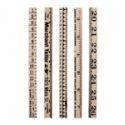
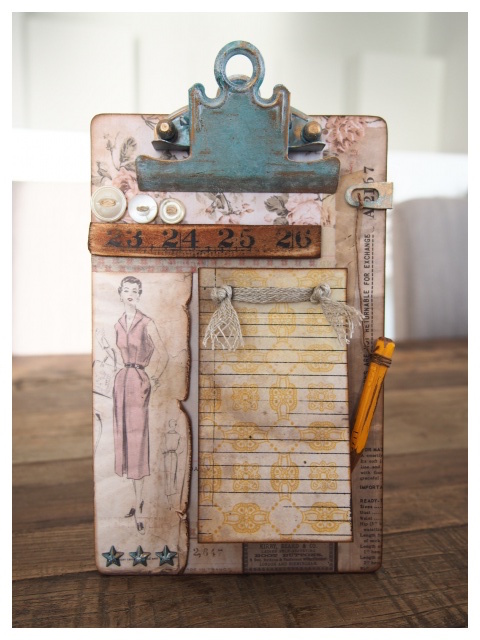 My second sample, a clipboard memo pad, was inspired by the gorgeous new memoranda paper stash and I HAD to use one of the new idea-ology rulers!
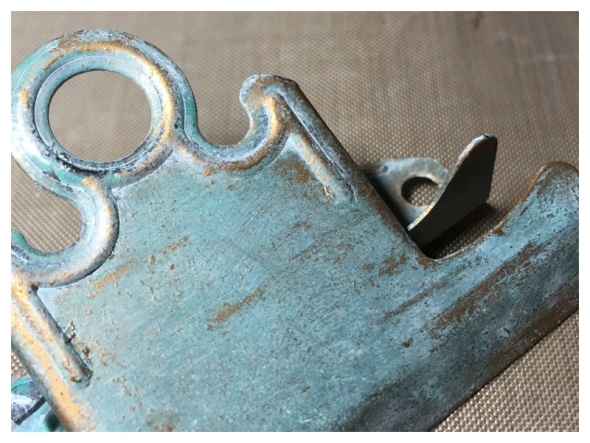
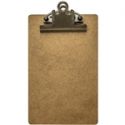
To begin with, I disassembled an idea-ology mini clipboard. Covered the clip with picket fence distress paint, dried a little and then wiped away the excess with kitchen paper. I repeated this process using evergreen bough distress paint. Finally I dry brushed with tarnished brass distress paint.
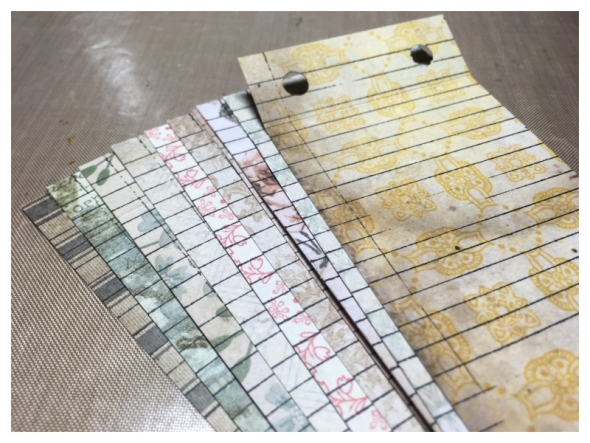
I used the notebook stamp from the Tim Holtz school desk stamp set (CMS057), with jet black archival ink and stamped onto paper from the new memoranda paper stash. I scored a line near the top and punched holes.
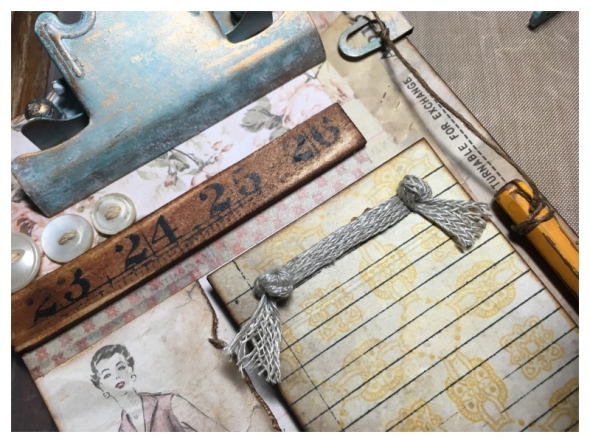
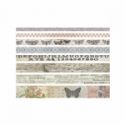
I covered the mini clipboard with paper from the Memoranda Paper Stash, ephemera from the snippets ephemera pack and design tape. I used linen ribbon to hold the memo pad together and adhered it to the clipboard. I added an aged pencil with twine to an adornments index clip which I aged with distress paint.
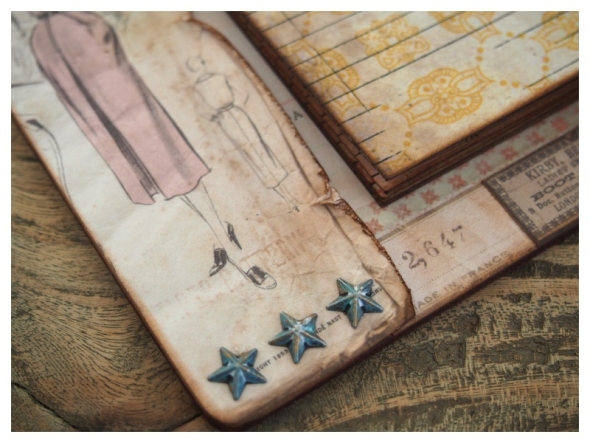
As a final flourish I added one of my new favourite idea-ology items, the adornments stars, which I aged with distress paint and attached with collage glue. …I won’t tell you how many packs of these I have ordered, but I would get in there quickly!
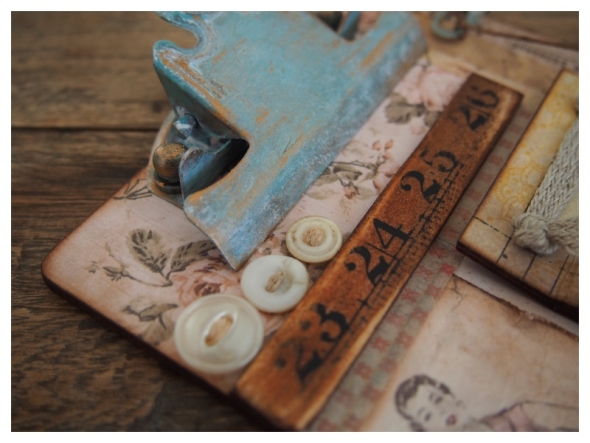
I snapped an idea-ology ruler in half, sanded with a sanding block and stained with vintage photo distress stain. The buttons are actual vintage buttons that Paula Cheney kindly sent me from her personal stash, (you should see the collection she has… swoon)!
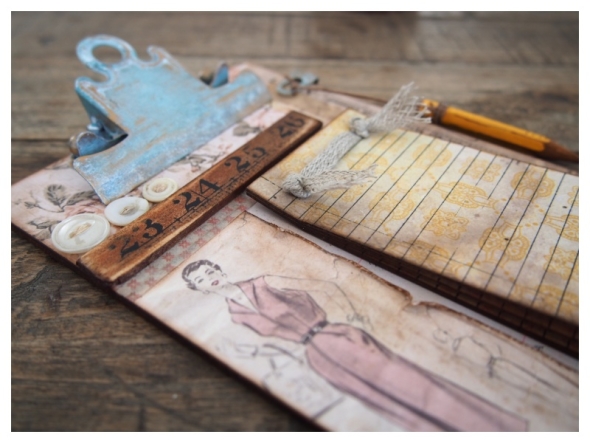
Again, a big thanks to Tim Holtz, Mario Rossi and Paula Cheney for inviting me to be part of this amazing team.
You can pre-order all of the new Tim Holtz products from The Funkie Junkie Boutique.
I’ll be back on Friday with the samples that I made for the Sizzix booth.
Thanks for taking the time…
Zoe

Save
Category CHA 2017, Creativation 2017, Ideaology, Tim Holtz | Tags: | 10 Comments | Views: 796
30th January, 2017 by iGirlZoe
Hello everyone. If you’re anything like me, the weekend before last was a write off as I spent it glued to social media waiting for facebook live videos and photos from this years Creativation, (formerly CHA).
Last week I spent pre-ordering all the new products and this week I’m going to share the samples I made for the Tim Holtz Idea-ology and Sizzix Alterations Booths.
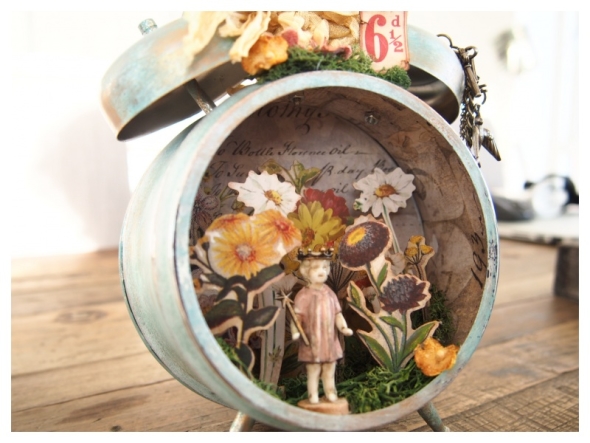
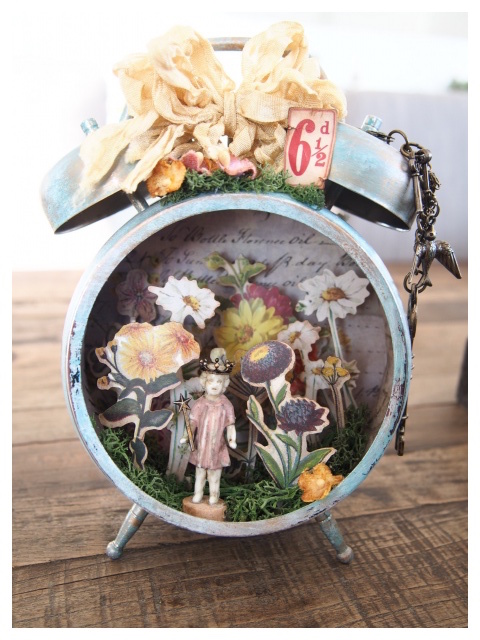 My first sample is a secret garden inspired altered assemblage clock, using lots of the new idea-ology line by Tim Holtz.
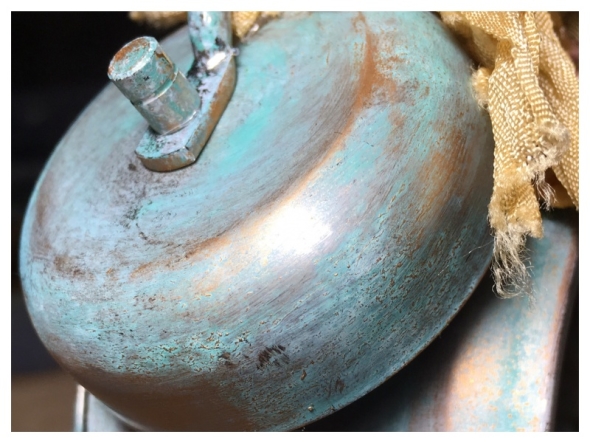
To begin with, I disassembled an assemblage clock. Covered it with picket fence distress paint, dried a little and then wiped away the excess with kitchen paper. I repeated this process using evergreen bough distress paint. Finally I dry brushed with tarnished brass distress paint. Once dry I reassembled the clock.
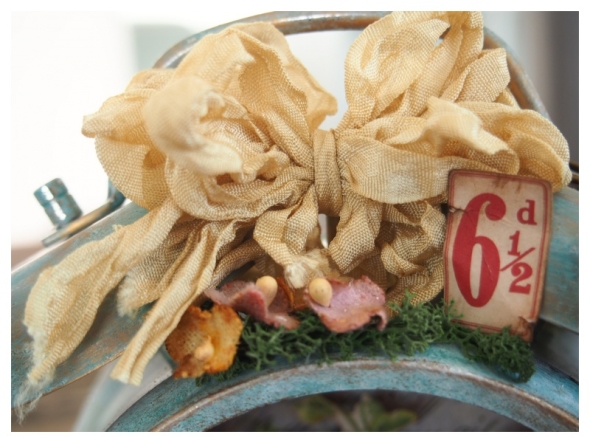
I added an crinkle ribbon that I stained with antique linen distress spray. I glued a little green moss to the top of the clock with glossy accents, adding some of the new bouquet findings flowers which I stained with fossilized amber and picked raspberry distress spray. I covered the center or the flower with scattered straw distress paint and added a few tiny drops of glossy accents to give a faux water droplet effect. Finally I attached my favourite piece from the new snippets ephemera. I seriously love this! Everything was edged with vintage photo distress ink.
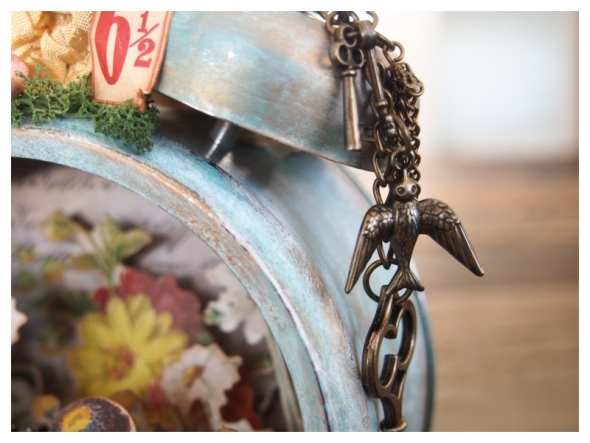
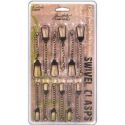
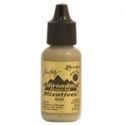
I aged a swivel clasp with adornments treasures and adornments keys with gold mixative alcohol ink and hung from the clock handle.
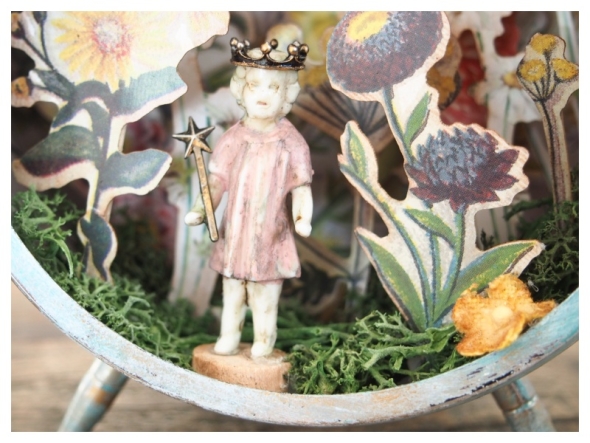
I covered the inside of the clock with paper from the new memoranda paper stash. Glued moss along the bottom of the clock and added botanical layer flowers. I added mushroom alcohol ink to a salvaged doll, altered her dress with a little victorian velvet distress paint. I added a crown and wand from the adornments treasures that I stained with gold mixative alcohol ink. I then nestled amidst the botanical layers.
It was such an honor to make a small contribution to the incredible Tim Holtz booths. A big thanks to Tim Holtz, Mario Rossi and Paula Cheney for inviting me to be part of this amazing team. Also to you, who take the time to visit my blog and instagram and leave comments cheering me on, I really appreciate it.
You can pre-order all of the new Tim Holtz products from The Funkie Junkie Boutique.
I’ll be back on Wednesday with part 2 of my samples.
Thanks for taking the time…
Zoe

Save
Save
Category CHA 2017, Creativation 2017, Ideaology, Ranger Ink, Sizzix, Tim Holtz | Tags: | 9 Comments | Views: 1,152
13th November, 2016 by iGirlZoe
It’s beginning to look a lot like Christmas… I’m delighted and very humbled to be following the exceptional talents of Audrey Pettit and Emma Williams, to share a project that I’ve made for the holiday inspiration series over on Tim Holtz’s blog.
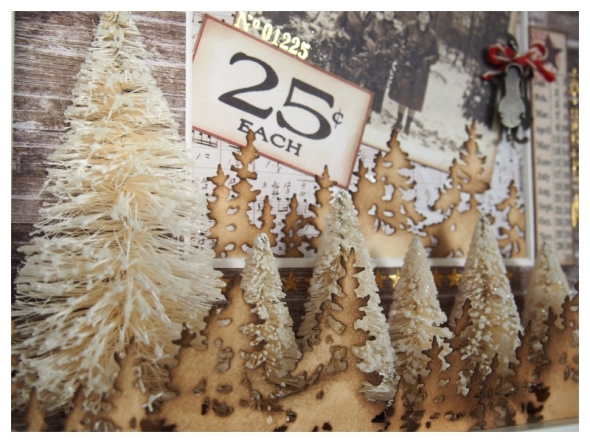
I wanted to make a home decor piece to display in my new home over the holiday season. I’m head over heals for this years Tim Holtz holiday products, many of which I used in my project, including the new gilded remnant rubs (YES I SAID GILDED)!!
If you haven’t seen the new holiday products, they are HERE and HERE. Once these holiday hotcakes are gone, they’re gone, so get them while you can!
You can see the full project and tutorial HERE. I really hope it inspires you to make something during the holiday season. Be sure to pop back to Tim’s blog regularly to see more holiday inspiration to come.
Have a great week.
Zoe x
Category Christmas, Ideaology, Sizzix, Tim Holtz | Tags: | 4 Comments | Views: 355
 It took me so long to decide what do to for this challenge. My usual creative enthusiasm has been rather lackluster of late. Having just moved to Denmark 10 months ago, we are now having to move out of our apartment completely while they put new floors in. So I’m packing again, and honestly, I feel really tired!


