Hello friends. If you’ve been tuning in weekly to the Tim Holtz facebook LIVE Saturday demos, you will have seen the new Sizzix framelits sets; Snarky Cat and Distinguished.
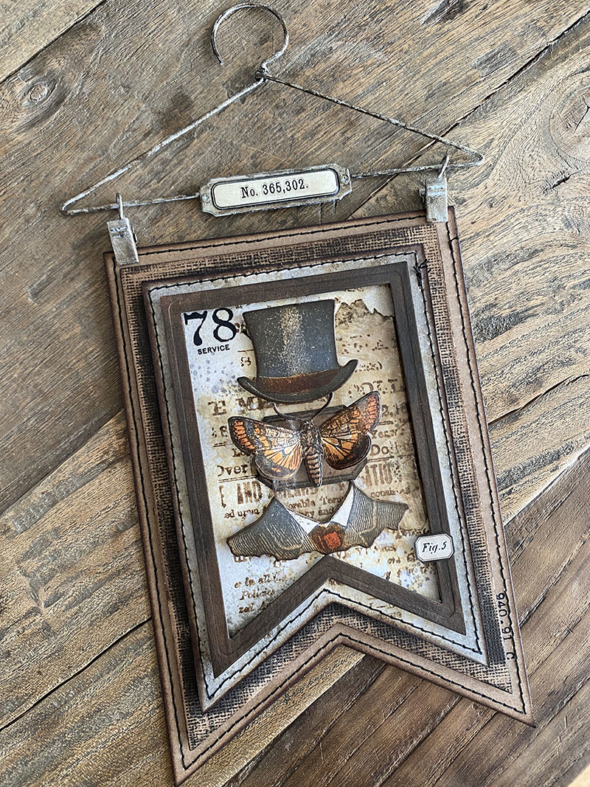
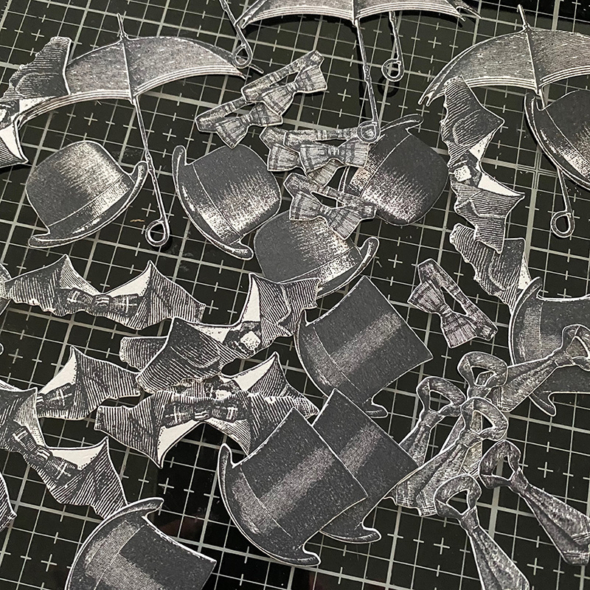
And if you know me, even a little, you probably know I love a hat and when the distinguished CMS371 stamps set were released I put hats on everything and I have fussy cut A LOT of hats, so I went a tiny bit hatty over having framelits to match my favourite ever stamp set. I was very lucky to have an advance copy of the distinguished framelits set as one accidentally (but not so accidentally) fell into a box that was being shipped to me! It’s not been easy keeping it under my hat. But now the cat is out the bag (I’m stopping I promise), let’s get to the banner panel details…
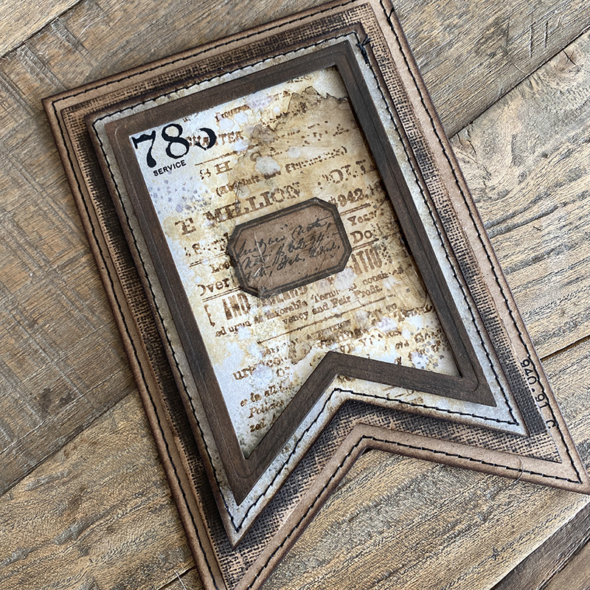
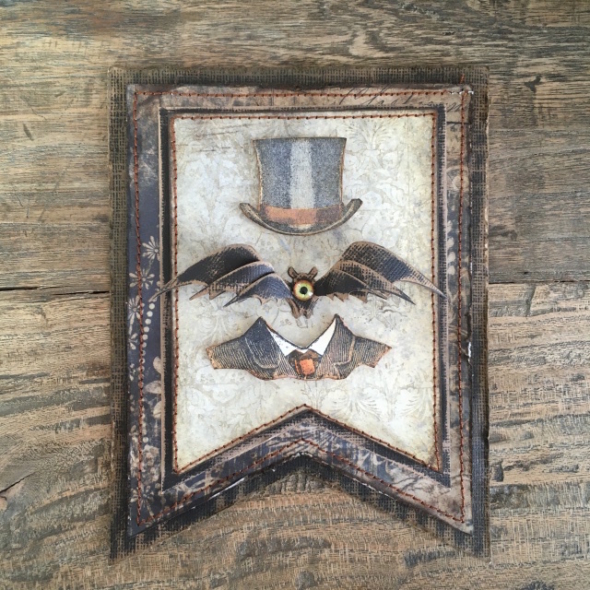
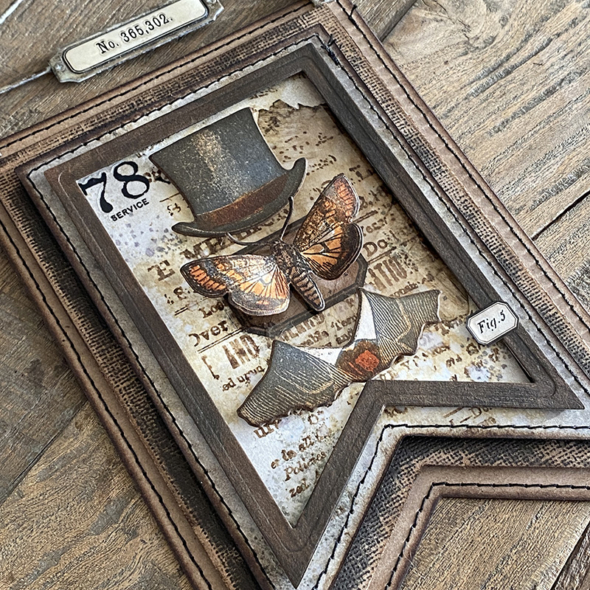
The base layer of my banner panel is the new distress kraft heavystock. It’s 130gsm and perfectly solid as the base, but I stitched through it with ease. The next piece up is idea-ology blackout kraft-stock, sanded mounted onto adhesive foam. The top layer is the new distress mixed media white heavystock. Oh this stuff is magic! The ink just acts differently on it to the mixed media heavystock. If you try it, I think you’ll understand what I mean. I stamped the background stamp from the professor 2 stamp set, this stamp is rarely off my desk at the moment. I added a label that I stamped onto the kraft stock and fussy cut. Finally I added a banner frame that I die cut from kraft stock and painted with ground espresso distress paint and sanded back. Everything is edged with ground espresso distress ink. I keep reaching for this instead of walnut stain at the moment. I think maybe ground espresso is my “winter brown”.
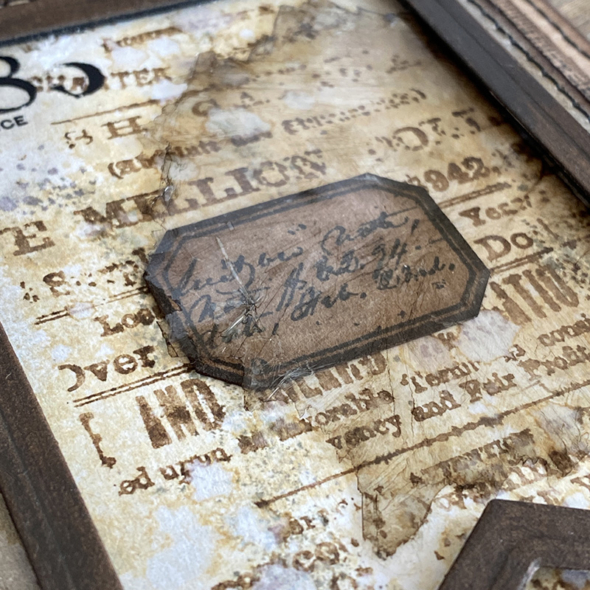
I added a piece of mica over the top of the label, which I glued into place with distress collage medium under the banner frame. I broke pieces away from the edges and you get this grungy tattered look.
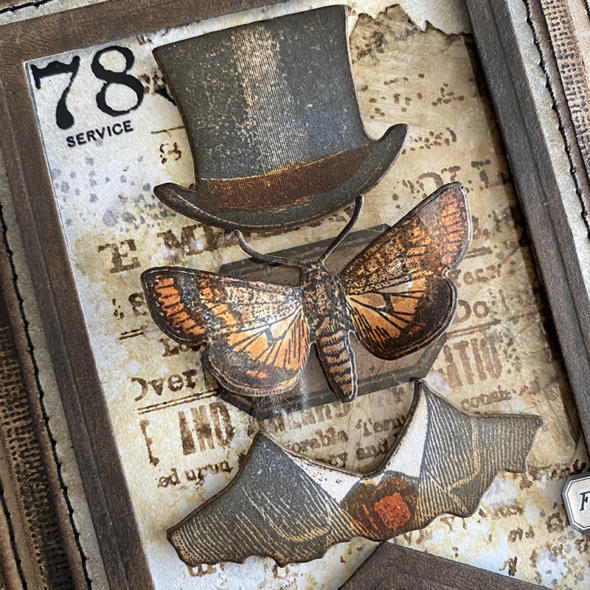
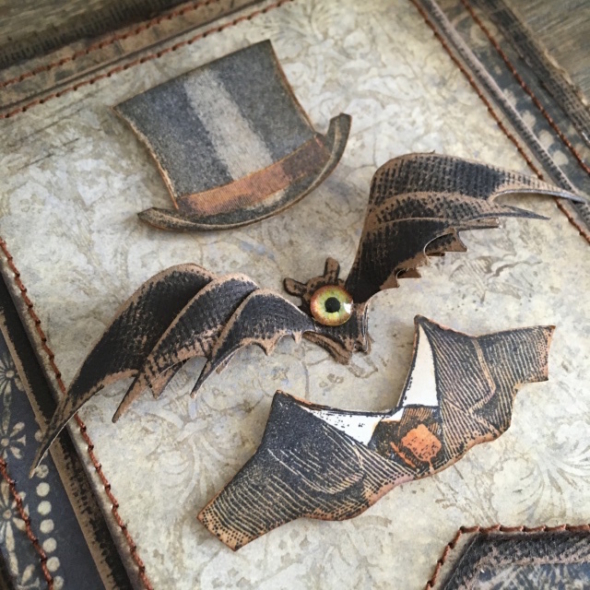
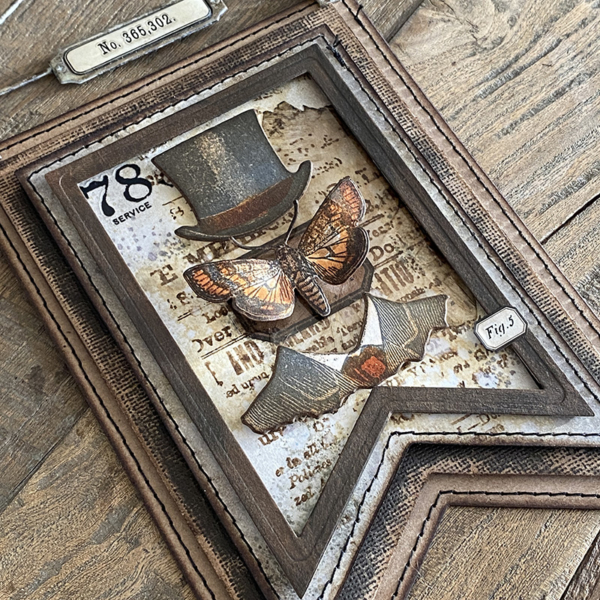
I die cut and then stamped (yes in that order) the hat and suit. Check out the LIVE on Tim’s blog to see the great hack that his good friend Joy Kennedy showed him. It’s an absolutely brilliant technique, thanks Joy and Tim, this is a game changer and not just for these framelits, but for all the others in my collection too.
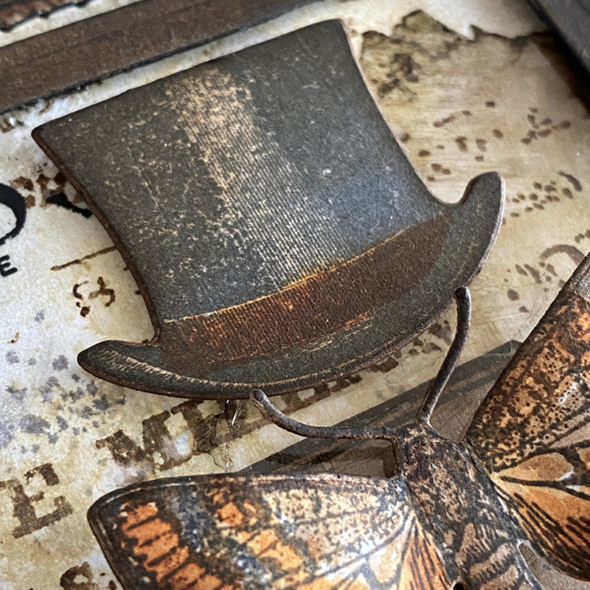
Like this moth die, cut from the entomology set using the matching framelits die set and using the same technique. Whilst I love fussy cutting, I can’t tell you how many times I had cut the antenna off bugs before these dies.
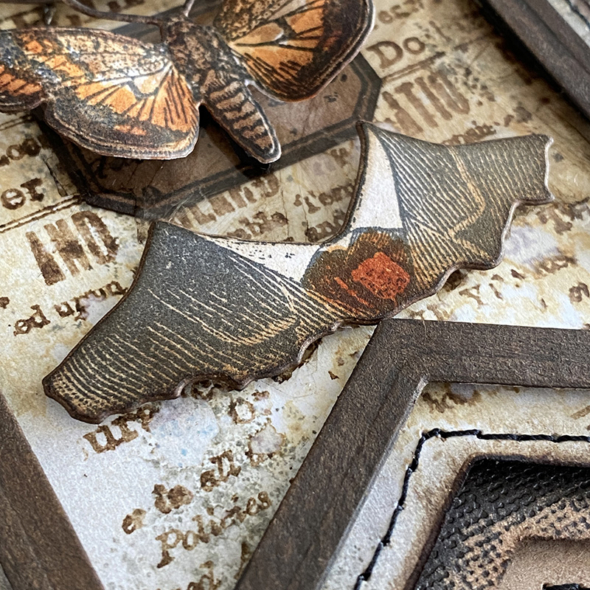
Look at the cut on the suit jacket. I’m a very very happy crafter!
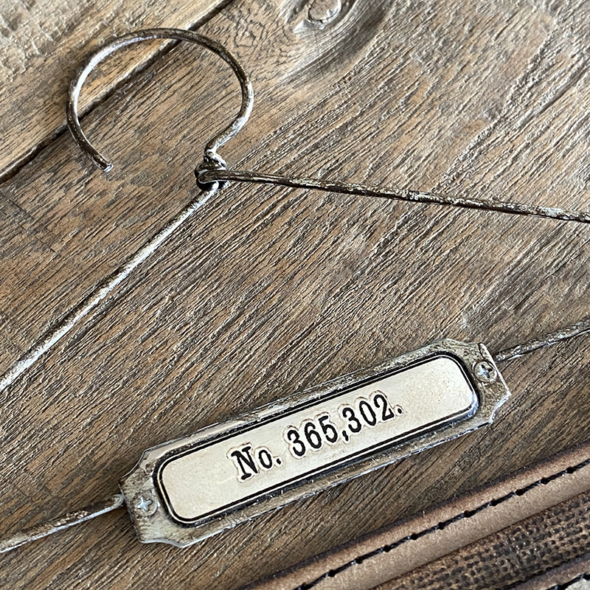
I used this display hanger from the idea-ology range to hang my banner panel. I dabbed on picket fence distress paint and when dry, added a little ground espresso distress paint with my finger. I added remnant rubs to the label sticker that comes with the hanger and added the epoxy bubble sticker over the top, also comes with the hanger.
Thanks for stopping by, if the distinguished framelits dies are still available when you’re reading this and you would like to have a set, please don’t delay. Once the stock is sold out, they won’t be manufacturing more. I say this simply so you don’t miss out, especially if hats (or cats) are your jam,
If anyone wants me, I’ll be over here making Christmas cards. Check out Tim’s video on his blog!
Zoe
