Hello friends. Happy idea-ology Christmas Day! I’m sharing my first make for the Tim Holtz idea-ology Christmas LIVE. If you missed the LIVE, you can catch the replay and see all the incredible inspiration makes over on Tim’s blog.
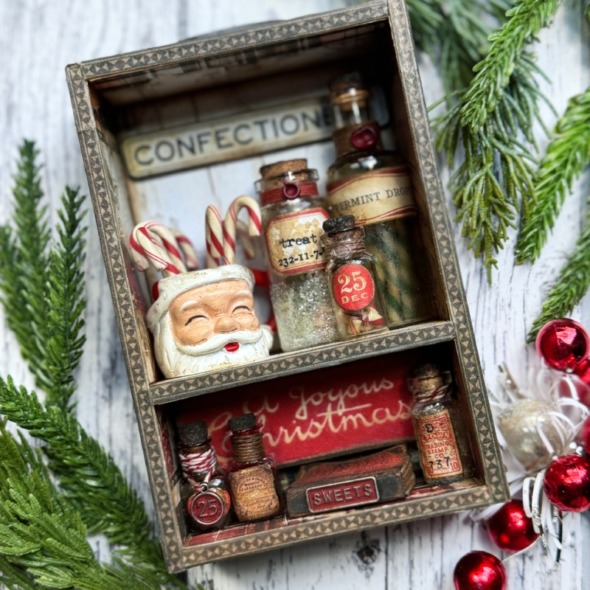
I think you’ll all agree that the best piece in this years idea-ology Christmas line was the Santa Mugs. Oh how I love them. It was the starting point for this make, so let’s get into the details…
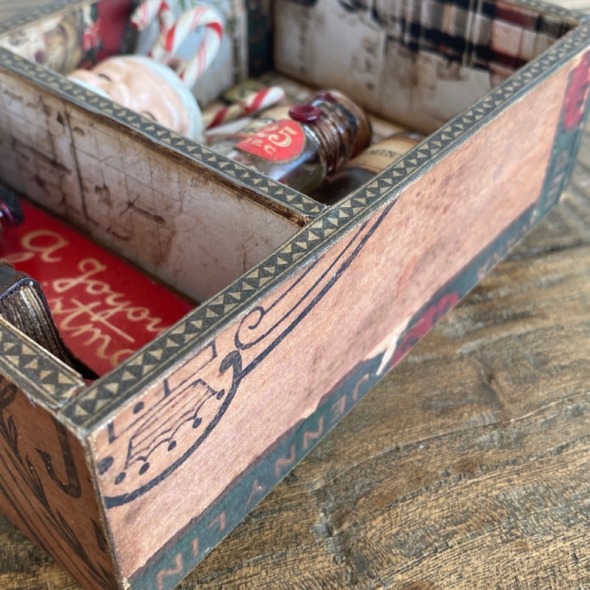
First, I carefully broke one of the dividers inside the vignette card file box and then covered the inside and outside with paper from the backdrops pack. I added design tape to the front so you can’t see where the extra divider was removed from.
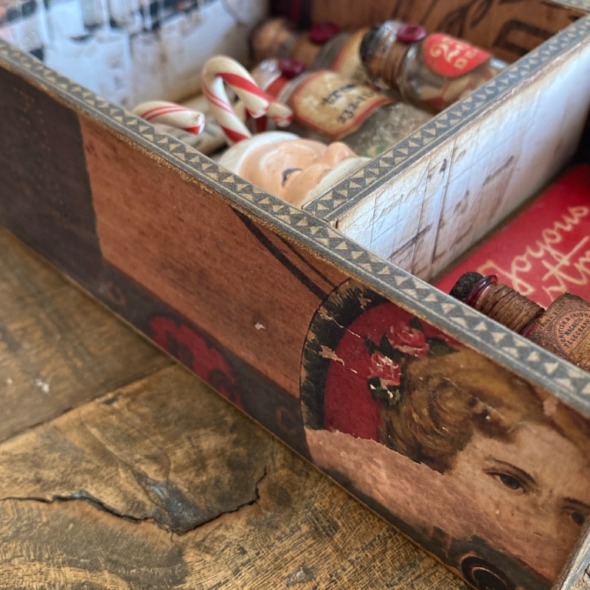
I love this paper from the backdrops, it looks like an old cigar box.
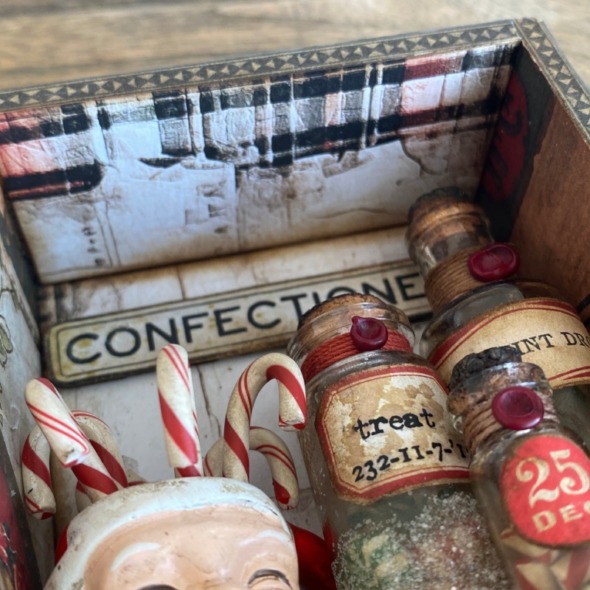
I added some of the cool new plaid paper from the backdrops pack to the inside of the vignette. I love that it’s so grunged up and I didn’t need to do anything to it.
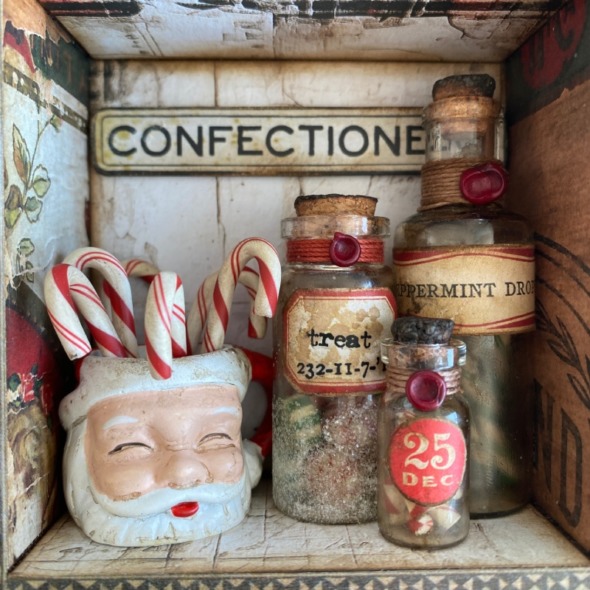
Let’s talk about this Santa Mug… WOW! WOW! WOW! They are available on pre-order, shipping early October and I’m telling you, they’re going to sell out, so please, if you want them, don’t wait. I think Tim absolutely knocked this out of the park and I may or may not have stocked up on a few extras for my museum collection! 😉
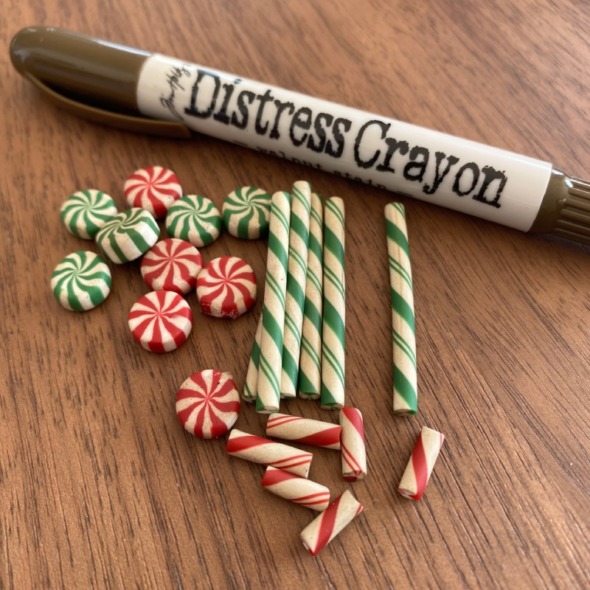
I altered an entire pack of idea-ology confections by rubbing walnut stain distress crayon over each piece with my fingers.
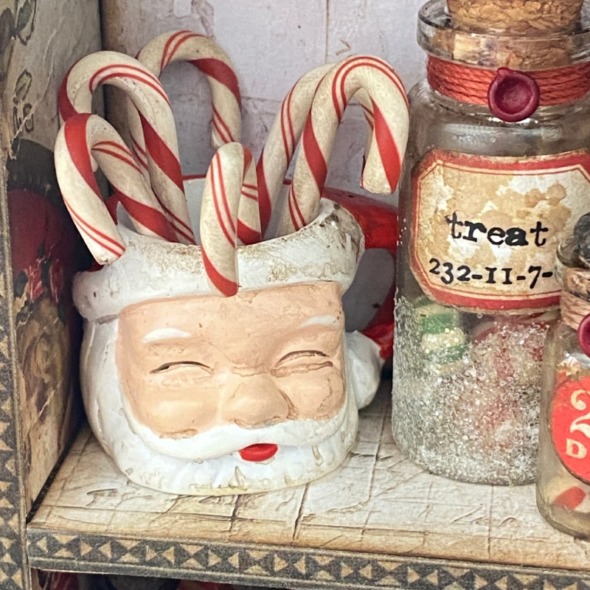
I shortened the candy canes, keeping the excess pieces for one of the other bottles. I rubbed more walnut stain distress crayon over the Santa mug and spritzed with a little water, rubbing with my finger to make him really grungy.
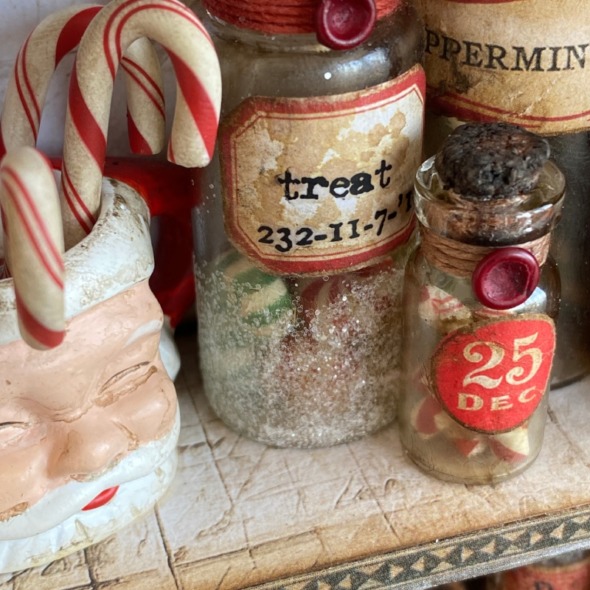
Covered corked vials with alcohol ink and rock candy glitter and added ephemera pieces which were grunged with distress ink and added some remnant rubs.
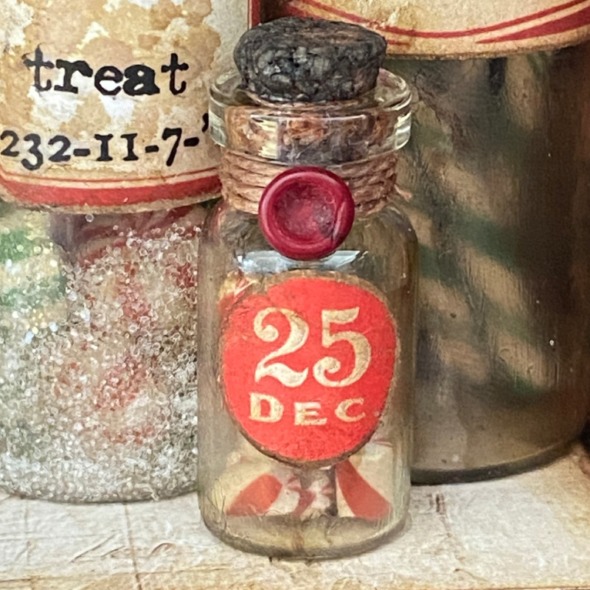
I created tiny wax seals by dropping a single bead of red wax onto my non stick craft mat and pushed a pin head into the wax and pulled it out once the wax had set. I peeled the wax seal off the non stick craft mat and glued onto the bottle with a dot of distress collage medium. Cute right?!

I added confections to each of the bottles and glued into the vignette card file with distress collage medium.
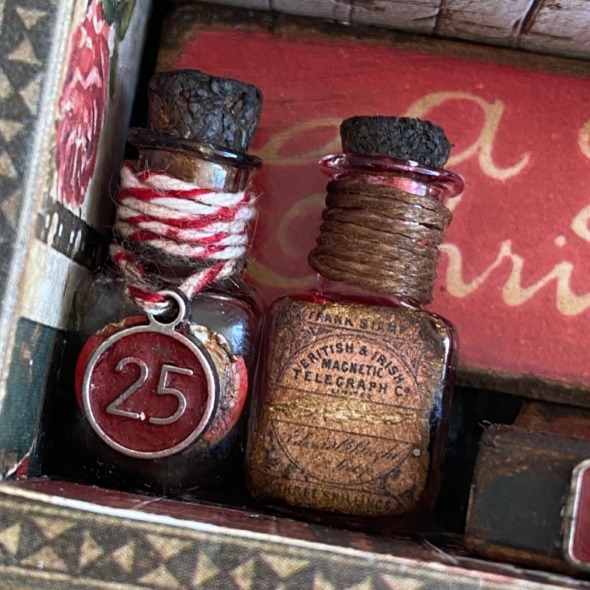
In the bottom of the vignette card file I added tiny vials with more of the Christmas ephemera and a word tag, which I added lumberjack plaid distress crayon to and then wiped the surface to reveal the metal 25 and edges.
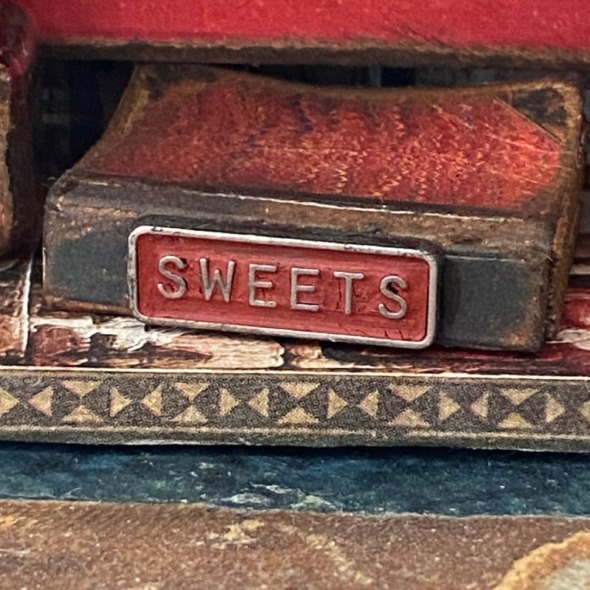
I did the same to the sweets word tag, clipping the ring off the side and gluing to a book I made with a book cover from the Christmas ephemera pack. I have a step by step on how to make these tiny books HERE.
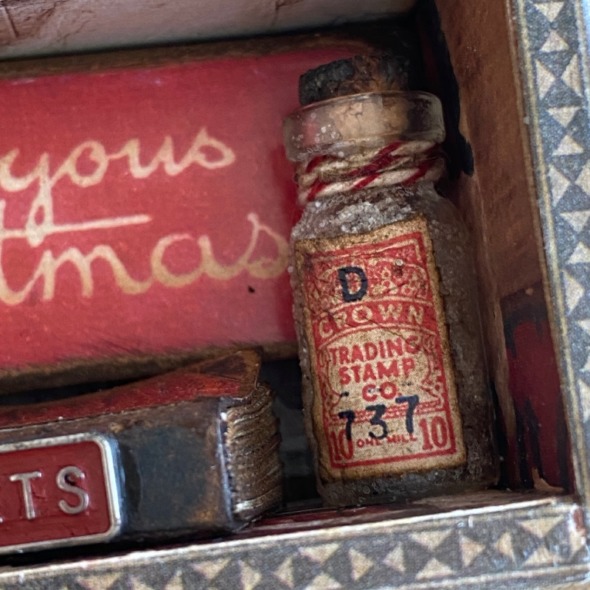
I added a baseboard piece to the back of the vignette card file with 3D foam so the bottles would sit nearer the front of the vignette.
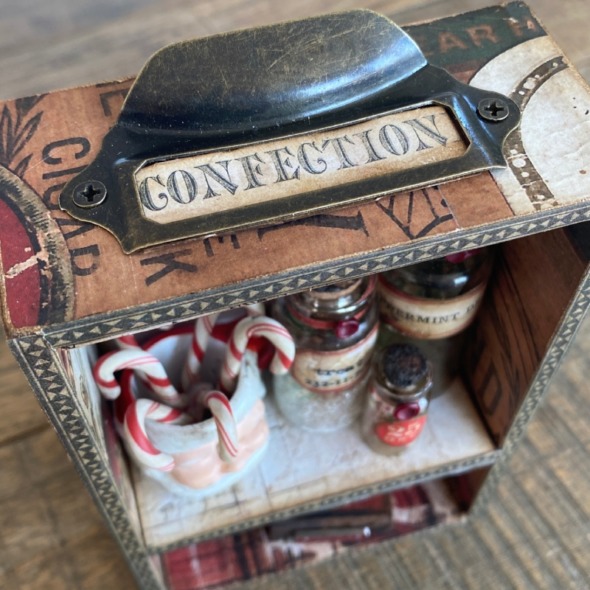
Finally I added a piece of ephemera to the inside of the pull handle on the top of the vignette and my confection box was complete.
Thanks for stopping by and let me know if you have any questions.
Zoe
…
affiliate links used at no cost to you


Outstanding!!! Thank you for walking us through the details and close-ups. Those tiny wax seals are the kind of little extra touch that brings your makes to champion level. Beautiful!
Absolutely gorgeous make Zoe. I LOVE that tiny santa mug with all the peppermints, and SO MUCH more!! Thank you for sharing your tutorial.
As always Zoe, a masterpiece. I love your style and that you share how you make them. Great inspiration xx
I love everything about this!
I love this!
Love this vignettes Zoe❤️The Santa mug, the peppermint candy and oh all the wonderful extra details. HoHoHo 🤩❤️😊
Hi Zoe,
I love your vignettes! I am new to this style of crafting, can I ask what glue medium you used for adhering the scrapbook paper to the little boxes? I definitely don’t want to use the wrong stuff and risk the paper not sticking and ruining my hard work. I would so appreciate it! My sister and I are planning a craft day to make mini Christmas gifts!
Thank you so much for your help! I found your blog after watching Tim Holtz Christmas video!
She used Tim Holtz Distress Collage Medium Matte