Hello friends! I’m finally getting to posting my idea-ology 2022 LIVE launch makes. I’ve been really busy and then I got into re-organizing my entire craft stash and now my apartment is a hot mess, so I’m taking a break from the chaos to write this blog post. I don’t write them in advance, I’m not that person, I worship those people!
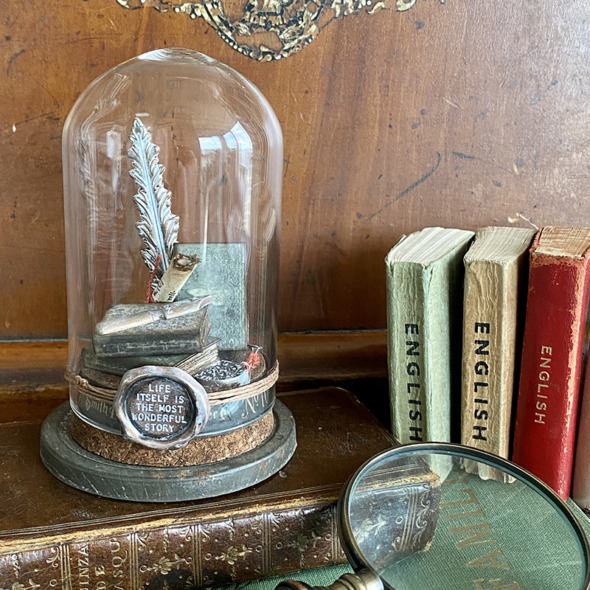
I created a simple dome for the LIVE launch, you can see the replay on Tim Holtz blog. The idea-ology display domes are one of my favourite bases to work on and I was inspired by the quill from the idea-ology adornments quill and arrow set and book covers from the memoir ephemera set to create a writing themed dome.
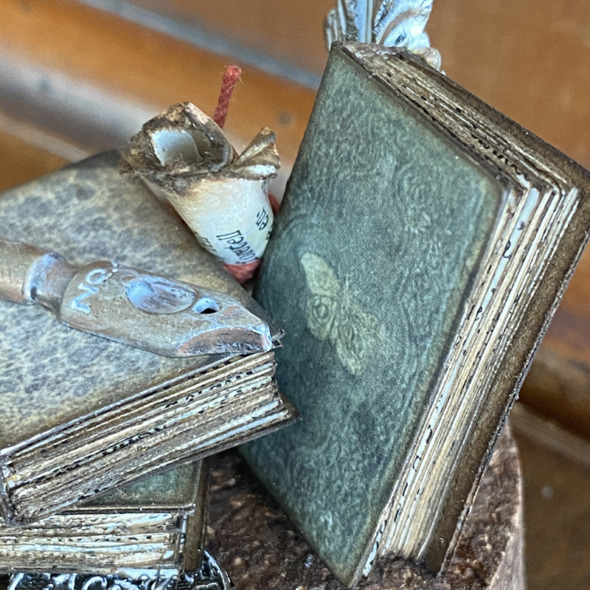
I love the book covers that come in the ephemera packs. I was so happy to see Tim bring them back after Halloween and add new ones. Tim always brings us the best vintage styled ephemera. Keeping my fingers crossed there will be a dedicated book ephemera pack one day!
Here’s how I made the book covers into mini books…
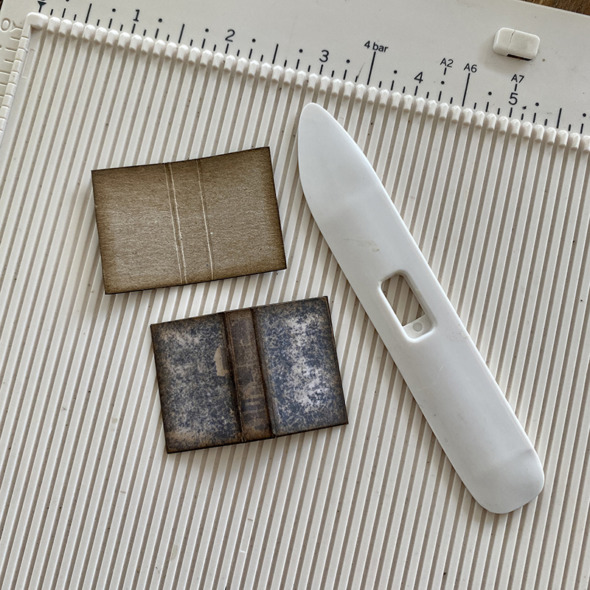
I mounted book covers from the memoir ephemera pack onto distress kraft heavystock with distress collage medium, trimmed with my scissors and scored the spine with my scoring board. Mounting them gives you a nice hardback mini book.
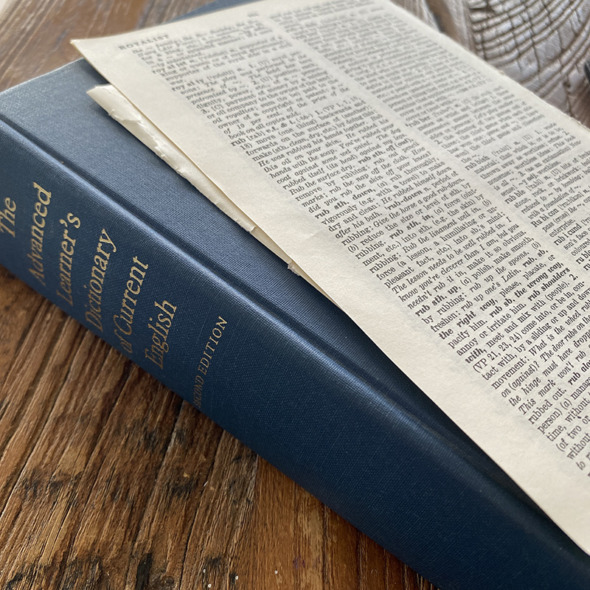
I use pages from a very old oxford dictionary that my father in law kindly gifted me from his book stash years ago. I made sure that he knew I was going to cut it up for crafts. The pages are wafer thin but take distress ink beautifully.
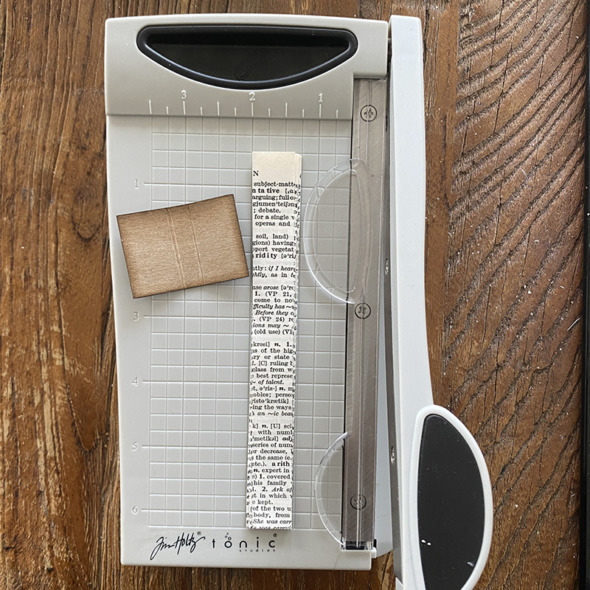
Using the Tim Holtz Tonic mini trimmer, I cut strips of dictionary pages to fit the book cover.
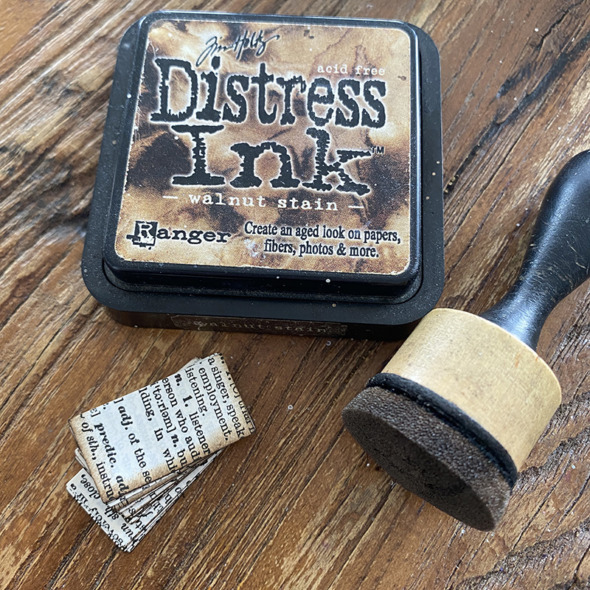
Pinching the pages together, I inked 3 sides (no need to ink the side you’re gluing into the book cover).
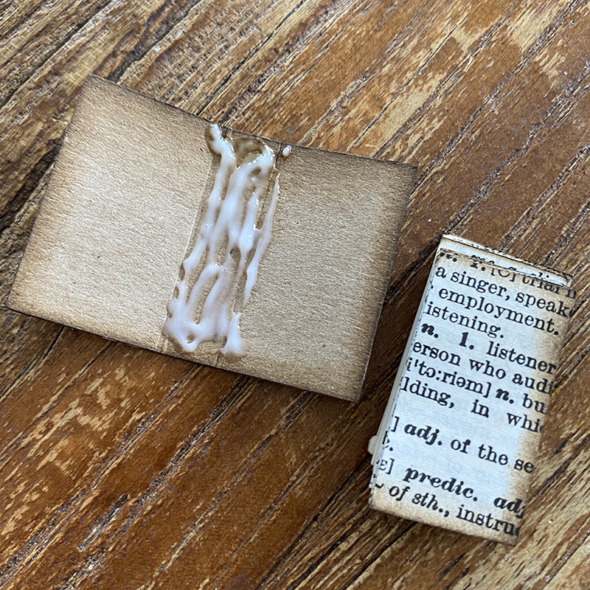
Add a generous amount of distress collage medium to the inside spine of your book cover and place the pages into the book and pinch the covers together. Push the pages back toward the spine. Pinch and push, pinch and push.
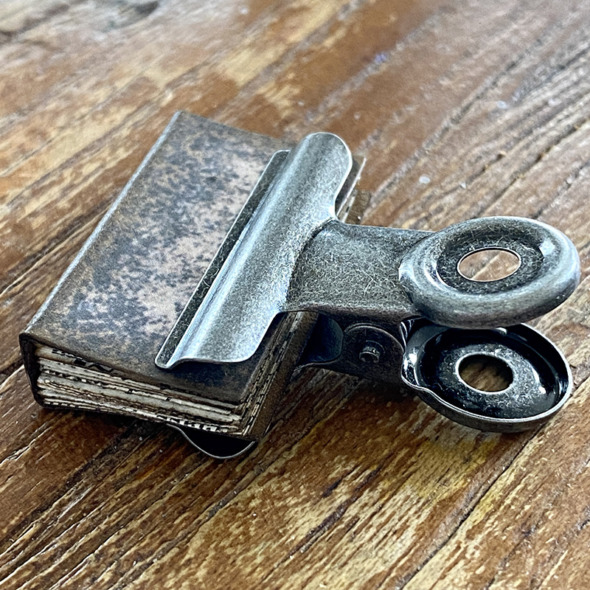
I used an idea-ology large hinge clip to hold in place while the book pages dried.
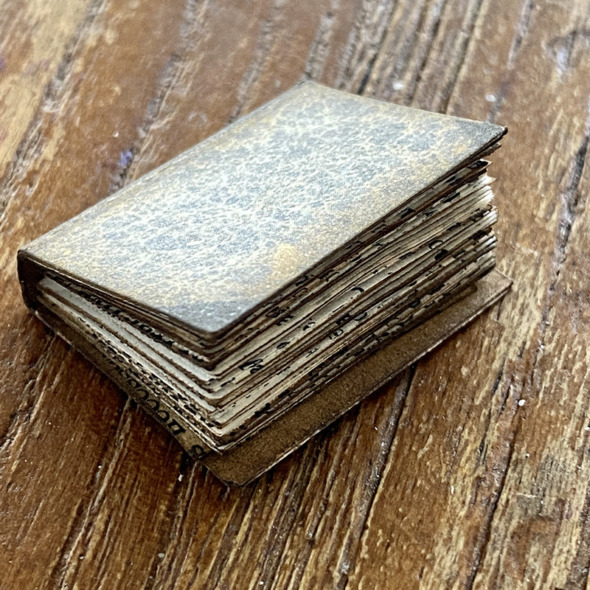
Cute right? And the distress kraft heavystock inside the book cover looks vintage.
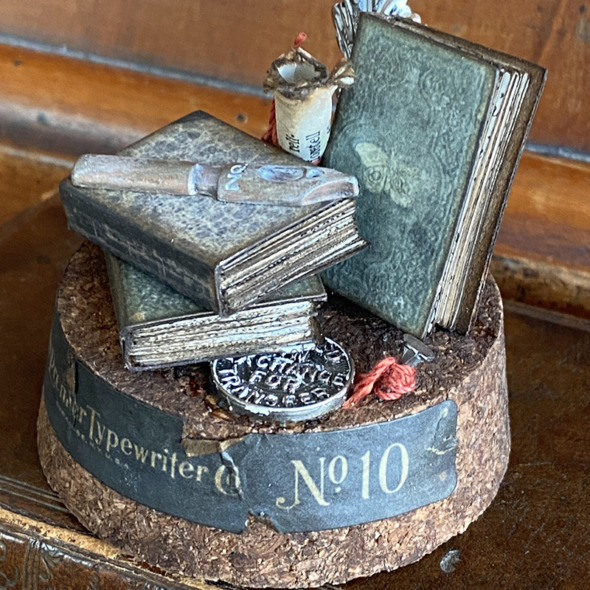
I added an idea-ology tack nail to the cork base and tied with a little string. I used the same string on the scroll (below). This string was leftover from the make and take at the 2019 Creativation show idea-ology booth. I like using it in my projects as it brings back great memories.
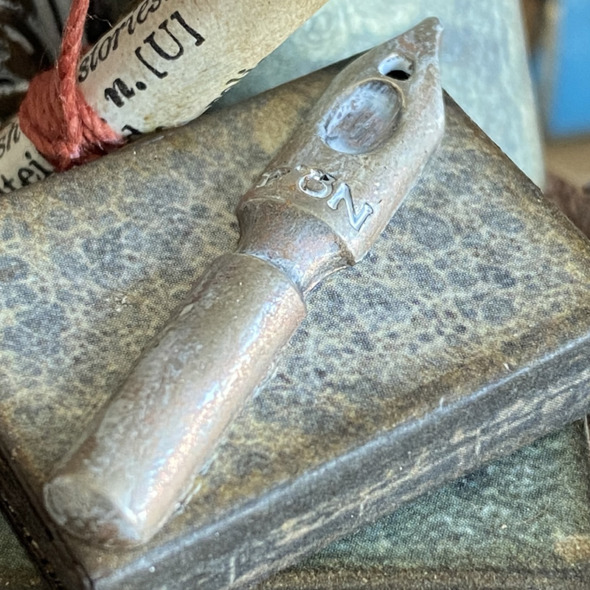
The idea-ology pen nib from the odds and ends set was perfect for my writing themed dome. I added a little iced spruce and frayed burlap distress paint to age a little, pushing it into the recessed areas to highlight them.
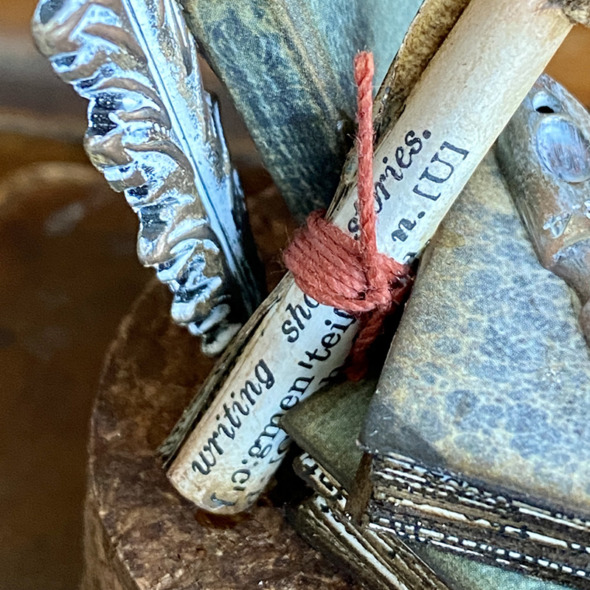
To alter the quill from the idea-ology adornments quill and arrow set. I added iced spruce and picket fence distress paint, removed the excess and once dry, rubbed walnut stain distress crayon over the top. I pushed the quill into the cork base with a little distress collage medium to stop it moving about.
While I was cutting old dictionary pages I spotted the sentence “writing short stories” and knew I had to feature it in my dome as it was PERFECT for the writing theme. I love it when things like this happen. I rolled the paper into a scroll and tied with string.
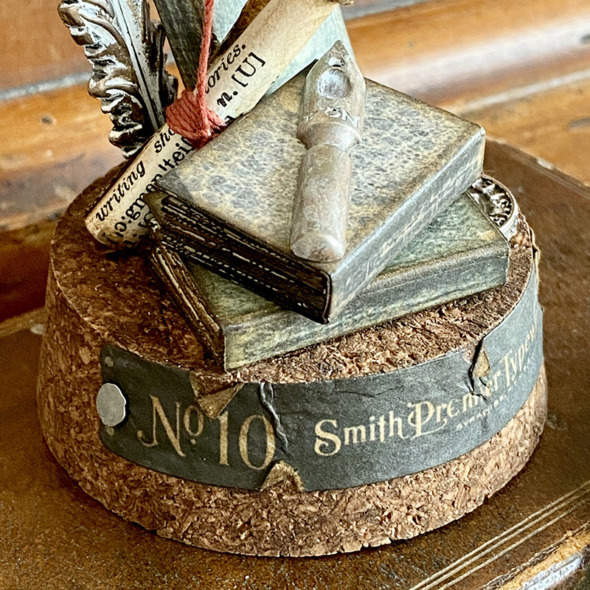
I added this cool piece of ephemera from the memoir ephemera set to the base with idea-ology tack nails. You need to make sure the tack nails are pushed right into the cork so that the glass dome will fit over the top.
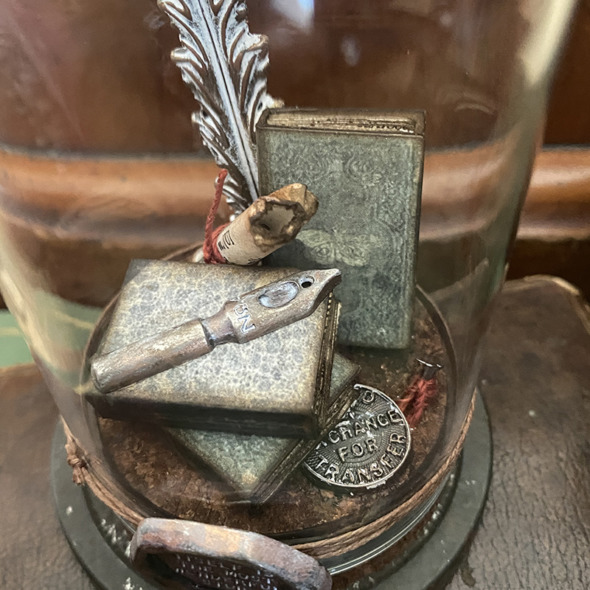
I added this idea-ology bus token which is one of my favorite idea-ology tokens ever, from the odds and ends set. All the pieces inside the dome are glued to the cork base or to something attached to the cork base with distress collage medium.
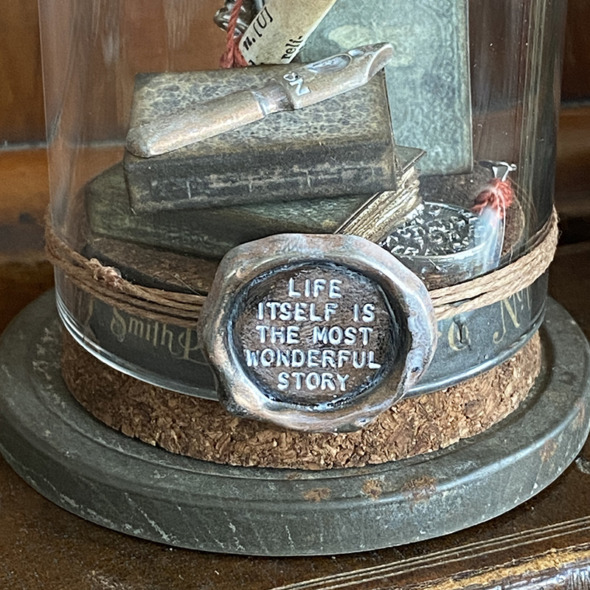
Finally I added an idea-ology quote seal over the top of jute which I had wrapped around the outside of the dome. I pushed picket fence distress paint into the recessed areas of the seal and wiped away the excess with a cloth. I stood the dome on a vintage jar topper that Tim kindly gifted me.
Thanks for stopping by and let me know if you have any questions.
Zoe
…
affiliate links used at no cost to you


LOVE this piece. I’ve been making a lot of what I call “under the dome” projects recently. I definitely have to try this!! Thanks for the inspiration. You are truly one of a kind!!
Really nice piece Zoe, love the books!!!! I will have to go check out the vlog, I must have missed it 🙁 Have a great Monday!
Love how all the details intertwine with each other. I am hoping for a pack of book covers, too! That would be awesome. Thanks for the tip of adding the kraft heavystock to the book covers so that they are hardback….it’s all in the details….
You are so amazing
Wonderful! You gave me so many ideas!
Fabulous project, I love mini things!
It is really beautiful, Zoe! I’m a fervent reader and a poet, I love books (especially vintage ones) and their smell, AND I used to be a miniaturist! So there you have it! A few of my favourite things incapsulated in one gorgeous make! Love, love, love!
Delightful, Zoe!! Love this piece!! 🙂
Absolutely beautiful! All the details & and bits & pieces are what amazes me. Amazing make Zoe!
Love it! Thank you for all the wonderful idea’s 😍
Awesome love the tiny books , thank you
So very stunning Zoe. I love books.
Thank you so much for sharing your inspiration and tutorial.
Stay safe and have a wonderful day.
This is an awesome piece! I love reading about your process! It is so inspirational! Thank you!
Love this little vignette. So enjoy your makes. Thank your for the inspiration
Oh my I love it Thank you for sharing I love seeing all the Ideology makes I’m afraid I don’t have the space or creativity to do this myself x
What an incredible make with your attention to every detail!! Fabulous ❤️
all I can say is “wow”…thank you for sharing
Simply, beautiful!
This is so cool! I love all the pieces and the books. You put them together so well. I really like that it’s under a dome. Makes it more curious, a show stopper for sure!
This is awesome!
Stunning, Beautiful!
Beautiful! I love the entire make but those books are extra stunning!
Its a beauty..what a creative mind you have..well done!
Thank you for this lovely little tutorial for these tiny books and this awesome Display Dome full of awesomeness.
Thank you Zoe. I made the first book today. I think it turned out okay, thanks to your instructions. More to follow until I have a good number for a shelf and what not.❤️
[…] Using a book cover from the idea-ology halloween ephemera pack, I made a mini book and added labels stamped from the Curator CMS493 stamp set, stamping Boo from the Spooky Spirits CMS492 stamp set. You can see how to make the mini books HERE. […]
You are extremely gifted❤️❤️❤️
[…] I did the same to the sweets word tag, clipping the ring off the side and gluing to a book I made with a book cover from the Christmas ephemera pack. I have a step by step on how to make these tiny books HERE. […]
[…] Taking one of the book covers from the idea-ology Christmas ephemera pack, I made a mini book and attached “humbug” from the idea-ology Christmas stickers book to the front. I have a step by step on how to make the tiny books HERE. […]