‘Craft’ Category

  1. 12 Tags of 2014 – August

    31st August, 2014 by iGirlZoe

    Tim Holtz 12 Tags of 2014 August
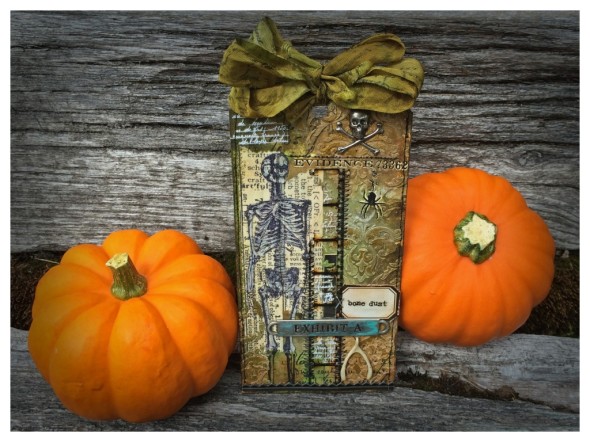
    As pumpkins begin to line the streets here in Switzerland, August’s 12 Tags of 2014 had to be Halloween themed.
    Tim Holtz 12 Tags of 2014 August
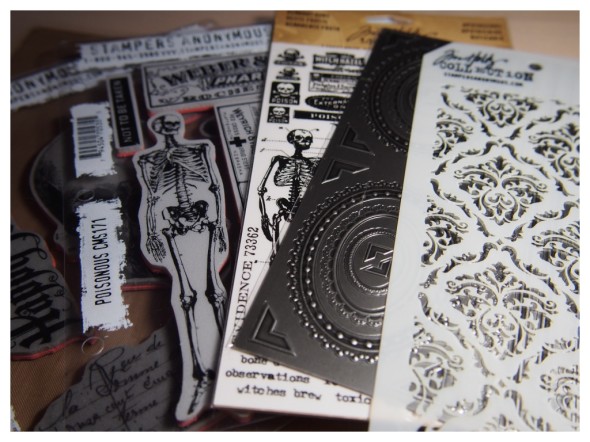
    I grabbed a few of my Tim Holtz products, including the new gothic layering stencil which I LOVE LOVE LOVE! I can’t wait to get my hands on the newly released Halloween stamps next weekend.
    Tim Holtz 12 Tags of 2014 August
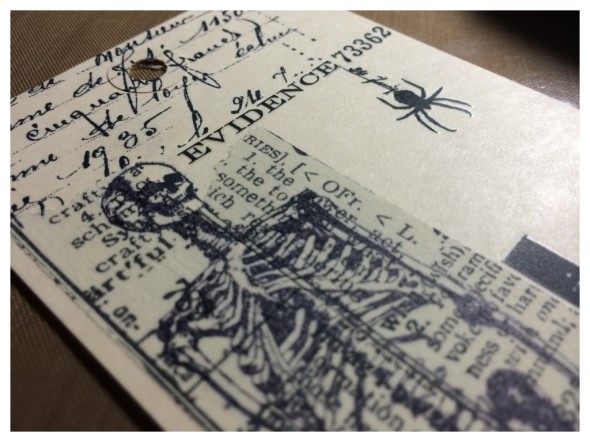
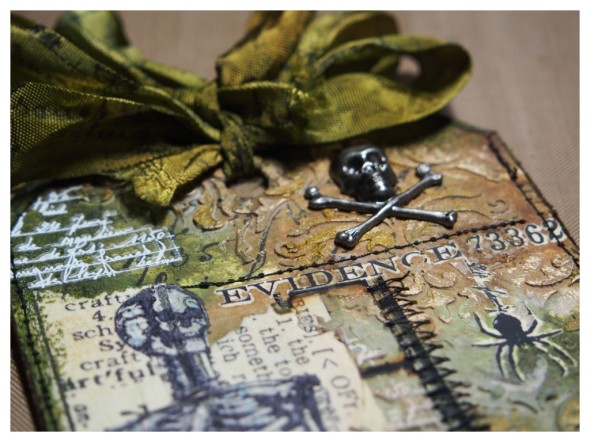
    I really like the tissue tape resist technique (see Tim’s blog). I laid down my tissue tape, added remnant rubs from the Halloween set and stamped my chosen images with black archival ink.
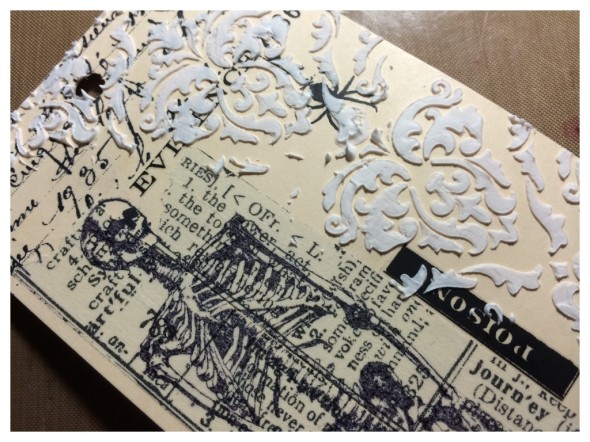
    Tim Holtz 12 Tags of 2014 August
    My favourite part of the tag, adding texture paste through the gothic stencil. Lifting the stencil afterwards just fills me with glee! LOL
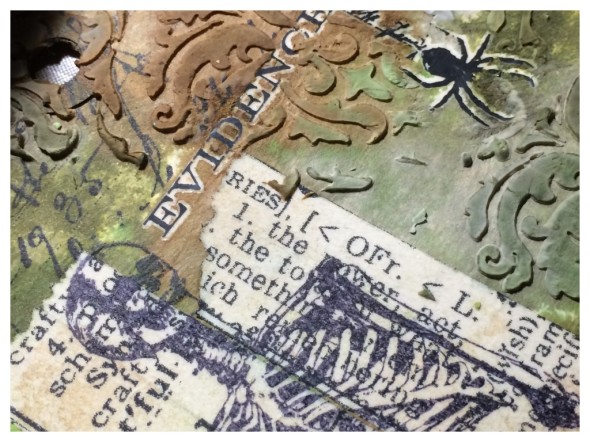
    Tim Holtz 12 Tags of 2014 August
    I swiped the tag through distress stain, the remnant rubs resist the stain really well. A portion of the skull looked too dark once stained, so I stamped a skull onto another piece of tissue tape, cut out and stuck over the top.
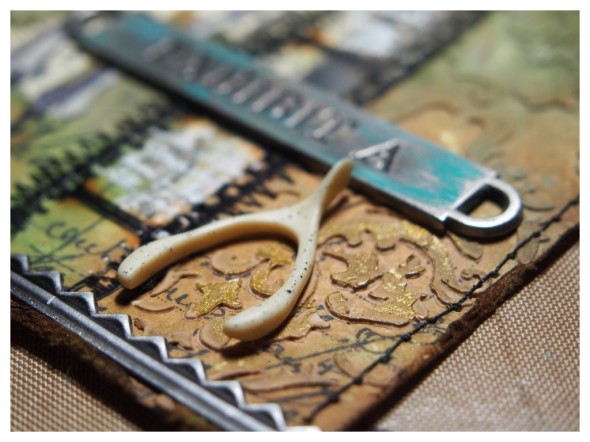
    Tim Holtz 12 Tags of 2014 August
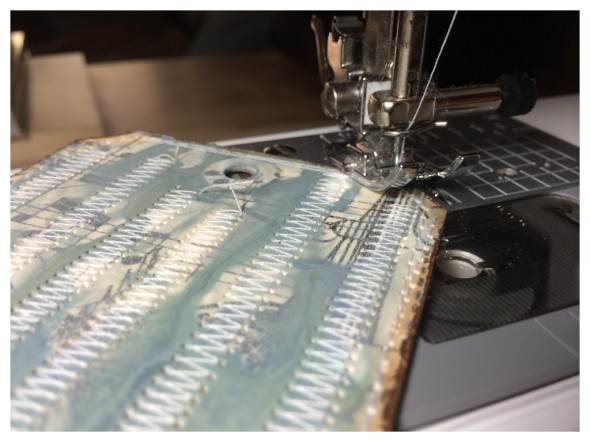
    The wishbone seemed very fitting and I added patina to the word band to give it an aged look. I also rubbed antique gold distress paint over the top of texture paste to add highlights. Naturally I stitched everything in site. I only discovered the joys of sewing machines this year. Does the “stitch everything in site” ever pass?
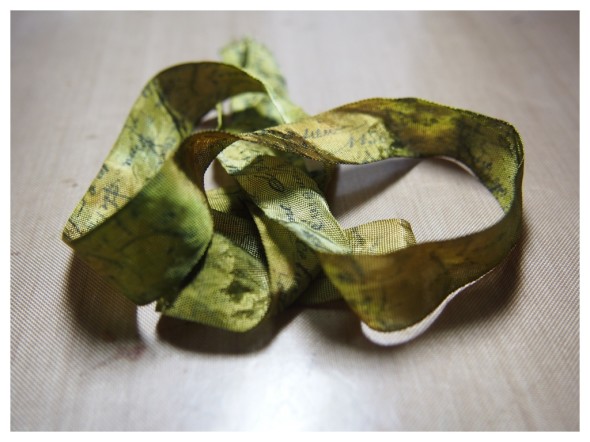
    Tim Holtz 12 Tags of 2014 August
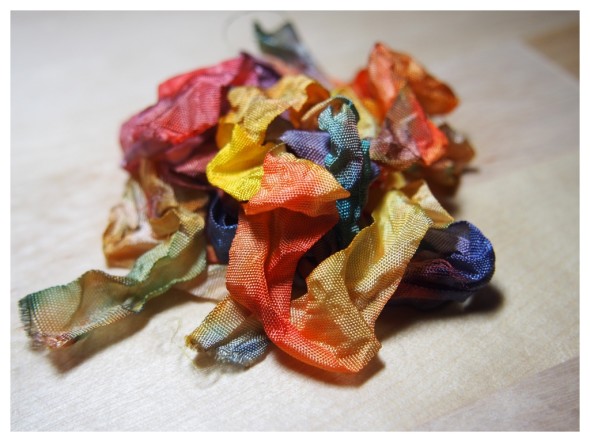
    This tag was crying out for a “paula bow“. I stained crinkle ribbon with distress stain and stamped with the background script stamp that I used on the tag. I have to make them in secret as one of our kittens loves them (see June’s tag).
    Tim Holtz 12 Tags of 2014 August
    I finished the tag with peeled paint distress embossing powder on the edges which grunged it right up.

    Thanks for taking a look at my tag and take time to hop over to Tim’s blog to see this month’s tag and techniques. If you would like to see the post in French, hop over to Scrapdeco’s blog.

    ~

    supplies: tim holtz; manilla tag/texture paste/layering stencil (gothic #26)/distress embossing powder (peeled paint)/mini distress inks (vintage photo)/distress paint (evergreen bough, antique gold)/distress stain (bundled sage, brushed corduroy, peeled paint, forest moss, pumice stone)/idea-ology (tissue tape, filmstrip ribbon, industrious stickers, vial labels, apothecary remnant rubs, crossbone adornments, wishbone, observation word bands, crinkle ribbon)/cling stamps (apothecary #138, poisonous #171)/blending tool/paper distresser/tiny attacher/grid blocks
    other: patina, archival ink (jet black)/glossy accents/mister bottle/heat tool/sewing machine

  2. Compendium of Curiosities 3 Challenge 7

    1st August, 2014 by iGirlZoe

    Compendium of Curiosities 3 Challenge 7
    The 7th challenge of the new Compendium of Curiosities 3 is up. If you haven’t already, you can order a signed copy directly from Tim Holtz. As if the book, the challenge and getting inky wasn’t fun enough, Inspiration Emporium, The Funkie Junkie Boutique and Tim and Mario have very generously donated prizes! Linda Ledbetter has also put together the Curiosity Crew, a talented group of ladies who will be inspiring us each challenge with their creations from the book.

    Compendium of Curiosities 3 Challenge 7
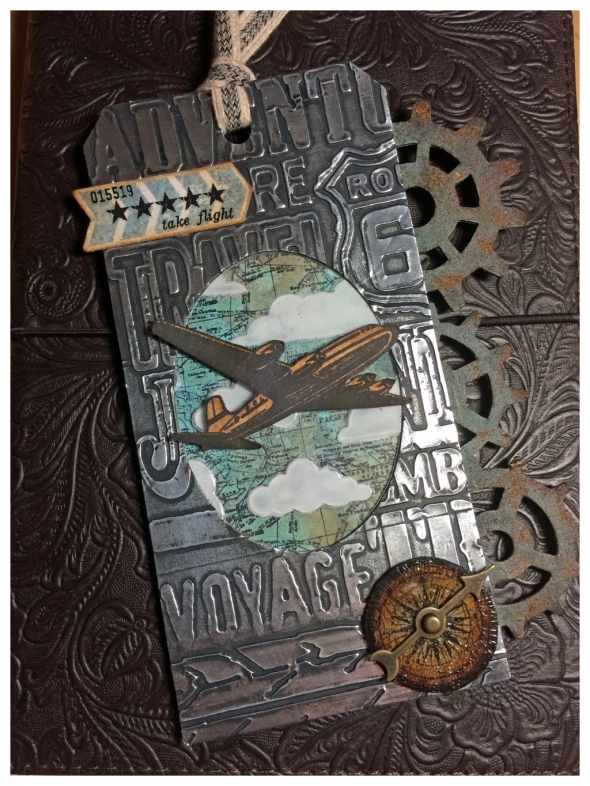
    Challenge 7 is the Painted Industrial technique, (see the book for technique instructions).

    Compendium of Curiosities 3 Challenge 7
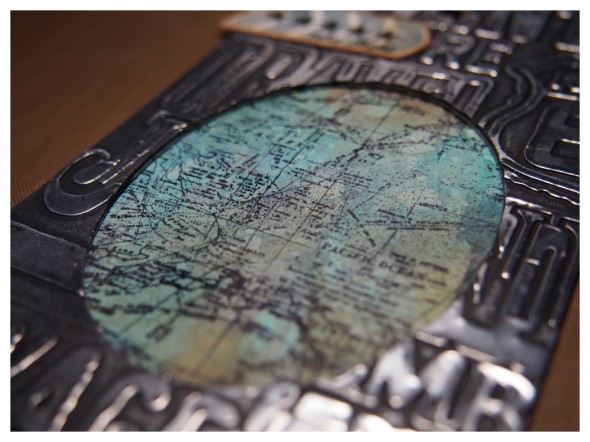
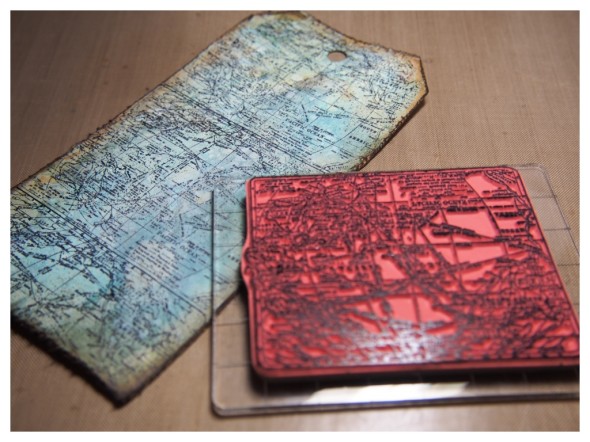
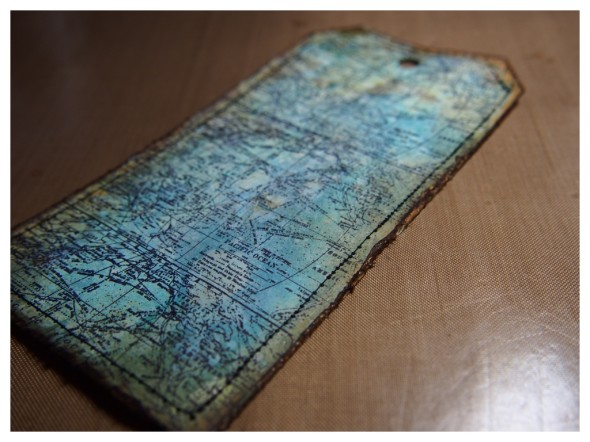
    I created a background using distress paint, stain and inks. Once dry, I stamped with the map stamp from the warehouse set.

    Compendium of Curiosities 3 Challenge 7
    Using an oval movers and shapers die, I die cut a hole in the tag and mounted the map background to the back.

    Compendium of Curiosities 3 Challenge 7
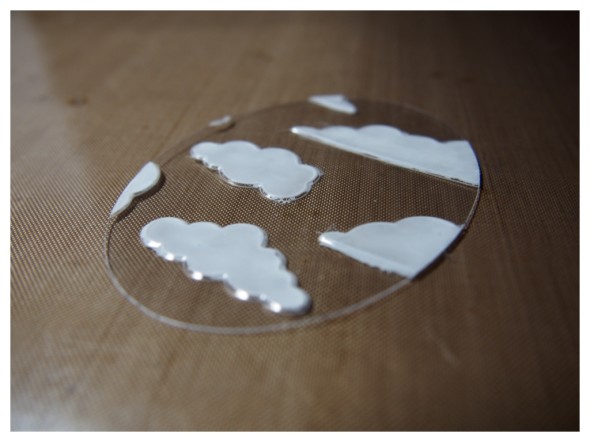
    Using a technique Tim shared with us from July’s tag, I cut another oval, this time from shrink plastic. I embossed the oval using a cloud embossing folder and then painted the clouds on the underside using picket fence distress paint.

    Compendium of Curiosities 3 Challenge 7
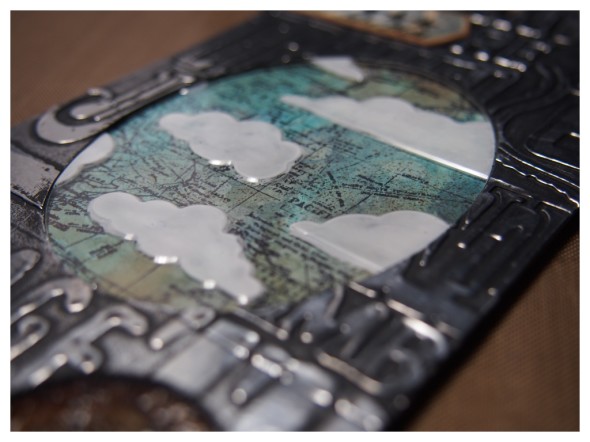
    Once dry I mounted the oval into the space, attached with a tiny attacher and stuck the stamped plane over the top to hide the staples.

    Compendium of Curiosities 3 Challenge 7
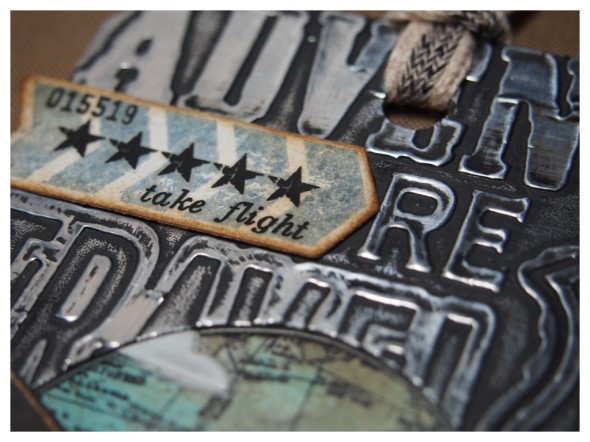
    I used the new Framelits Here and There set to stamp and die cut the arrow and put remnant rubs over the top.

    I cut gears from grungeboard using an on the edge die. I sanded and inked the gears, covered with a little distress embossing powder and dried before attaching to the side of the tag.

    Thanks for taking time to look at my tag and don’t forget to hop over to Studio L3 to check out challenge 7, which Inspiration Emporium are generously sponsoring with a $50 gift certificate to the lucky winner! So what are you waiting for!

    ~

    supplies: tim holtz; grungeboard/manilla cardstock/shrink plastic/metal foil/distress paints (picket fence, evergreen bough, salty ocean, walnut stain, tumbled glass, stormy sky, faded jeans, pitch black)/distress markers (walnut stain, black soot)/distress stain (weathered wood, frayed burlap)/distress crackle paint (rock candy)/distress mini inks (walnut stain, vintage photo, gathered twigs, broken china, peacock feathers)/distress embossing powder (vintage photo)/texture fades (travel signs)/dies (movers & shapers oval, on the edge steampunk, framelits here and there)/idea-ology (remnant rubs, game spinner, linen ribbon)/cling stamps (warehouse)/distress tool/blending tool/tiny attacher/sanding block/marker spritzer tool/grid blocks/scissors/scor-tape
    other: archival ink (jet black)/glossy accents/mister bottle/heat tool


  3. 12 Tags of 2014 – July

    31st July, 2014 by iGirlZoe

    Tim Holtz 12 Tags of 2014 July
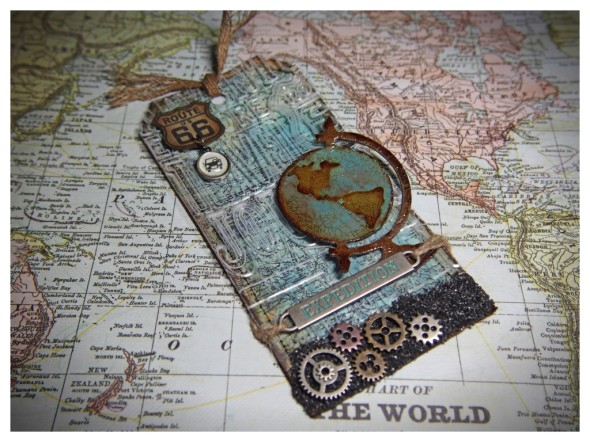
    July’s 12 Tags of 2014 is inspired by summertime and vacations, (or holidays as we Brits like to call them). I decided to use my own summer holiday as the inspiration for my tag, whilst following Tim’s techniques.

    European Road Trip
    I absolutely love the seasisde themed tag Tim made, but the closest I got to the beach this year was the French and English Ferry ports. My Husband and I took a road trip from Switzerland, through France to England to visit friends and family, (and shop)!

    Tim Holtz 12 Tags of 2014 July
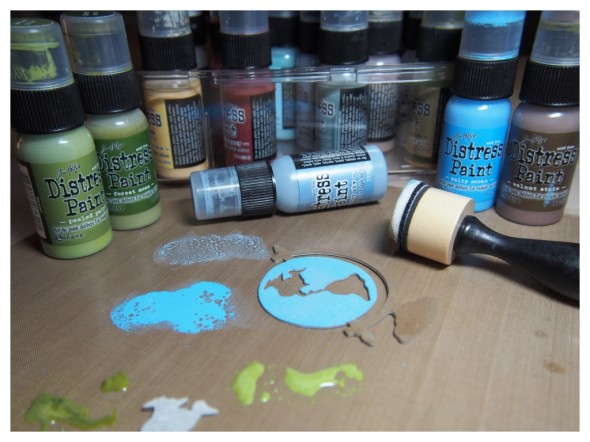
    I replaced the sea themed elements with travel ones. The mini blending tool is perfect for applying distress paints to small areas with accuracy.

    Tim Holtz 12 Tags of 2014 July
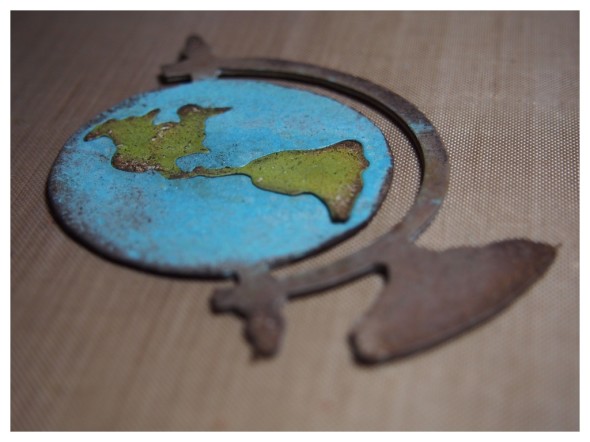
    I am just nuts about the globe die. I used the movers and shapers one and I’m going to treat myself to the large one later this month.

    Tim Holtz 12 Tags of 2014 July
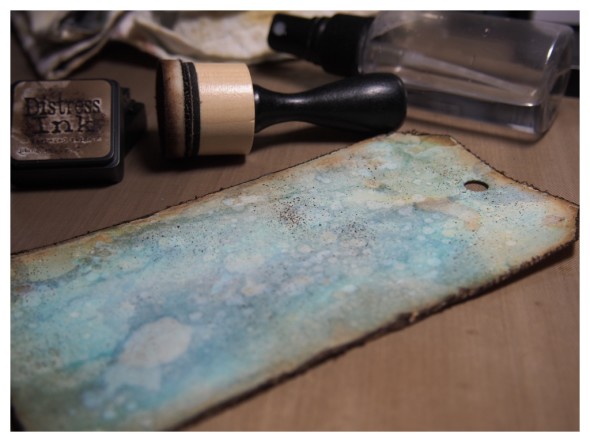
    I finished the background for my tag, but felt it still needed something to make the text on the overlay “pop”…

    Tim Holtz 12 Tags of 2014 July
    …so I used the map stamp from the warehouse stamp set. I noticed that the marker spritzer tool gives an aged look under the map stamp, which I liked.

    Tim Holtz 12 Tags of 2014 July
    Then of course I had to get back onto my sewing machine. It felt really good to be stitching after almost a month. I’m not sure how our downstairs neighbours felt about me sewing at 2am… I put the machine on a stack of towels to dampen any noise! Should have taken a photo.

    Tim Holtz 12 Tags of 2014 July
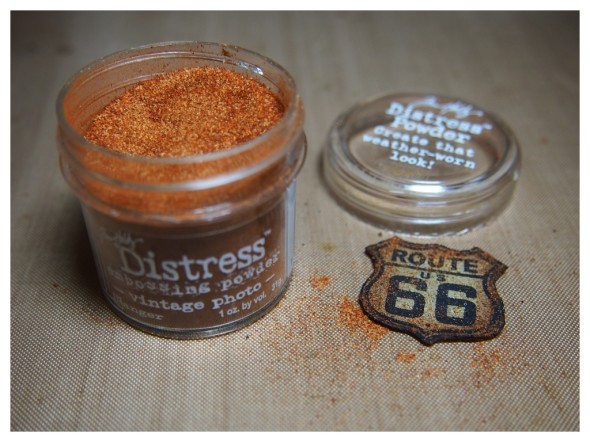
    I sprinkled some vintage photo distress embossing powder onto a road sign from the mini travel stamp set that I stamped onto grungeboard. It gives it a great worn look.

    Tim Holtz 12 Tags of 2014 July
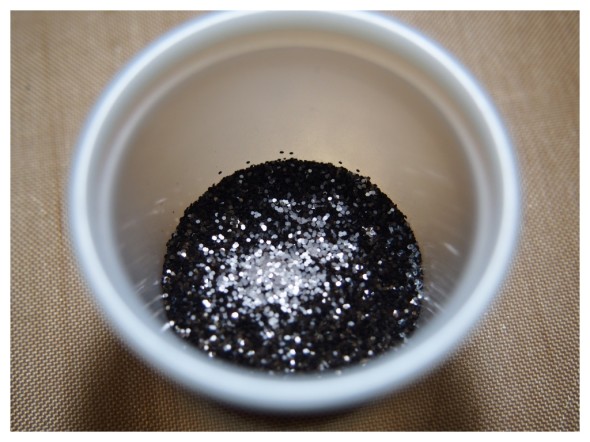
    Instead of making that wonderful sand, (see Tim’s technique), I opted for alternative colours to try and make a type of gravel that reminded me of the road during our road trip. The black soot distress glitter gives it that rich black and sparkle that roads have, but the distress embossing powder takes the glitz of the glitter down to make it more gravelly. Admittedly, I just sat and gazed into the pot for a while before adding the glossy accents… it’s soooo sparkly. 🙂

    Tim Holtz 12 Tags of 2014 July
    Getting back to my desk this month has been a struggle. I got a little homesick when I got back from England and it kind of killed my creativity. Determined to complete all 12 tags got me inky again and I’m so glad, because it has cheered me up no end and I feel my creativity returning. It’s one of the many reasons I love this monthly tag challenge, it certainly helps me when I need a creative push.

    Thanks for taking a look at my tag and take time to hop over to Tim’s blog to see this month’s, (and nearly next month’s), tag and techniques. If you would like to see the post in French, hop over to Scrapdeco’s blog.

    (It’s funny to think that while I’m uploading July’s tag, Mario is posting BTS of Tim creating August’s tag! Not long to wait for me…) 😉

    ~

    supplies: tim holtz; manilla tag/distress crackle paint (rock candy)/distress glitter (black soot, pumice stone)/distress embossing powder (black soot, vintage photo)/mini distress inks (gathered twigs, vintage photo, broken china, salty ocean,)/distress paint (walnut stain, stormy sky, salty ocean, tumbled glass, peeled paint, forest moss/evergreen bough)/distress marker (walnut stain)/distress stain (frayed burlap, weathered wood)/texture fades (travel signs)/dies (movers & shapers vintage globe, tag)/idea-ology (grungeboard, word bands, mini gears sprockets, type charm keys, jute string, linen ribbon)/cling stamps (warehouse, travel ways)/distress tool/blending tool/paper distresser/tiny attacher/sanding block/marker spritzer tool/grid blocks
    other: archival ink (jet black)/UTEE (clear)/shrink plastic/glossy accents/mister bottle/heat tool/sewing machine

  4. 12 Tags of 2014 – June

    18th June, 2014 by iGirlZoe

    Tim Holtz 12 Tags of 2014 June
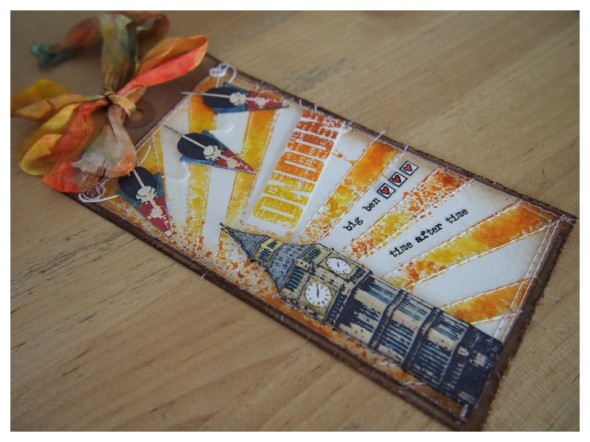
    DO NOT adjust your screen… I have used some colour in June’s 12 Tags of 2014!
    I LOVE THIS TECHNIQUE. I am usually a total colour avoider and so imagine my surprise when this technique had me reaching for oranges and yellows!

    Tim Holtz 12 Tags of 2014 June
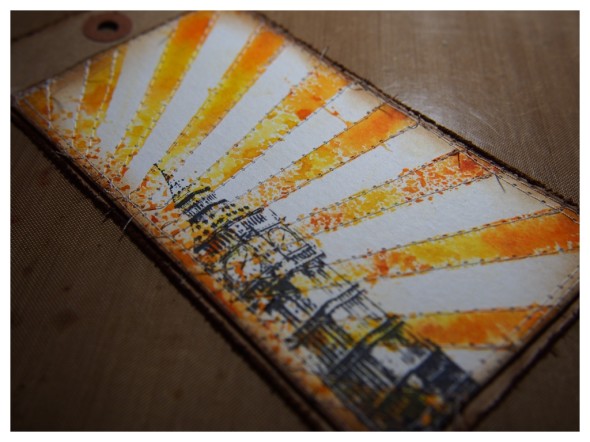
    My upcoming road trip to the UK made the theme for this month’s tag easy. I was probably being optimistic choosing the rays layering stencil to represent an English summer, but Tim hasn’t released a cloud layering stencil yet. 😉

    My sewing machine addiction continues… so this tag got the needle too!

    Tim Holtz 12 Tags of 2014 June
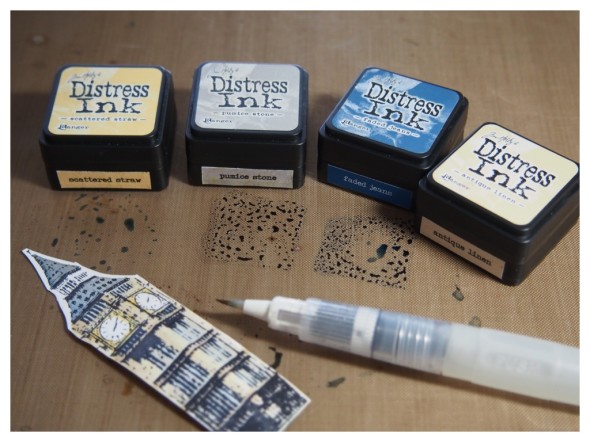
    I love the distress watercolour cardstock, one side has the traditional dimple and the other side is smooth, perfect for stamped images. You can watercolour directly from the distress ink pads, but I prefer to use my craft sheet as a paint palette. (LOVE the mini distress inks!)

    Tim Holtz 12 Tags of 2014 June
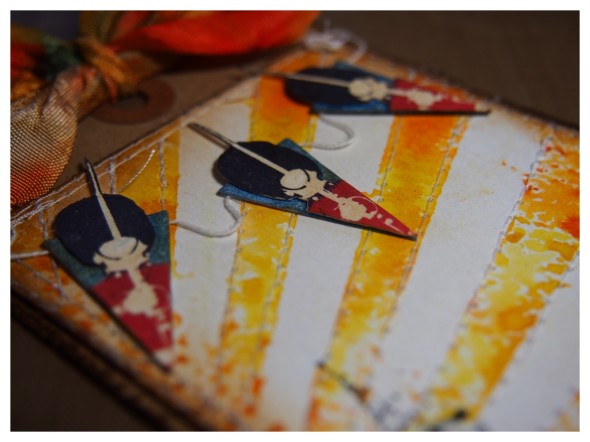
    Whenever I think of England, I imagine streets lined with bunting, so I had to add some to my tag. I stamped the Beefeater guard from the paris to london stamp set and cut down to fit the mini bunting triangles.

    Tim Holtz 12 Tags of 2014 June
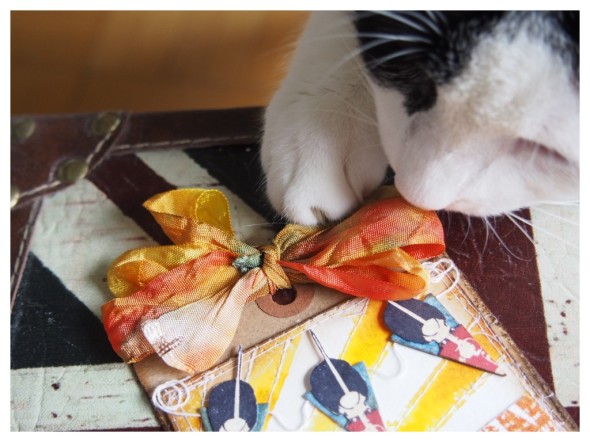
    I love and use crinkle ribbon a lot, but I’ve totally fallen for the “paula bow”. It’s an awesome technique, thanks Tim (and Paula).

    Tim Holtz 12 Tags of 2014 June
    As I finished photographing my tag, one of my kittens decided that she likes the “paula bow” too and did a snatch and grab! LOL 😀

    Thanks for taking a look at my tag and take time to hop over to Tim’s blog to see this month’s tag and techniques. If you would like to see the post in French, hop over to Scrapdeco’s blog.

    ~

    supplies: tim holtz; kraft tag/distress watercolour cardstock/mini distress inks (scattered straw, mustard seed, spiced marmalade, rusty hinge, faded jeans, vintage photo, walnut stain )/layering stencil (rays)/idea-ology (remnant rubs, crinkle ribbon)/cling stamps (paris to london)/distress tool/blending tool
    other: archival ink (jet black, red geranium)/cotton/adhesive/mister bottle/heat tool/sewing machine

  5. Compendium of Curiosities 3 Challenge 4

    12th June, 2014 by iGirlZoe

    Compendium of Curiosities 3 Challenge 4
    The 4th challenge of the new Compendium of Curiosities 3 is up. If you haven’t already, you can order a signed copy directly from Tim Holtz. As if the book, the challenge and getting inky wasn’t fun enough, Inspiration Emporium, The Funkie Junkie Boutique and Tim and Mario have very generously donated prizes! Linda Ledbetter has also put together the Curiosity Crew, a talented group of ladies who will be inspiring us each challenge with their creations from the book.

    Compendium of Curiosities 3 Challenge 4
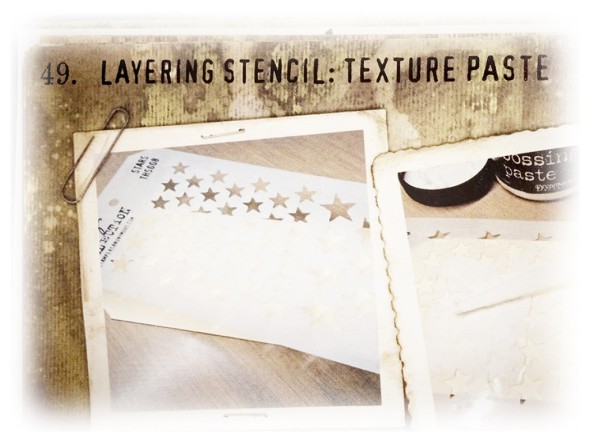
    Challenge 4 is the Layering Stencil: Texture Paste technique, (see the book for technique instructions).

    Compendium of Curiosities 3 Challenge 4
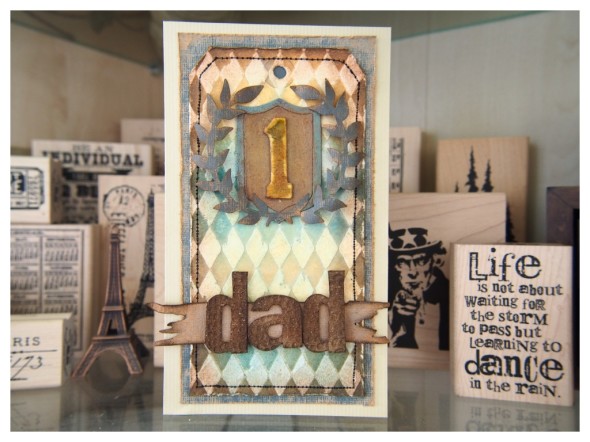
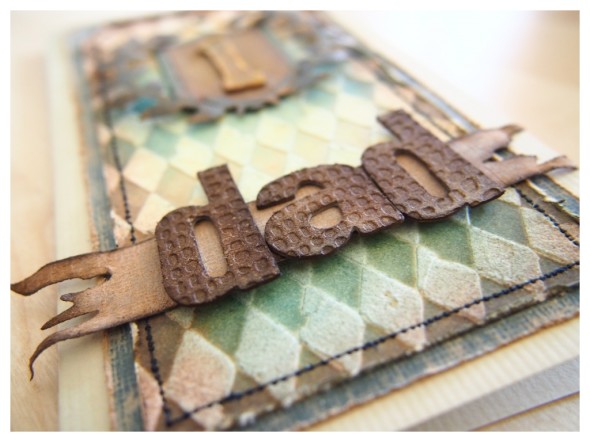
    I wanted to make a Father’s Day Card and opted for the harlequin layering stencil as I think it looks quite masculine. I stitched the tag to kraft core and used my distress tool to distress the edges. I learned to use a sewing machine this year and now I’m hooked! I’m working my way up to repairing an old patchwork quilt with the fantasmic eclectic elements fabrics by Tim Holtz, (but I digress). 😉

    Compendium of Curiosities 3 Challenge 4
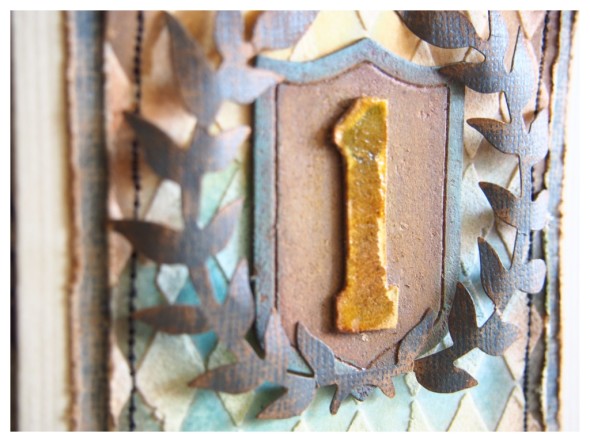
    I used the new mini shield die, cut from grungeboard and covered in distress paint, (evergreen bough distress paint gives a fantastic patina look). I added the number “1” with the numbered layering stencil, using this challenge technique. The foliage from the regal crest die was perfect because it looks like the logo on the Fred Perry polo shirts that my Dad wears.

    Compendium of Curiosities 3 Challenge 4
    I cut a “b” from grungeboard using the wordplay die and reversed it as I wanted a wider “d”! I used an embossing folder to give a faux leather look and mounted onto a tattered banner, which I shortened.

    Thanks for taking time to look at my card and don’t forget to hop over to Studio L3 to check out challenge 4, which The Funkie Junkie Boutique are generously sponsoring with a $25 gift certificate to the lucky winner! So what are you waiting for!

    ~

    supplies: tim holtz; manila tag/distress paint (evergreen bough, walnut stain, wild honey)/mini distress inks (scattered straw, broken china, vintage photo, walnut stain)/distress crackle paint (clear rock candy)/layering stencil (harlequin, numbered)/dies (mini shield, regal crest, wordplay, tattered banners)/idea-ology (grungeboard, core’dinations kraft core)/glossy accents/sanding grip block/distress tool/mister bottle/mini blending tool;
    other: wendy vecchi embossing paste/heat tool/scissors/sewing machine

  6. Compendium of Curiosities 3 Challenge 3

    6th June, 2014 by iGirlZoe

    Compendium of Curiosities 3 Challenge 3
    Linda Ledbetter at Studio L3 is hosting challenge 3 of the new Compendium of Curiosities for Tim Holtz 3rd book. If you haven’t already, you can order a signed copy directly from Tim. As if the book, the challenge and getting inky wasn’t fun enough, Inspiration Emporium, The Funkie Junkie Boutique and Tim and Mario have very generously donated prizes! Linda has also put together the Curiosity Crew, a talented group of ladies who will be inspiring us each challenge with their creations from the book.

    Compendium of Curiosities 3 Challenge 3
    Challenge 3 is the Faux Tea Roses technique, (see the book for technique instructions). This tattered pinecone die has been on my list for a while now and I ordered it the day the new challenge was announced. It only arrived this morning, so it’s been a mad scramble. I LOVE the dual use of this die and for craft addicts, multi-purpose is AWESOME! Strangely, I almost feel like I’ve been given a freebee, 2 for the price of 1.

    Compendium of Curiosities 3 Challenge 3
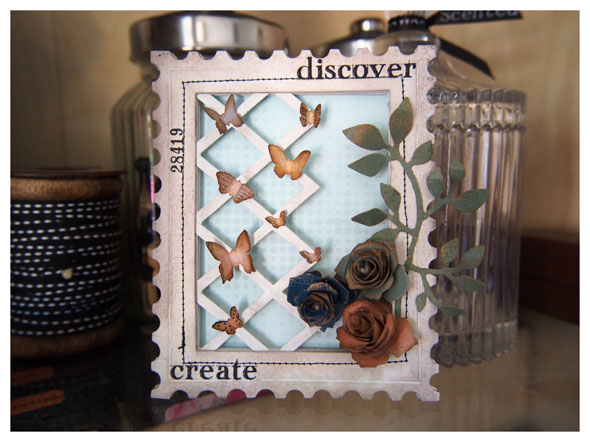
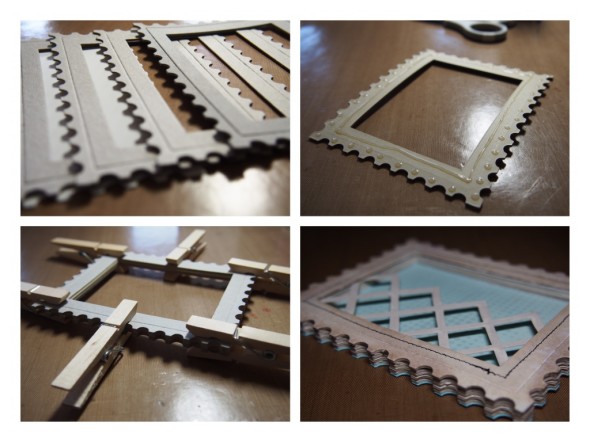
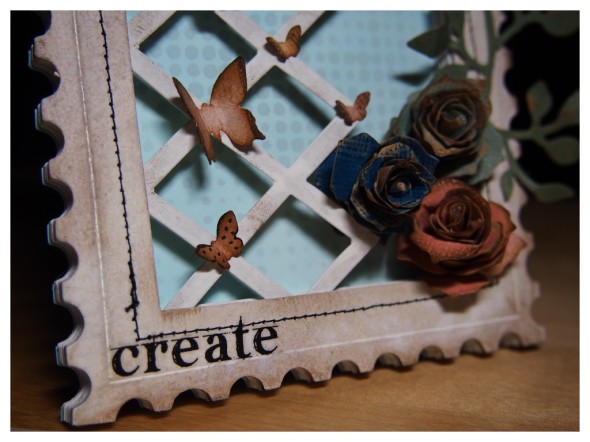
    Another die I used was the postage stamp frame die with the framework lattice die sandwiched between layers. I then painted the edges with white picket fence distress paint. I added a small easel die cut to the back so it stands like a frame.

    Compendium of Curiosities 3 Challenge 3
    Thanks for taking time to look at my frame and don’t forget to hop over to Studio L3 to check out challenge 3, which Inspiration Emporium are generously sponsoring with a $50 gift certificate to the lucky winner! So what are you waiting for!

    ~

    supplies: tim holtz; grungeboard/core’dinations kraft core/distress paint (white picket fence)/mini distress inks (scattered straw, victorian velvet, shaded lilac, vintage photo, walnut stain)/dies (lattice framework, postage stamp frame, tattered pinecone, small easel, butterfly frenzy, spring greenery,)remnant rubs/stencil (dot matrix)/glossy accents/sanding grip block/mister bottle/mini blending tool;
    other: glue gun/scissors.


  7. 12 Tags of 2014 – May

    14th May, 2014 by iGirlZoe

    Tim Holtz 12 Tags of 2014 May
    I started thinking about this month’s 12 Tags of 2014 tag the day Tim posted the challenge, but it’s taken me some time to come to terms with using my stashed accoutrements!

    I tell you, Tim has pushed us all way out of our hoarding comfort zones this month!

    Tim Holtz 12 Tags of 2014 May
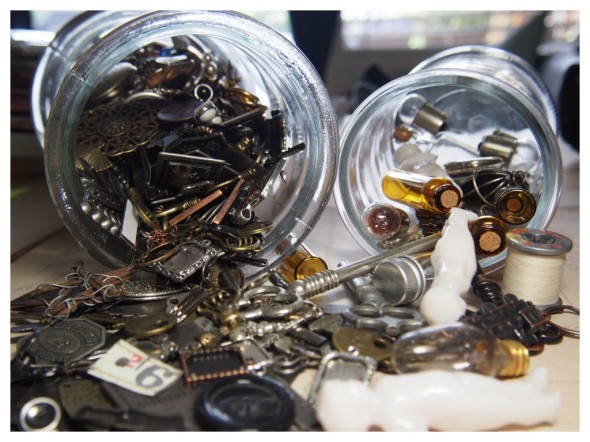
    That said, I had a lot of fun digging through my found objects…

    Tim Holtz 12 Tags of 2014 May
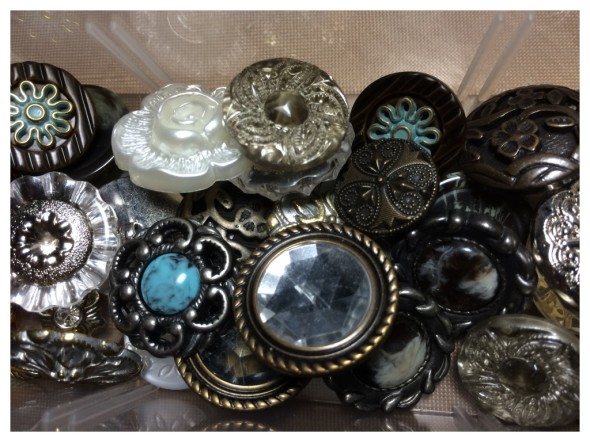
    …and fanciful buttons.

    Tim Holtz 12 Tags of 2014 May
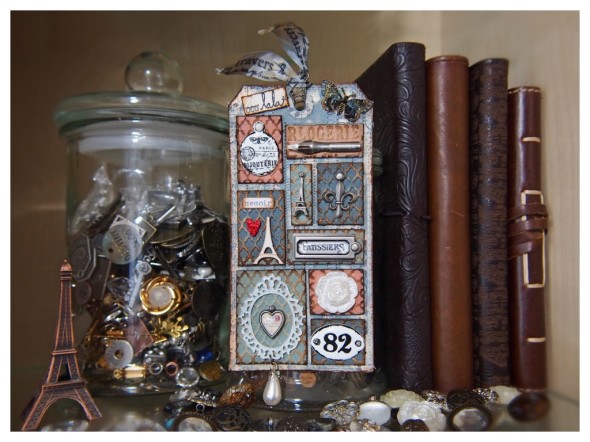
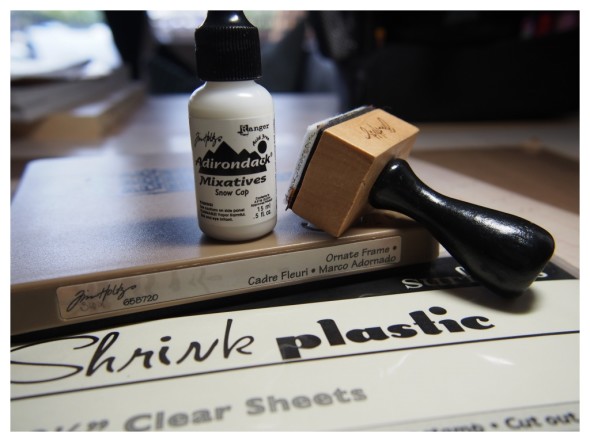
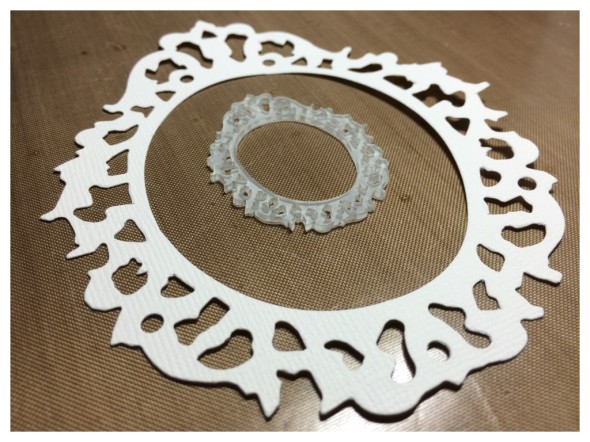
    Something Tim said in his post stayed in the back of my mind, “use your die cuts as embellishments.” I really wanted to use my ornate frame die, I LOVE it, but clearly it was way too big for this project… or was it?! (light bulb moment)… SHRINK PLASTIC!

    Tim Holtz 12 Tags of 2014 May
    From giagantor to teeny weeny, you have to be brave the first time you use shrink plastic. It looks so freaky as it frantically twists and contorts under your heat tool. You end up with a cool miniature hard plastic version of your original die cut.

    Tim Holtz 12 Tags of 2014 May
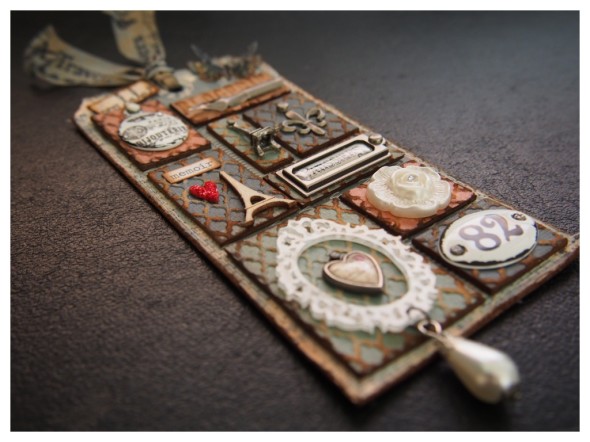
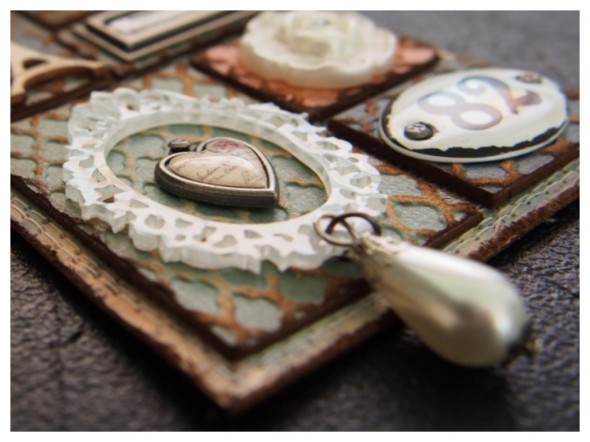
    I used snow cap alcohol ink on the back of the frame so the top stays clear and shiny, but you can see the white through it. I hung a pearl bauble, (crying that these have been discontinued), on the bottom and then decided to use one of the new heart charms with my own paper heart under the epoxy dome. The heart paper is cut from one of Tim’s doo-dads (circa 2004). SEE, I really am a professional hoarder!

    Tim Holtz 12 Tags of 2014 May
    Like Tim, I tried several different backgrounds. The background colour makes such a difference to the final look of the tag. I covered a tag with melange tissue wrap and used 3 colours of distress paint to marble over the top. OMG, the marble effect over tissue wrap is AMAZING! Because the surface is slicker, it allows the paint to really run and mix together. Once dry, I got my sewing machine out and went to town!
    Tim Holtz 12 Tags of 2014 May
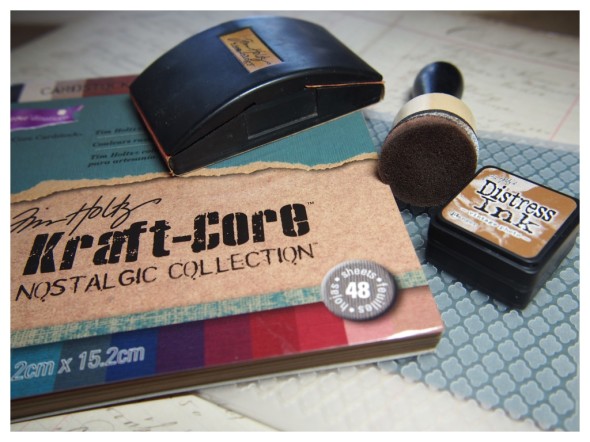
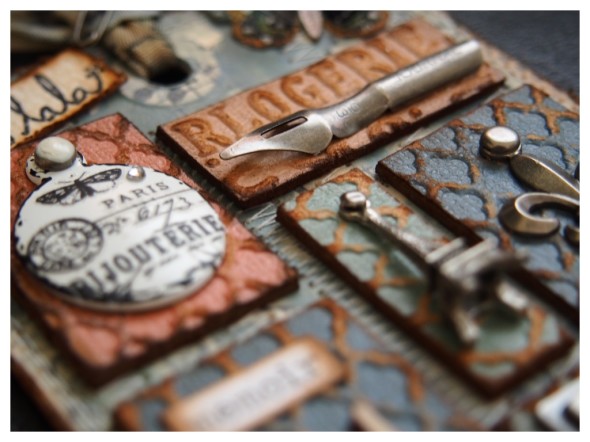
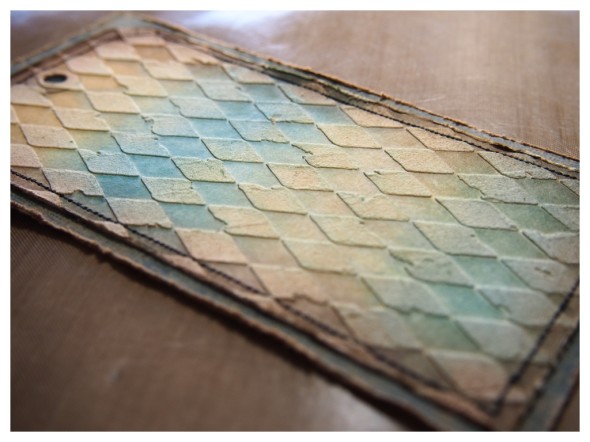
    I knew immediately what I wanted to do with the tiles. It HAD to be kraft-core and the trellis texture fades folder. I embossed the kraft-core and mounted onto grungeboard, (I wanted something substantial to hold the metal embellishments). I sanded with my sanding block and then swiped over with vintage photo mini distress ink.

    Tim Holtz 12 Tags of 2014 May
    Voilà, (I had to sneak in some French to match the theme of my tag)! 😉

    Tim Holtz 12 Tags of 2014 May
    Thanks for taking a look at my tag and take time to hop over to Tim’s blog to see this month’s tag and techniques. If you would like to see the post in French, hop over to Scrapdeco’s blog.

    ~

    supplies: tim holtz; manila tag/die (ornate frame)/alcohol ink (snow cap)/mini distress inks (victorian velvet, vintage photo, walnut stain )/distress glitter (festive berries)/glossy accents/texture fades folder (courtyard and trellis)/core’dinations kraft core/shrink plastic/idea-ology (melange tissue wrap, grungeboard, elements remnant rubs, chitchat stickers, crinkle ribbon, heart charms, pen nib, metal tag label, enameled tag, metal plaquettes, fanciful button, mini fasteners, pearl bauble, mini pin, )/cling stamps (tiny things)/heat tool/sanding grip block/mister bottle


  8. Compendium of Curiosities 3 Challenge 2

    12th May, 2014 by iGirlZoe

    Compendium of Curiosities 3 Challenge 2
    Over at Studio L3 Linda Ledbetter is hosting challenge 2 of the new Compendium of Curiosities Challenges for Tim Holtz 3rd book. If you haven’t already, you can order a signed copy directly from Tim. As if the book, the challenge and getting inky wasn’t fun enough, Inspiration Emporium, The Funkie Junkie Boutique and Tim and Mario have very generously donated prizes! Linda has also put together the Curiosity Crew, a talented group of ladies who will be inspiring us each challenge with their creations from the book.

    Compendium of Curiosities 3 Challenge 2
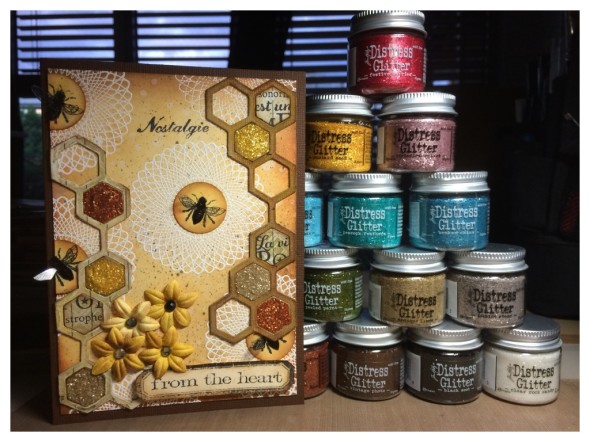
    Challenge 2 is the Distress Glitter technique, (see the book for technique instructions). Distress Glitter is not like your usual glitter. I’m not a glitter fan, but this stuff is awesome, you’ll go nuts!

    Compendium of Curiosities 3 Challenge 2
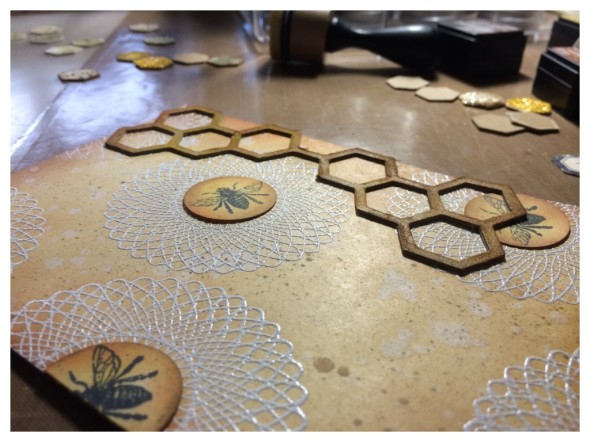
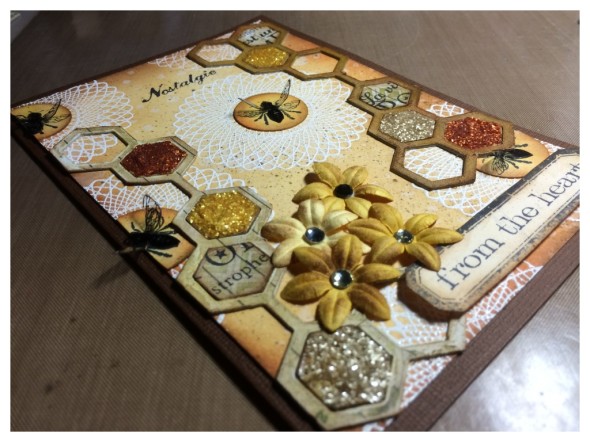
    For this challenge I made a Mother’s day card for my Mother-in-law. I had to use the new Tim Holtz honeycomb frameworks die, (I am never going to get bored of these dies)! I bought a new Kesi’art stamp set at the weekend which I wanted to use. The geometric circles remind me of the Spirograph set I used to have as a kid. I embossed them with white embossing powder to create a resist against the distress ink.

    Compendium of Curiosities 3 Challenge 2
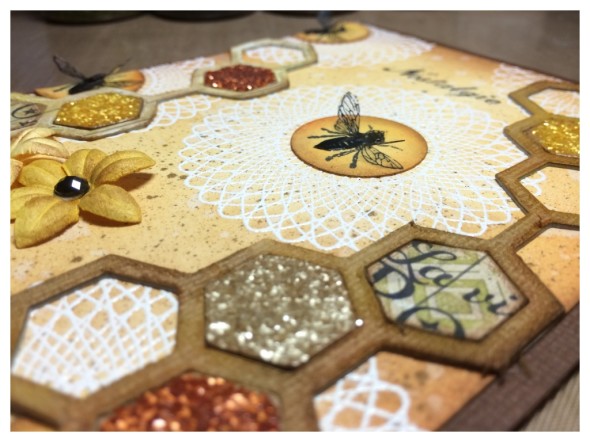
    I stamped over some of the Tim Holtz menagerie paper covered honeycomb pieces and others I left open to show the white embossed background pattern. My Mother-in-law likes nature, Spring, Summer and bright colours, although I managed to sneak in some brown, (WELL, it goes so well with the yellow)! 😉

    I recycled the packaging from the frameworks die to stamp the bees onto with Stazon ink. Once dry, I fussycut the bee and attached at the body with glossy accents to give a 3D wing. Afterwards, I thought it may have looked nice to have swiped the wings with a perfect pearl wash or some clear rock candy distress glitter to make the wings more iridescent… next time. 🙂

    Compendium of Curiosities 3 Challenge 2
    You can see how the light bounces off the individual flakes of distress glitter. It mimics vintage mica and has a much more nostalgic look than regular glitter, plus the colours are DIVINE!

    Thanks for taking time to look at my card and don’t forget to hop over to Studio L3 to check out challenge 2, which The Funkie Junkie Boutique are generously sponsoring with a $25 gift certificate to the lucky winner! So what are you waiting for!

    ~

    supplies: tim holtz; manila cardstock/distress paint (antique linen, mustard seed, rusty hinge)/mini distress inks (mustard seed, rusty hinge, vintage photo, walnut stain)/distress glitter (antique linen, mustard seed, rusty hinge)/framework die (honeycomb)/idea-ology (menagerie paper stash, grungeboard, core’dinations kraft core)/glossy accents/cling stamps (simple sayings)/sanding grip block/grid blocks/mister bottle/mini blending tool;
    other: inks (archival jet black, Stazon Black)/mini flowers (citron banane)/gems/versamark ink (watermark)/zing embossing powder (white)/stamps (kesi’art – bicyclette )/1″ circle punch/splatter brush/heat tool/recycled clear packaging/scissors.


  9. Steampunk Mini Book

    7th May, 2014 by iGirlZoe

    Steampunk Mini Book
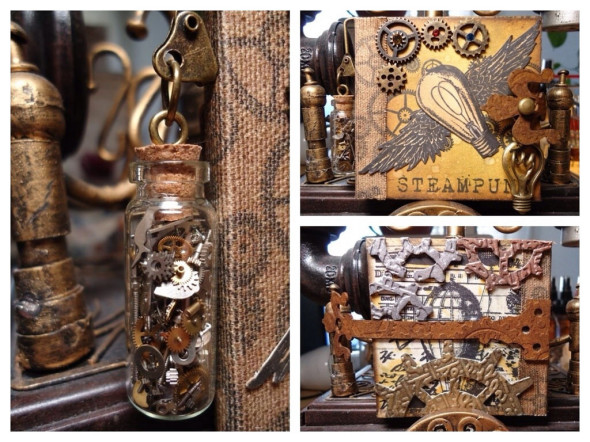
    I made this for a friend a while ago using a mini book technique video by Tim Holtz. It’s cool that you only need a sheet of 12×12 paper, a little bit of tissue tape, glue and whatever you want to embellish it.

    I made the book strap out of grungeboard using the hardware findings die. I cut a larger hole at the end so I could slide it over a hitch fastener, (so glad they brought these back)! I reinforced the spine with sticky back canvas and hung a corked vial filled with watch parts from a swivel clasp. I used assorted stamps by Oxford Impressions.
    Steampunk Mini Book
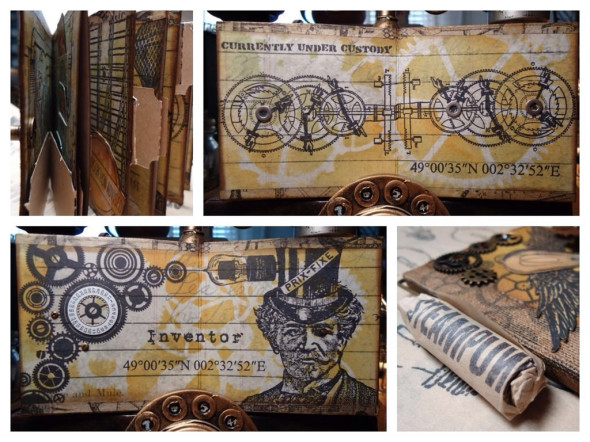
    You can leave some of the tops and sides open to tuck a message into. I tucked in some tickets that I die cut with Tim Holtz ticket strip die and stamped with his odds and ends stamp set. I used some idea-ology tiny fasteners, (I love these tiny little fasteners, they look like teeny tiny screws). The stamps are from a set by Creative Expressions.

    Steampunk Mini Book
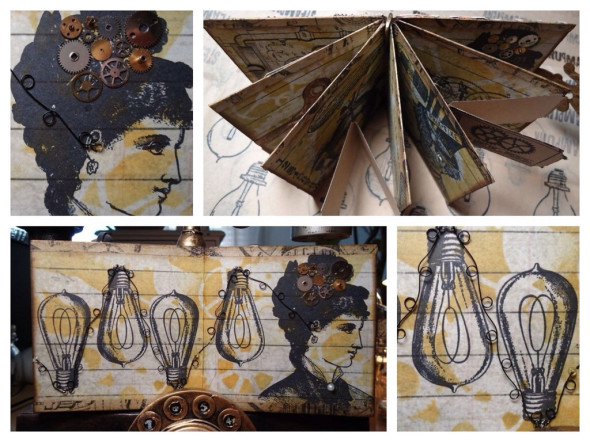
    To give this page a steampunk twist, I attached the vintage lady to the bulbs with black wire that I twisted and stuck down in sections with glossy accents. It was so fiddly and required way more patience than I can usually find.

    Steampunk Mini Book
    I went old school and made a small pocket without a die! I used my scoreboard, trimmed the folds and made a half circle with a punch. I attached to the page and tucked in tickets stamped with the Tim Holtz odds and ends stamp set.

    As the books are so small, they’re great to take with you traveling to make notes about your journey and store ephemera in the open slots. I’m going to make one for my road trip from Switzerland to the UK in July, I’m SO excited. 🙂
    ~

    supplies: tim holtz; distress inks (scattered straw, bundled sage, vintage photo, walnut stain)/glossy accents/idea-ology (hitch fastener, mini fasteners, corked vial, screw eye, swivel clasp, mini gears, tissue tape, grungeboard, french industrial paper stash)/dies (hardware findings, ticket strip)/texture fades (blueprint and gears)/cling stamps (odds and ends).
    other; Stamps (Artistic Outpost, Creative Expressions, Oxford Impressions)/stencil/score-board/watch parts/wire


  10. Compendium of Curiosities 3 Challenge 1

    2nd May, 2014 by iGirlZoe

    Compendium of Curiosities 3 Challenge 1
    Great news! Over at Studio L3 Linda Ledbetter is hosting the new Compendium of Curiosities Challenge for Tim Holtz 3rd book. If you haven’t already, you can order a signed copy directly from Tim. As if the book, the challenge and getting inky wasn’t fun enough, Inspiration Emporium, The Funkie Junkie Boutique and Tim and Mario have very generously donated prizes! Linda has also put together the Curiosity Crew, a talented group of ladies who will be inspiring us each challenge with their creations from the book.

    resize_02542074_1024px
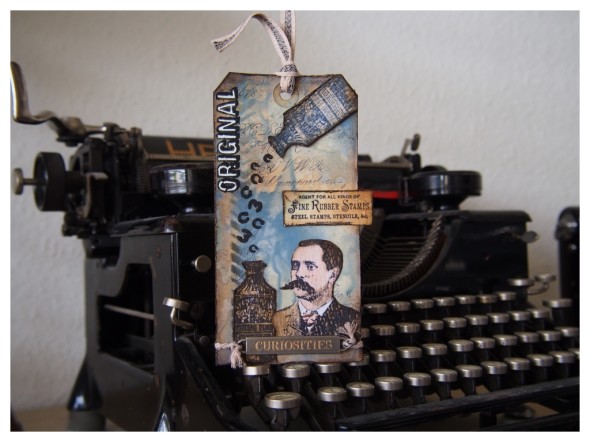
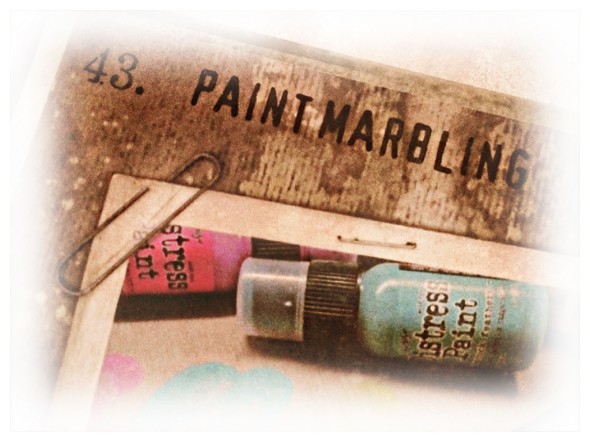
    Challenge 1 is the Paint Marbling technique, (see the book for technique instructions). I love that each time you do this technique the results are so different.

    Compendium of Curiosities 3 Challenge 1
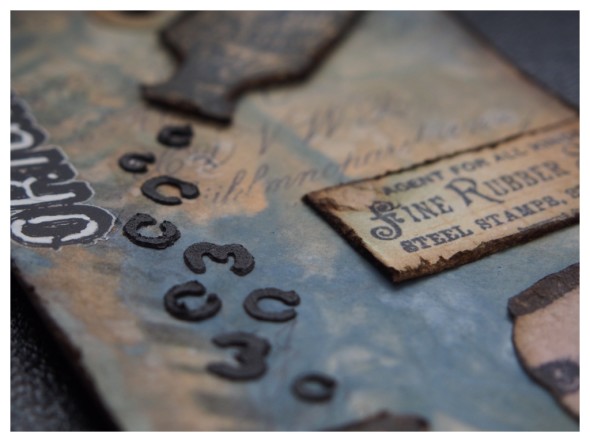
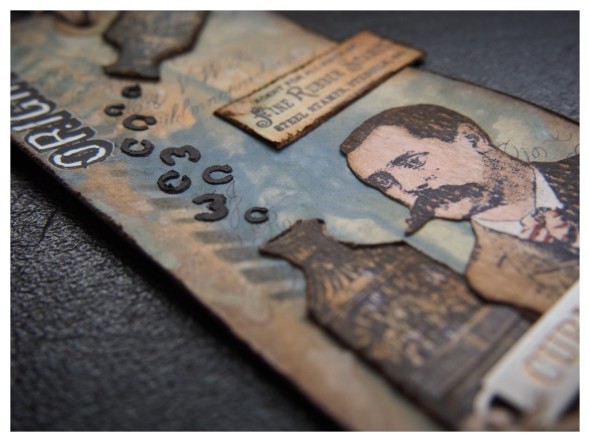
    I wanted to use Tim’s gorgeous new merchantile stamp set, specifically the bottle and feature the “c’s” and “3” of the challenge. I considered using die cuts, but wanted something a little more dimensional so used Tim Holtz eye chart layering stencil with Wendy Vecchi’s black embossing paste. It was quite tricky just using the “c’s” and “3’s” but with a lot of washi tape and patience, I managed, and with NO SMUDGES! 🙂

    Compendium of Curiosities 3 Challenge 1
    Thanks for taking time to look at my tag and don’t forget to hop over to Studio L3 to check out challenge 1, which Inspiration Emporium are generously sponsoring with a $50 gift certificate to the lucky winner! So what are you waiting for!

    ~

    supplies: tim holtz; manila tag/distress paint (scattered straw, stormy sky, gold)/mini distress inks (frayed burlap, vintage photo, walnut stain )/distress markers (tattered rose, fired brick, vintage photo)/glossy accents/(word bands, trimmings, tissue tape, grungeboard, remnant rubs)/cling stamps (merchantile)/sanding grip block/mister bottle; Wendy Vecchi: black embossing paste/archival ink (cornflour blue, potting soil); Other: archival ink (black)/white gel pen.